Queue System is an online scheduling service for small and medium-sized businesses. It provides services for stores to manage their queues and their customers' states.
Once a store owner signup an account and sign in to Queue System, it will display a QRcode and the current state of all queues. When a customer enters a store, the customer will scan the QRcode and send out information to join a line. Once a customer scans a QRcode, the QRcode will change automatically. This mechanism can prevent unfair queuing and protect the other customers that haven't been in the queue yet. A store owner can change every single customer's status at any time. When a new customer joins the line or the state of a customer is updated, the website will refresh immediately and automatically.
Every account will persist for 24 hrs. After 24 hrs, Queue System will suspend the account (a.k.a. close store). Once the store is closed, Queue System will send a CSV report to the store owner and delete its related data in the database. This CSV file contains all customers' detailed information to let the store owner implement further business analysis. Next time, the store owner can signup an account again (a.k.a. open store) to use Queue System.

- Open Store (signup an account).
- Every account will persist for 24 hrs. After 24 hrs, Queue System will suspend the account (a.k.a. close store). Next time, the store owner can signup an account again (a.k.a. open store) to use Queue System.
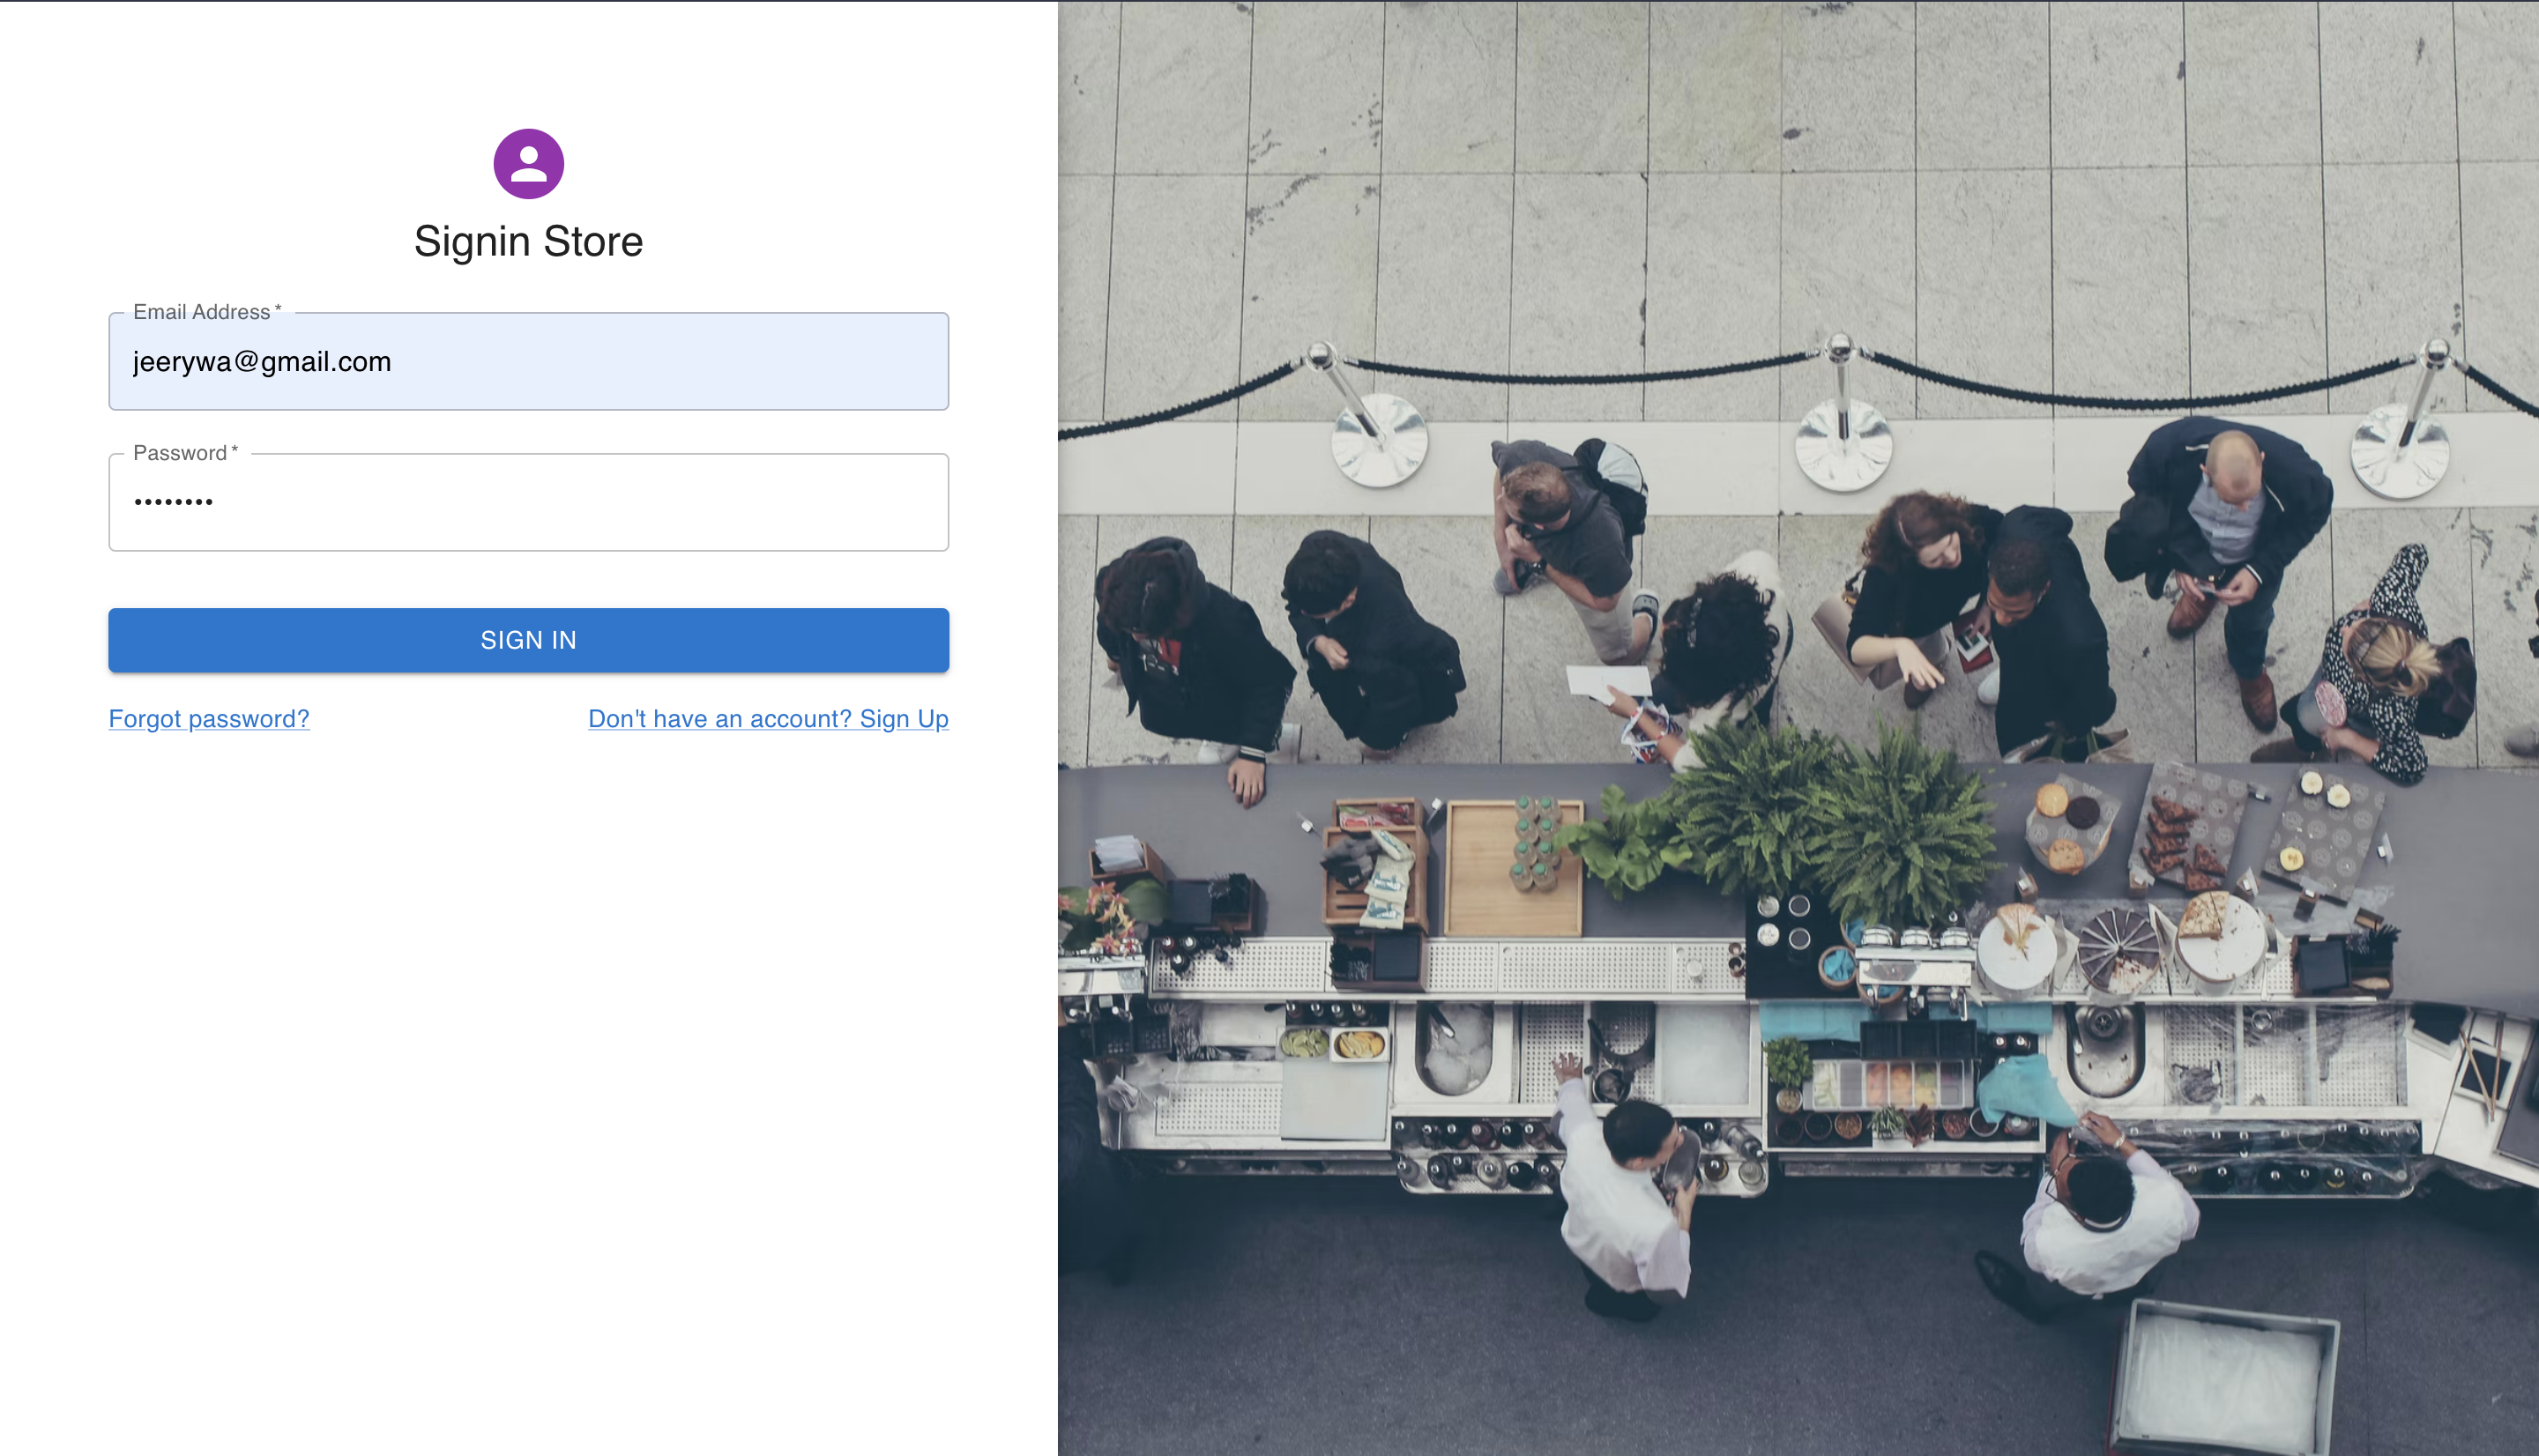
- Sign in to the account

- The store can be actively closed by the store owner or passively closed by Queue System. 24 hrs after opening, Queue System will suspend the account (a.k.a. close store).

- Once the store is closed, Queue System will send a CSV report to the store owner. This CSV file contains all customers' detailed information to let the store owner implement further business analysis.

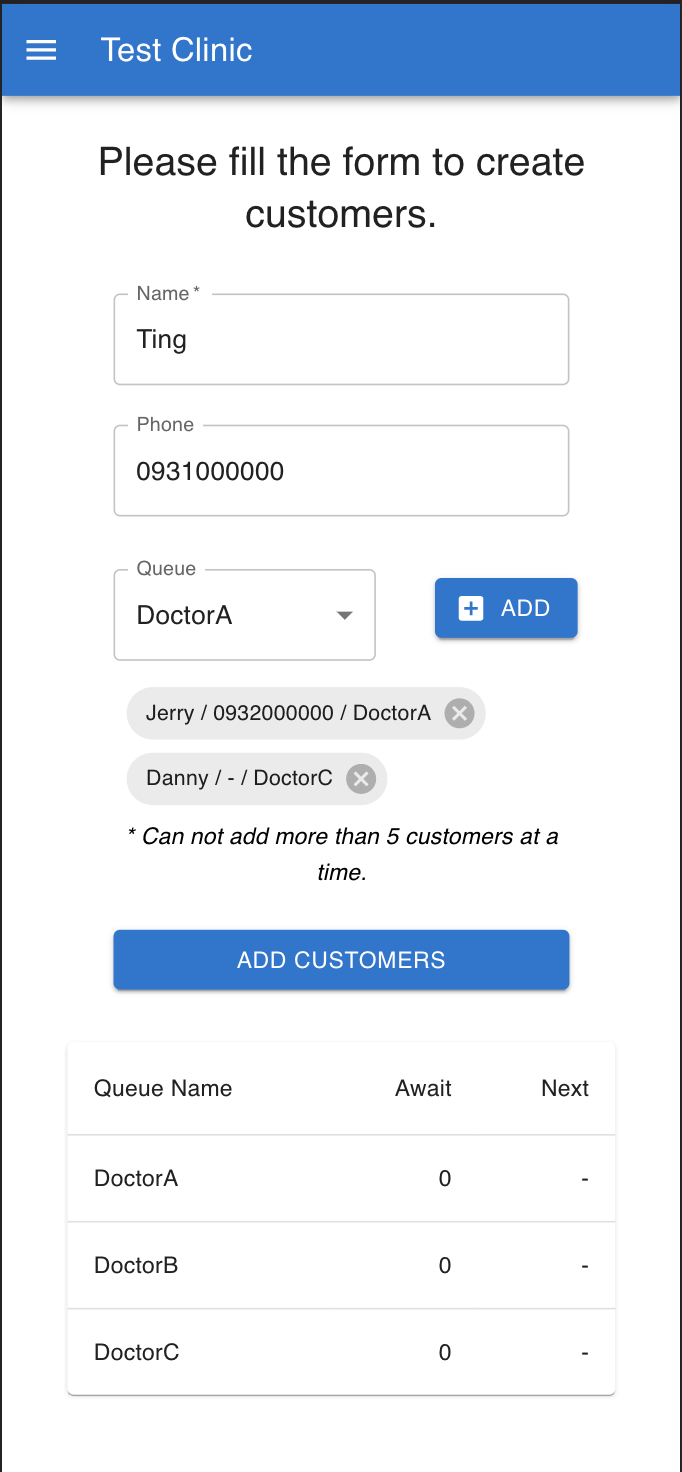
- The store owner can see the summary of all queues and the QRcode block after signing into their account.
- Once a customer scans a QRcode, the QRcode will change automatically.
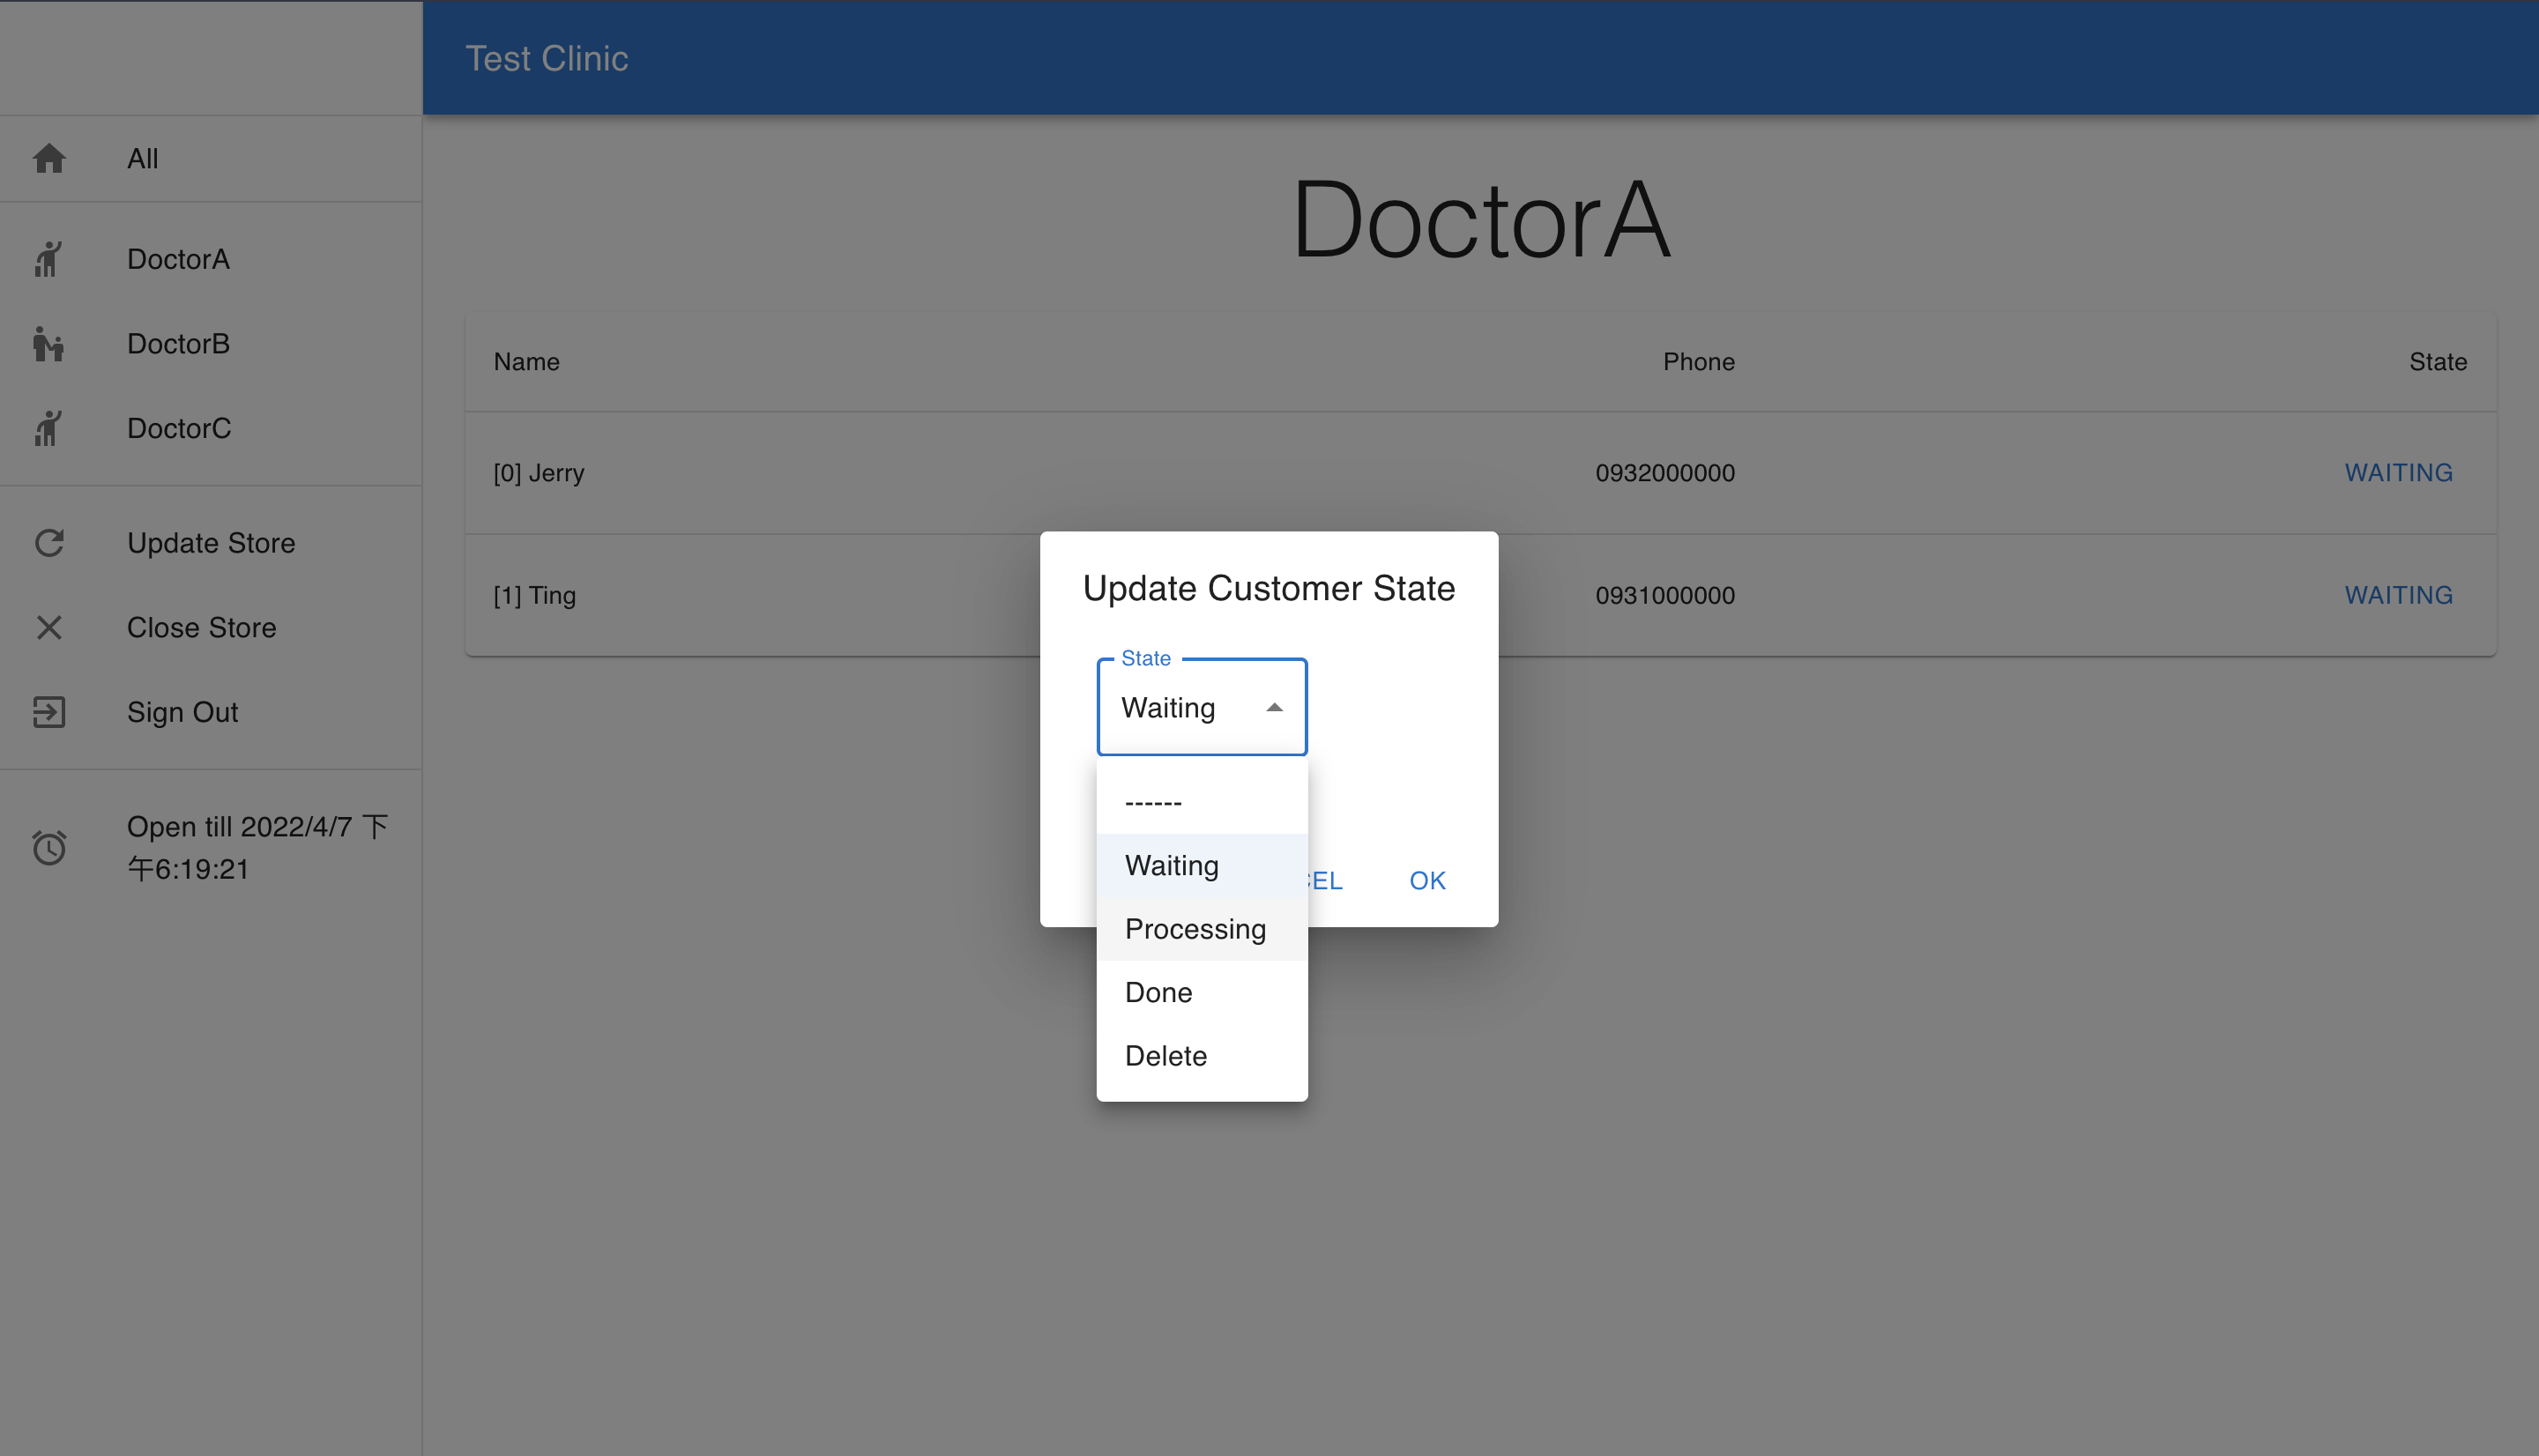
- The store owner can change every single customer's status at any time.
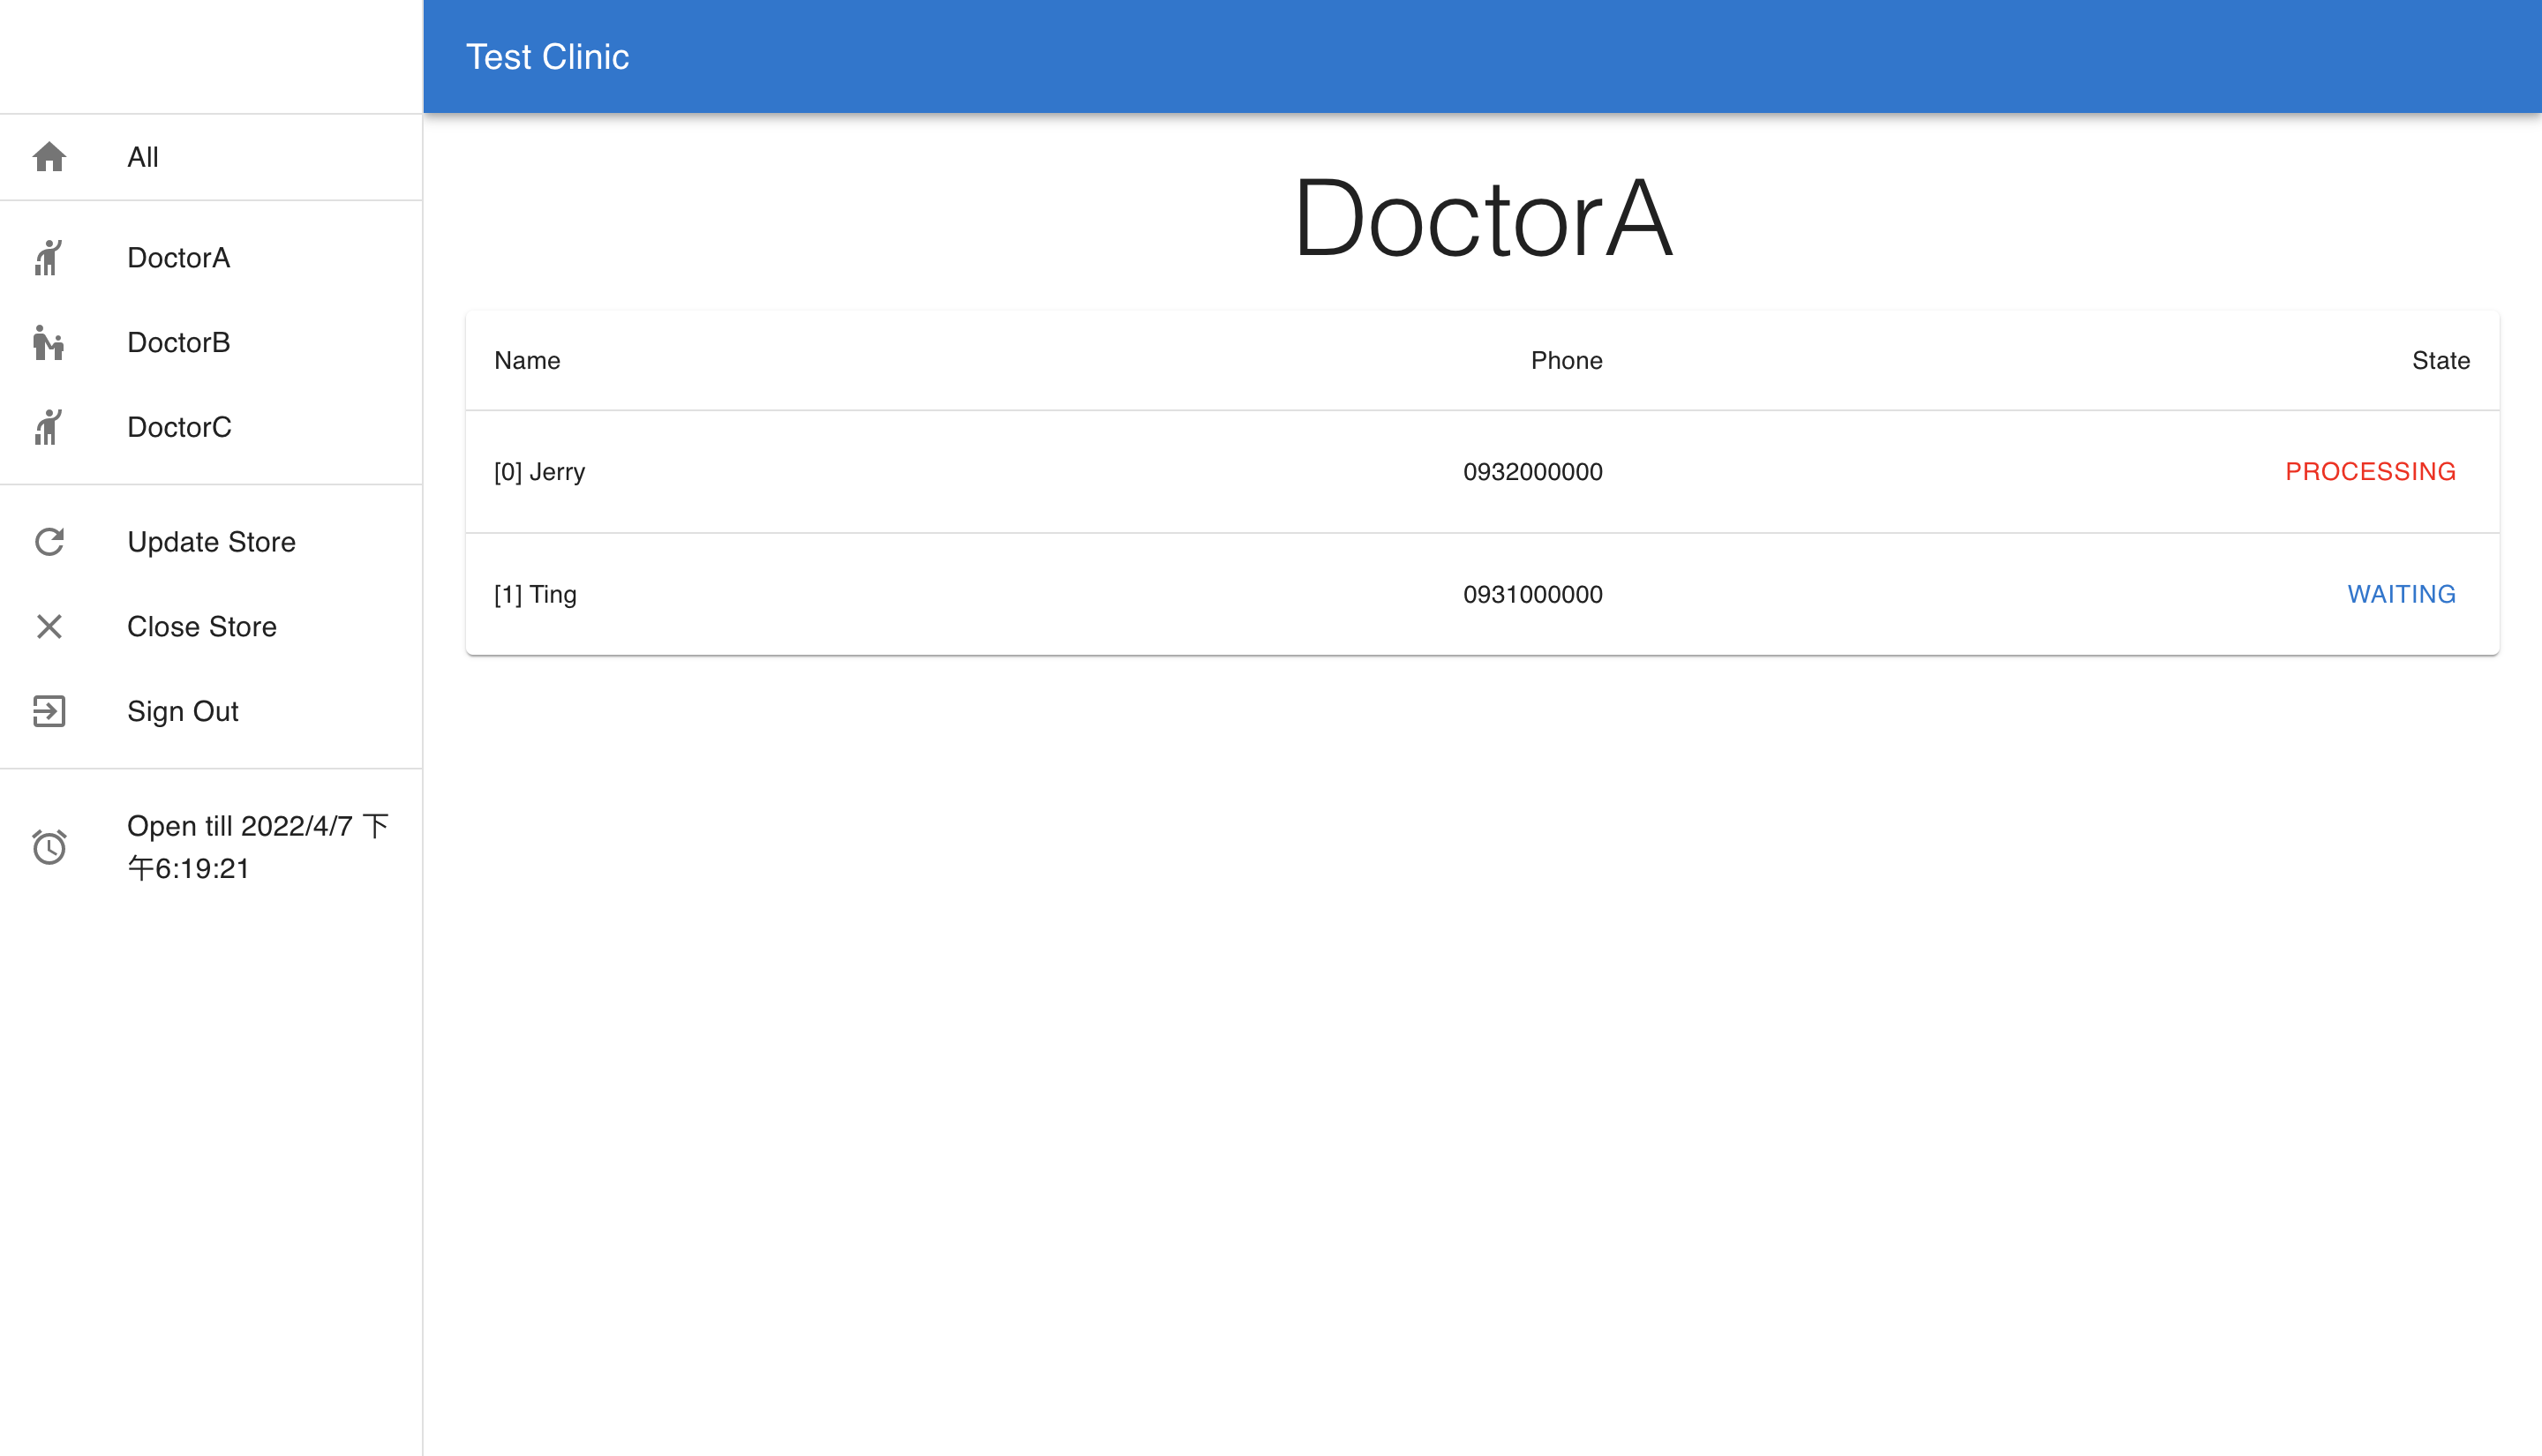
- When a new customer joins the line or the state of a customer is updated, the website will refresh immediately and automatically.
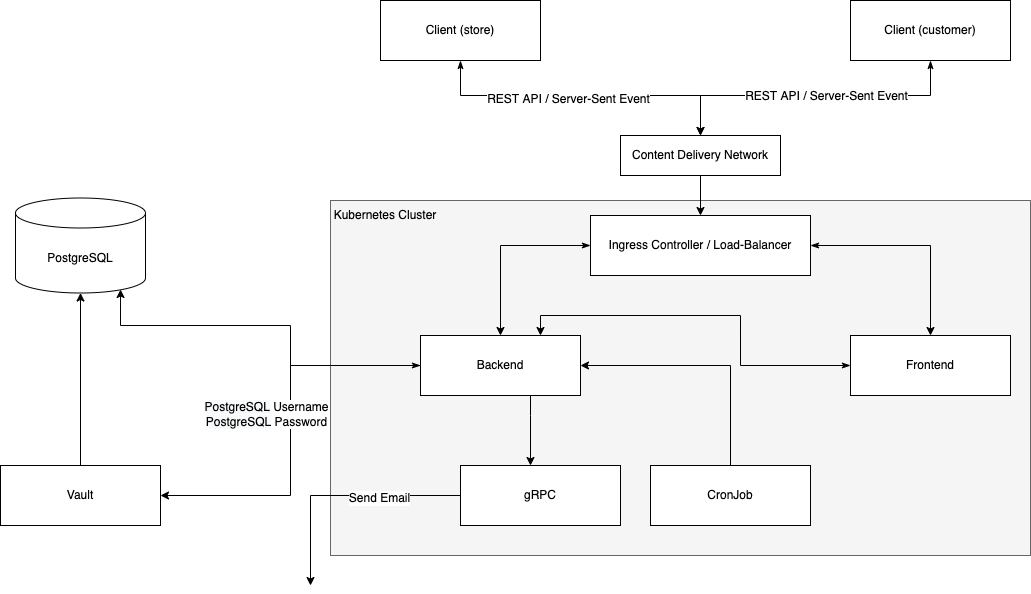 Queue System setups a Kubernetes cluster inside an AWS EC2 instance with MicroK8s and uses
 Nginx Ingress Controller as a Load-Balancer to expose Queue System service to the Content Delivery Network (CDN).
p.s. Considering the cost, I used MicroK8s to create the k8s cluster and Nginx Ingress Controller as load-balancer instead of using AWS EKS and AWS ELB.
Deploy the following resources inside the K8s cluster:
- Deployments:
- Backend
- Frontend
- gRPC
- Services
- Backend
- Frontend
- gRPC
- CronJob
- Send a REST API to the backend server every minute to check if there is any store that has already opened 24 hrs.
- Queue System will suspend these selected accounts and send CSV reports to these store owners that contain all customers' detailed information.
- Ingress
- Nginx Ingress Controller
- Ingress
Developed by Golang.
Provide REST API and Server-Sent Event API interfaces.
Developed by ReactJS with Typescript.
Interact with backend by REST API and Server-Sent Event API interfaces.
Developed by Golang.
The backend server passes tasks of sending emails and generating CSV files to the gRPC server.
Deploy the following two services (PostgreSQL, Vault) outside the K8s cluster:
p.s. Considering the cost, I deployed PostgreSQL and Vault by myself rather than using AWS RDS and AWS Secrets Manager.
The PostgreSQL server stores all data.
The Vault server connects to the PostgreSQL server and rotates the user every hour. Then the backend server connects to the Vault server to retrieve the account and password of the PostgreSQL server.
Create a new user (appuser, UID=1000) and a new group (appgroup, GID=1001) inside Dockerfiles of Backend, Frontend, and gRPC. Then, change permissions of all data and Volumes that are inside these Docker images to be read, edited, and executed by appuser.
When setting the PostgreSQL Database, use the user root to create the user migration and the user vault.
- user migration:
- Use this user to connect to the PostgreSQL Server only when migrating the database.
- This user can create, read, update and delete all data inside all tables.
- This user can create, alter and delete all tables' schemas.
- user vault:
- Use this user to connect to the PostgreSQL Server only when using the Vault Server.
- This user's role is superuser.
- This user can create other database users.
The Vault Server uses the user vault to connect to the PostgreSQL Server and create new database users.
- All newly created users can create, read, update and delete all data inside all tables.
- Every newly created user will auto-expire by the PostgreSQL Server after 1 hr.
- The Vault Server will create a new database user every 1 hr.
For simplicity, I put the backend, the frontend, and the gRPC server in one repo.
- All file names that postfix with
_test.goare golang test files. - Reference the following two websites for implementation of clean architecture in this Go project.
- Separate this Golang project into four parts according to clean architecture:
- Delivery
- Define all HTTP routes.
- Validate parameters of HTTP requests.
- Build HTTP responses.
- Domain
- Define all data models.
- Repository
- Interact with the PostgreSQL server and the gRPC server.
- Usecase
- Clean all data from the PostgreSQL server.
- Implement all business logic.
- Delivery
- Unit Tests
- All file names that postfix with
_test.go - Separately unit test
Delivery,UsecaseandRepositorywith Mock and Dependency Injection.
- All file names that postfix with
- Integration Tests
- Write a mock grpc server.
- Test the whole workflow by user stories.