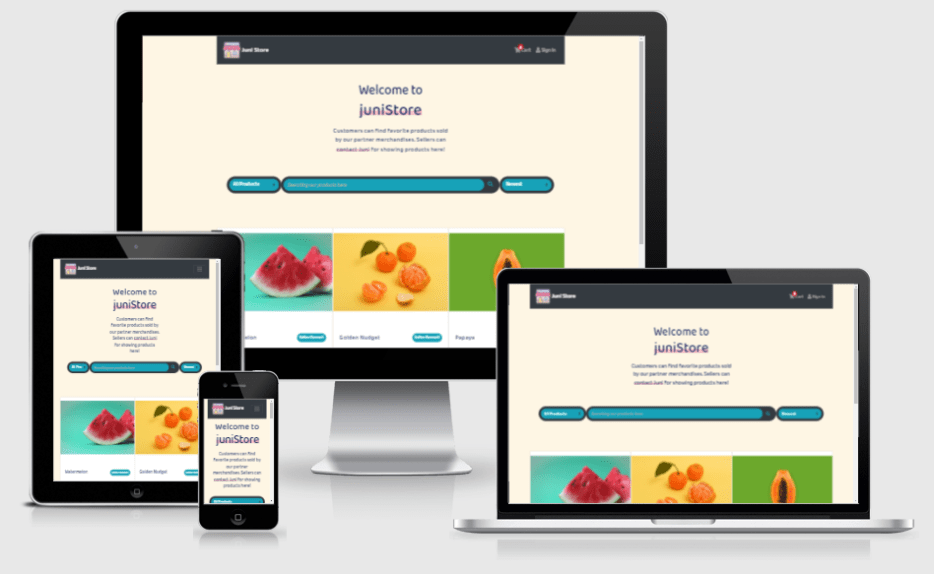
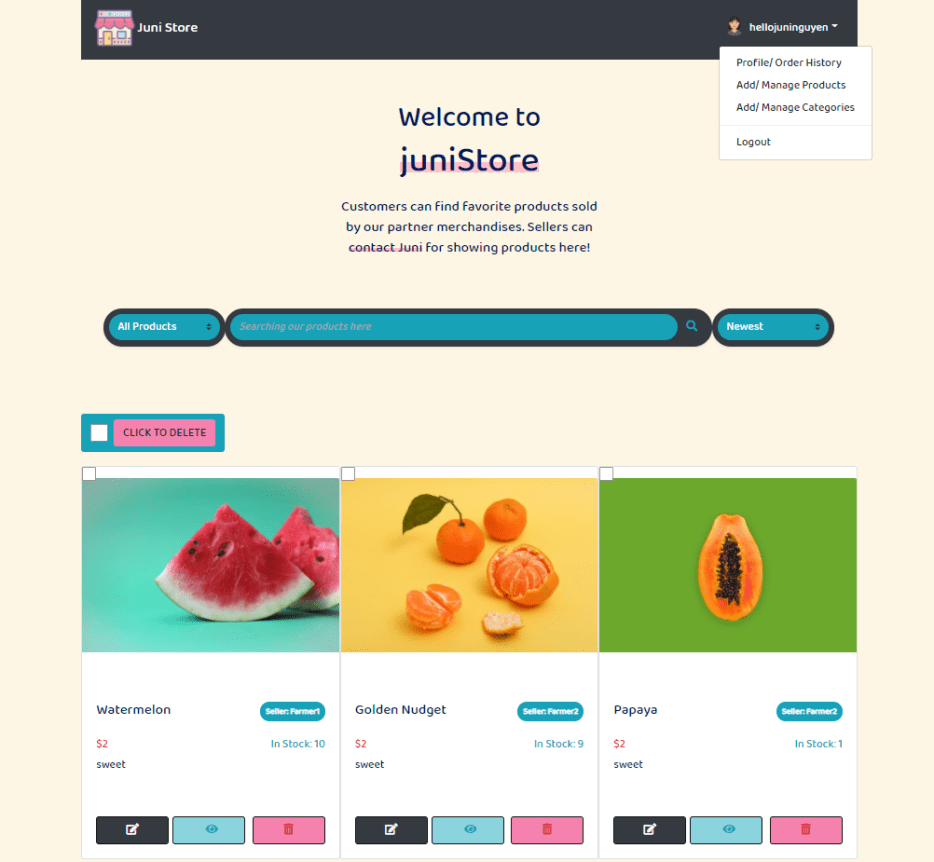
project_description
Explore the docs »
View Demo
·
Report Bug
·
Request Feature
To get a local copy up and running follow these simple steps.
This is an example of how to list things you need to use the software and how to install them.
-
npm
npm install npm@latest -g
-
Clone the repo
git clone https://github.com/juniHub/jamstack-ecommerce-nextjs.git
-
Install NPM packages
npm install
-
Connect to your mongodb and add info in
.env.local
-
Run the project locally on http://localhost:3000
npm run dev
For more examples, please refer to the Documentation. This will be continued for update and maintainance.
See the open issues for a list of proposed features (and known issues).
Contributions are what make the open source community such an amazing place to be learned, inspired, and created. Any contributions you make are greatly appreciated.
- Fork the Project
- Create your Feature Branch (
git checkout -b feature/AmazingFeature) - Commit your Changes (
git commit -m 'Add some AmazingFeature') - Push to the Branch (
git push origin feature/AmazingFeature) - Open a Pull Request
Distributed under the MIT License. See LICENSE for more information.
Juni Nguyen - helloJuni
Project Link: https://github.com/juniHub/jamstack-ecommerce-nextjs
Inspired by ecommerce project from Devat-Youtuber


