| title | seoTitle | seoDescription | datePublished | cuid | slug | canonical | cover | ogImage | tags |
|---|---|---|---|---|---|---|---|---|---|
BDD Testing with Cucumber-js |
BDD Testing with Cucumber |
Cucumber.js and BDD are not new, still many developers are fairly unfamiliar with them, the two together can be very powerful tools for both business & devs |
Fri Jan 19 2024 09:01:10 GMT+0000 (Coordinated Universal Time) |
clrkevdd1000808lc3bjc5vfo |
bdd-testing-with-cucumber-js |
bdd, testing, cucumber, testing-framework, testing-tools |
Cucumber-js and BDD are not new, still many developers are fairly unfamiliar with them, the two together can be very powerful tools for both non-tech people and developers.
BDD is short for Business Driven Development, it's way to close the gap between business people and technical people. Basically, BDD has evolved from TDD, there's a high chance that you might even be doing BDD without knowing it, as sometimes the lines between them aren't clear.
So what's the difference between them, both are automated testsright? Well, the difference is that we use the language of our end-users, i.e. the business or domain language such as Given-When-Then, to capture like a story in an executable format. For example,
GIVEN User is on Wordpress Registration Page.
WHEN he enters all the required information.
THEN his account is created.
The “given” part is where we declare preconditions. In our example above we had a user. Next, the “when” part contains the action you want to test. And finally, you verify the outcome in the “then” part.
Now, If you have more than one or you require more information than this, you can add them with AND. For example,
GIVEN User is on Wordpress Registration Page.
WHEN he enters all the required information.
AND he hits ‘create account’
THEN his account is created.
AND his confirmation email is sent.
Cucumber-js is a test framework that supports BDD. The tests are written in the Gherkin language, which are human-readable and are stored in feature files that have the feature extension. This allows your tests to be a point of communication and collaboration with bussines people and can even serve as documentation that is automatically up-to-date.
A test in the Gherkin language is called a scenario. And scenarios are organized into features.
Feature: Automatic discounts for premium customers
    Premium customers should automatically get a
    discount of 25% on purchases over $500.

    Scenario: Purchase over $700
        Given a premium customer
        And an order containing
            | item   | amount | price |
            | pencil | 100    | 2     |
            | paper  | 10     | 35    |
        When the customer checks out
        Then the total price should be 412.5
In the above example, there are many keywords, and every keyword has its own meaning and purpose.
Let’s explain each keyword with respect to the above example.
-
Feature Keyword: The feature file starts with the keyword Feature**.** Under feature, you can mention the feature name which is to be tested, as seen above.
-
ScenarioKeyword: Each scenario must starts with the keyword Scenario**,** followed by the scenario name. And under each feature file, there can be more than one scenarios.
-
Given Keyword: Given keyword is used when we have to give some pre-condition in our test case.
-
When Keyword: When the keyword is used to perform some action.
-
And Keyword: It is used to connect two statements with the logical AND condition between any two statements. It can be used in combination with GIVEN, WHEN and THEN statements.
-
Then Keyword: Then Keyword is used for the final outcome or for validation.
Other than these, there are two more keywords,
-
ButKeyword: This keyword is used to represent negative assertions in addition to the previous statement.
-
Background Keyword: Steps kept under Background would be run before every test case.
Although, Initially Cucumber was created for 'Ruby Language' as a support for RSpec BDD framework for testing, Cucumber-js has evolved to supports a variety of different programming languages such Java, JavaScript, PHP, Net, Python, Perl and etc...
We will create a few tests to see how cucumber works, for this we will first define our scenario and feature before starting to write our code. Let's get started!!
First, let's create our work directory and create our package*.json file: -
mkdir bdd & cd bdd
npm init -y
Now, it's time to install our dependencies
npm i chai @cucumber/cucumber @cucumber/cucumber-expressions cucumber-html-reporter
Let's move towards writing the tests and setting up folder structures for cucumber-js, this is how the folder structure should look like: -
├── Features
│   ├── Support
│   │   ├── steps.js
│   │   ├── world.js
│   ├── simple_math.feature
├── utils
│   ├── report.js
├── cucumber.js
├── node_modules
├── package.json
├── package-lock.json
└── .gitignore
Create a folder structure similar to above before moving forward. Once we have our folder structure ready, let's start with steps.js file: -
const { Given, When, Then } = require("@cucumber/cucumber");
const { expect } = require("chai");

Given("a variable set to {int}", function(number) {
  this.setTo(number);
});

When("I increment the variable by {int}", function(number) {
  this.incrementBy(number);
});

Then("the variable should contain {int}", function(number) {
  expect(this.variable).to.eql(number);
});
In Cucumber-js, “world” is an isolated scope for each scenario. That means all the steps, hooks, etc., for a scenario, is a part of a world and this data can be accessed within the world, anytime. Let's define our world.js file
const { setWorldConstructor } = require("@cucumber/cucumber");

class CustomWorld {
  constructor() {
    this.variable = 0;
  }
  setTo(number) {
    this.variable = number;
  }
  incrementBy(number) {
    this.variable += number;
  }
}
setWorldConstructor(CustomWorld);
Finally, we have both steps and world ready, now it's time to create our .feature file.
Feature: Simple maths
  In order to do maths
  As a developer
  I want to increment variables

  Scenario: easy maths
    Given a variable set to 1
    When I increment the variable by 1
    Then the variable should contain 2

  Scenario Outline: much more complex stuff
    Given a variable set to <var>
    When I increment the variable by <increment>
    Then the variable should contain <result>
    Examples:
      | var | increment | result |
      | 100 |         5 |    105 |
      |  99 |      1234 |   1333 |
      |  12 |         5 |     17 |
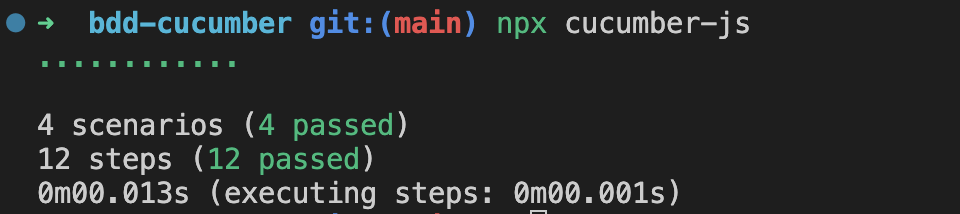
Above, we have defined our feature and in correspondence, created have two different scenarios. Let's run to see if the test pass/fail :
npx cucumber-js
The output we get would be similar to below:

Now to make it more understandable, let's add functionality to create the test-report for each run.
In cucumber.js file, we will add: -
var _default = [
    '--format usage:reports/usage.txt',
    '--format json:reports/cucumber_report.json',
    '--format html:reports/cucumber_report.html'
  ].join(' ')

  module.exports = {
    default: _default,
  }
This will create a json and html report to visualizing and append in the same files, each time we run our tests. Now let's define what all be there in report file.
In report.js , we will add few lines to provide some more idea about test enviroments in form of metadata.
var reporter = require('cucumber-html-reporter');

var options = {
        theme: 'bootstrap',
        jsonFile: 'reports/cucumber_report.json',
        output: 'reports/cucumber_report.html',
        reportSuiteAsScenarios: true,
        scenarioTimestamp: true,
        launchReport: true,
        metadata: {
            "App Version":"0.3.2",
            "Test Environment": "STAGING",
            "Browser": "Edge  54.0.2840.98",
            "Platform": "MacOS",
            "Parallel": "Scenarios",
            "Executed": "Remote"
        }
    };

reporter.generate(options);
Now run your tests once again, and you can see that under reports/ folder there are two files with cucumber_report.* name. Open the HTML to see your test report html file would look something like below: -

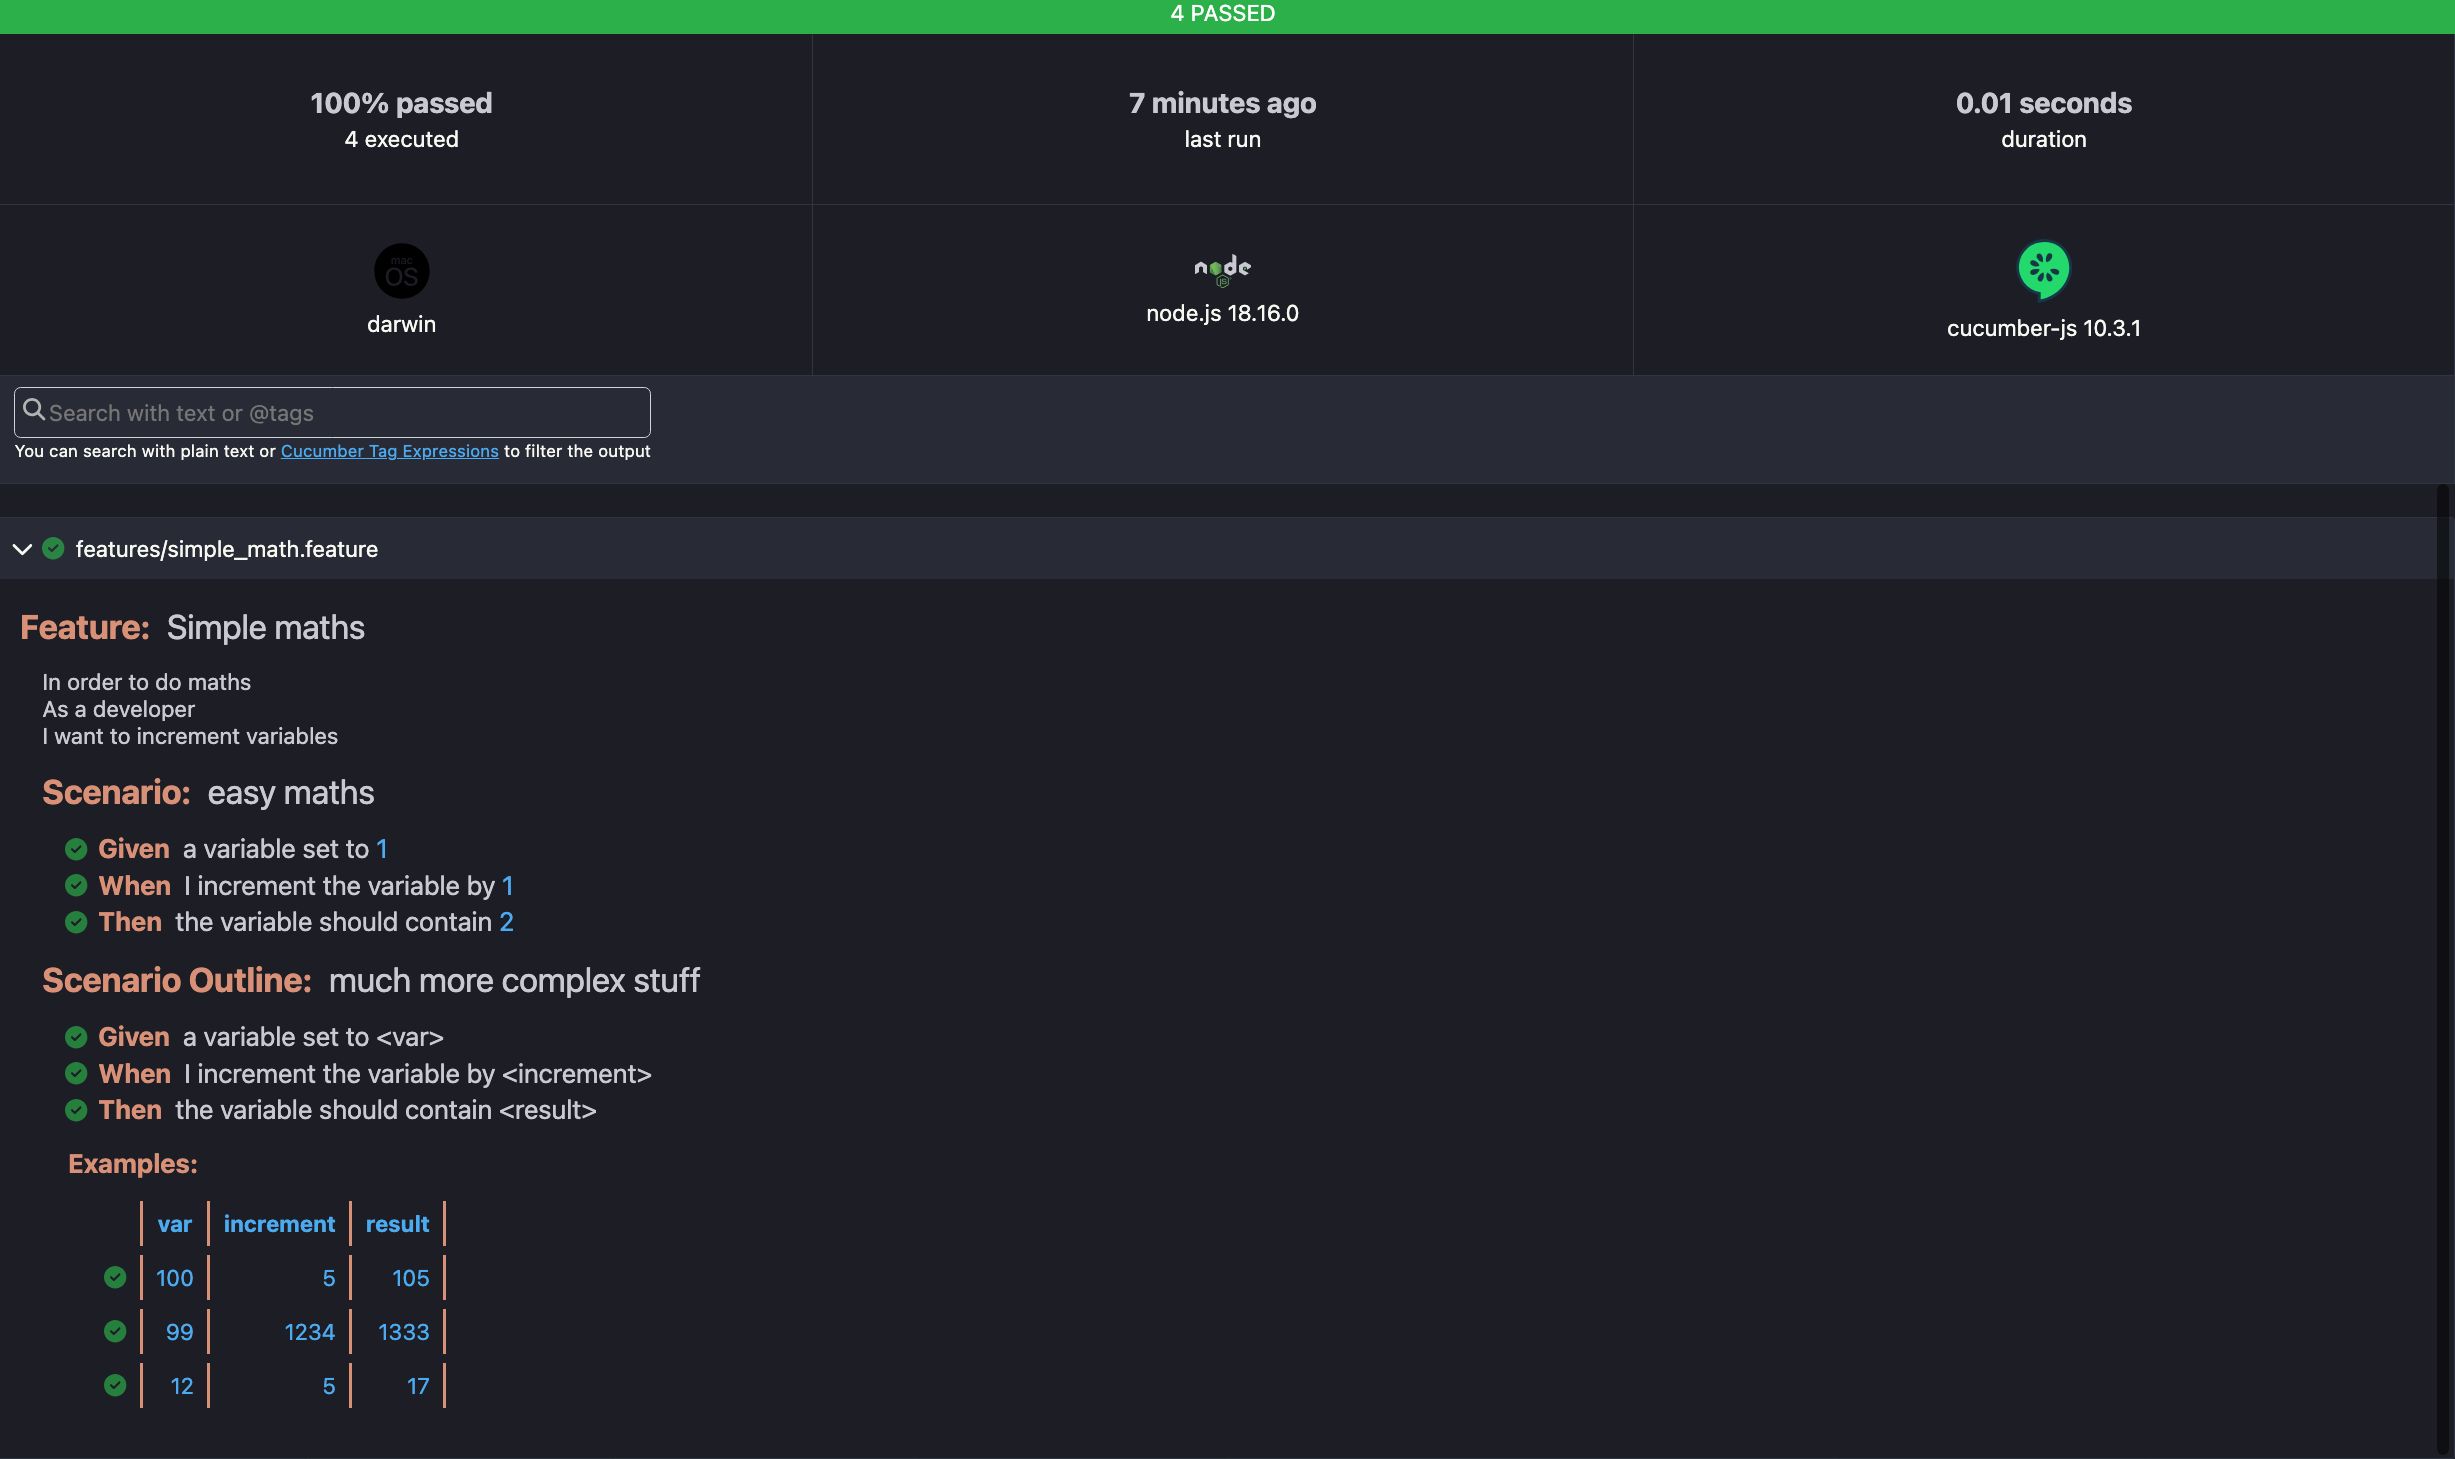
Cucumber-js focuses mainly on making the collaboration between tech people and business people easy. But it doesn’t eliminate the coding part and still has a lot of code involved. When dealing with behavior-driven automation, there are a lot of rules that you have to use as guide, the main thing we have to keep in mind is how to properly use keywords GIVEN, WHEN, and THEN.
The testing industry has gone to the next step now with codeless testing integrated with AI and smart logic. Frameworks like Keploy allow you to create tests without using a single line of code using record and playback testing. But if you need to still use code for some reason, it also allows you to integrate your code into the test project.
The bottom line is that you have 3 options to choose from for testing:
-
Traditional testing.
-
Code testing that’s easy for business people to understand.
-
Codeless, AI-powered testing.
What suits you best depends on your use case. But it’s important to know about all these options to decide what suits you best. So good luck exploring!
Gherkin is a simple, human-readable language used to describe the behavior of software in a structured format. Gherkin files typically contain scenarios written in plain language, outlining how the software should behave under various conditions, making it easier for both technical and non-technical stakeholders to understand and collaborate on software requirements.
BDD (Behavior-Driven Development) testing is an approach where software behavior is described in natural language, focusing on the expected outcomes rather than technical details. It differs from other testing methodologies like TDD (Test-Driven Development) by emphasizing collaboration among developers, testers, and non-technical stakeholders through shared understanding of user requirements expressed as scenarios.
By following these best practices, teams can create BDD scenarios that effectively communicate user requirements, facilitate collaboration, and improve the overall quality of software products: -
-
Use Clear and Descriptive Language
-
Keep Scenarios Single and Independent
-
Use Background and Scenario Outline
-
Write Readable Step Definitions
-
Periodically Review and Refactor Scenarios
There are multiple tools that can help you out in creating the BDD tests similar to Cucumber.js such as: -
-
SpecFlow: SpecFlow is a BDD framework for .NET applications, primarily used with C#.
-
Behave (Python) : It is a Python-based BDD framework that uses Gherkin syntax for writing feature files and step definitions. It integrates well with Python testing libraries like Pytest and provides powerful features for testing Python applications.
-
Karate: Karate is an open-source BDD framework for testing web services and APIs. It uses a syntax similar to Gherkin and allows writing feature files to describe API tests. Karate supports both JSON and YAML formats and provides built-in features for HTTP requests, assertions, and data-driven testing.