| title | published | description | tags |
|---|---|---|---|
How to add a Context Menu to a view in SwiftUI |
false |
This guide is going to explain how to add a Context Menu to a view in SwiftUI. |
SwiftUI, swift |
This guide is going to explain how to add a Context Menu to a view in SwiftUI.
A context menu is a collection of buttons that can trigger an action. Usually, a context menu is triggered by long pressing on an item on screen in iOS/iPadOS or right-clicking in macOS. It can be used for subsequent actions on a button or item.
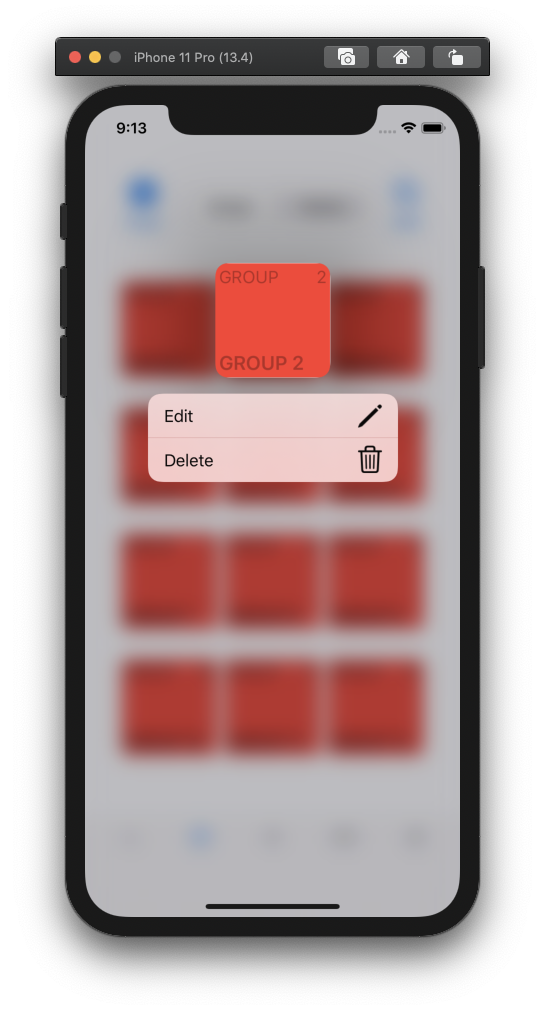
The picture above is an example of a context menu in my iOS app, iHog.
To add a context menu, we are going to be using the contextMenu() modifier and passing it Button()s to display.
Here's a basic SwiftUI view with a Text view that has the font color set to red.
import SwiftUI

struct ContentView: View {

  @State private var fontColor = Color.black
  var body: some View {
    Text("Long press here to show a context menu")
      .foregroundColor(fontColor)
  }
}
I made the font color a variable so that we can change it with the context menu.
To add a context menu to the Text(), add the modifier contextMenu() like below.
struct ContentView: View {

  @State private var fontColor = Color.black

  var body: some View {
    Text("Long press here to show a context menu")
      .foregroundColor(fontColor)
      .contextMenu()
  }
}
This will produce the error Type of expression is ambiguous without more context since there are no buttons inside the ContextMenu. Let's add a button to change the font color.
.contextMenu {
Button(action:{
self.fontColor = Color.blue
}){
Text("Set color to blue")
}
Button(action:{
self.fontColor = Color.red
}){
Text("Set color to red")
}
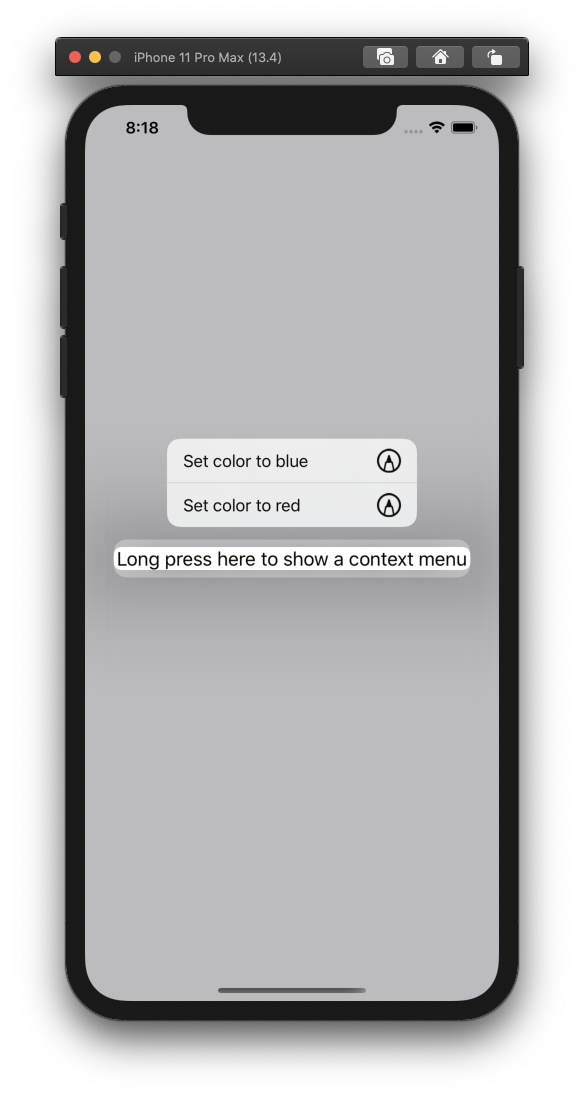
}By adding the two buttons, we now are able to long press on the text and change the color, as you can see in the GIF below.
In the first picture, the menu contains icons. These can be added into the Button() by wrapping an HStack around the Text and the image. Now, let's do that.
.contextMenu {
  Button(action:{
    self.fontColor = Color.blue
  }){
    HStack {
      Image(systemName: "pencil.tip.crop.circle")
      Text("Set color to blue")
    }
  }
  Button(action:{
    self.fontColor = Color.red
  }){
    HStack {
      Image(systemName: "pencil.tip.crop.circle")
      Text("Set color to red")
    }
  }
}
Apple provides icons to use in your apps with SF Symbols.
That's how you make a context menu in SwiftUI! Thanks for reading and if you have any questions, leave a comment!
If you enjoy my posts, streams, and apps, consider encouraging my efforts.

Or
