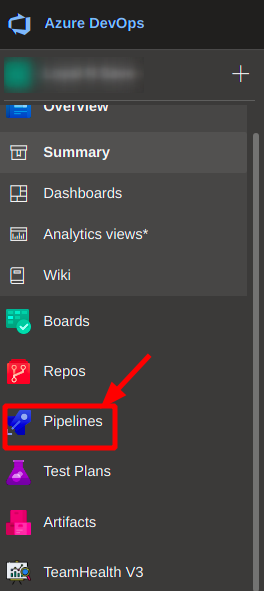
- Existing Azure DevOps Project

-
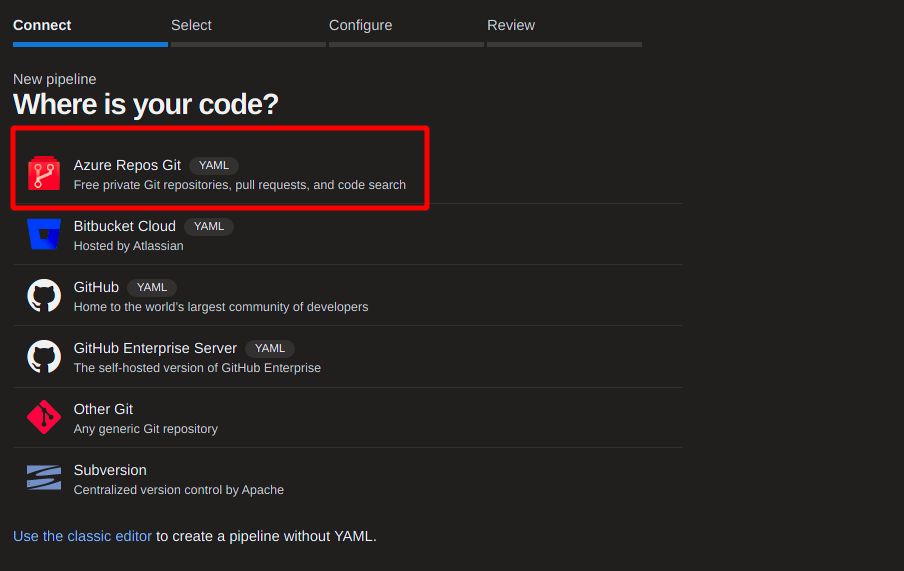
Select the Azure repos git option which will lead to selection of the project repository.
-
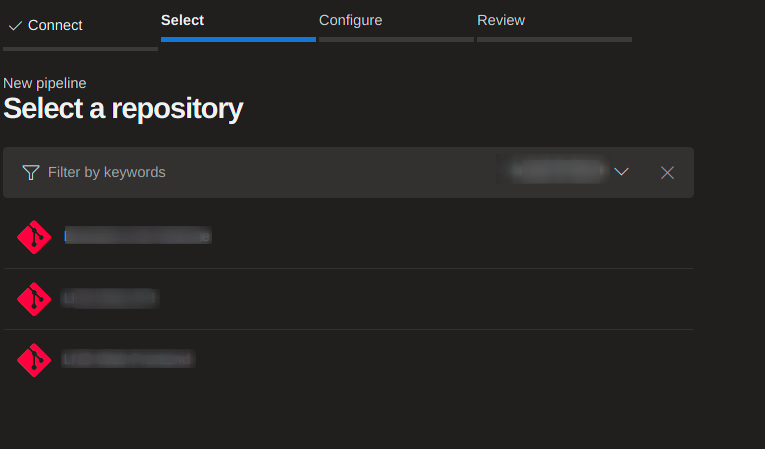
Select the repository
-
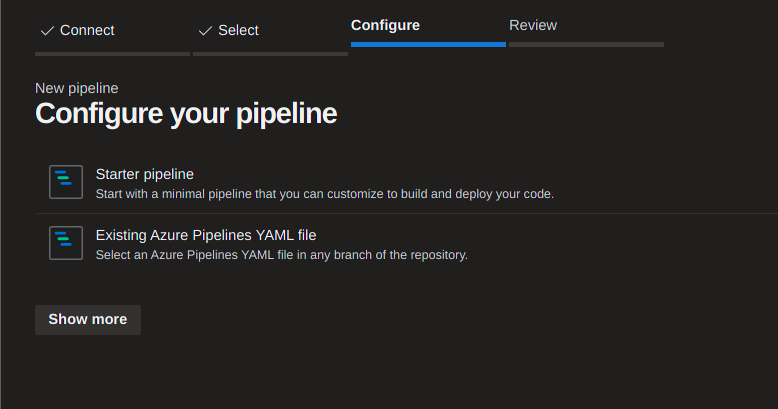
You'll have to choose from the following two options:
-
Starter Pipeline: Which will create azure-pipelines.yml file in your repository with few startup steps
-
Choose existing: Select this one when you have azure-pipelines.yml already configured.
-
✅ I'm using starter pipeline in upcoming configuration for more insights.
-
-
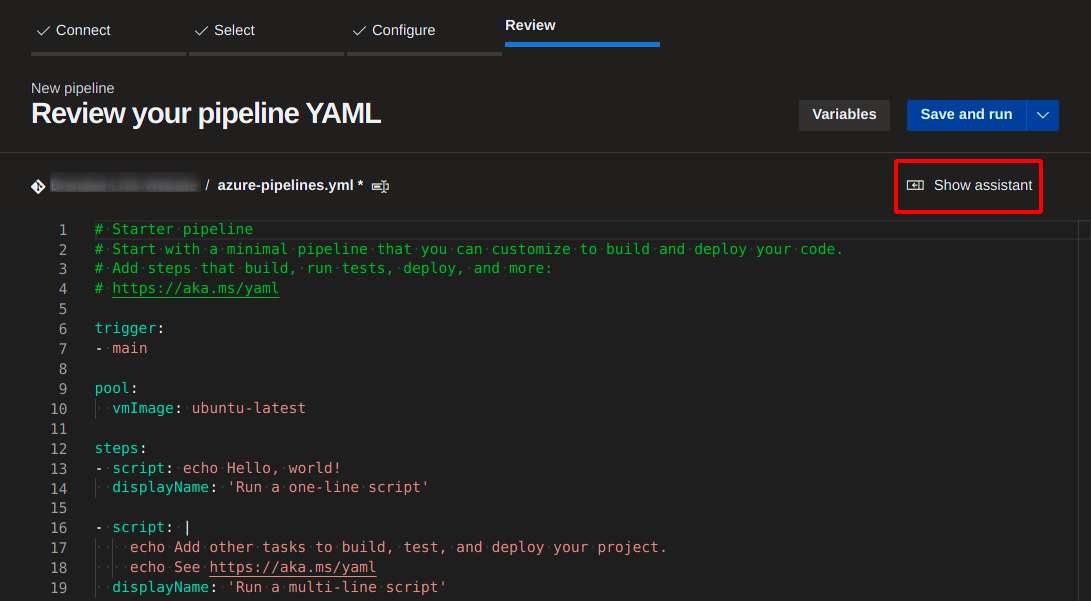
If starter is selected, you'll be given starter yml template for azure pipeline which will look like the following:
- Also note the highlighted area Show assistant, From here you can select various task for your needs. (i.e docker, ECR Pull or Push etc.)
- Also note the highlighted area Show assistant, From here you can select various task for your needs. (i.e docker, ECR Pull or Push etc.)
🏁 At this point CI Pipeline configuration is done. For how to create pipelines as per your needs you may have to look up the examples.
-
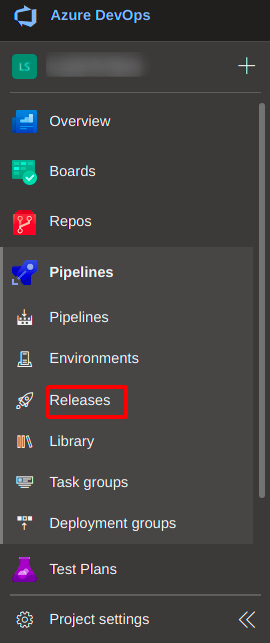
To create CD, Click on the Release as shown in snapshot.
-
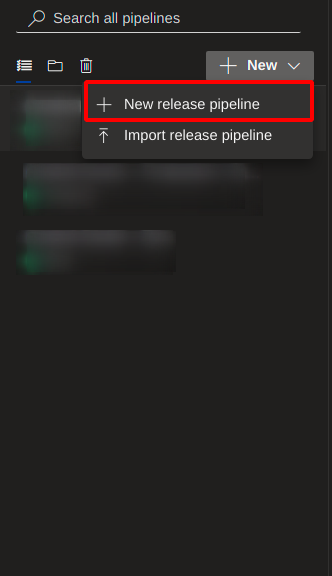
Click on create release pipeline
-
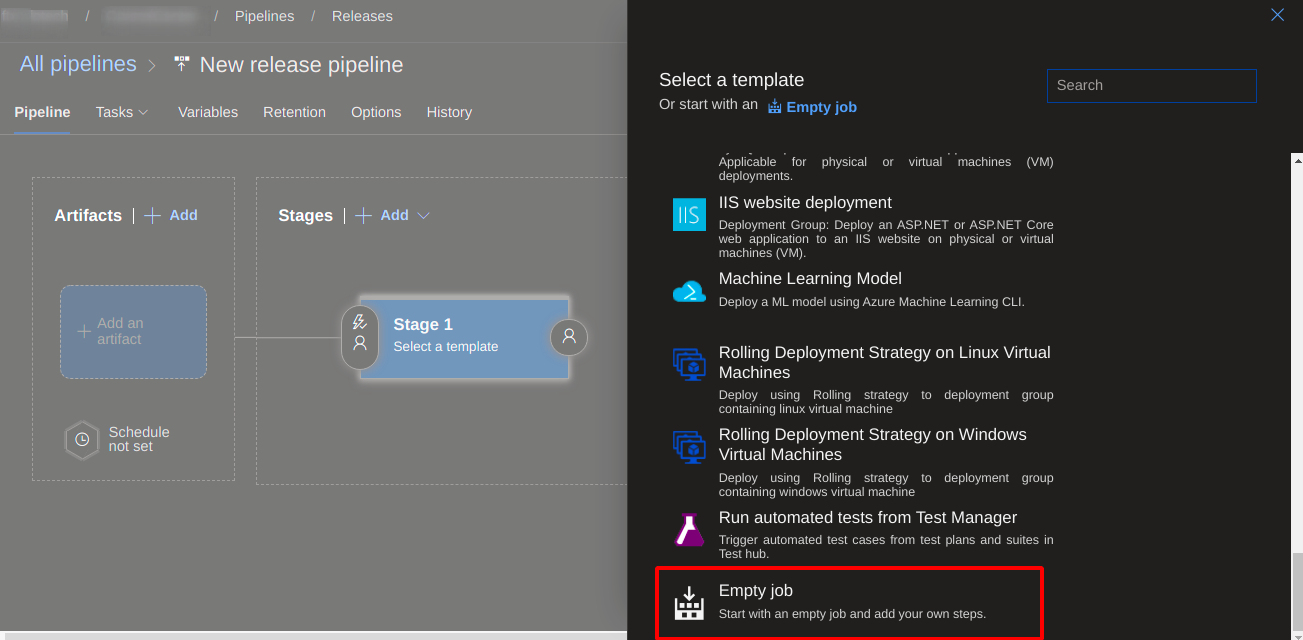
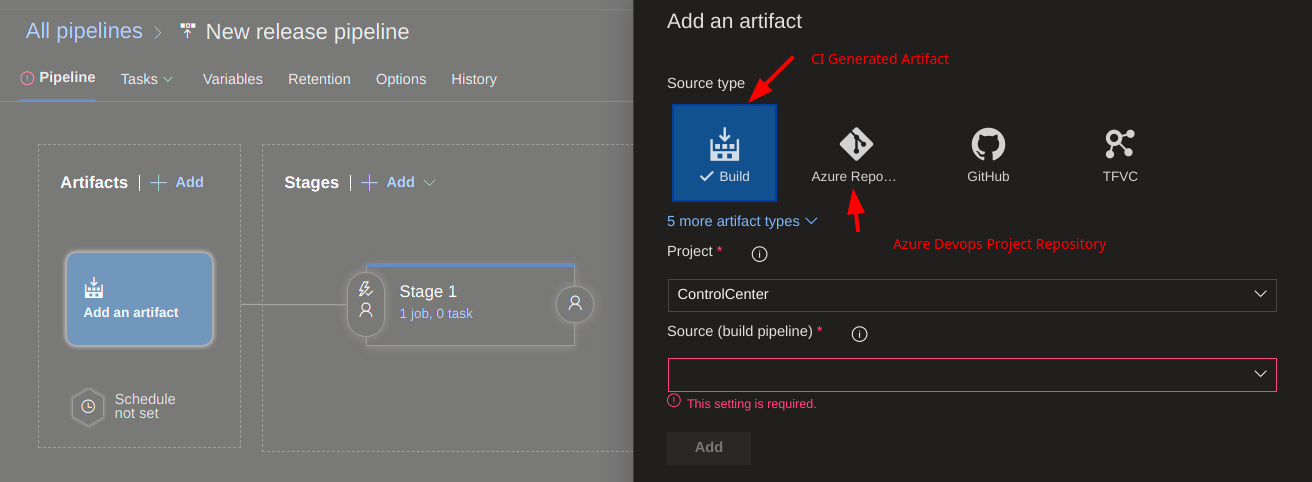
You'll be prompted to select a stage task, select empty job to start from the scratch.
-
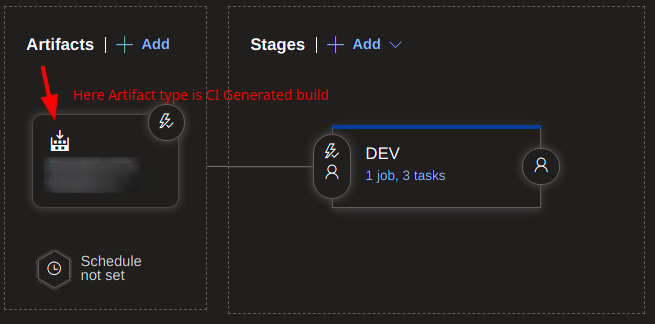
You'll have to choose artifacts to deploy the app through CD. Artifacts are basically are the dependencies those are needed at deployment time, also it can be a repository or drop or Build artifact generated from CI Pipeline.
-
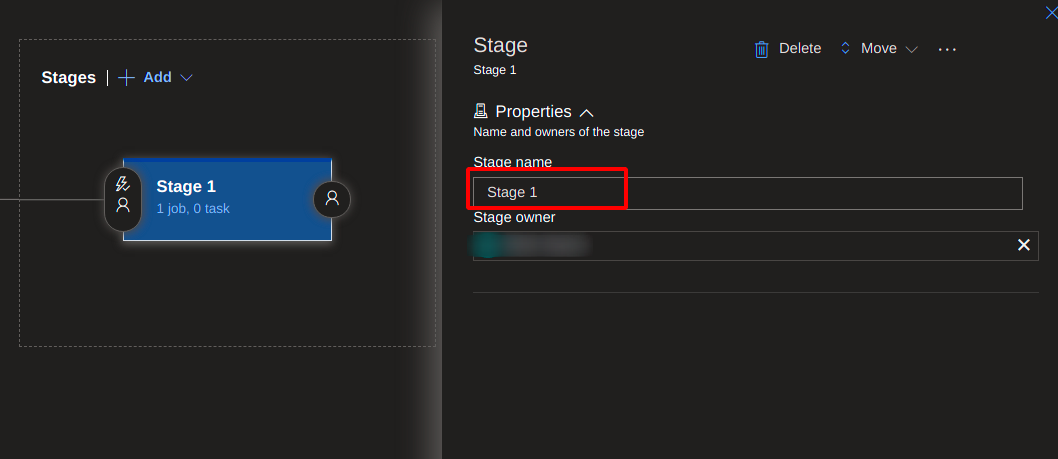
Here you can set your stage name which will be displayed at the release page. (i.e dev, prod, stage etc.)
-
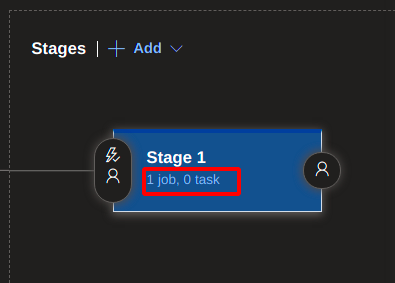
Once the naming is done, you'll have to setup set of tasks in the stage.
-
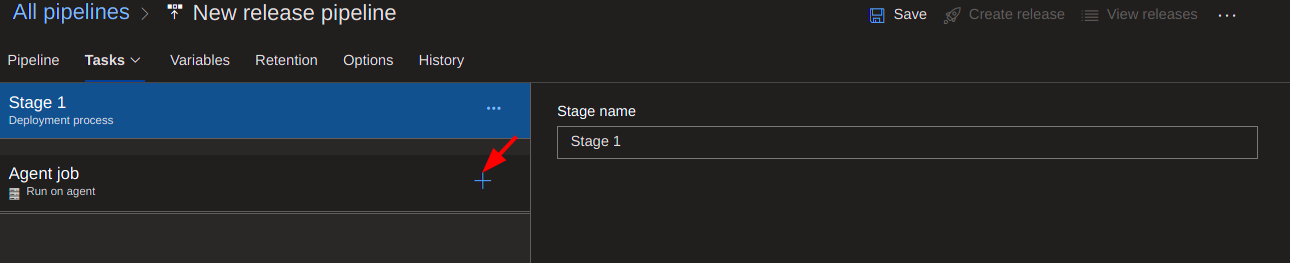
You'll be redirected to the particular stage dashboard. Click on ➕ to add job tasks.
-
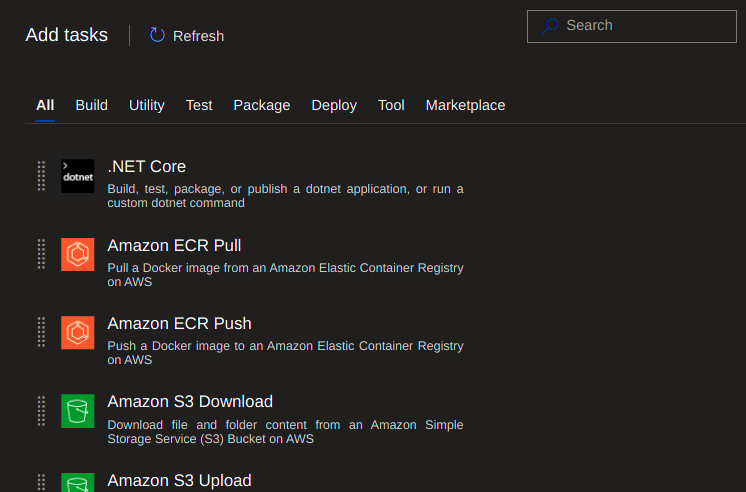
You'll be prompted to select a tasks from the sidebar menu. (i.e helm task, deploy to app service etc.)
-
Select the task as per your need and configure it.
-
Overall Configuration:
-
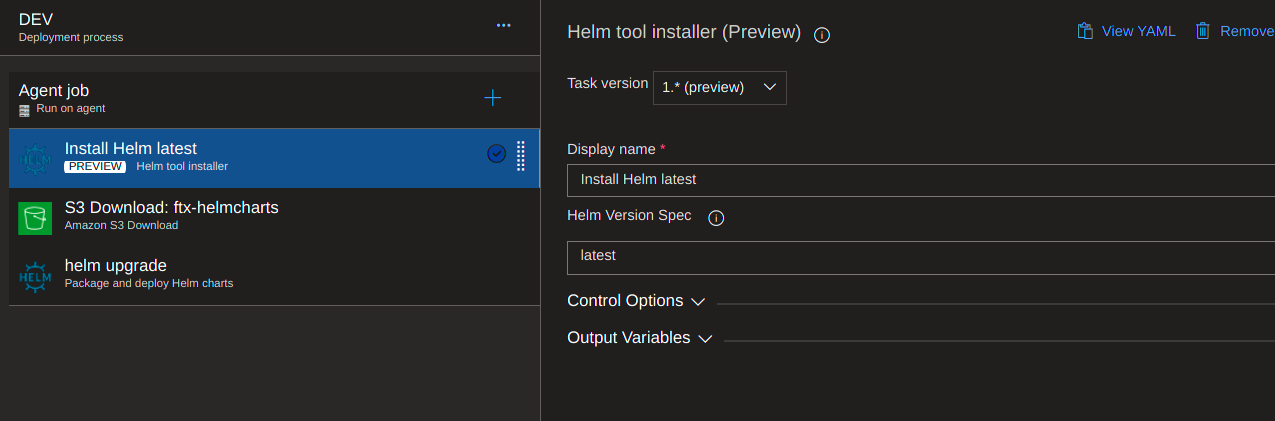
Stage Configuration - Helm install:
-
It'll install Helm tool in the Agent System.
-
-
Stage Configuration - Download Helm chart:
-
It'll download the helm chart which is stored at S3 Storage.

-
-
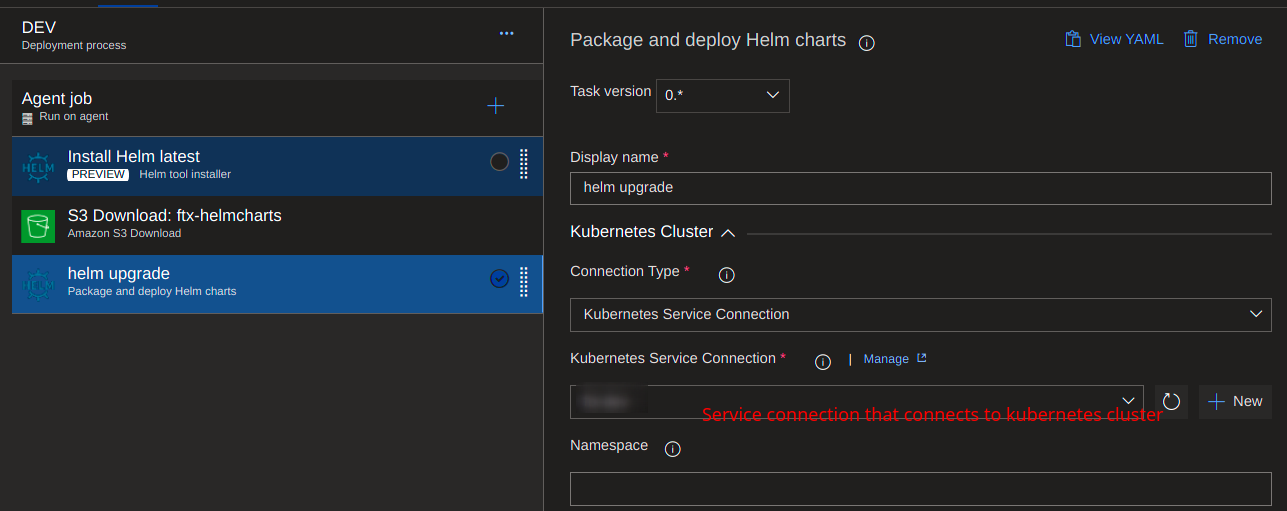
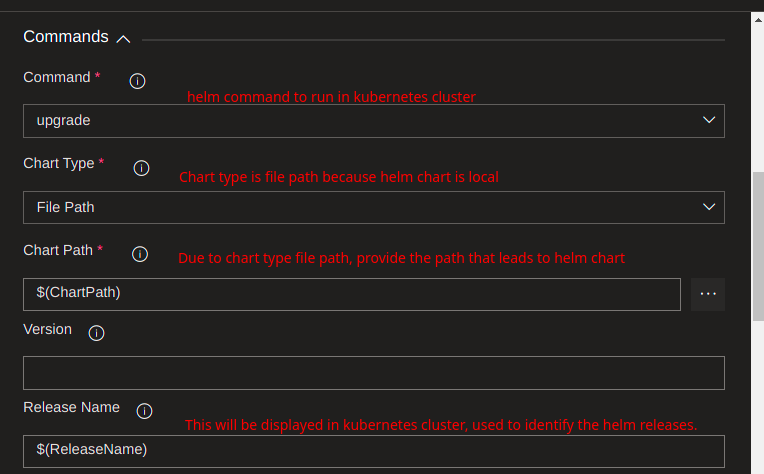
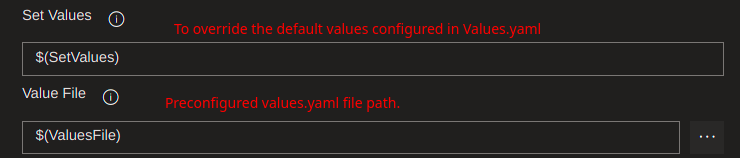
Stage Configuration - Helm Upgrade:
-
It'll start deploying or upgrading the specified helm chart to the Kubernetes cluster
-
More task configurations continues:
-
🏁 At this point CD Pipeline configuration is done. For how to create pipelines as per your needs you may have to look up the examples.
-
Docker build and push to registry
trigger:
batch: true
branches:
  include:
  - ci_cd_bs4goftx # branches.include: mention branch names to add pipeline trigger.
paths:
  exclude:
  - k8s/* # paths.exclude: mention path name to exclude pipeline trigger. It won't trigger if any changes occurred in mentioned path.

pool: cc-prod-k8s-pool # Pool: Which pool to use to run the builds.

variables: # Mention variables to use them in further in the pipeline. To use, just insert variable name in $() syntax.
  solution: '**/*.sln'
  buildPlatform: 'Any CPU'
  buildConfiguration: 'Release'
  repositoryName: 'controlcenter'
  dockerFileName: './Dockerfile'
  buildContext: '$(System.DefaultWorkingDirectory)' # This is pre-defined variable. to see more, visit https://docs.microsoft.com/en-us/azure/devops/pipelines/build/variables?view=azure-devops&tabs=yaml
  imageName: $(repositoryName)
  tagName: $(Build.BuildNumber)

steps:

- task: ECRPullImage@1 # Pulls the image from ECR Repository.
  inputs:
    awsCredentials: 'aws-sc' # Service connection name that connects to an AWS Account.
    regionName: 'us-east-2'
    repository: '$(repositoryName)' # ECR Repository name.
    imageSource: 'imagetag'
    imageTag: 'baseV2' # Image tag filter.

- task: Docker@2 # Builds the docker image from Dockerfile.
  displayName: 'Docker build - bs4'
  inputs:
    repository: '$(repositoryName)-bs4'
    command: 'build'
    Dockerfile: '$(dockerFileName)-bs4' # Dockerfile name.
    buildContext: '$(buildContext)' # Docker context. Generally where the Dockerfile is located.
    tags: '$(tagName)'
    arguments: '--network=host' # has to be given, if you're building an image inside docker in docker configuration.
  condition: eq(variables['Build.SourceBranch'], 'refs/heads/ci_cd_bs4goftx') # Activate this task only if it matches the given condition.

- task: ECRPushImage@1 # Push the built image to ECR.
  displayName: 'Push to ECR - bs4'
  inputs:
    awsCredentials: 'AWS service connection'
    regionName: 'us-east-2'
    imageSource: 'imagename'
    sourceImageName: '$(imageName)-bs4'
    sourceImageTag: '$(tagName)'
    repositoryName: '$(imageName)-bs4'
    pushTag: '$(tagName)'
    autoCreateRepository: true
  condition: eq(variables['Build.SourceBranch'], 'refs/heads/ci_cd_bs4goftx')