Layout Overview
Most layout tasks can be accomplished with stripe, bounds, row, and chunk in Sassquatch2. Each is explained in detail below.

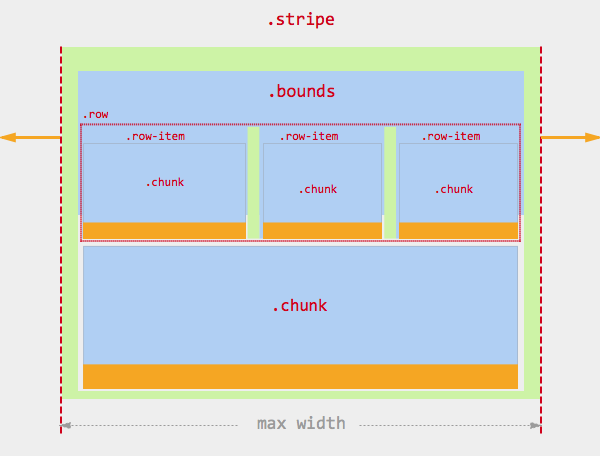
Stripes are full width stripes of color (white by default), without significant padding or margin. The stripe class is usually applied to <section> tags that are direct children of view-body.
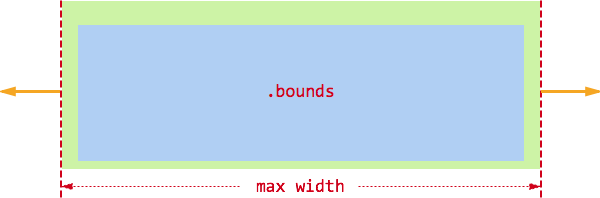
Bounds are used to manage content width, using a combination of auto margins, padding, and a max-width.
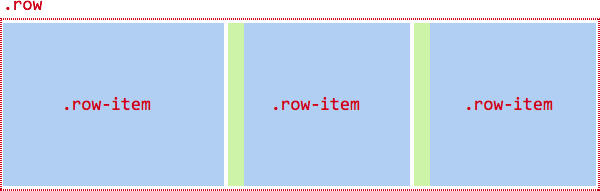
Rows are used to create horizontal layouts using a flexbox abstraction. By default, each row-item grows to fit, and all items have left padding gutters (except the first item). Think of a row of ducks, not a row in a table; the row component is not an arbitrary vertical divider, it's a layout tool for putting elements in a horizontal layout.

A class of chunk adds a margin-bottom to any element, or can be used to group a "chunk" of elements (ie. a heading and a paragraph).
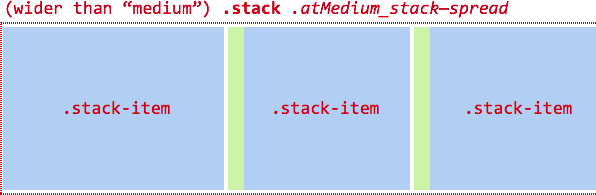
The stack class name has been changed to spreadable
Spreadables provide a way to spread vertically stacked elements into rows at specific breakpoints. By default, all spreadable-item elements in a spreadable flow as if they were normal block elements, taking 100% of the width of their parent container.
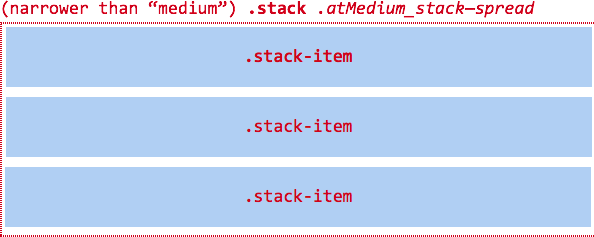
The .atBreakpoint_spreadable--spread modifier will tell the stack when to spread into a row. In this example, the spreadable will spread when the viewport is at or larger than the medium breakpoint.