Adding Custom Step Types and Icons to GUI
Though it is easy to rapidly develop new workflow steps directly from GUI, there is a number of ready-made steps and tasklets in this repository.
You too can create your own predefined step types. The benefit of doing so is as follows:
- In GUI you can than use it when creating a new workflow step and pick from these ready-made step templates
- You can also define a custom icon for such step which then will be used in GUI
Note: During job processing itself step types are mostly ignored, so their main purpose is for step visualization and ease of definition in GUI.
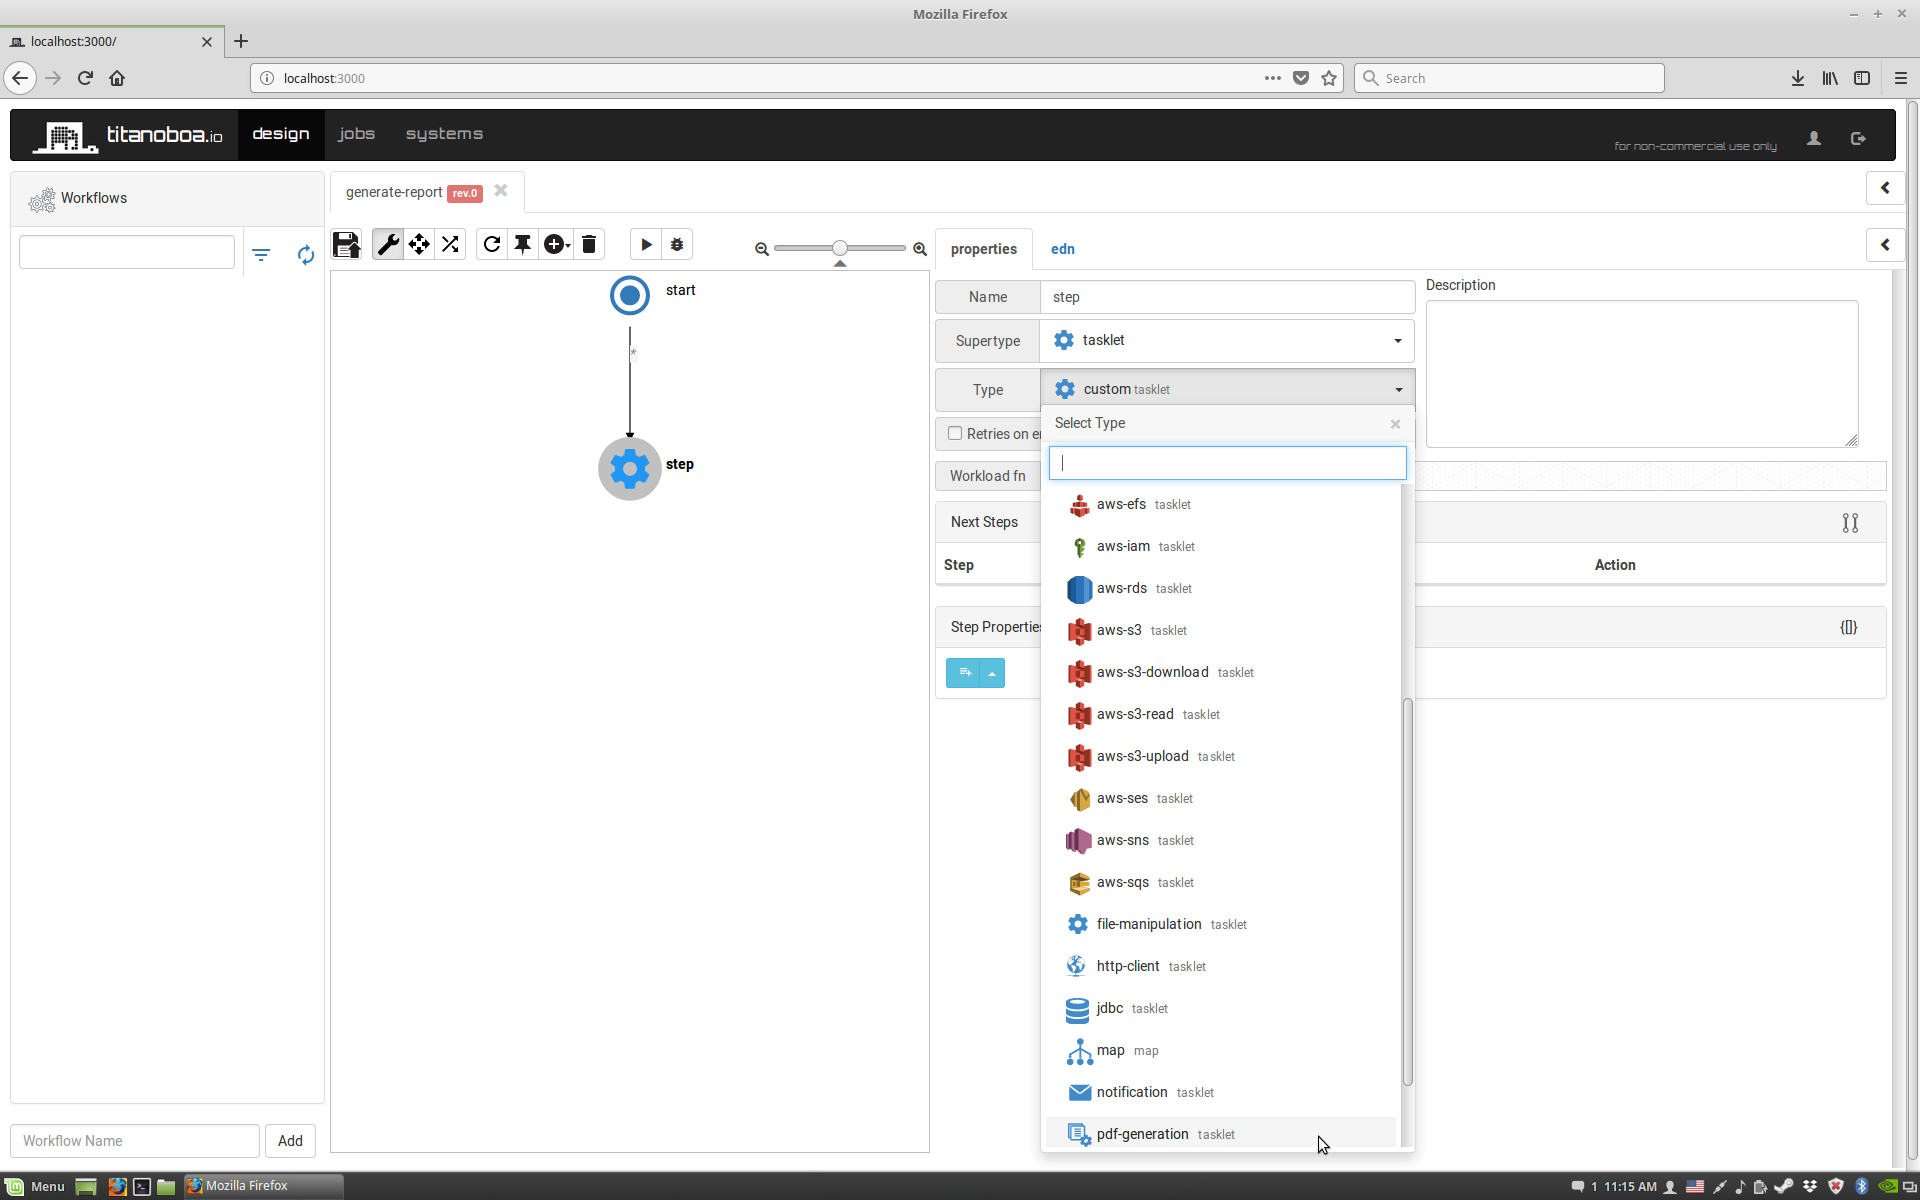
By adding a new step type this step type will appear on the step type drop down list:
The approach to the step types and their predefined templates is immutable: Upon selecting a template, you can pick from the step type's template what you like and merge it to the step you are currently editing:
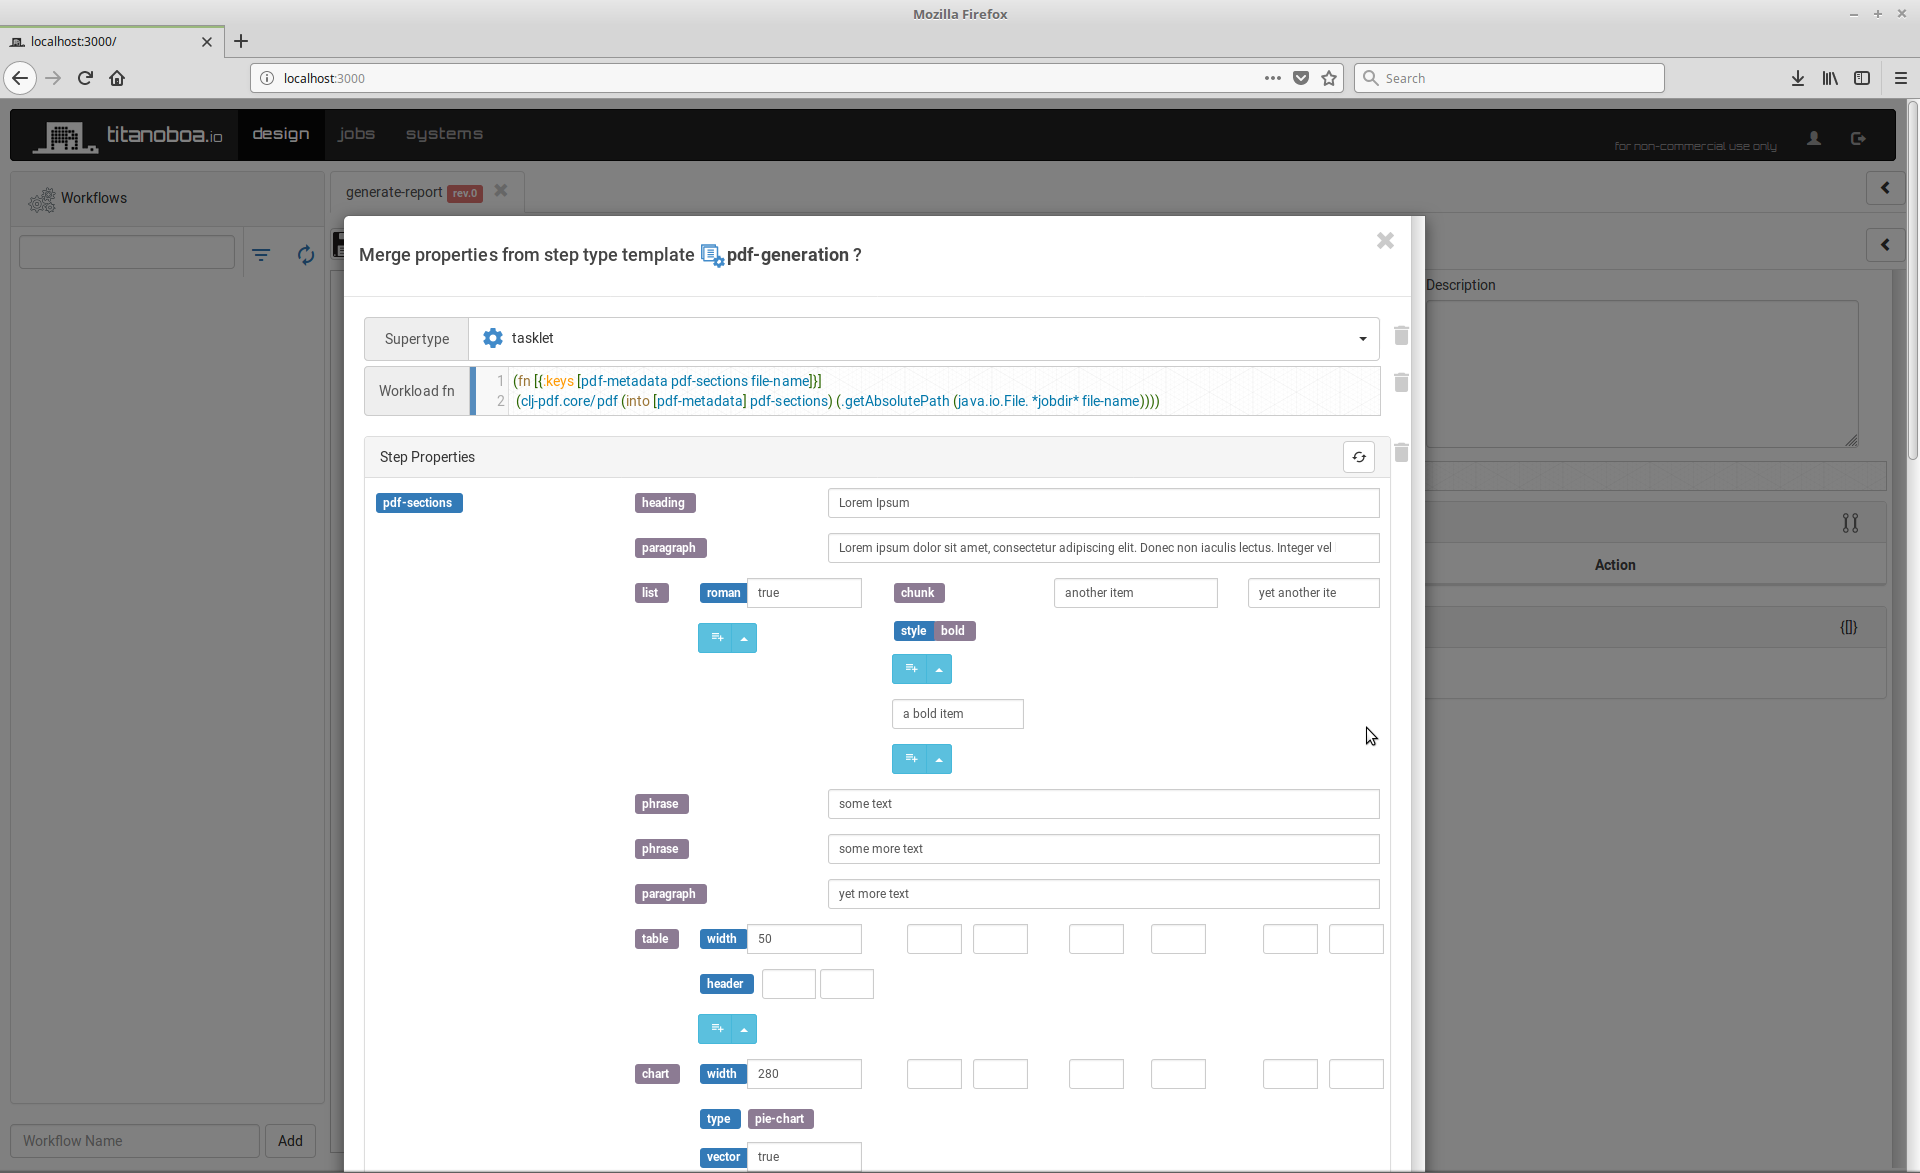
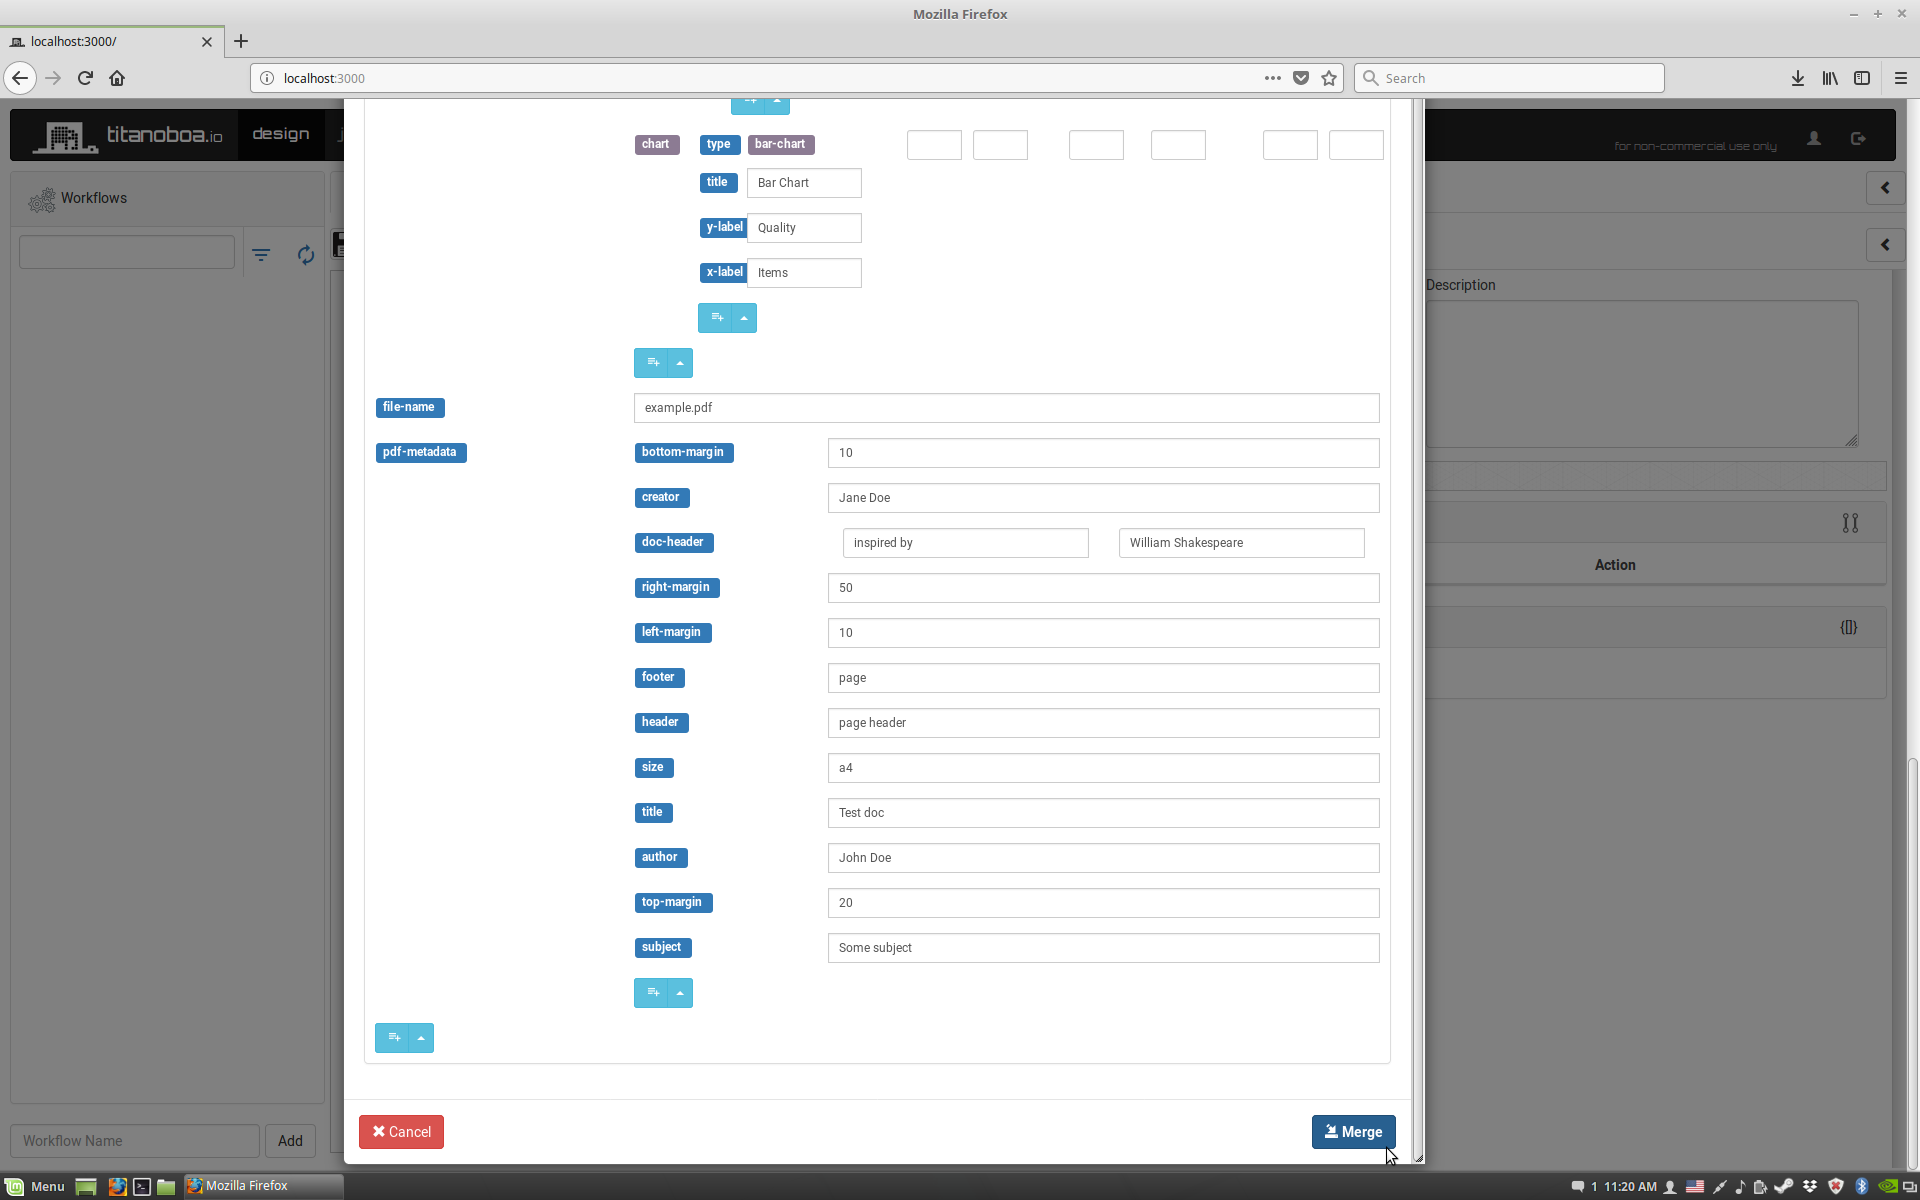
This means you can delete or edit whatever you don't like in the template and keep just what you need before merging it. After merging the step type template into your step you can keep editing the step without actually affecting the step type template. But it also means that any further edits to the step type template will not retroactively update the step you used it for. This is a key concept that needs to be kept in mind. The reasoning I had for this was that usually the workflows themselves are logical units that work end-to-end and are tested as such. Step type templates on the other hand are there just to speed up the implementation process, so I do not treat them as first class citizens in this regard.
Just as the workflows are stored and versioned in a repository, so are the step types. By default they are located under /steps-repo folder in your titanoboa root folder. Otherwise its location can be defined in server configuration file under :steps-repo-path property.
Too add a new step type, simply create a folder with appropriate name and then create an EDN file in it following naming conventions step-type-name.XXX.edn where XXX is a three digit version number.
For use in GUI only the latest one is picked up at this stage (unlike workflows where you can browse the history and open/invoke older revisions).

As with workflow definitions, the structure is simple. It may contain whatever parts of a step definition you need - :properties, :workload-fn or :description. It should however contain :type (matching its file and folder name) and :supertype:
{:type :aws-ec2-list,
 :supertype :tasklet,
 :description "Lists all EC2 instances for all reservations.\nReturns :ec2-instances key with list of instances as a value:\n{:ec2-instances [{instance1 map} {instance2 map} ...]}",
 :properties {:credentials {:access-key "", :secret-key "", :endpoint "eu-central-1"}},
:workload-fn #titanoboa.exp.Expression{:value "io.titanoboa.tasklet.aws.ec2/list-instances", :type "clojure"}}If you wish to add your own custom svg icon to your step, you will have to add it in two places:
- As an svg image under titanoboa's GUI resources
This is inside the titanoboa jar, under the
/publicfolder. This svg icon will be shown on the drop down list when choosing step type as well as under the jobs tab when listing the jobs and their current (or last) step. - As svg image in hiccup syntax in the step type file itself under a
:iconproperty. This will be used in the workflow visualization graph:
{:type :aws-ec2-list,
 :supertype :tasklet,
 :description "Lists all EC2 instances for all reservations.\nReturns :ec2-instances key with list of instances as a value:\n{:ec2-instances [{instance1 map} {instance2 map} ...]}",
 :properties {:credentials {:access-key "", :secret-key "", :endpoint "eu-central-1"}},
 :workload-fn #titanoboa.exp.Expression{:value "io.titanoboa.tasklet.aws.ec2/list-instances", :type "clojure"}
 :icon [:g {:transform "translate (-24,-29) scale (0.7)"}
        [:polygon {:fill "#9d5025" :points "3.4 15.4 0 17.1 0 65.3 3.4 67 17.3 42.5 3.4 15.4"}]
        [:polygon {:fill "#f58536" :points "11.4 65.2 3.4 67 3.4 15.4 11.4 17.2 11.4 65.2"}]
        [:polygon {:fill "#9d5025" :points "7.2 13.5 11.4 11.4 31.4 43.4 11.4 71 7.2 68.9 7.2 13.5"}]
        [:polygon {:fill "#f58536" :points "21.3 68.2 11.4 71 11.4 11.4 21.3 14.2 21.3 68.2"}]
        [:polygon {:fill "#9d5025" :points "16.1 9 21.3 6.4 50.8 46.9 21.3 76 16.1 73.4 16.1 9"}]
        [:polygon {:fill "#f58536" :points "34.1 71.3 21.3 76 21.3 6.4 34.1 11.1 34.1 71.3"}]
        [:polygon {:fill "#9d5025" :points "27.3 3.4 34.1 0 65.9 43.5 34.1 82.4 27.3 79 27.3 3.4"}]
        [:polygon {:fill "#f58536" :points "68.2 65.3 34.1 82.4 34.1 0 68.2 17.1 68.2 65.3"}]]
 :icon-inactive [:g {:transform "translate (-24,-29) scale (0.7)"}
                 [:polygon {:fill "#4e4e4e" :points "3.4 15.4 0 17.1 0 65.3 3.4 67 17.3 42.5 3.4 15.4"}]
                 [:polygon {:fill "#989898" :points "11.4 65.2 3.4 67 3.4 15.4 11.4 17.2 11.4 65.2"}]
                 [:polygon {:fill "#4e4e4e" :points "7.2 13.5 11.4 11.4 31.4 43.4 11.4 71 7.2 68.9 7.2 13.5"}]
                 [:polygon {:fill "#989898" :points "21.3 68.2 11.4 71 11.4 11.4 21.3 14.2 21.3 68.2"}]
                 [:polygon {:fill "#4e4e4e" :points "16.1 9 21.3 6.4 50.8 46.9 21.3 76 16.1 73.4 16.1 9"}]
                 [:polygon {:fill "#989898" :points "34.1 71.3 21.3 76 21.3 6.4 34.1 11.1 34.1 71.3"}]
                 [:polygon {:fill "#4e4e4e" :points "27.3 3.4 34.1 0 65.9 43.5 34.1 82.4 27.3 79 27.3 3.4"}]
                 [:polygon {:fill "#989898" :points "68.2 65.3 34.1 82.4 34.1 0 68.2 17.1 68.2 65.3"}]]}
The :icon-inactive is optional.
to reload your changes simply click the refresh button next to your workflow definitions search button in the GUI.
