【实践】树莓派使用 #142
Comments
内网穿透原理架构本文中,我们使用了frp,frp 是一个专注于内网穿透的高性能的反向代理应用。 todo: 补充流程图。 服务端(云主机) nginx 配置首先将域名(笔者为 frp.muyunyun.cn )解析到服务器 ip。 为了方面后续的调试运行,需放开以下几个服务器端口。
配置 Nginx,转发对 frp.muyunyun.cn 域名请求到 8080 端口。
user www-data;
worker_processes auto;
pid /run/nginx.pid;
include /etc/nginx/modules-enabled/*.conf;
load_module /usr/lib/nginx/modules/ngx_stream_module.so;

stream {
	map $ssl_preread_server_name $backend_name {
		frp.muyunyun.cn        frp_muyunyun_cn;
		default web;
	}

	upstream frp_muyunyun_cn {
		server 127.0.0.1:8080;
	}

	upstream web {
		server 127.0.0.1:80;
	}
}

events {
	worker_connections 768;
	# multi_accept on;
}

http {
	##
	# Basic Settings
	##

	sendfile on;
	tcp_nopush on;
	tcp_nodelay on;
	keepalive_timeout 65;
	types_hash_max_size 2048;
	# server_tokens off;

	# server_names_hash_bucket_size 64;
	# server_name_in_redirect off;

	include /etc/nginx/mime.types;
	default_type application/octet-stream;

	##
	# SSL Settings
	##

	ssl_protocols TLSv1 TLSv1.1 TLSv1.2 TLSv1.3; # Dropping SSLv3, ref: POODLE
	ssl_prefer_server_ciphers on;

	##
	# Logging Settings
	##

	access_log /var/log/nginx/access.log;
	error_log /var/log/nginx/error.log;

	##
	# Gzip Settings
	##

	gzip on;

	# gzip_vary on;
	# gzip_proxied any;
	# gzip_comp_level 6;
	# gzip_buffers 16 8k;
	# gzip_http_version 1.1;
	# gzip_types text/plain text/css application/json application/javascript text/xml application/xml application/xml+rss text/javascript;

	##
	# Virtual Host Configs
	##

	include /etc/nginx/conf.d/*.conf;
	include /etc/nginx/sites-enabled/*;
}
服务端(云主机) nginx 添加 http 服务
以配置域名 frp.muyunyun.cn 为例,新建配置文件 touch /etc/nginx/conf.d/frp.muyunyun.cn.conf在
新建 mkdir -p /usr/share/nginx/html/frp.muyunyun.cn
touch /usr/share/nginx/html/frp.muyunyun.cn/index.html在 <!DOCTYPE html>
<html lang="en">
<head>
<meta charset="UTF-8">
<meta http-equiv="X-UA-Compatible" content="IE=edge">
<meta name="viewport" content="width=device-width, initial-scale=1.0">
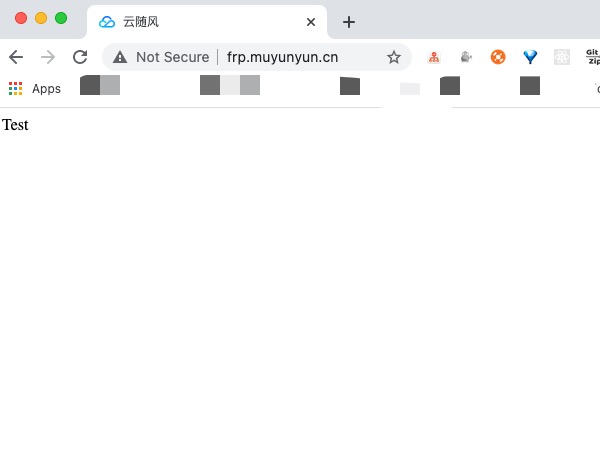
<title>云随风</title>
</head>
<body>Test</body>
</html>控制台输入 此时在浏览器访问 http://frp.muyunyun.cn:90 可以看到目标内容: frp服务端(云主机)配置在云主机端执行如下命令: cd /opt/
sudo wget https://github.com/fatedier/frp/releases/download/v0.37.0/frp_0.37.0_linux_386.tar.gz
sudo tar zxvf frp_0.37.0_linux_386.tar.gz进入 备份服务端 frps 的配置文件 frps.ini sudo cp frps.ini frps.ini_backup修改服务端配置文件 frps.ini,增加一行 [common]
bind_port = 7000
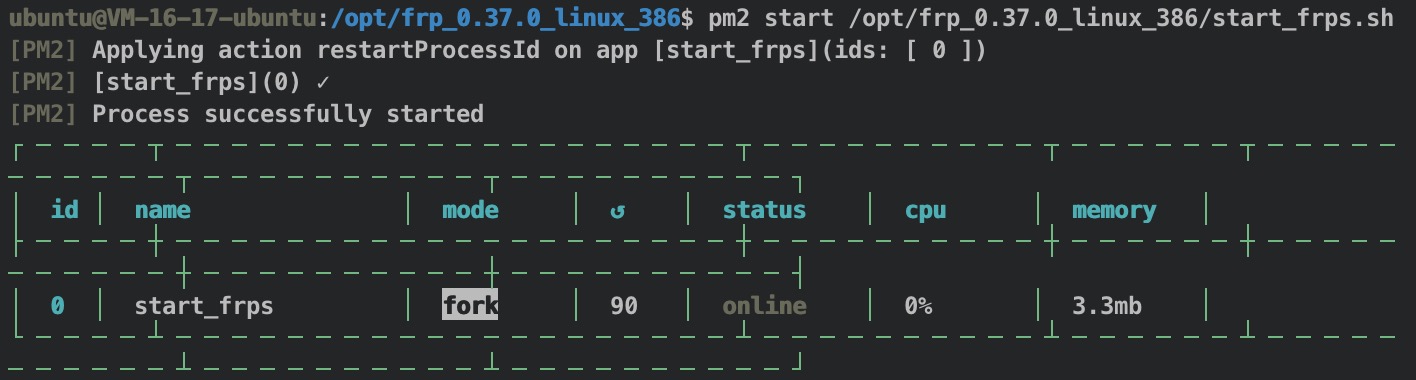
+ vhost_http_port = 8080以上配置含义为: 服务端 frps 程序运行在 7000 端口,并将指向 8080 端口的请求转发到客户端。 运行如下命令,开启 frp 的服务端程序 ./frps -c frps.ini进一步地使用 pm2 运行 frps安装 node 环境 全局安装 pm2 npm i pm2 -g使用 pm2 守护运行 frps 服务 sudo echo "/opt/frp_0.37.0_linux_386/frps -c /opt/frp_0.37.0_linux_386/frps.ini" > /opt/frp_0.37.0_linux_386/start_frpc.sh
pm2 start /opt/frp_0.37.0_linux_386/start_frps.sh
pm2 save客户端(树莓派)配置在树莓派内执行以下命令,下载 frp,并解压。 cd /opt/
sudo wget https://github.com/fatedier/frp/releases/download/v0.37.0/frp_0.37.0_linux_arm64.tar.gz
sudo tar zxvf frp_0.37.0_linux_arm64.tar.gz进入 备份客户端 frpc 的配置文件 frpc.ini sudo cp frpc.ini frpc.ini_backupfrpc.ini 文件备份如下: [common]
server_addr = 127.0.0.1
server_port = 7000
[ssh]
type = tcp
local_ip = 127.0.0.1
local_port = 22
remiote_port = 6000编辑 frpc.ini: sudo vim frpc.ini[common]
server_addr = 81.69.252.246
server_port = 7000
[web]
type = http
local_port = 8080
custom_domains = frp.muyunyun.cn启动客户端 ./frpc -c frpc.ini接着从公网访问 frp.muyunyun.cn:90,验证内网穿透是否成功。 可以看到来自公网的请求在树莓派的 frp 客户端已经有了反应,接着我们在树莓派搭建一个简单服务。 安装 Node.js使用 ARMv8 版本的稳定版 Node.js。 cd /opt/
sudo wget https://nodejs.org/dist/v14.18.0/node-v14.18.0-linux-arm64.tar.xz
sudo tar xvf node-v14.18.0-linux-arm64.tar.xz将 Node.js 添加到系统变量 sudo echo "export NODE_HOME=/opt/node-v14.18.0-linux-arm64" >> ~/.bashrc
sudo echo "export PATH=\$NODE_HOME/bin:\$PATH" >> ~/.bashrc
source ~/.bashrc此时在树莓派中输入 node -v,可以看到对应版本如下: ubuntu@ubuntu:~$ node -v
v14.18.0
ubuntu@ubuntu:~$ npm -v
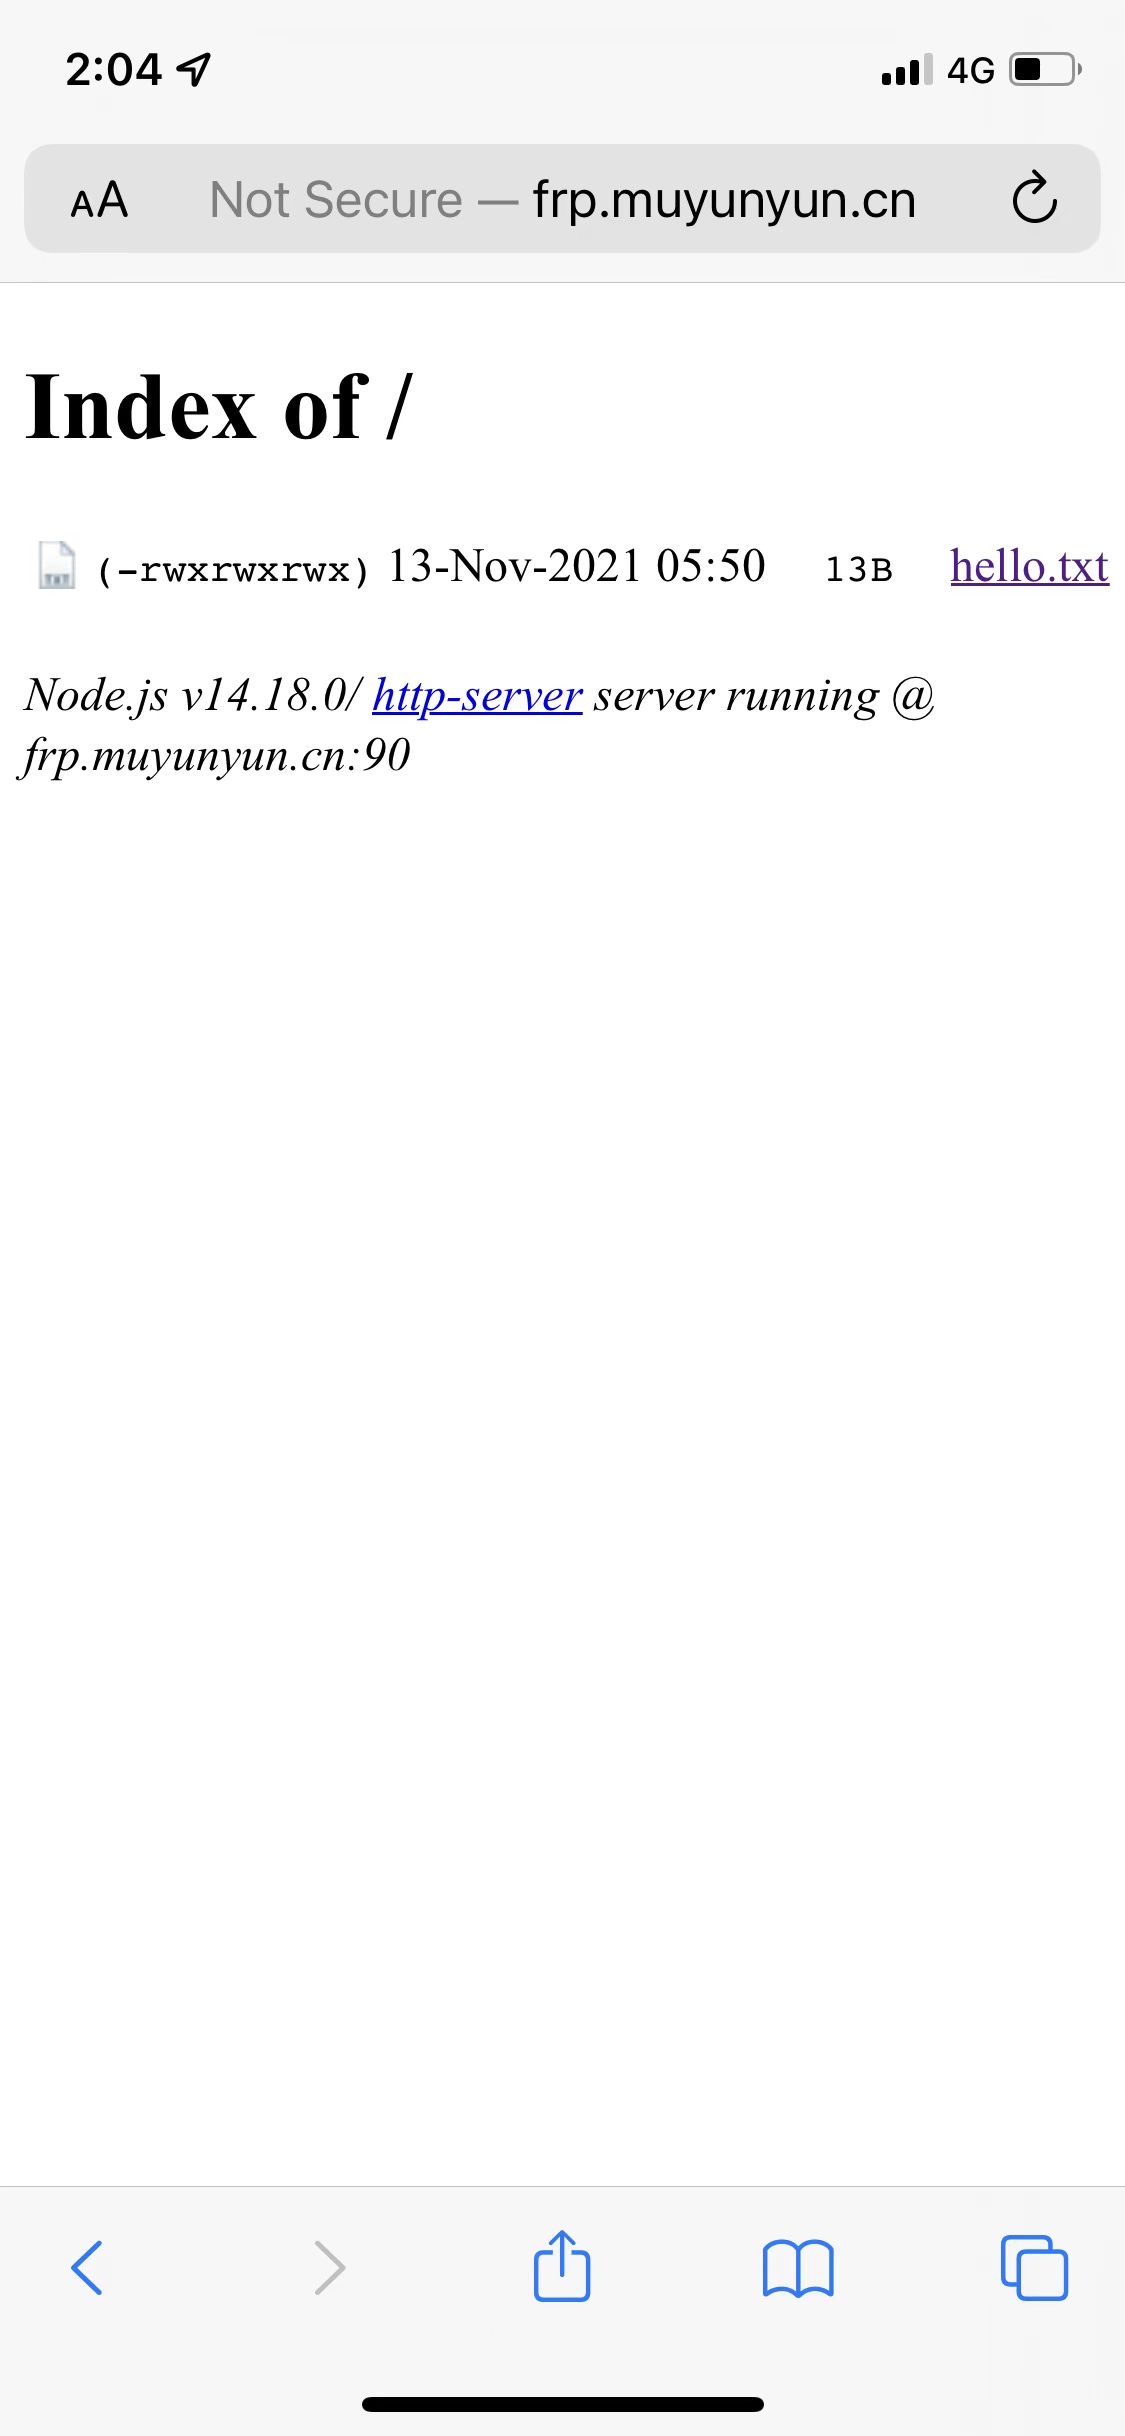
6.14.15接着安装 http-server 服务 npm install http-server -g在 /opt 文件夹 新建 frp.muyunyun.cn 文件夹, 并创建 hello.txt 文件。 sudo mkdir /opt/frp.muyunyun.cn
sudo chmod 777 -R /opt/frp.muyunyun.cn
sudo touch /opt/frp.muyunyun.cn/hello.txt
sudo chmod 777 -R /opt/frp.muyunyun.cn/hello.txt
sudo echo "Hello World!" > /opt/frp.muyunyun.cn/hello.txt安装 pm2 npm install pm2 -g使用 pm2 守护运行 http-server 服务 cd /opt/frp_0.37.0_linux_arm64
sudo touch start_http_server.sh
sudo chmod 777 start_http_server.sh
sudo echo "http-server /opt/frp.muyunyun.cn -p 8080" > start_http_server.sh
pm2 start /opt/frp_0.37.0_linux_arm64/start_http_server.sh
pm2 save使用 pm2 守护运行 frpc 服务 sudo touch /opt/frp_0.37.0_linux_arm64/start_frpc.sh
sudo chmod 777 /opt/frp_0.37.0_linux_arm64/start_frpc.sh
sudo echo "/opt/frp_0.37.0_linux_arm64/frpc -c /opt/frp_0.37.0_linux_arm64/frpc.ini" > /opt/frp_0.37.0_linux_arm64/start_frpc.sh
cd /opt/frp_0.37.0_linux_arm64/
pm2 start /opt/frp_0.37.0_linux_arm64/start_frpc.sh
pm2 save可以使用 在公网访问 frp.muyunyun.cn:90。💐💐💐至此有了外网可以访问的家庭服务器。 添加 SSH 服务[ssh]
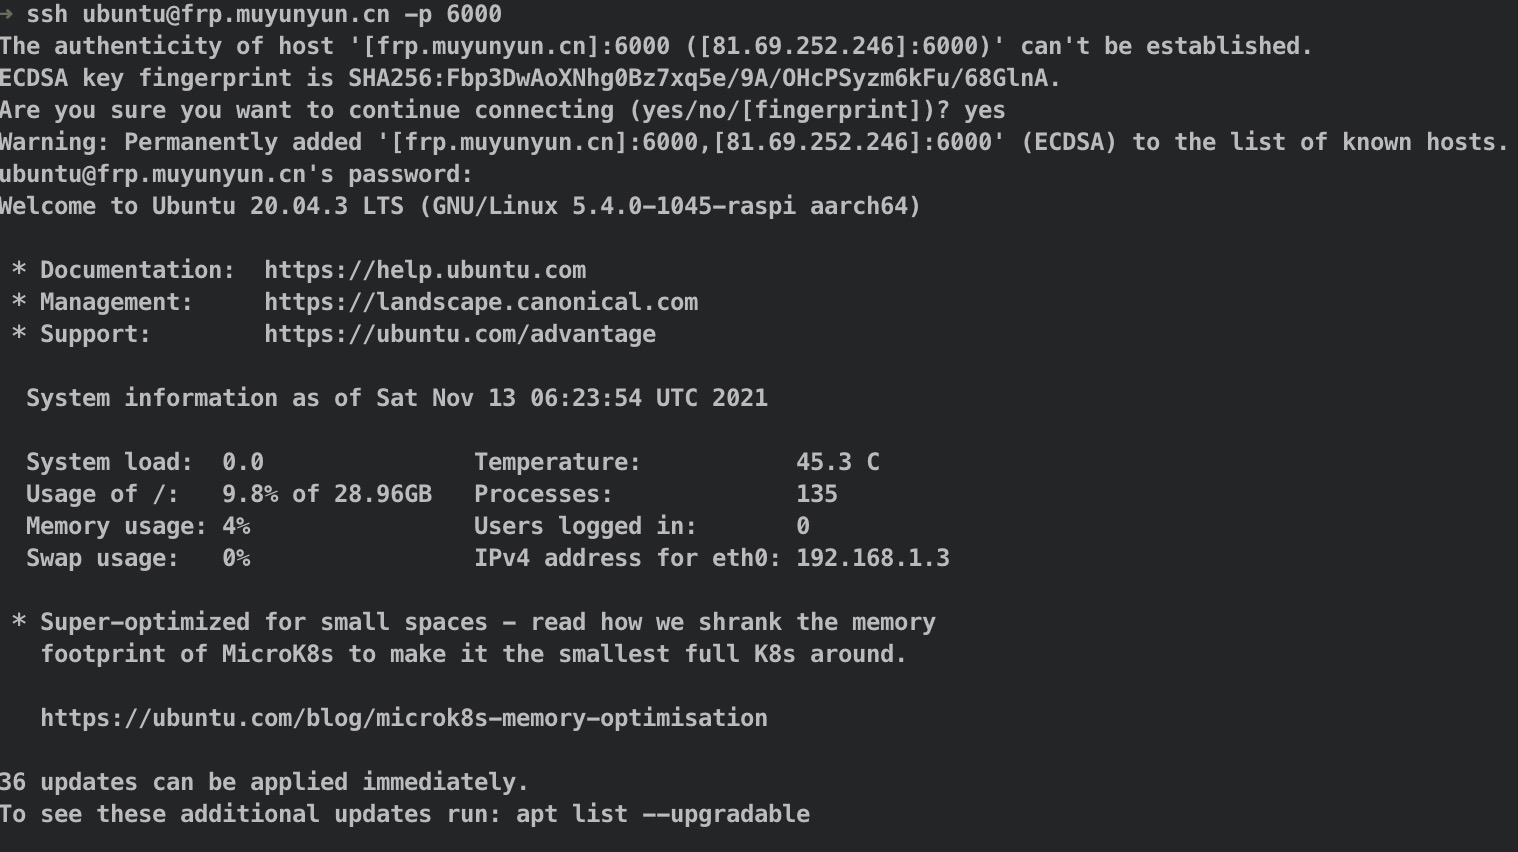
type = tcp
local_ip = 127.0.0.1
local_port = 22
remote_port = 6000如上配置是指将树莓派的默认 ssh 的 22 号端口映射到 frp.muyunyun.cn 的 6000 端口。 重启 frpc 服务: cd /opt/frp_0.37.0_linux_arm64
pm2 restart start_frpc.sh通过公网 frp.muyunyun.cn 的 6000 端口进行 ssh 登录。 ssh ubuntu@frp.muyunyun.cn -p 6000 |


|
This issue has been automatically marked as stale because it has not had recent activity. It will be closed if no further activity occurs. Thank you for your contributions. |
树莓派可以做什么
对于开源极客爱好者,可以把树莓派改造成,家庭影院、服务器、无线路由器、BT 下载服务器、FTP 服务器、智能小车、AI 人工智能、智能家居、3D 打印等等。
树莓派操作系统
树莓派主板是没有自带系统的,就相当于一个 PC 电脑主板,系统需要自己安装在内存卡里,插上卡才能启动系统。
树莓派官方有自己系统提供: Raspbian 基于 Debian 生态环境优化的,更适合在树莓派上。更多的系统支持的有:
前置准备
如何查找 IP 地址
笔者最后实验成功且较为方便的方式如下:
使用 SSH 登录树莓派
在查找到路由器分配给树莓派的 IP 地址后,我们可以在 Mac 上使用 SSH 命令登入树莓派服务器:
树莓派 ubuntu 系统
首次登入需要修改密码。
The text was updated successfully, but these errors were encountered: