This is a sample project to showcase the Openfort integration with Google reCAPTCHA V3, a system to help you protect your sites from fraudulent activities, spam, and abuse. In this sample, we will activate reCAPTCHA verification every time the user tries to perform a key action like authenticating or minting an NFT.
The sample includes:
-
Some Cloud Code JS scripts to interact with the Openfort API from UGS BaaS.
-
A Unity sample game that connects to
ugs-backendthrough Cloud Code Client SDK. It uses Openfort Unity SDK to have full compatibility withugs-backendresponses.

-
Get started with Openfort
-
Get started with UGS
-
Get started with GitHub Pages
-
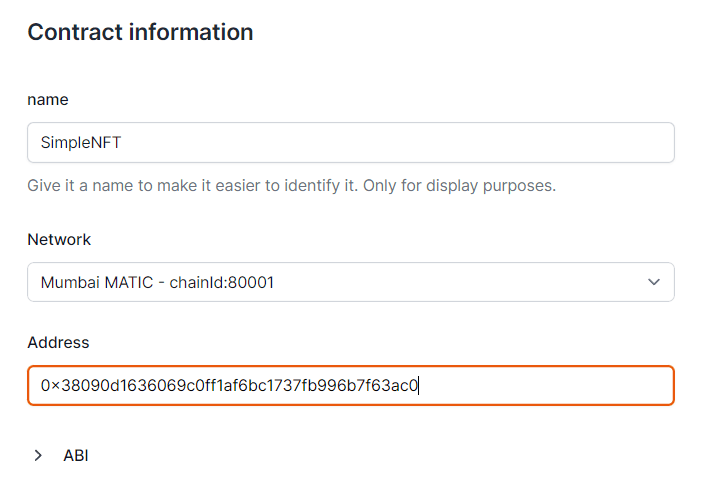
This sample requires an NFT contract to run. We use 0x38090d1636069c0ff1Af6bc1737Fb996B7f63AC0 (NFT contract deployed in 80001 Mumbai). You can use it for this tutorial:
-
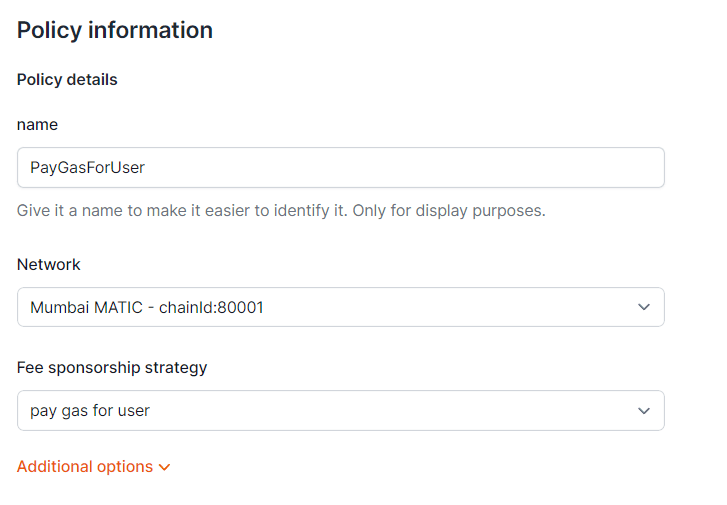
We aim to cover gas fees for users. Set a new gas policy:
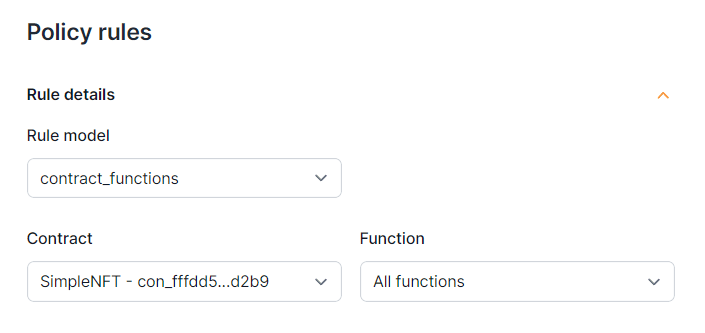
Now, add a rule so our contract uses this policy:
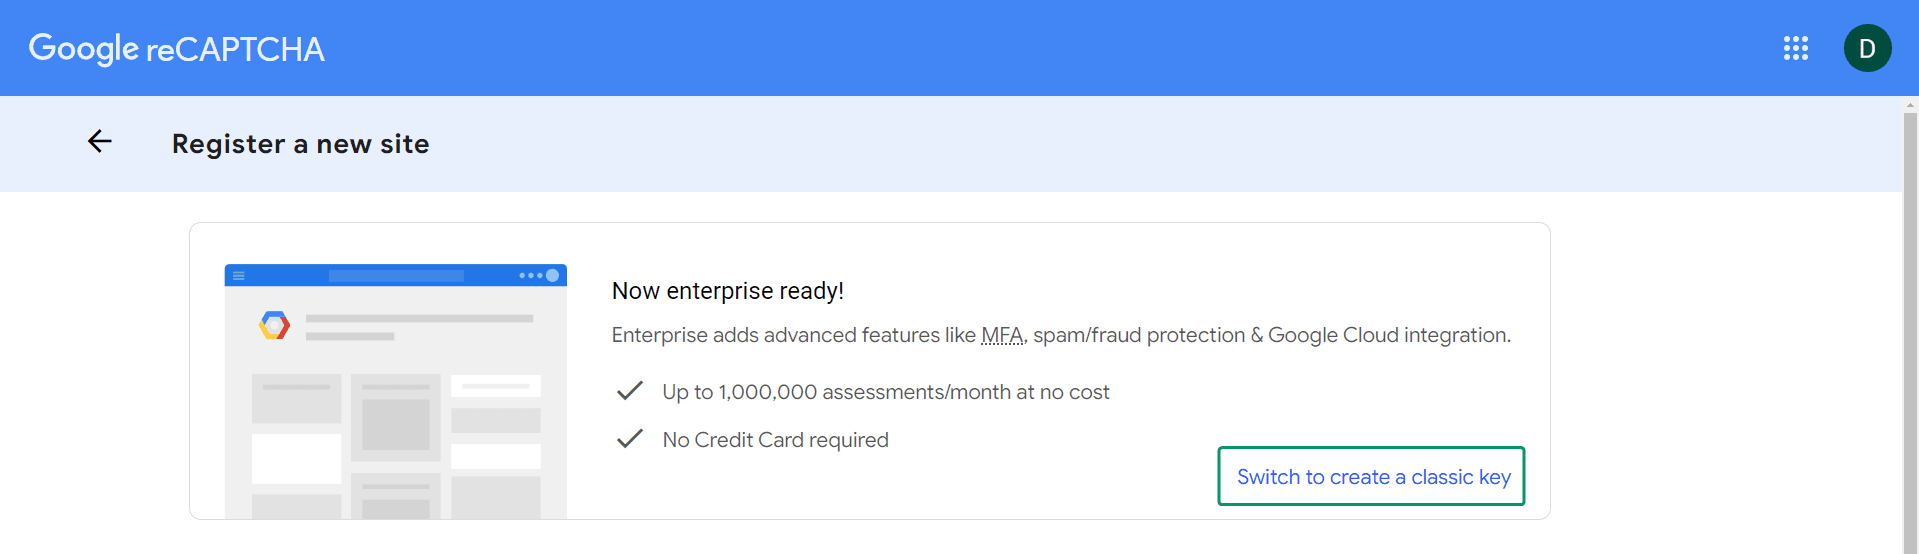
Go to reCAPTCHA v3 Admin Console to register a new site. Choose Switch to create a classic key if the option is available:
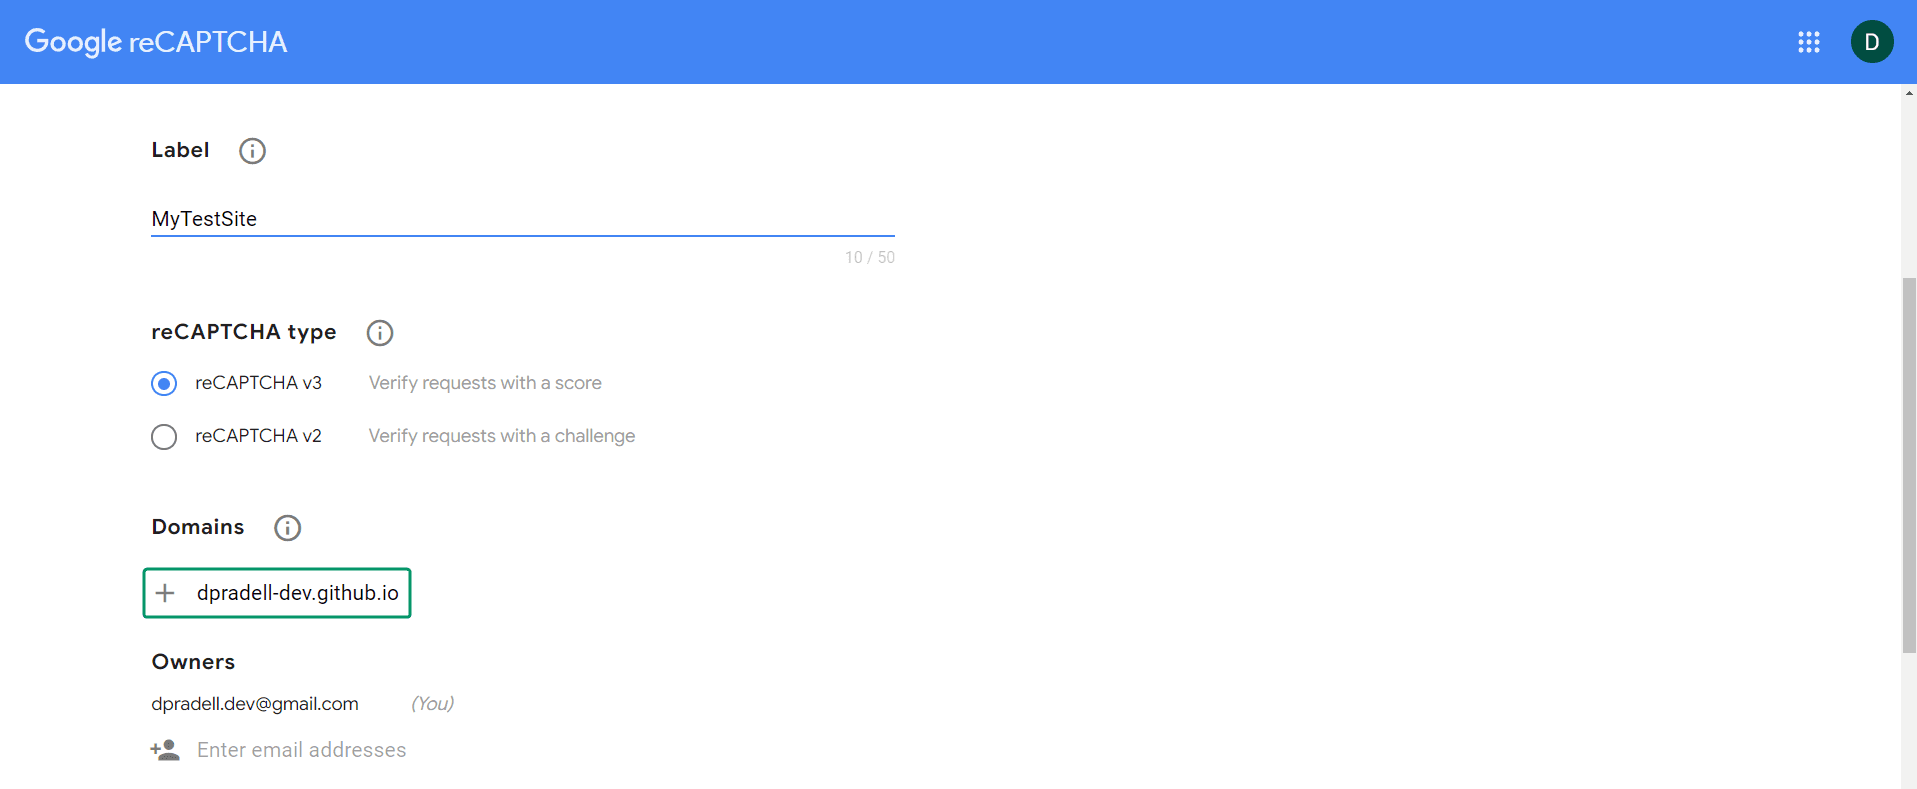
Enter a Label name, select the reCAPTCHA type and enter your GitHub Pages URL as a Domain:
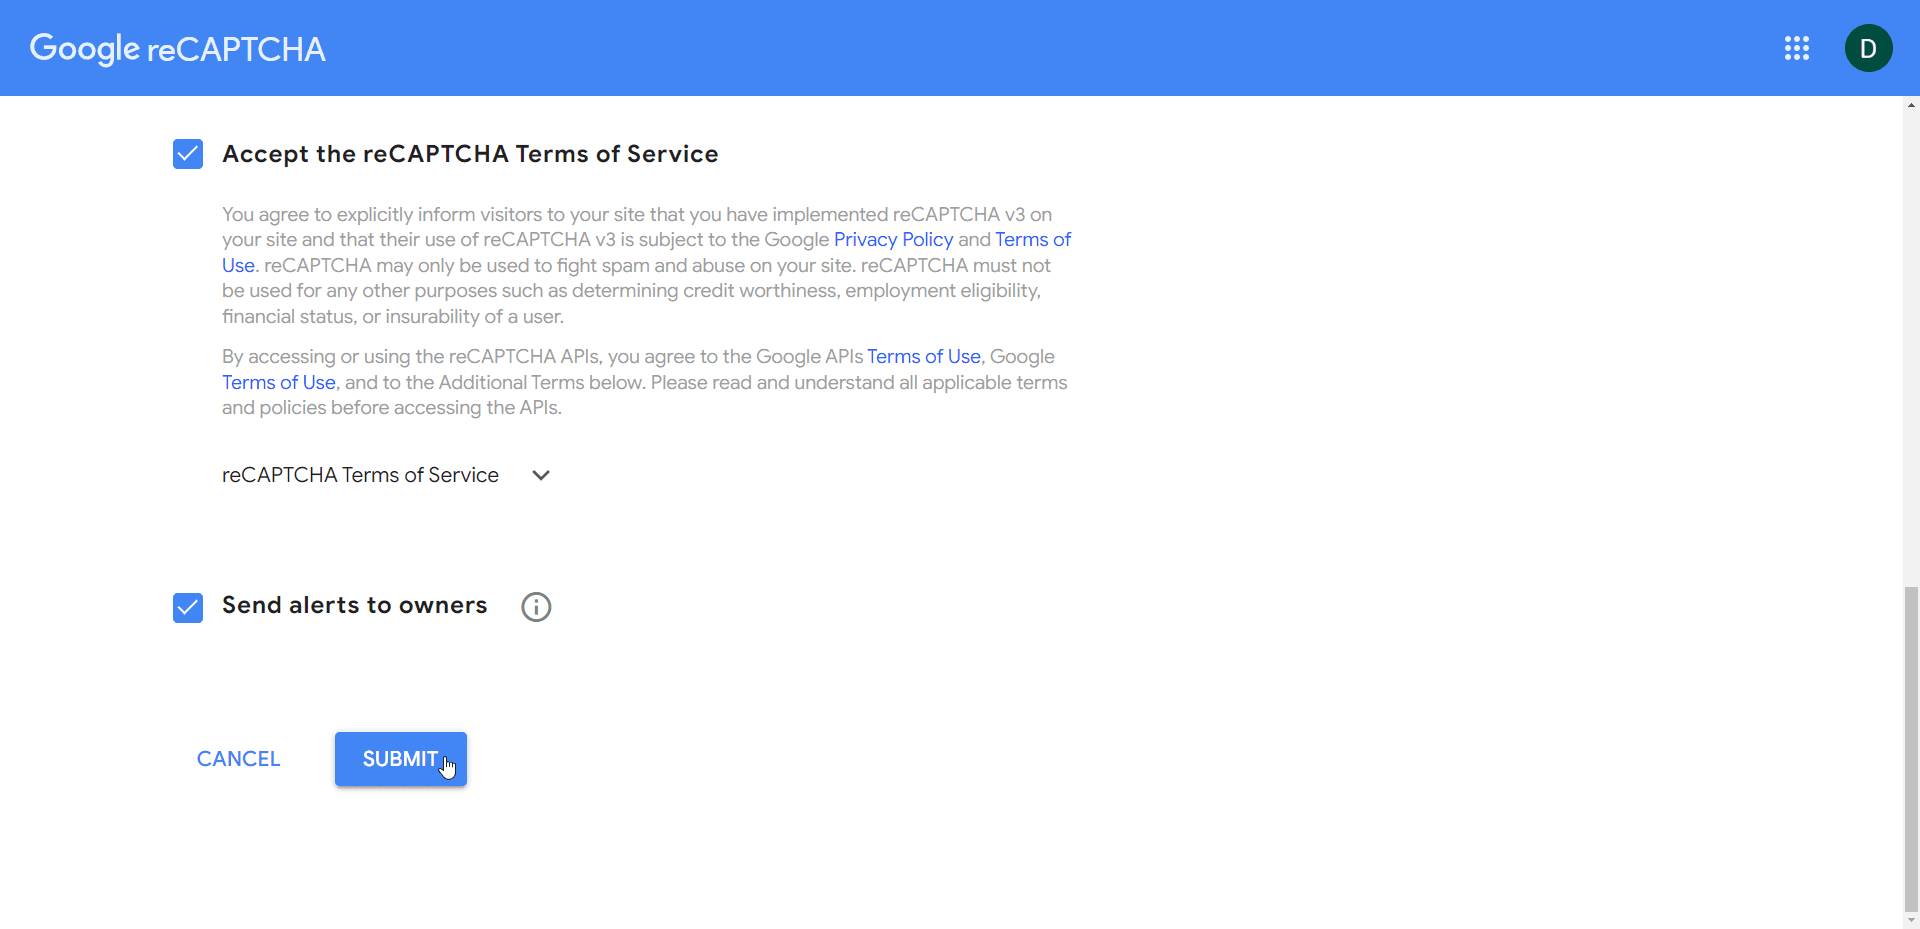
Accept the terms of service and choose Submit:
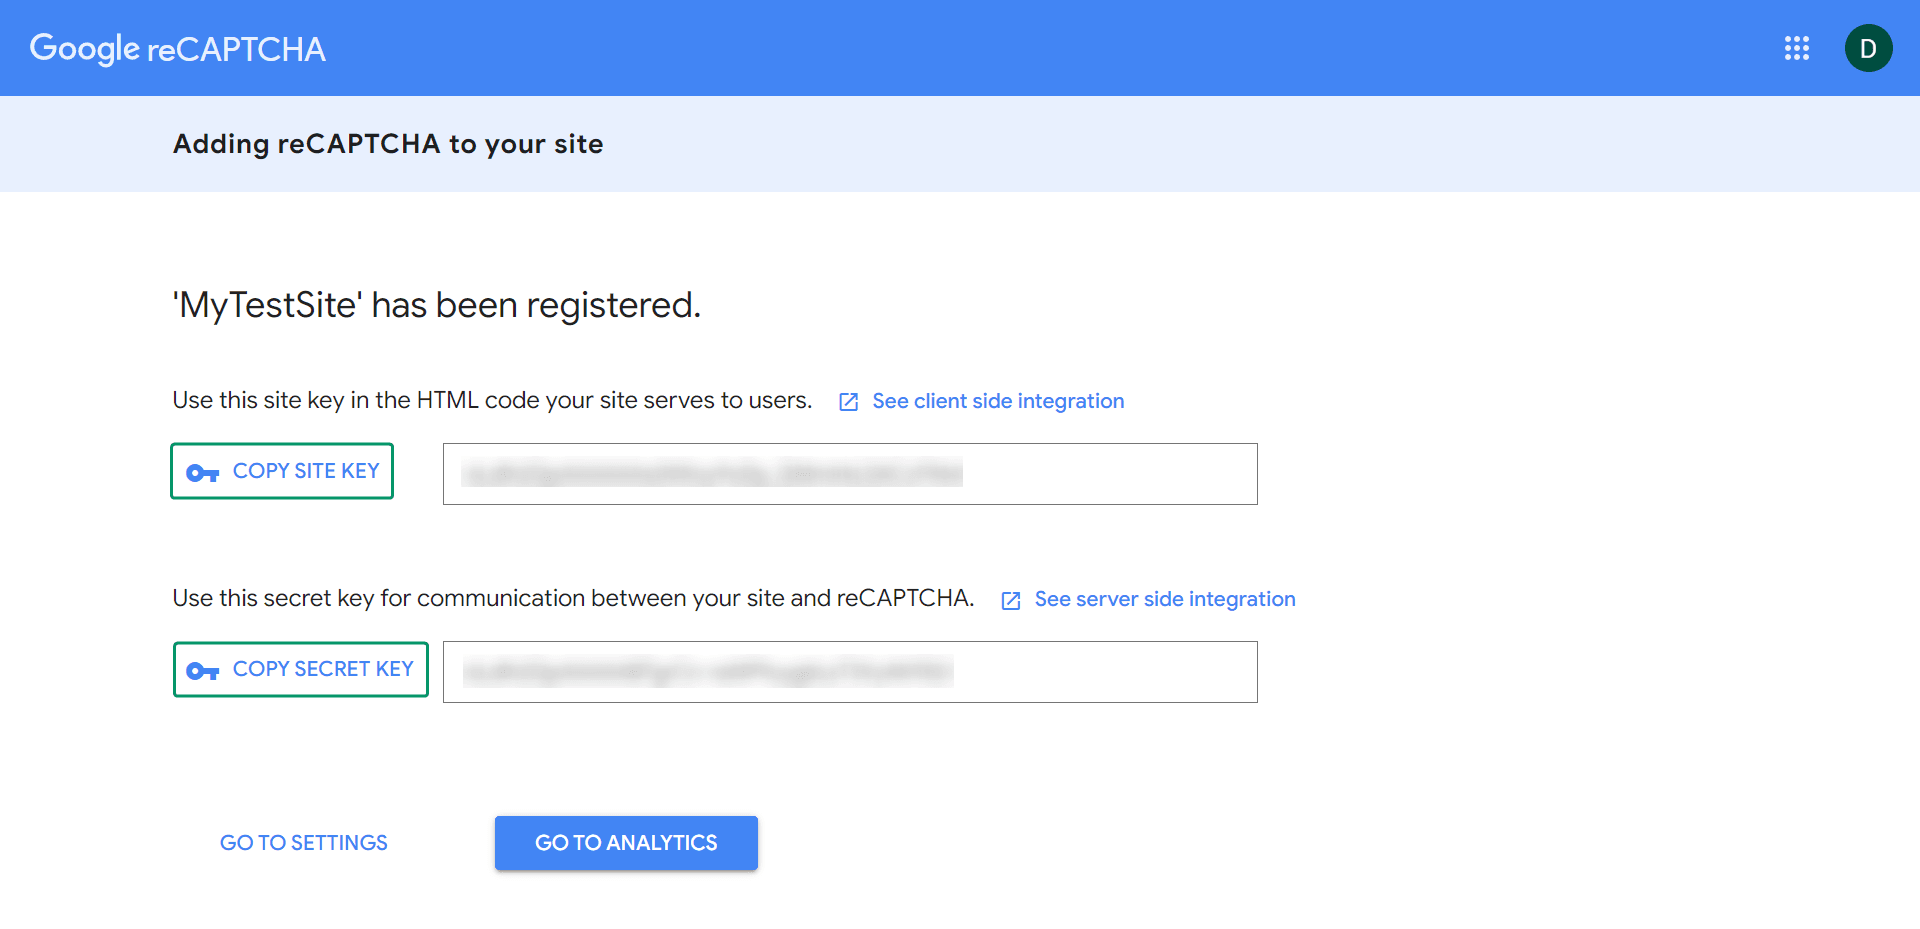
Copy the Site Key and the Secret Key and save them somewhere safe:
Set up ugs-backend
-
- Retrieve the API Secret key and fill in the
openfortApiKeyvariable. - Use the same API Secret key to fill the
openfortApiKeyvariable. - Retrieve the NFT Contract API ID and fill in the
nftContractIdvariable. - Retrieve the Policy API ID and fill in the
policyIdvariable. - Fill in the
secretKeywith your reCAPTCHA secret key.
- Retrieve the API Secret key and fill in the
-
Follow the official documentation steps to deploy each and all of the Cloud Code scripts.
Set up unity-client
-
Follow the official documentation steps to link the
unity-clientto your UGS Project. -
On the Main scene, select the ReCaptchaController game object and fill in your reCAPTCHA site key:

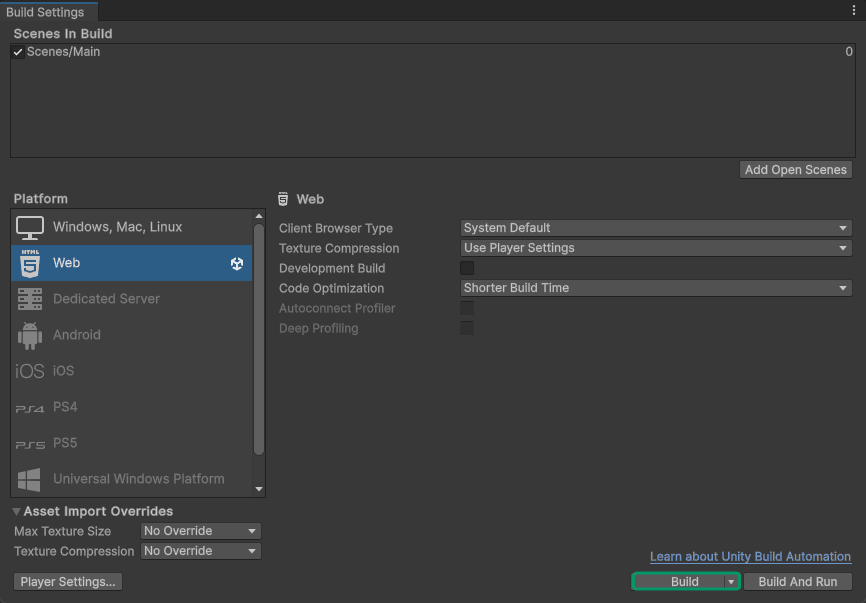
IMPORTANT: You need to build this sample to the root folder of the GitHub Pages repository.
In Unity go to File --> Build Settings, select Web platform and choose Build:
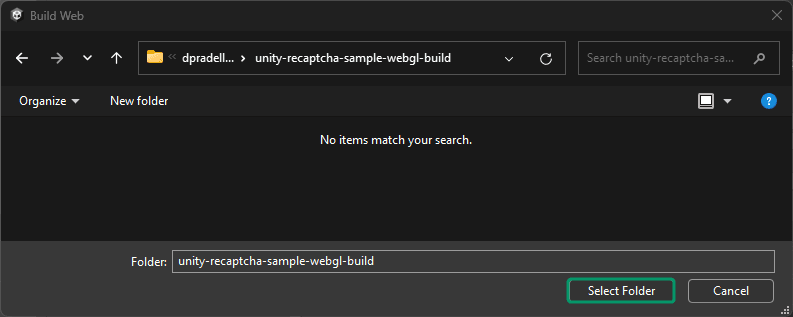
Find your GitHub Pages repository root folder and choose Select Folder:
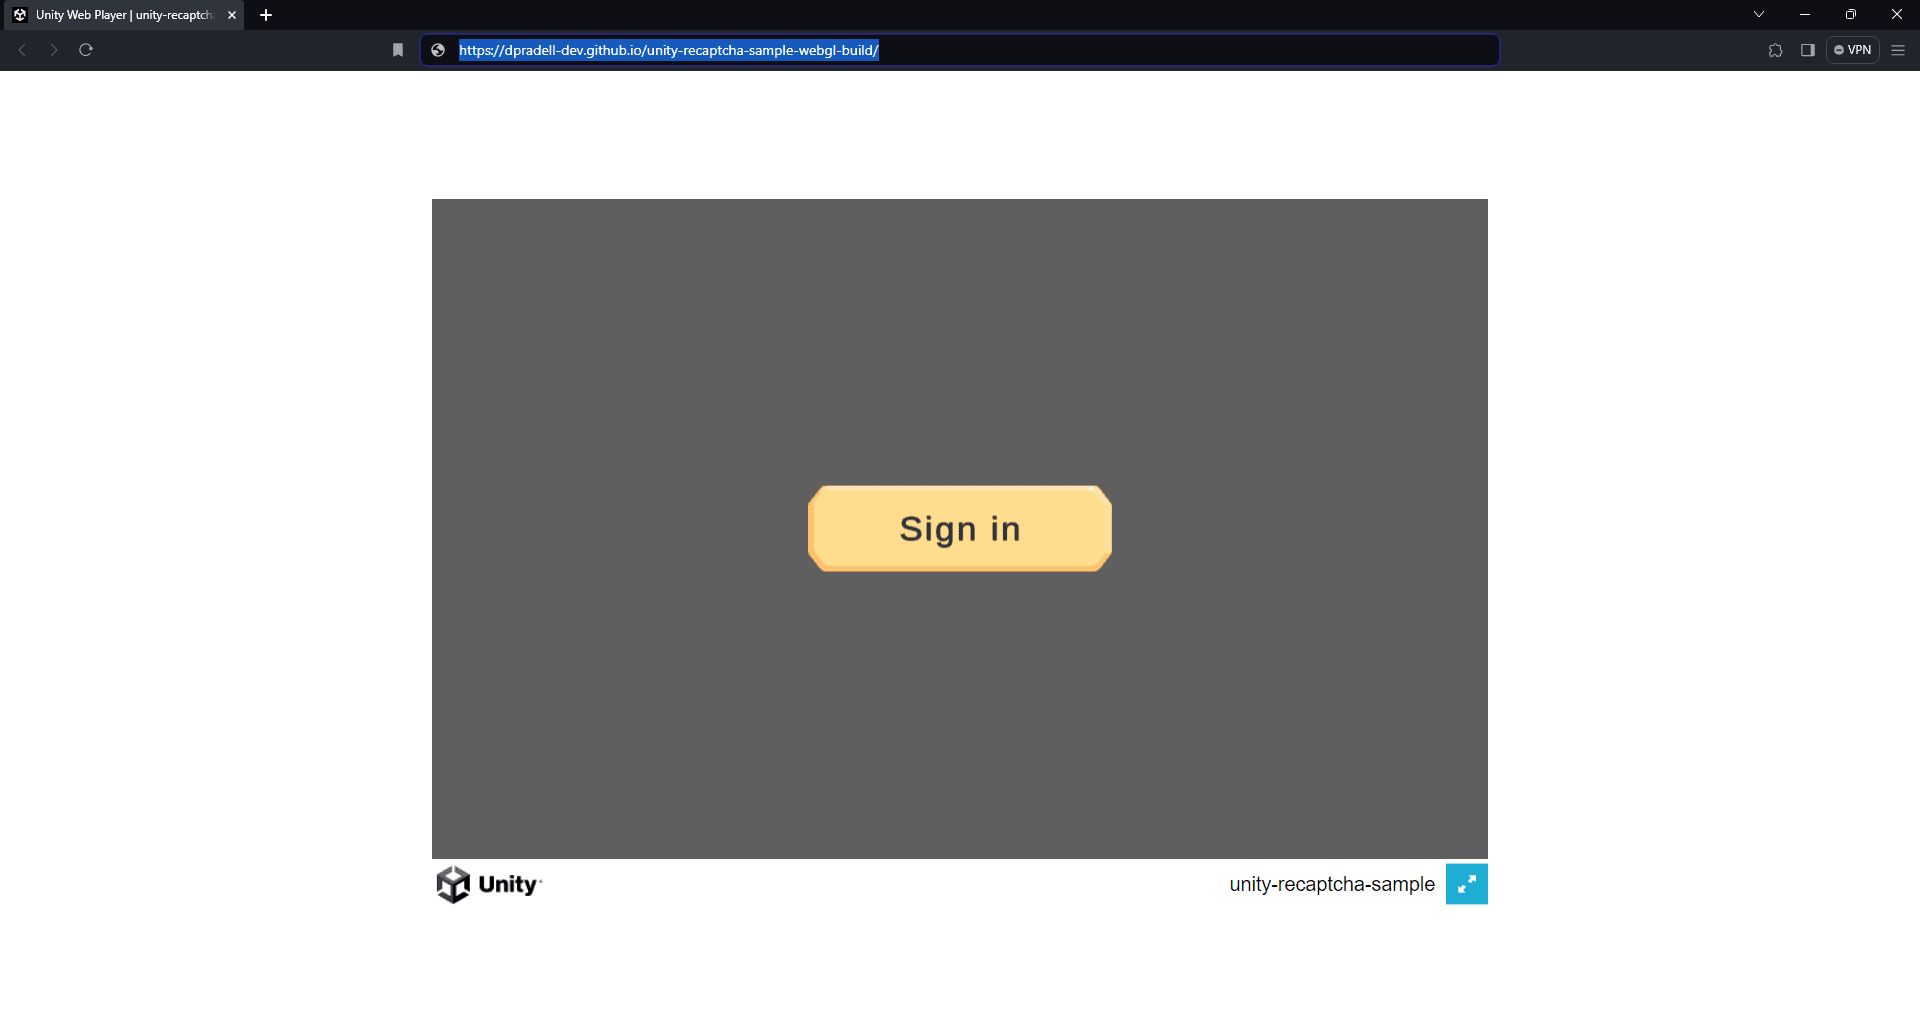
After the build is completed, go to your GitHub Pages repository URL and you should see the Sign in panel:
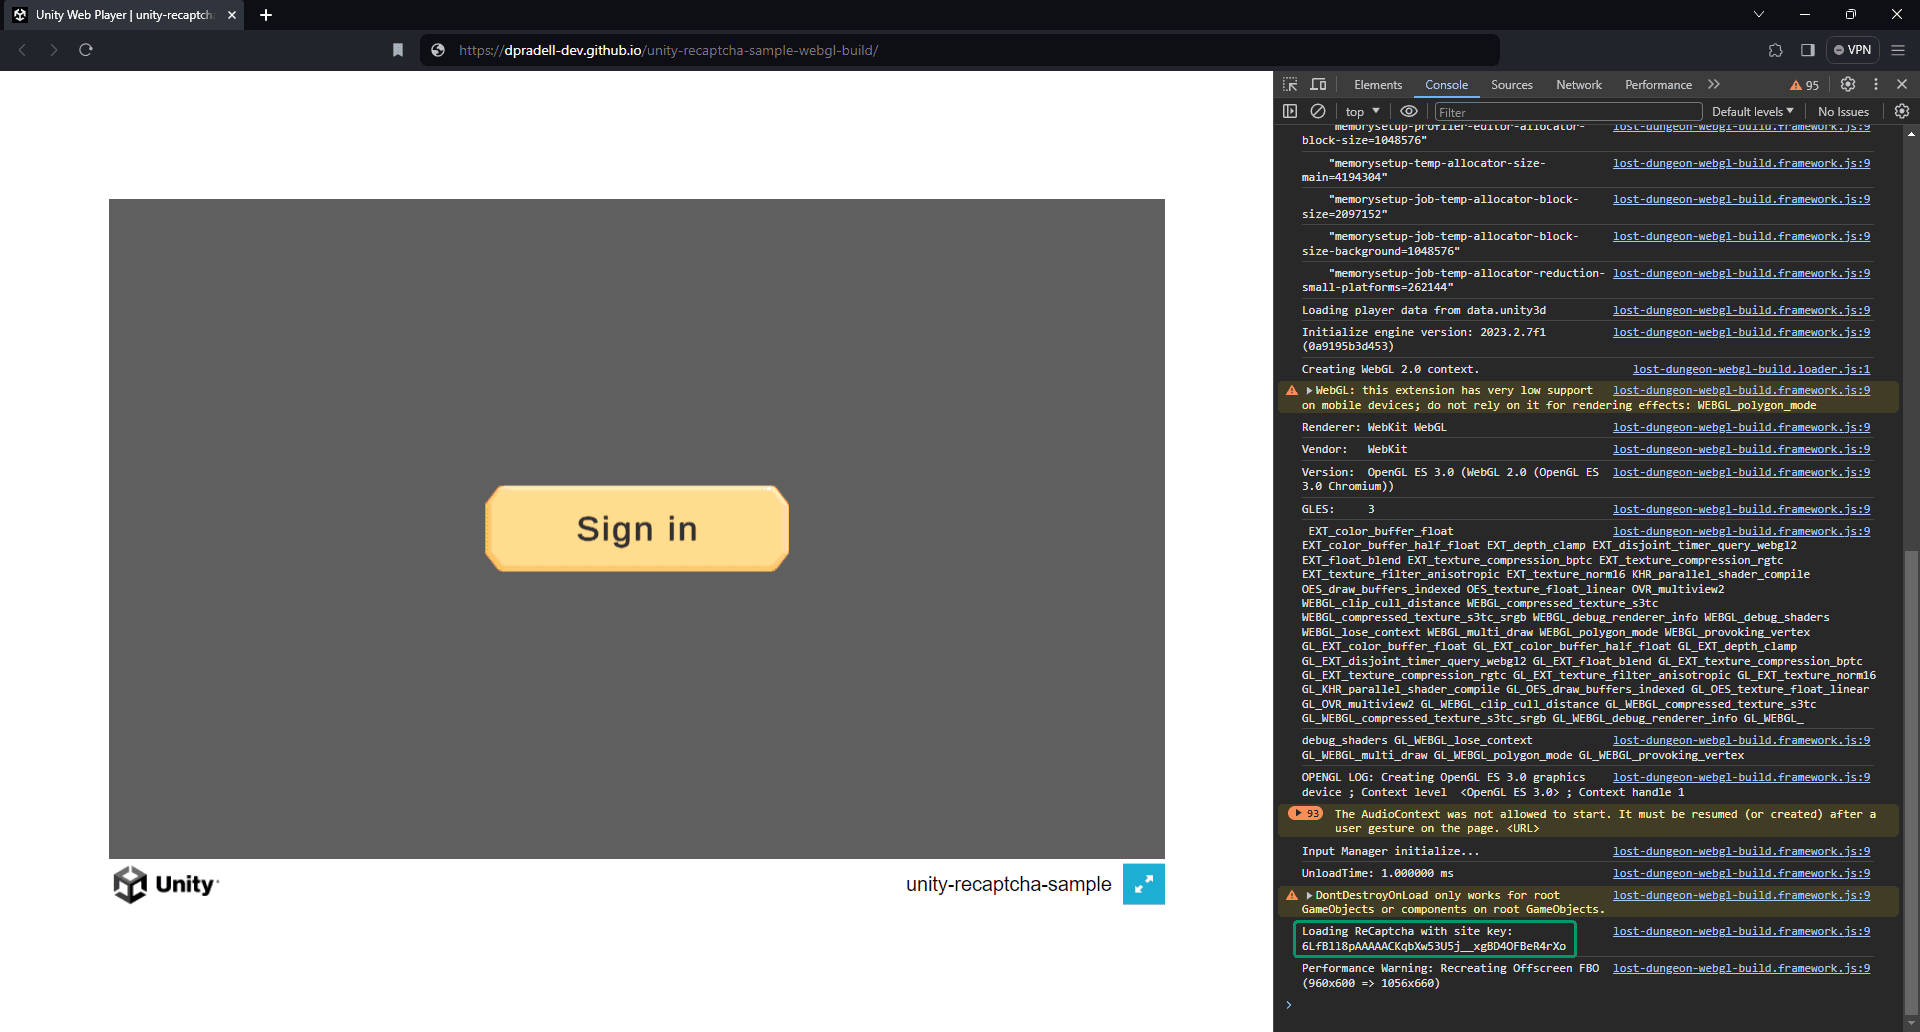
Open the browser console to check that reCAPTCHA V3 is loaded and ready:
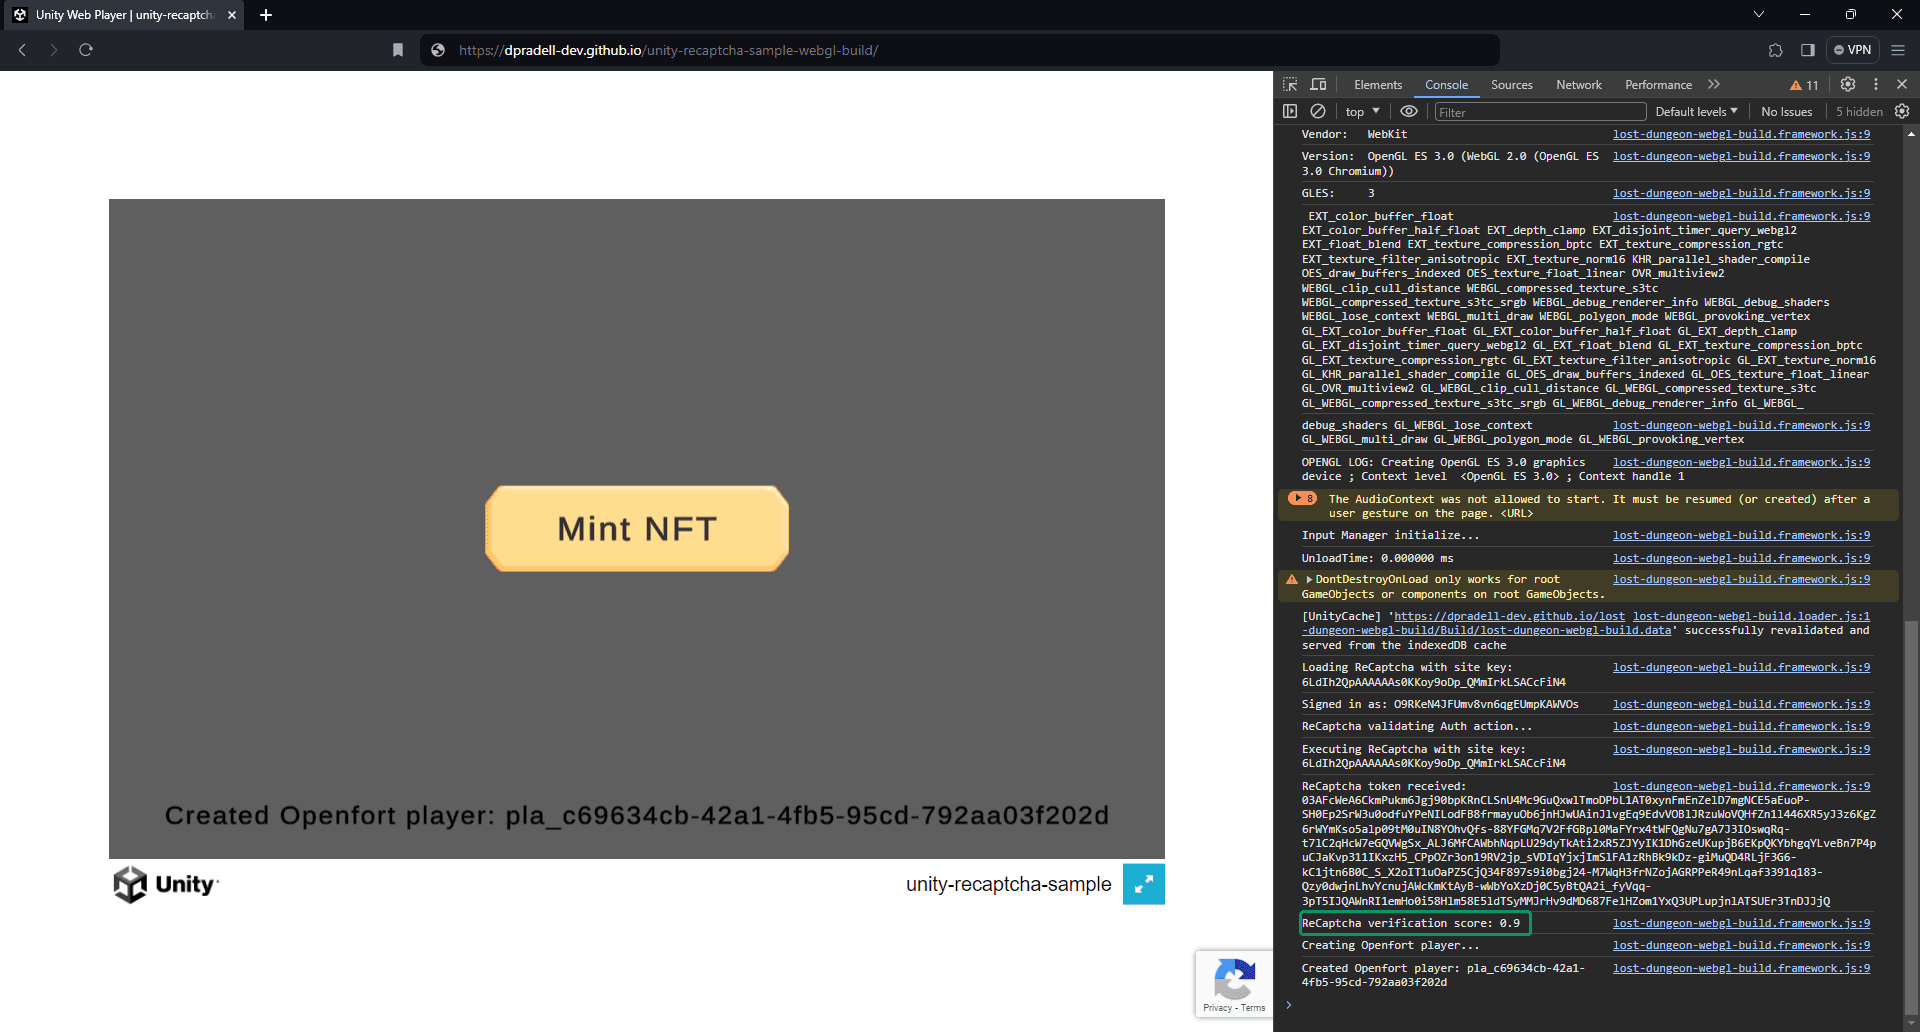
Click the Sign in button and after some authentication-related logs, the Mint panel should appear. In the console logs, we should see a positive reCAPTCHA verification score. Because we passed the reCAPTCHA verification, an Openfort player should have been created:
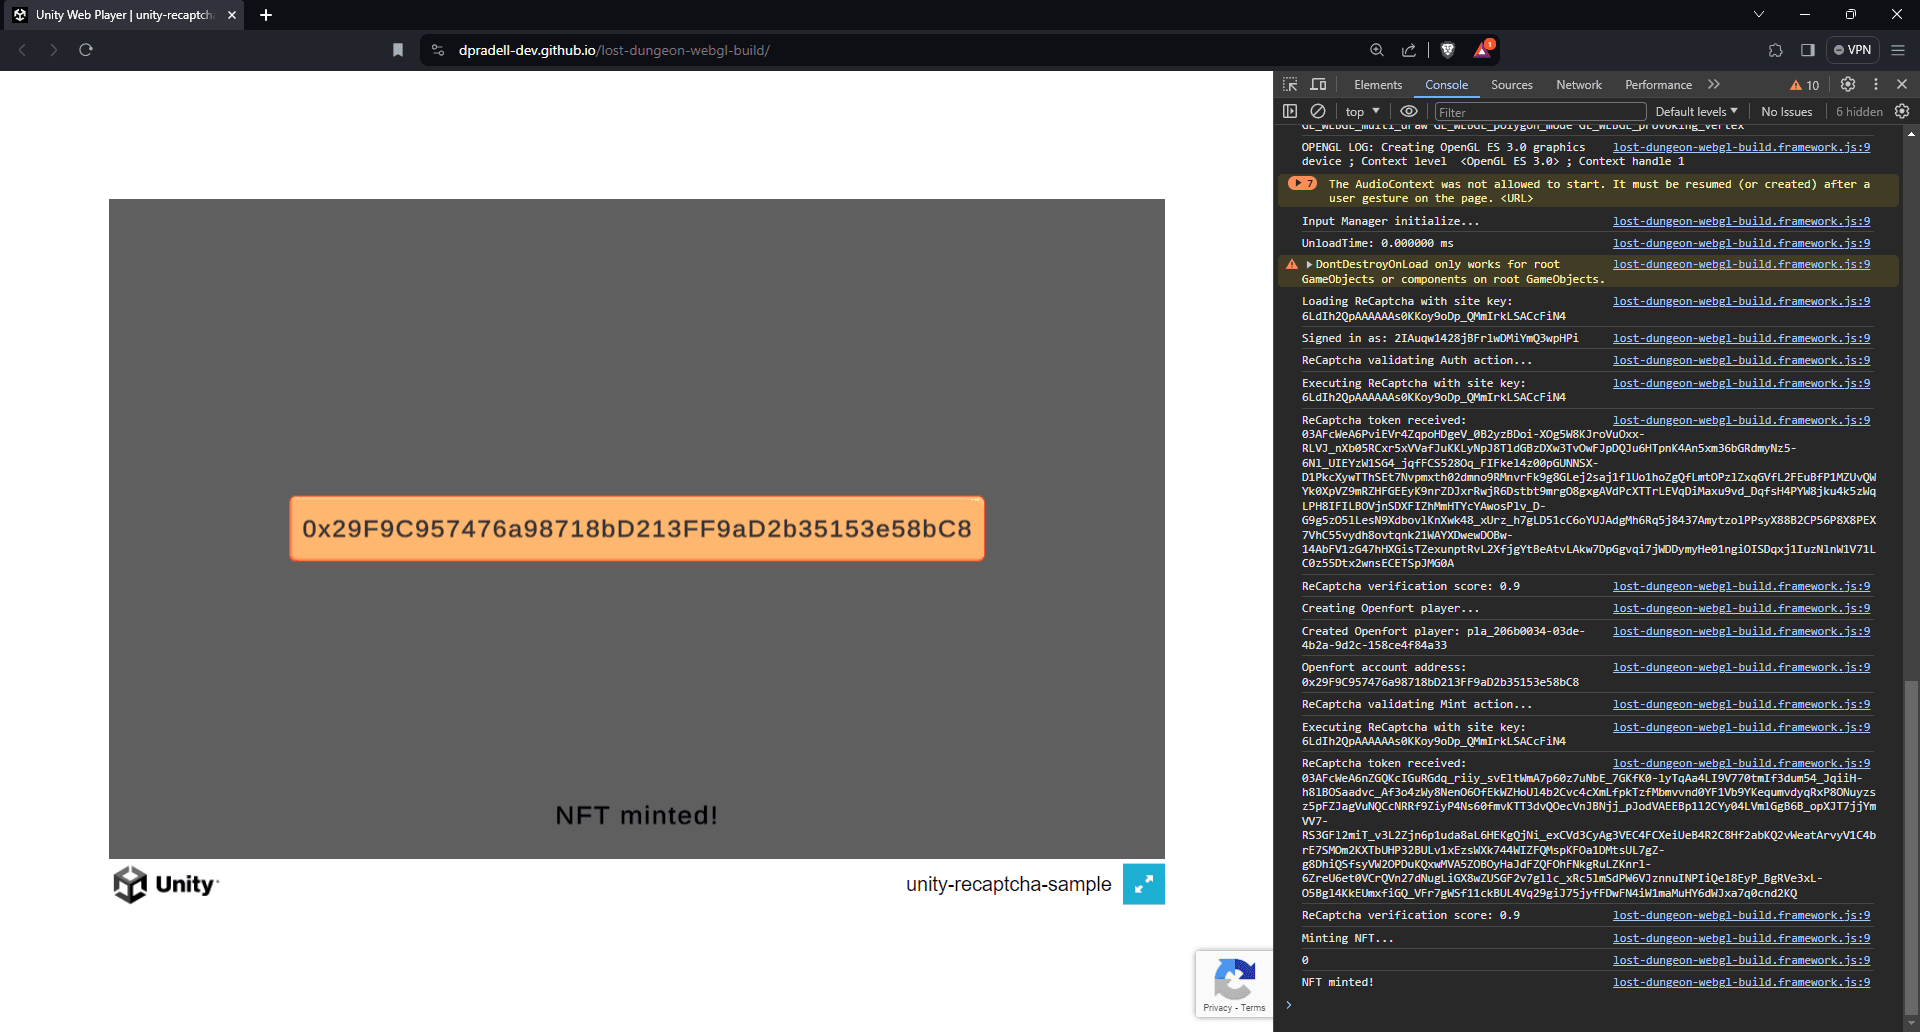
If you click the Mint button, the game will go through another reCAPTCHA verification. After a brief period, you should see the NFT minted panel with the Openfort player account address in a button:
Click on the Address button to open Etherscan and see that the transaction is confirmed:

All this is thanks to the ReCaptcha.jslib plugin located in the Unity client, which allows the execution of reCAPTCHA V3 from the client. The .jslib methods are called from the ReCaptchaController.cs.
Then, when reCAPTCHA V3 gets the response token from the execution, we validate it in the backend through VerifyReCaptcha.js
Upon completing the above steps, your Unity game will be fully integrated with Openfort and Google reCAPTCHA V3. Always remember to test every feature before deploying to guarantee a flawless player experience.
If you found a bug or want to suggest a new [feature/use case/sample], please file an issue.
If you have questions, or comments, or need help with code, we're here to help:
- on Twitter at https://twitter.com/openfortxyz
- on Discord: https://discord.com/invite/t7x7hwkJF4
- by email: support+youtube@openfort.xyz