AzureML
The steps below assume you have an Azure account and access to the Azure ML Studio.
In Azure ML Studio, add a compute instance and pick any CPU-based instance (No GPU required).

Once the instance is running, open the terminal and run the steps below.

conda create --name openvino_env python=3.6 -yconda activate openvino_envconda install pip ipykernel -ygit clone https://github.com/openvinotoolkit/openvino_notebooks.gitcd openvino_notebookspython -m pip install --upgrade pip
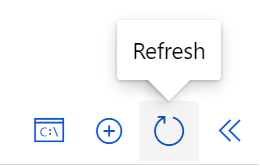
pip install -r requirements.txt --use-deprecated=legacy-resolverset PATH="/anaconda/envs/openvino_env/bin;%PATH%"python -m ipykernel install --user --name openvino_envTo run the notebooks, click on Notebooks and refresh your Files:
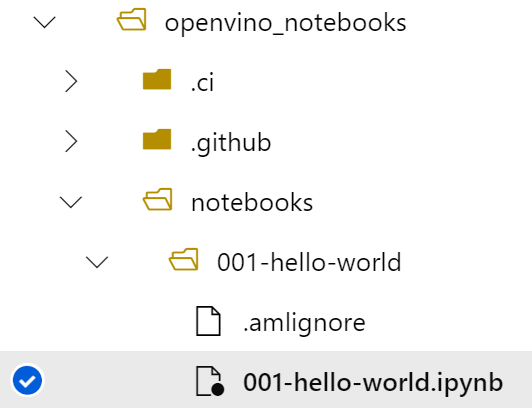
Select a notebook:
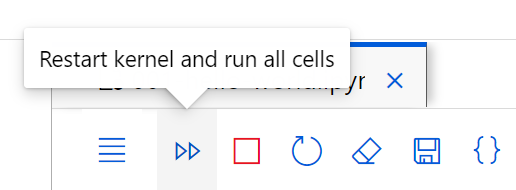
Then run all cells: