AzureML
See instructions to add an Azure compute instance, then pick any CPU-based instance (No GPU required). Once the instance is running, open the terminal and run the steps below.
For OpenVINO Notebooks, we recommend using virtualenv instead of Anaconda
conda deactivate
sudo apt install python3-venv
cd ~
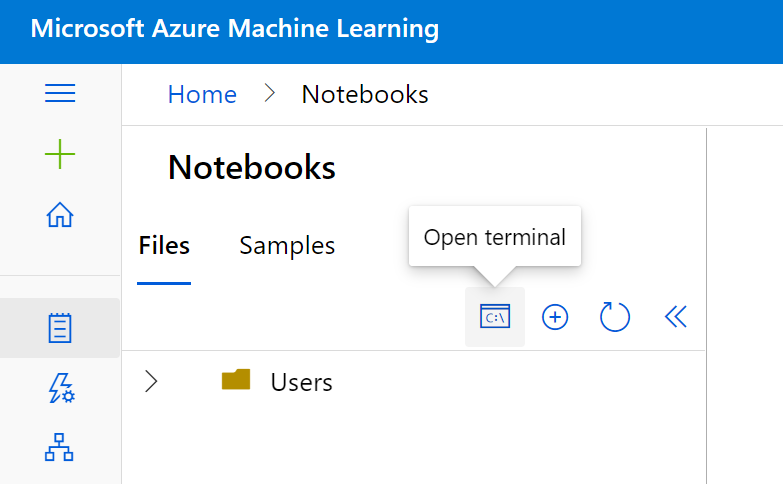
python3 -m venv openvino_envsource openvino_env/bin/activateTo access notebooks from the web console, they must be in the Users folder
cd ~/cloudfiles/code/Users
git clone https://github.com/openvinotoolkit/openvino_notebooks.gitcd openvino_notebooks
# Upgrade pip to the latest version.
# Use pip's legacy dependency resolver to avoid dependency conflicts
python -m pip install --upgrade pip
pip install -r requirements.txt --use-deprecated=legacy-resolverpython -m ipykernel install --user --name openvino_envTo run the notebooks, click on Notebooks and refresh your Files:
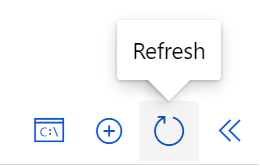
To run the notebooks, click on Notebooks and refresh your Files:
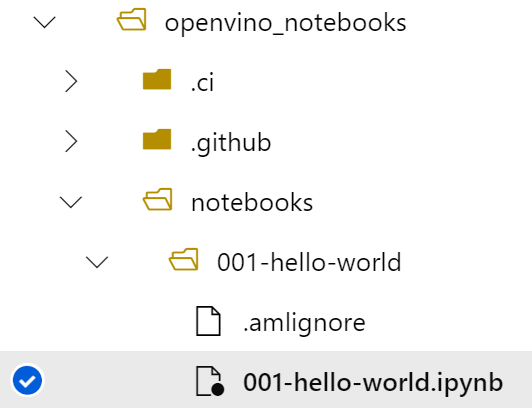
Select a notebook:
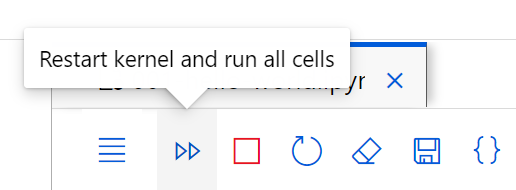
Then run all cells: