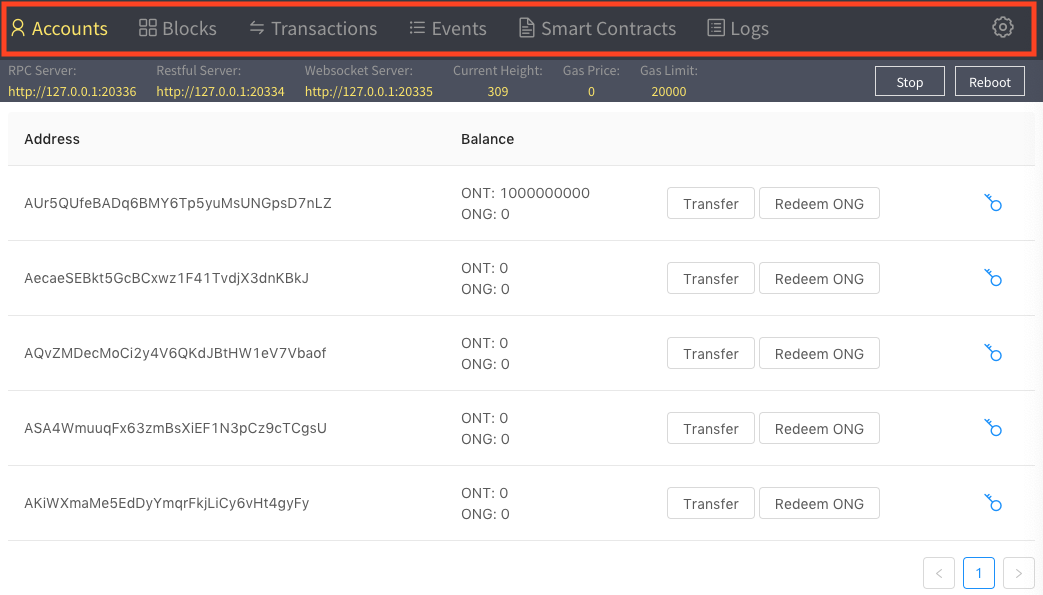
Upon opening the application, you will be presented with the first look at your private Ontology network.
Along the top, you will find the menu bar - where you can navigate to the different tabs of the application, as well as view the network settings.
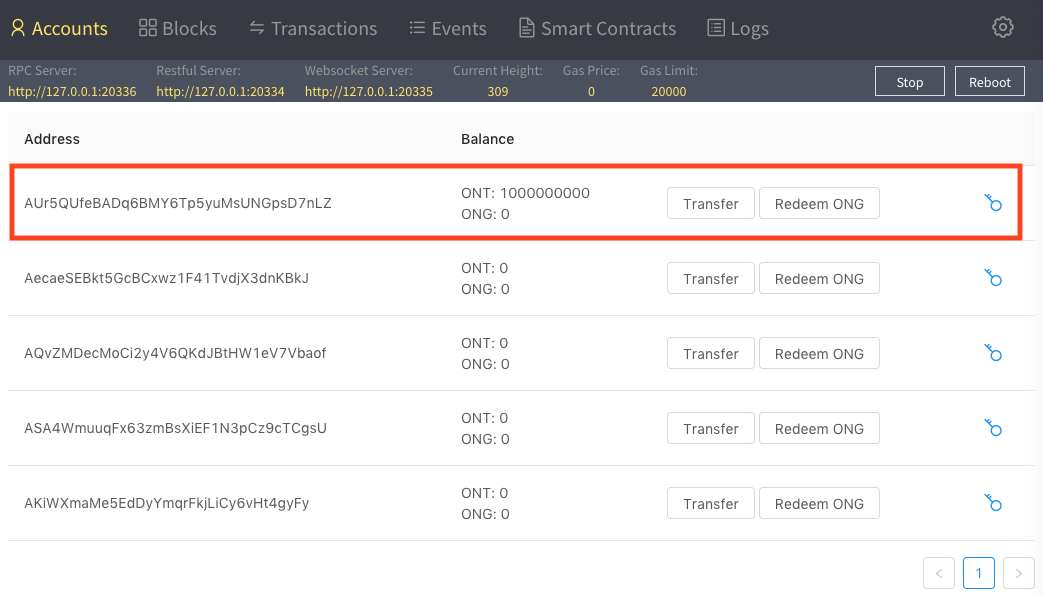
Just below the menu bar, on the left hand side, you will find a bunch of useful information. This includes the server addresses to communicate with your private network, the current block height, and the gas price and limit, which are used to calculate the ONG network fee per transaction.
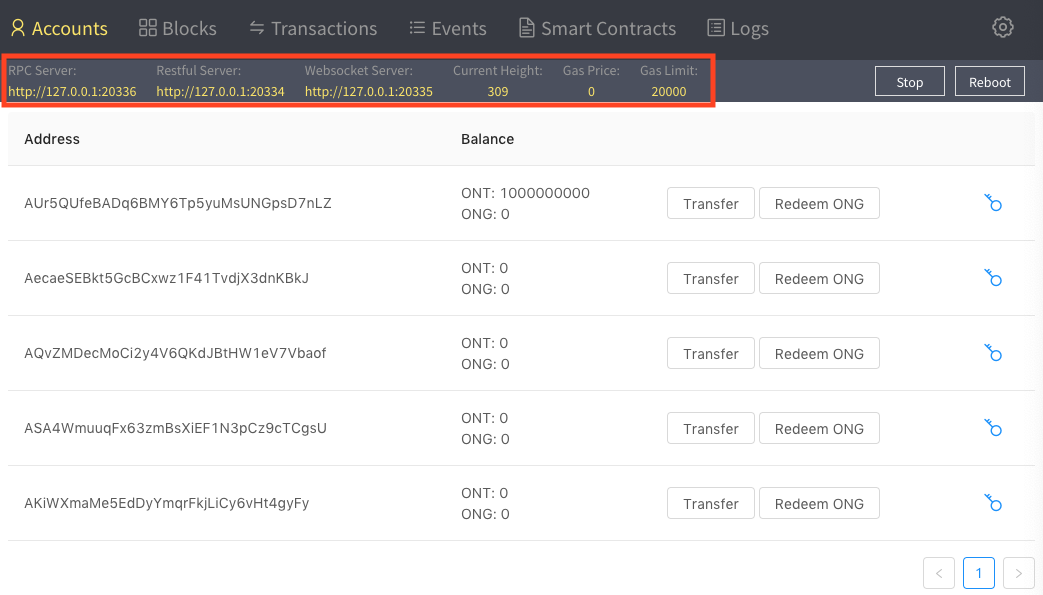
To the right you can find controls to stop and reboot your network instance. Pressing Stop will pause your network, but your data will be retained for when you click Start again. Reboot will clear out all of your data and restart the blockchain instance from a block height of 0.

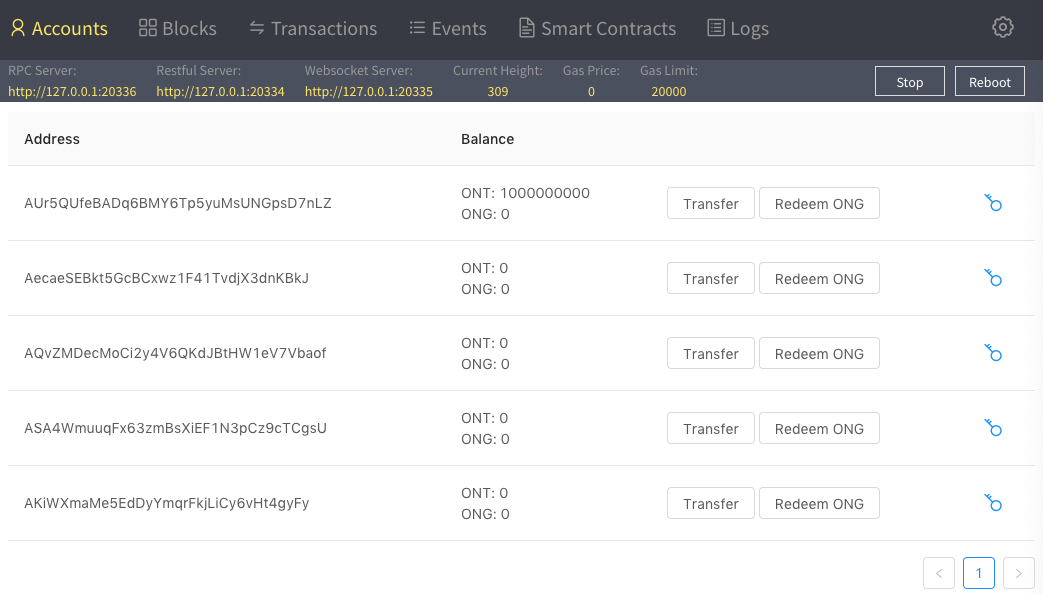
In the main part of the Accounts screen, you will see a list of pre-made accounts. The first will contain all the ONT in existence for your private network.
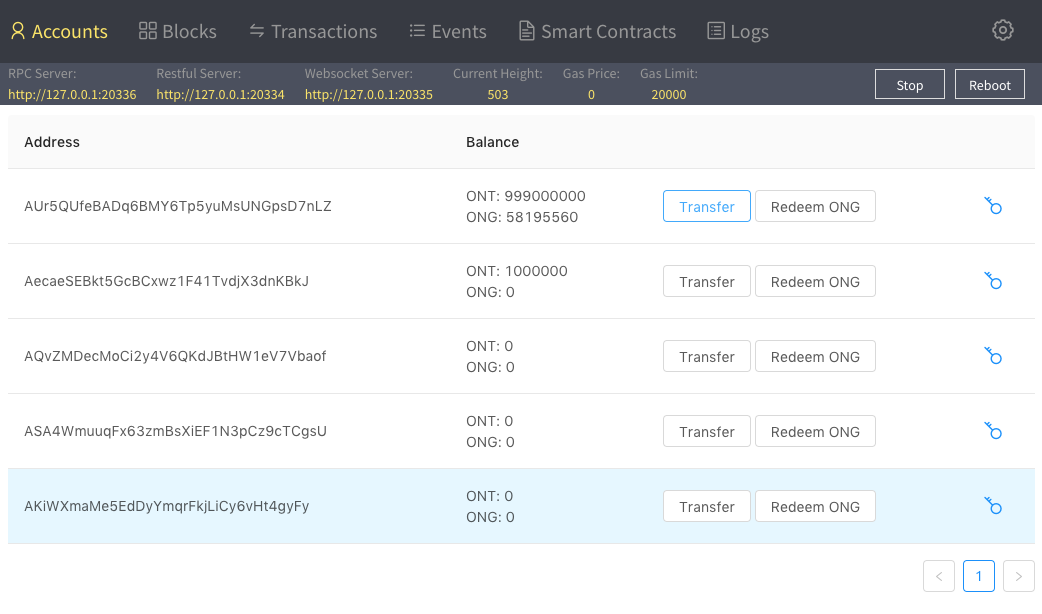
Upon clicking the Transfer button on that account, a modal will appear, where you can send ONT to the second account in the list. Just fill out the transfer details, and click OK.
Shortly after sending, you should see the balances in the accounts update. Only after sending will you be able to claim ONG. So on the first account, click Redeem ONG, and you should shortly receive the ONG for that account.
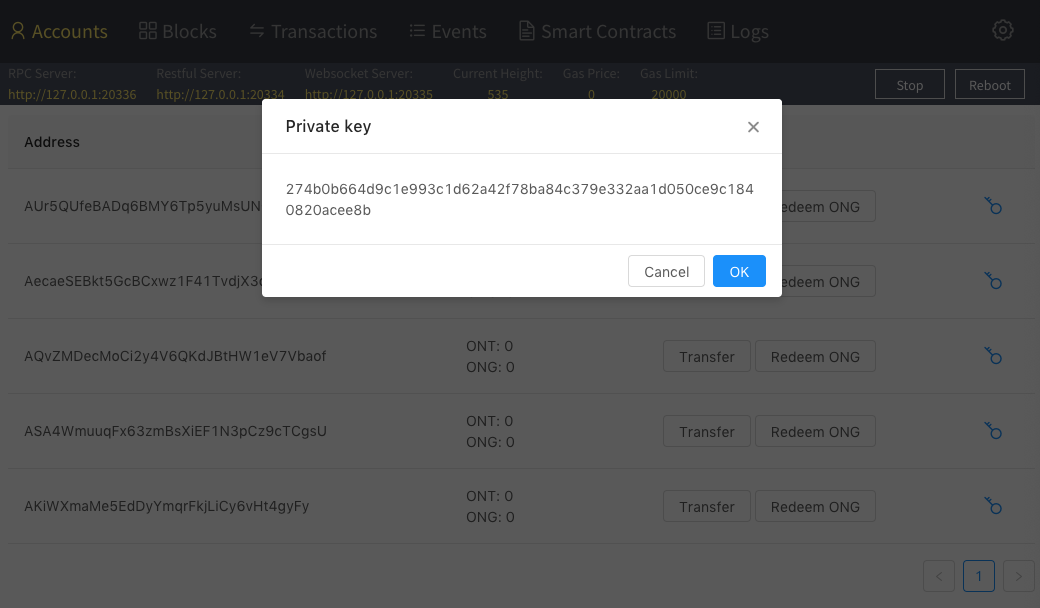
On the right side of the account line item, you will see a key icon. Upon clicking this, you will see a modal with the private key for this account. You will need these later when starting to build your applications, as they will serve as your credentials for sending transaction to the network.
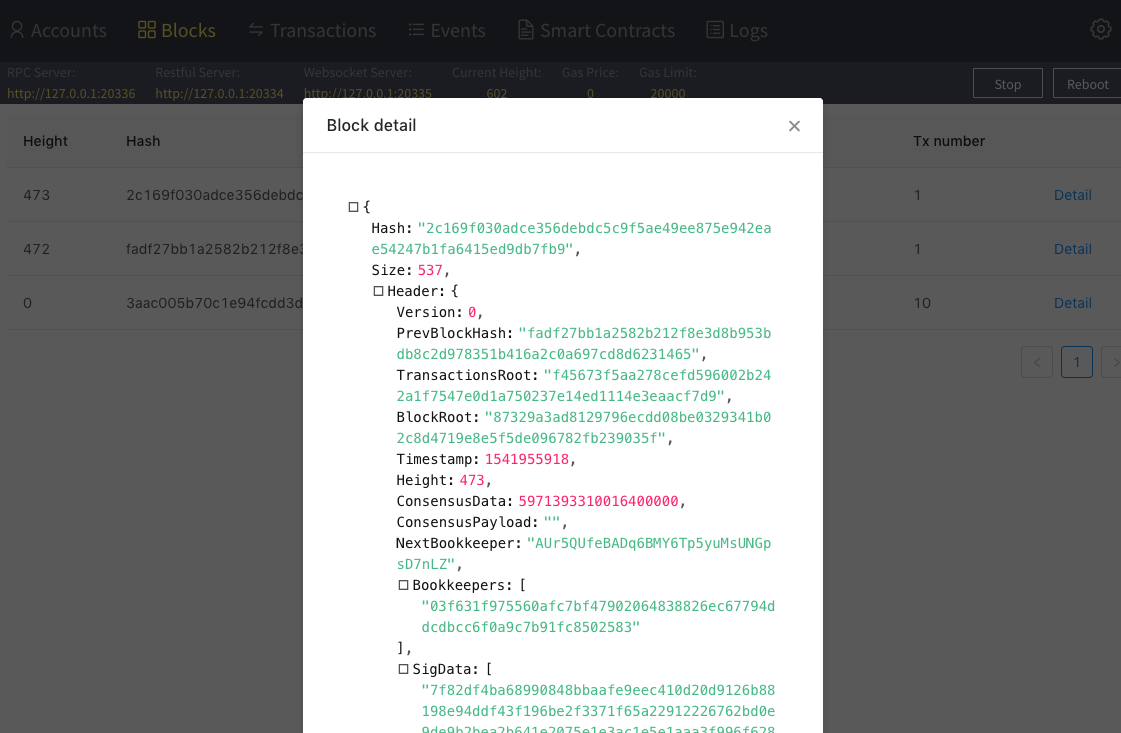
Moving onto the next tab, if you click on the Blocks item in the menu bar at the top, you will be presented with the blocks information screen.
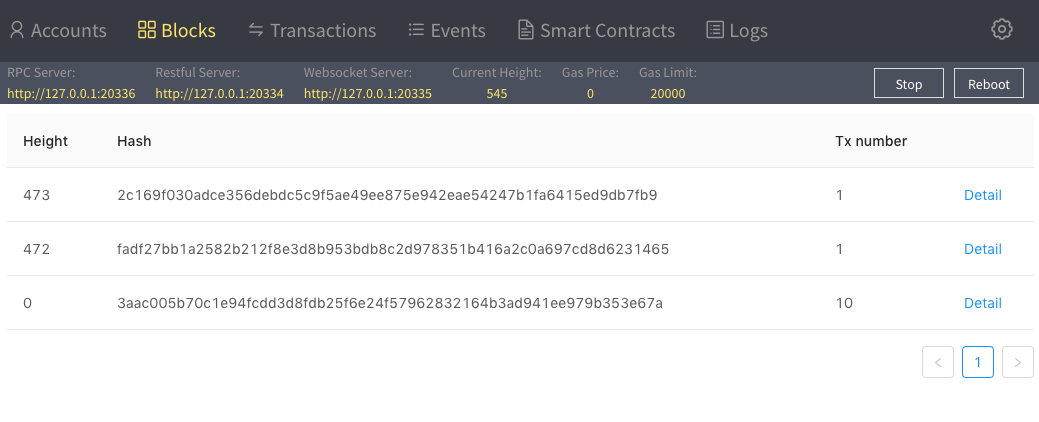
If you would like to see the details of any block, including all transactions processed in that block, click the Detail button on the right hand side of the block. A block detail modal will pop up with an interactive JSON of the information for that block.

If you click the squares, you can expand and close the objects and arrays in the JSON.
In the Transactions tab you can see all of the processed transactions - including which block they were executed in and its details.
Clicking on the Detail button on the right hand side will bring up a modal with all the details for that transaction in an interactive JSON format. Here you can see everything from who signed the transaction, to who paid the network fee, and much more.

In the Events tab, you can view a list of all the notification events emitted as a result of transactions being processed.
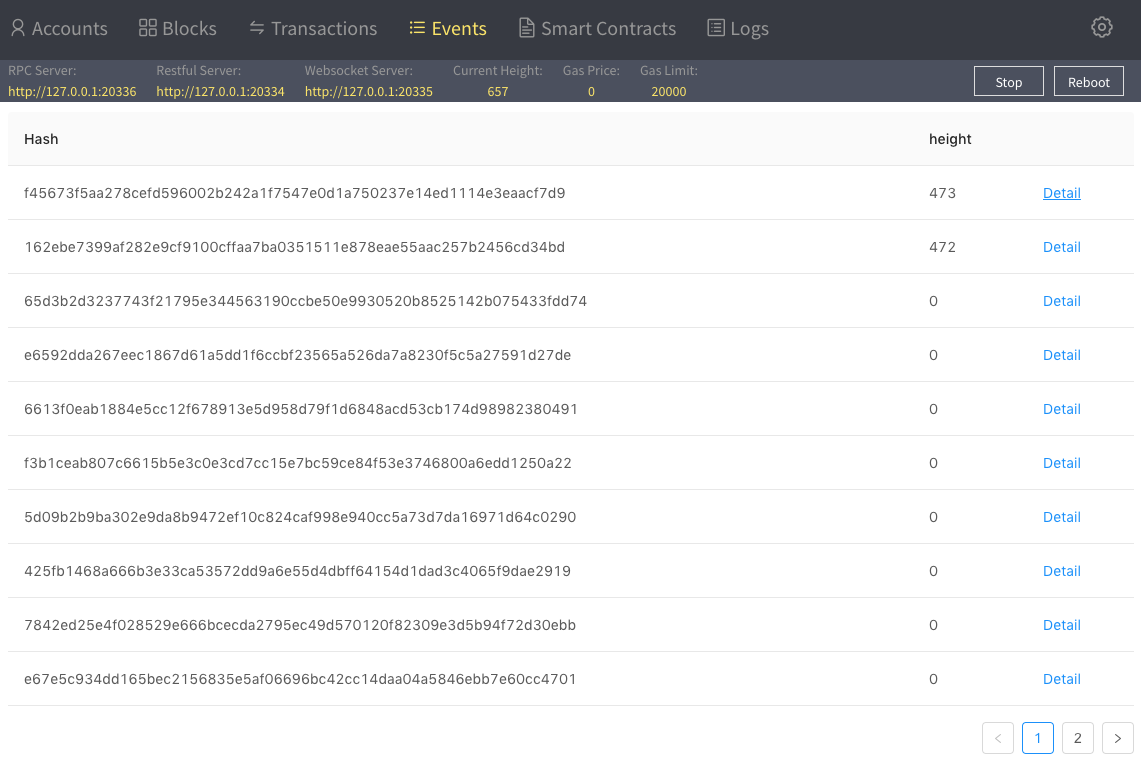
For example, drilling into the details of the following event, we can see it was emitted from the transfer operation that we executed when claiming our ONG. This can be an extremely useful tool when debugging your smart contracts, as you can create these custom notification events to be broadcast yourself.
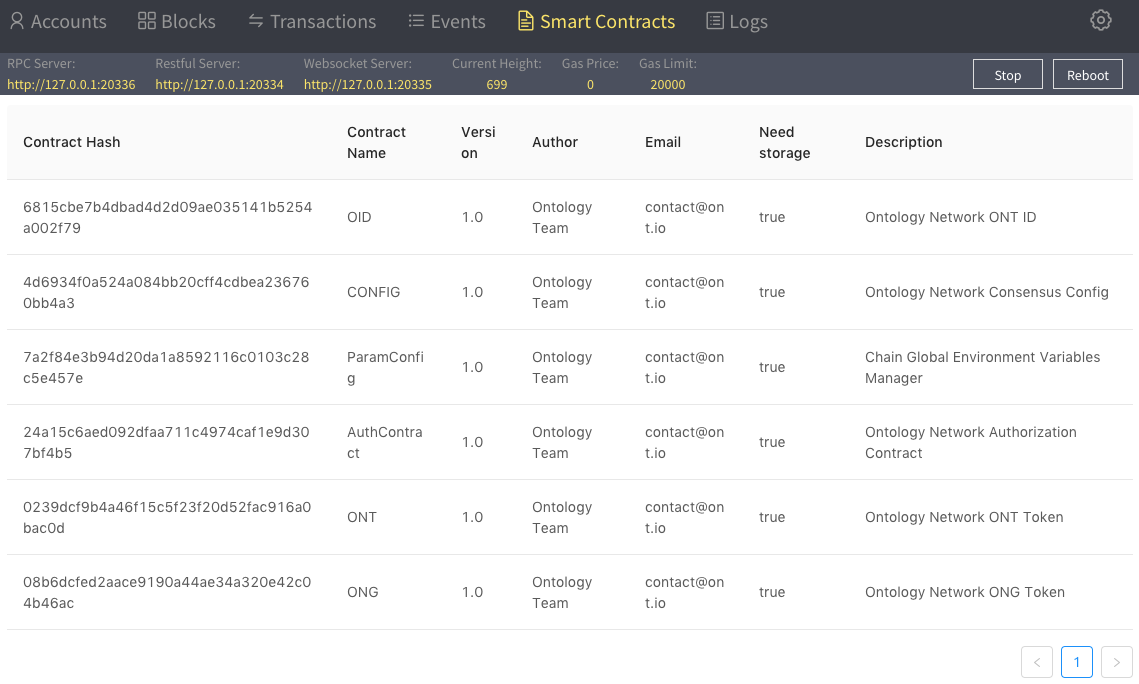
In the Smart Contracts tab, you can find a full listing of all contracts that have been deployed to your network. This will be useful for managing your new development contract hash addresses as new versions are deployed.
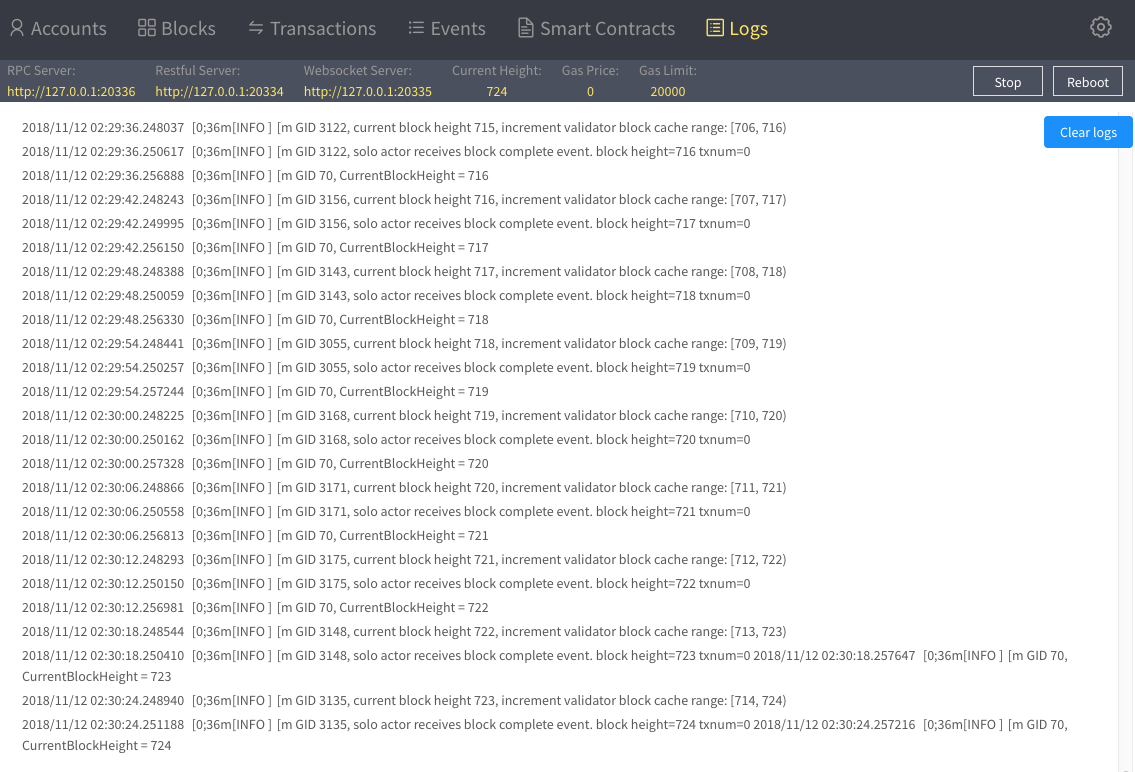
In the Logs tab, you can view the full and complete transcript of everything that is happening within your private network behind the scenes.
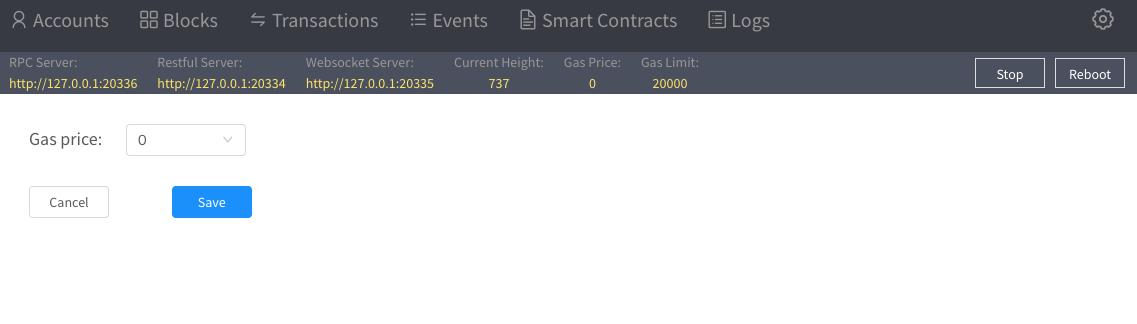
Lastly, clicking on the gear icon in the top-right of the screen will open the settings page. Here we can configure the gas price of ONG required for network fees for our private network.