Design and run rapid sensemaking flows from a native Mac, Linux and Windows app!
This app is currently at a functional prototype readiness level and is under development. You can download and test a release of the app for Mac!
To explore the larger context of the Rapid Sensemaking Framework, check out the this README.
For any good "conversation", there is always a frame. The conversation, at least loosely, has a direction that the people who will participate in it are agreeable to and interested in. Divergent phases and convergent phases of the conversation should nicely flow and blend.
So someone who has a frame for a conversation, and wants to foster engagement begins with a selection of available recipes for a social flow. Things that this person would be tuning could include amount of time available for each part of the flow.
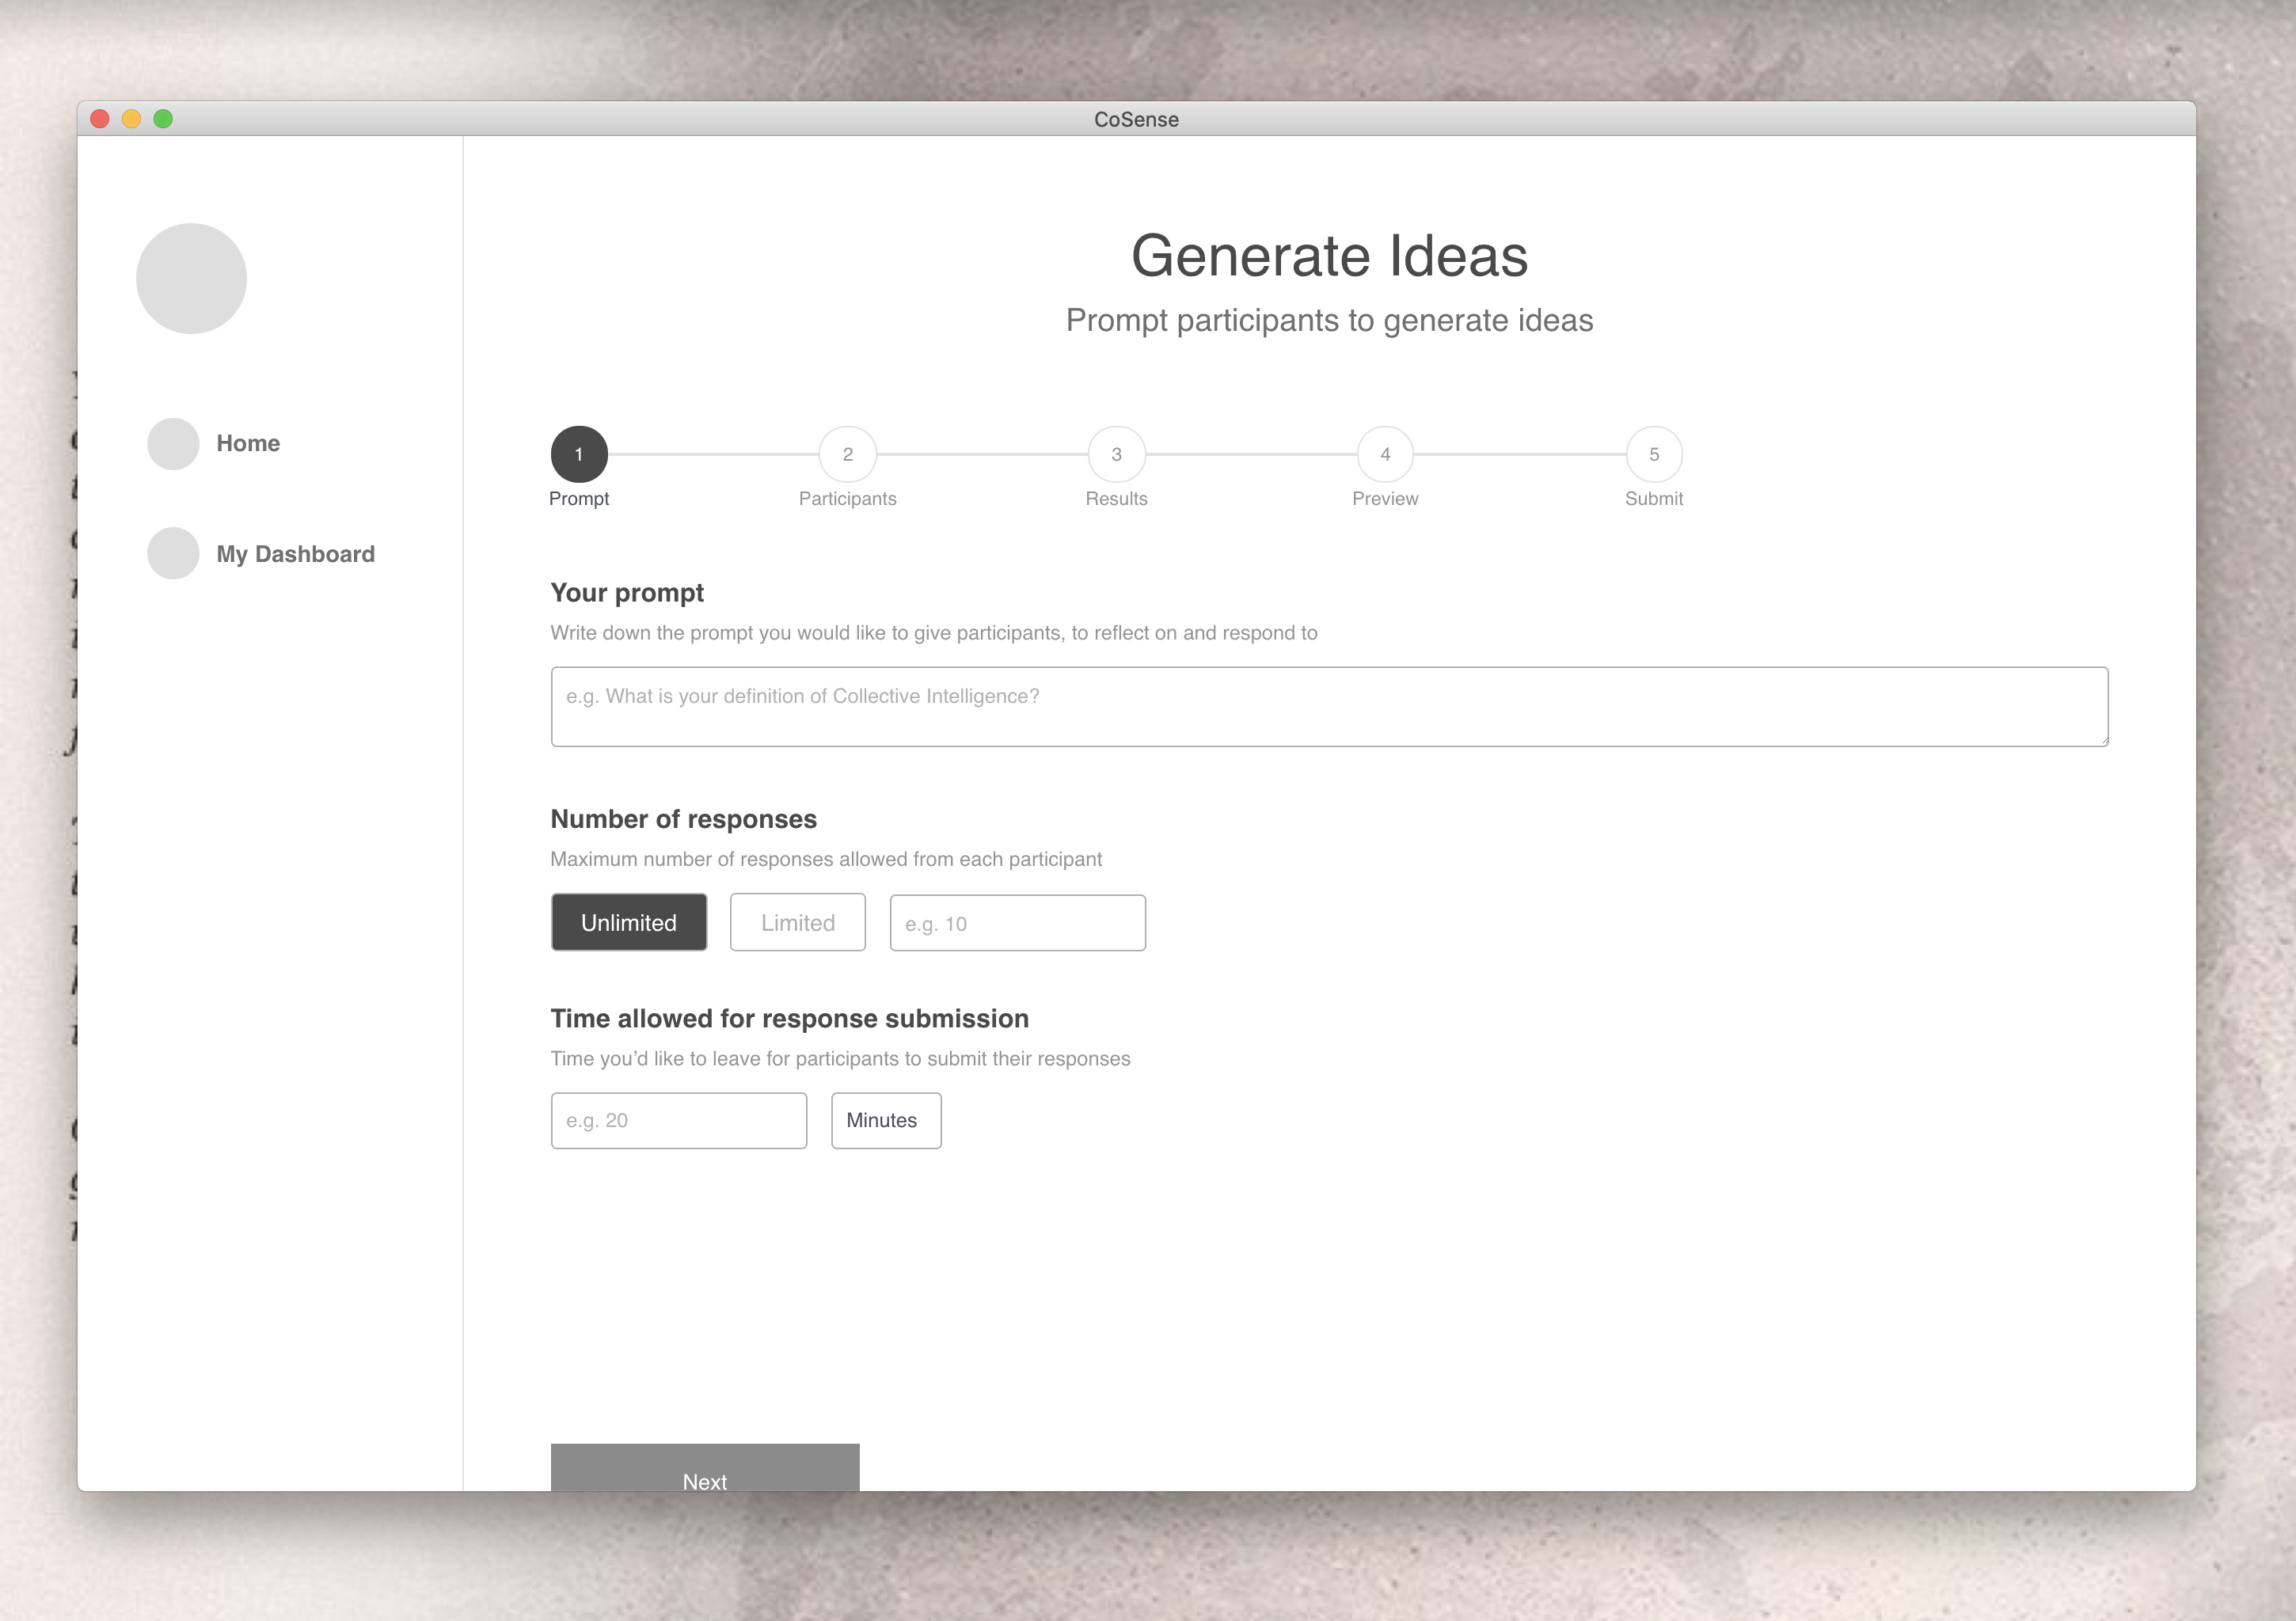
As they draft the flow, they setup either an opt-in flow where participants will register themselves via a webpage, or if they have verbal or written consent via a personal connection, they could input each participants details. To input a participant just requires adding the relevant info for the contact method they want to connect via, such as Telegram, SMS, or something else.
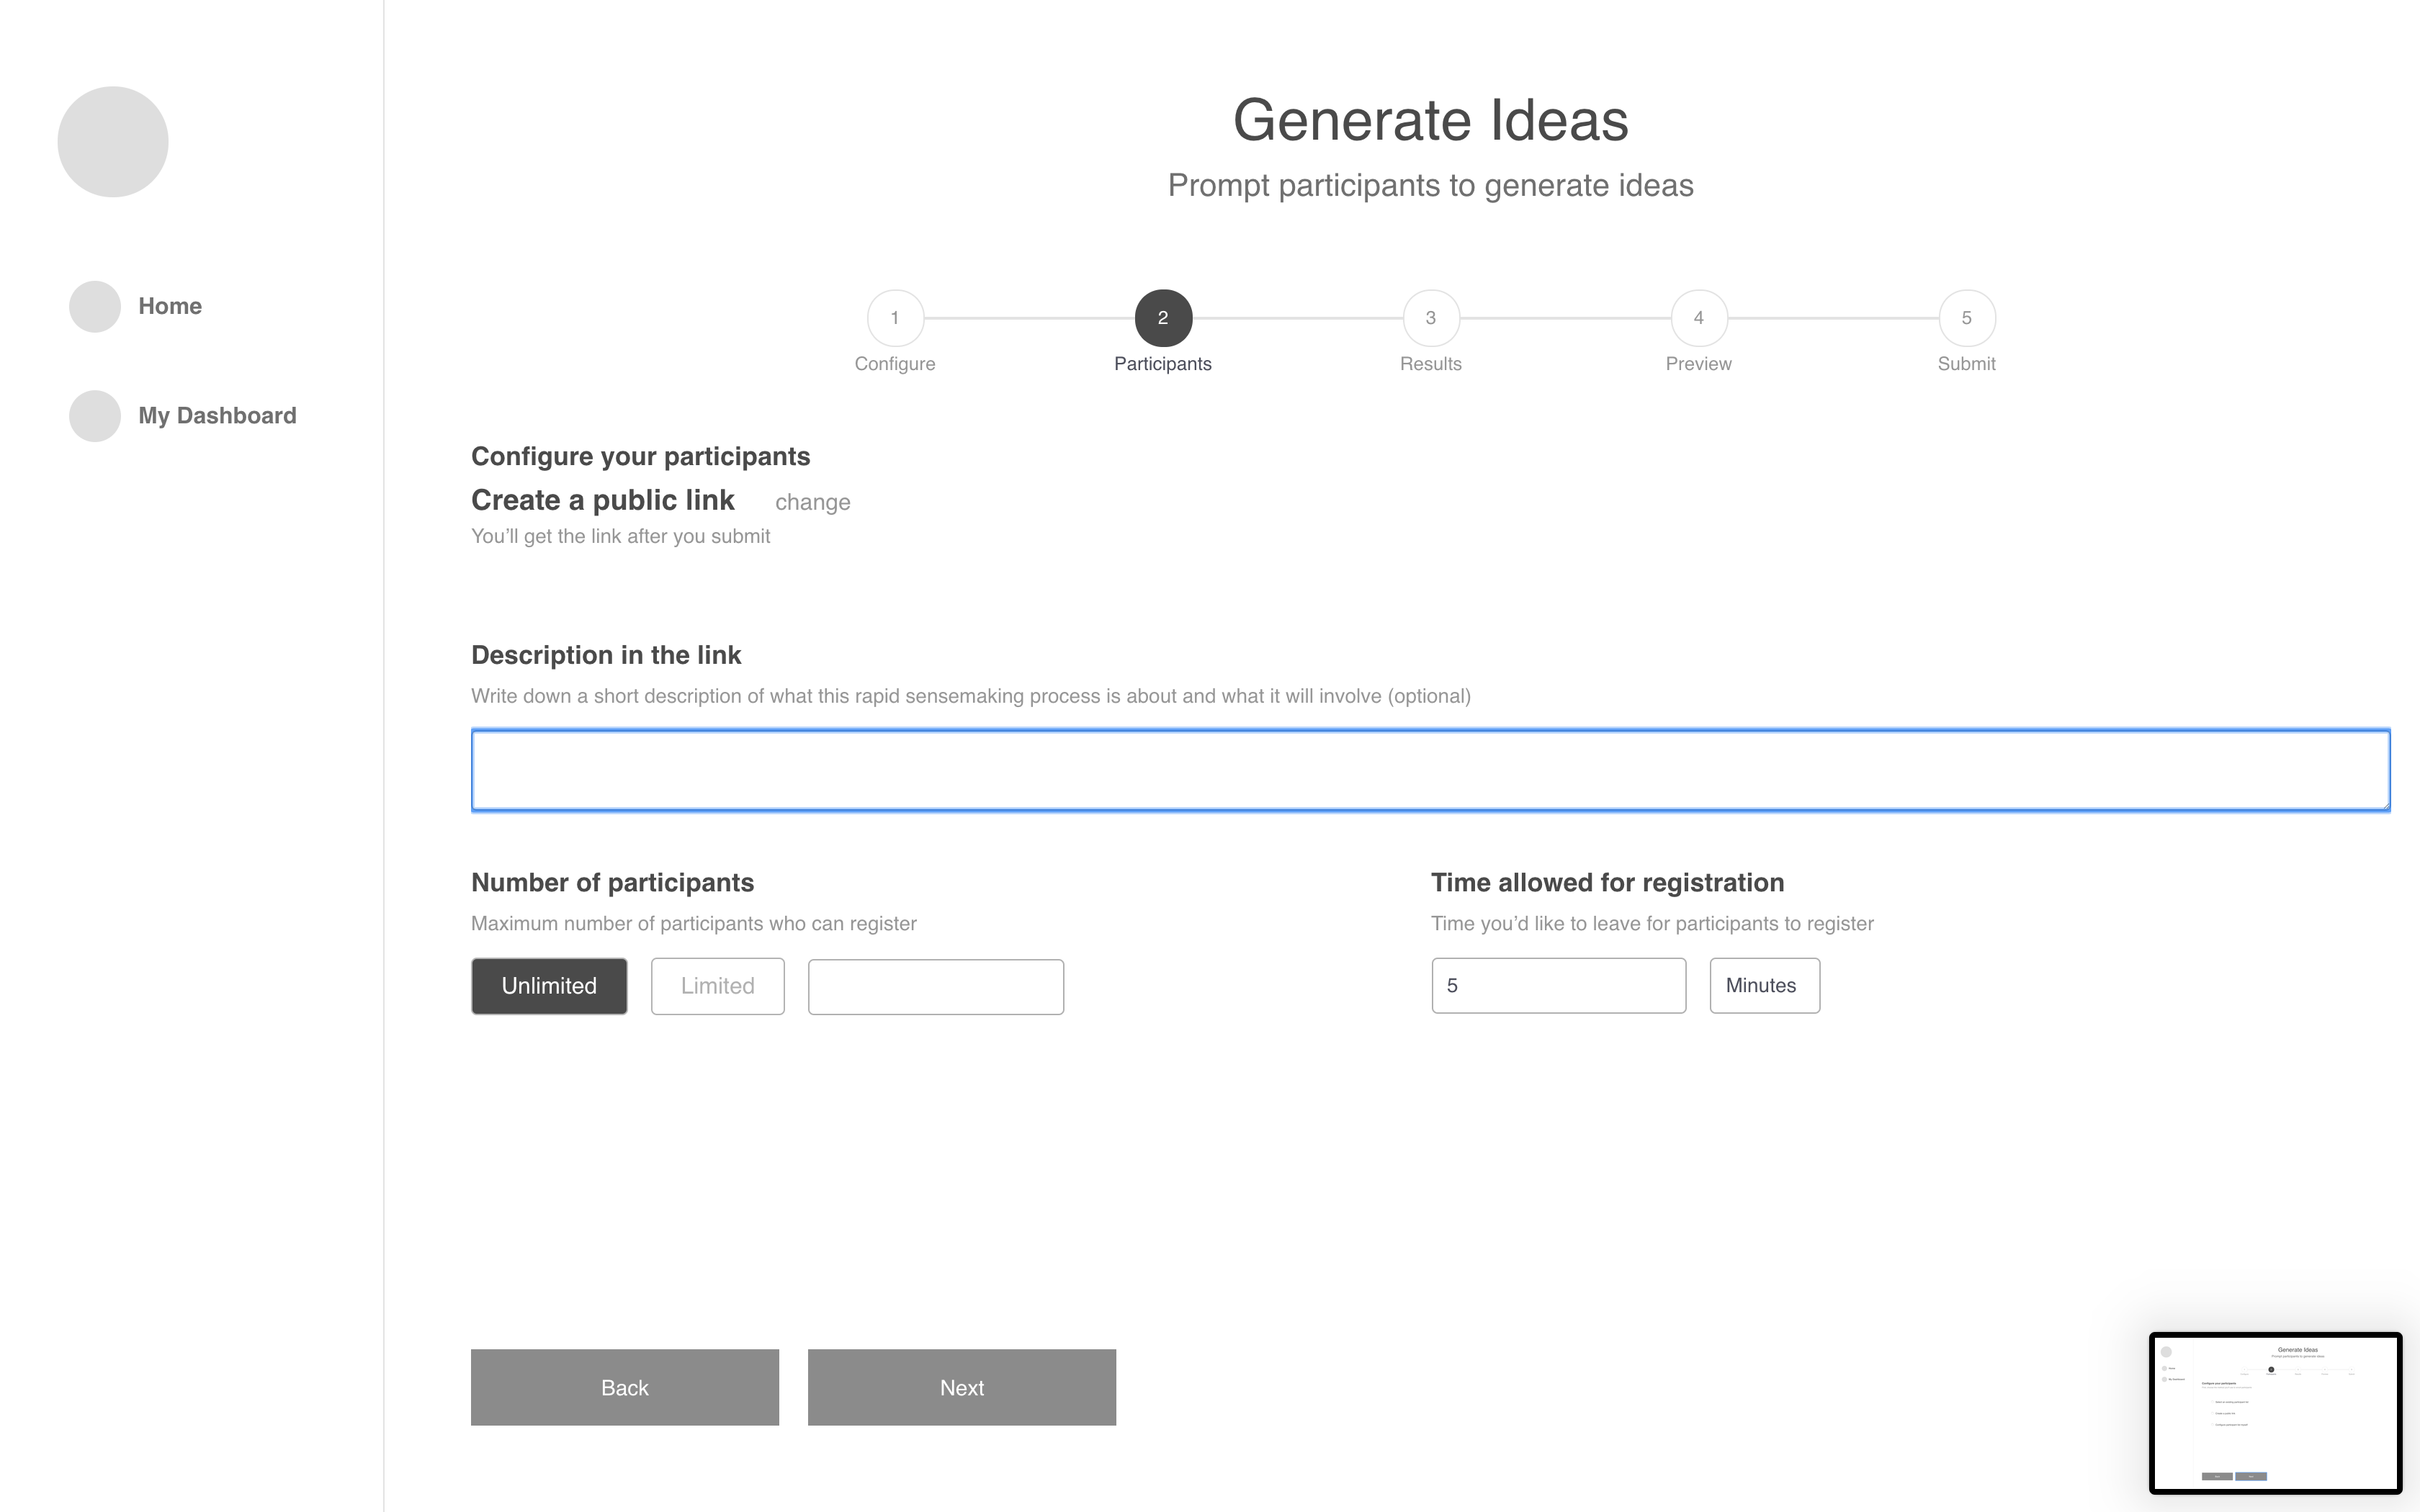
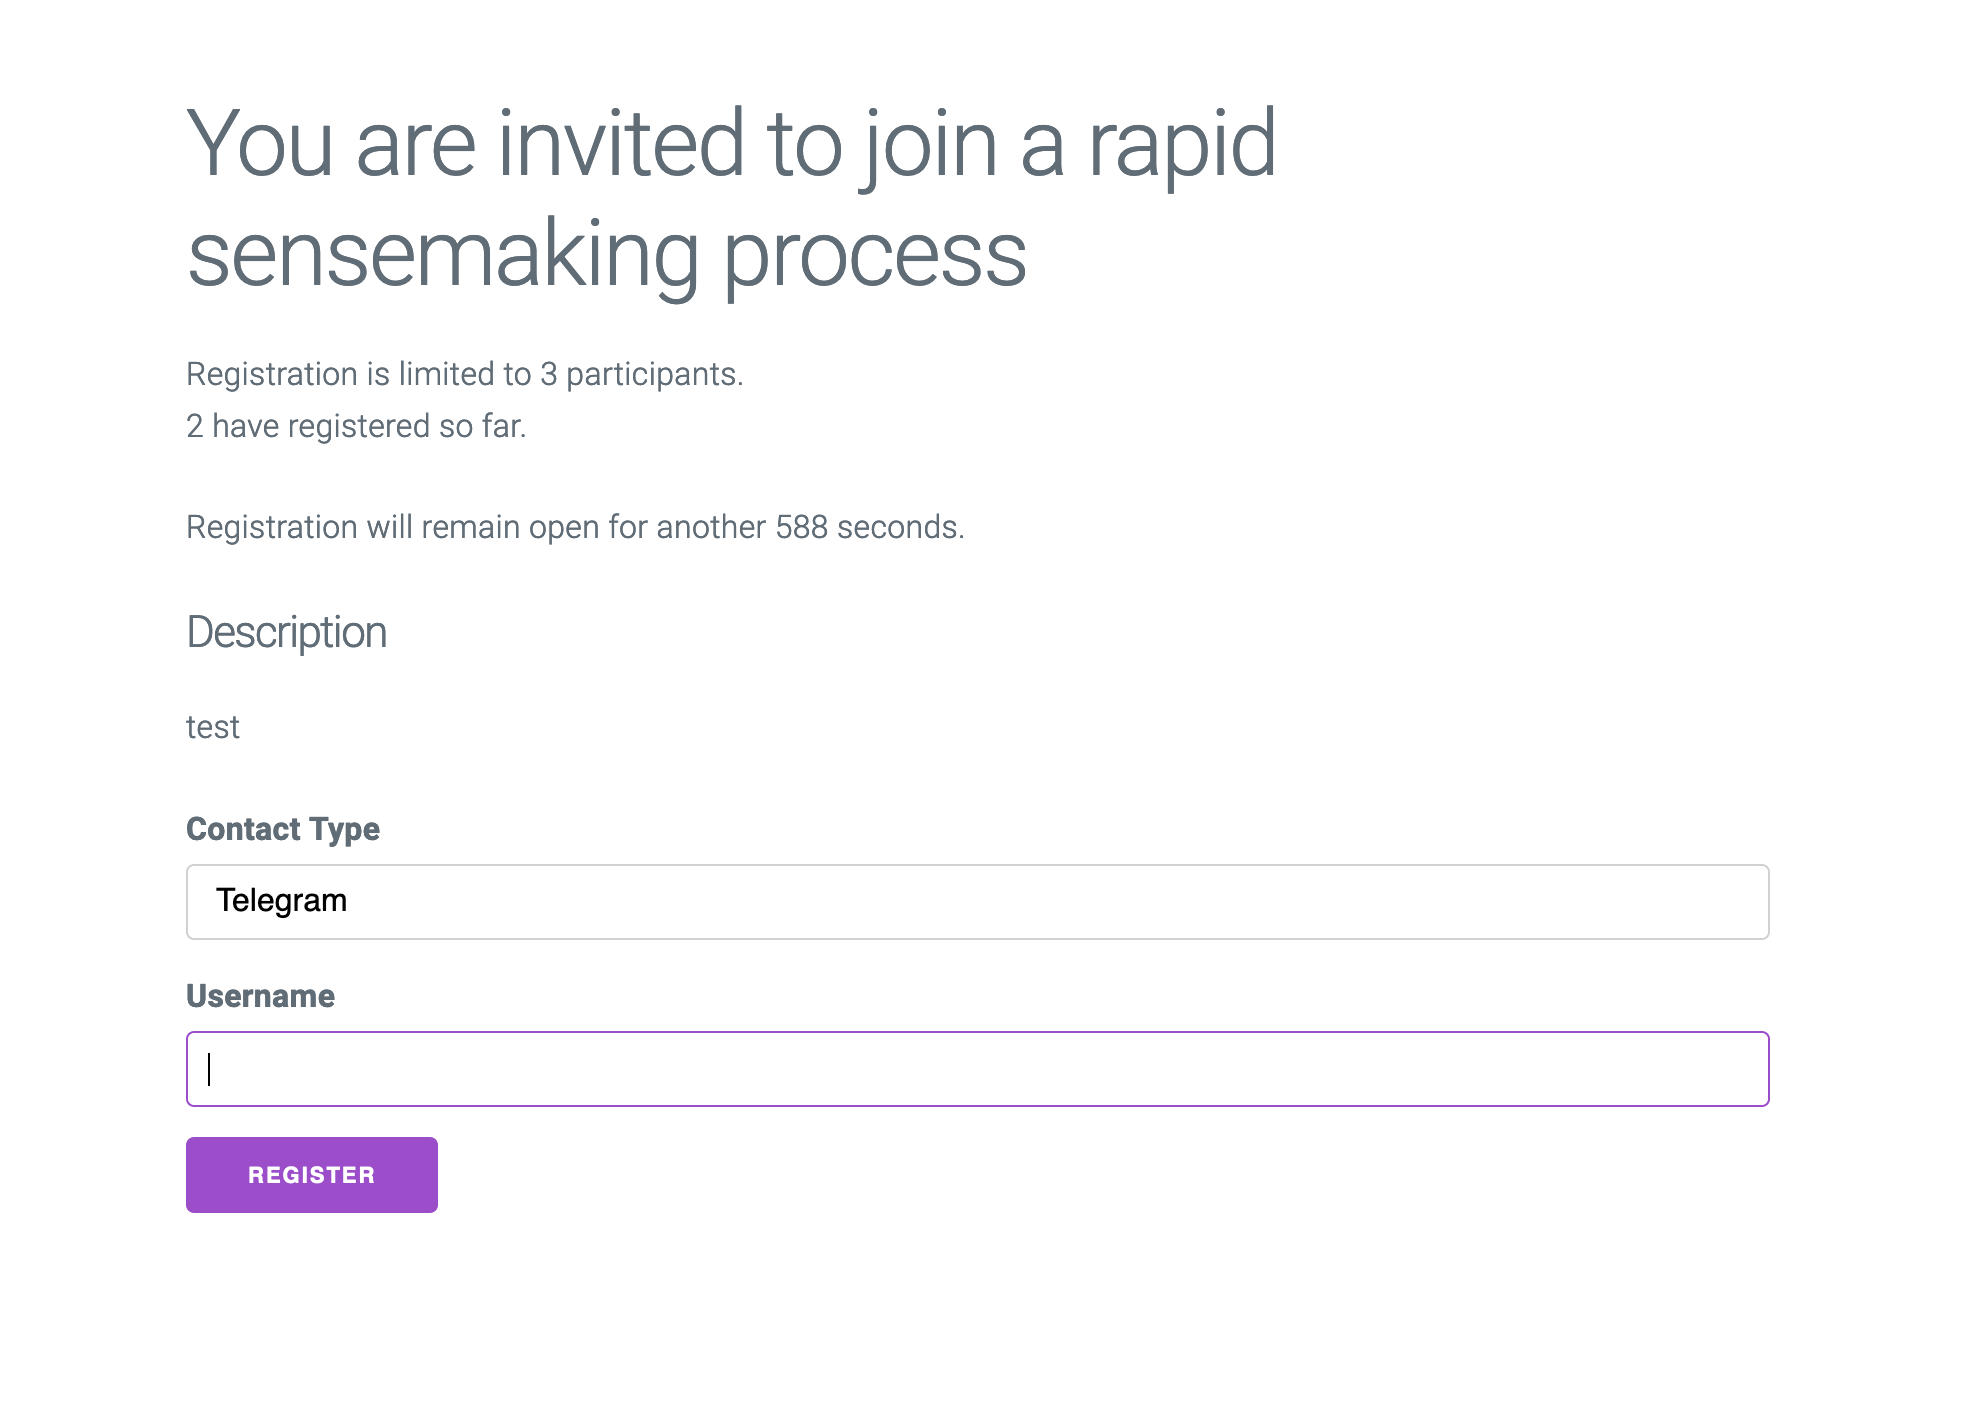
The flow starts up once the conditions for the public link are reached, either the time or participant limit.
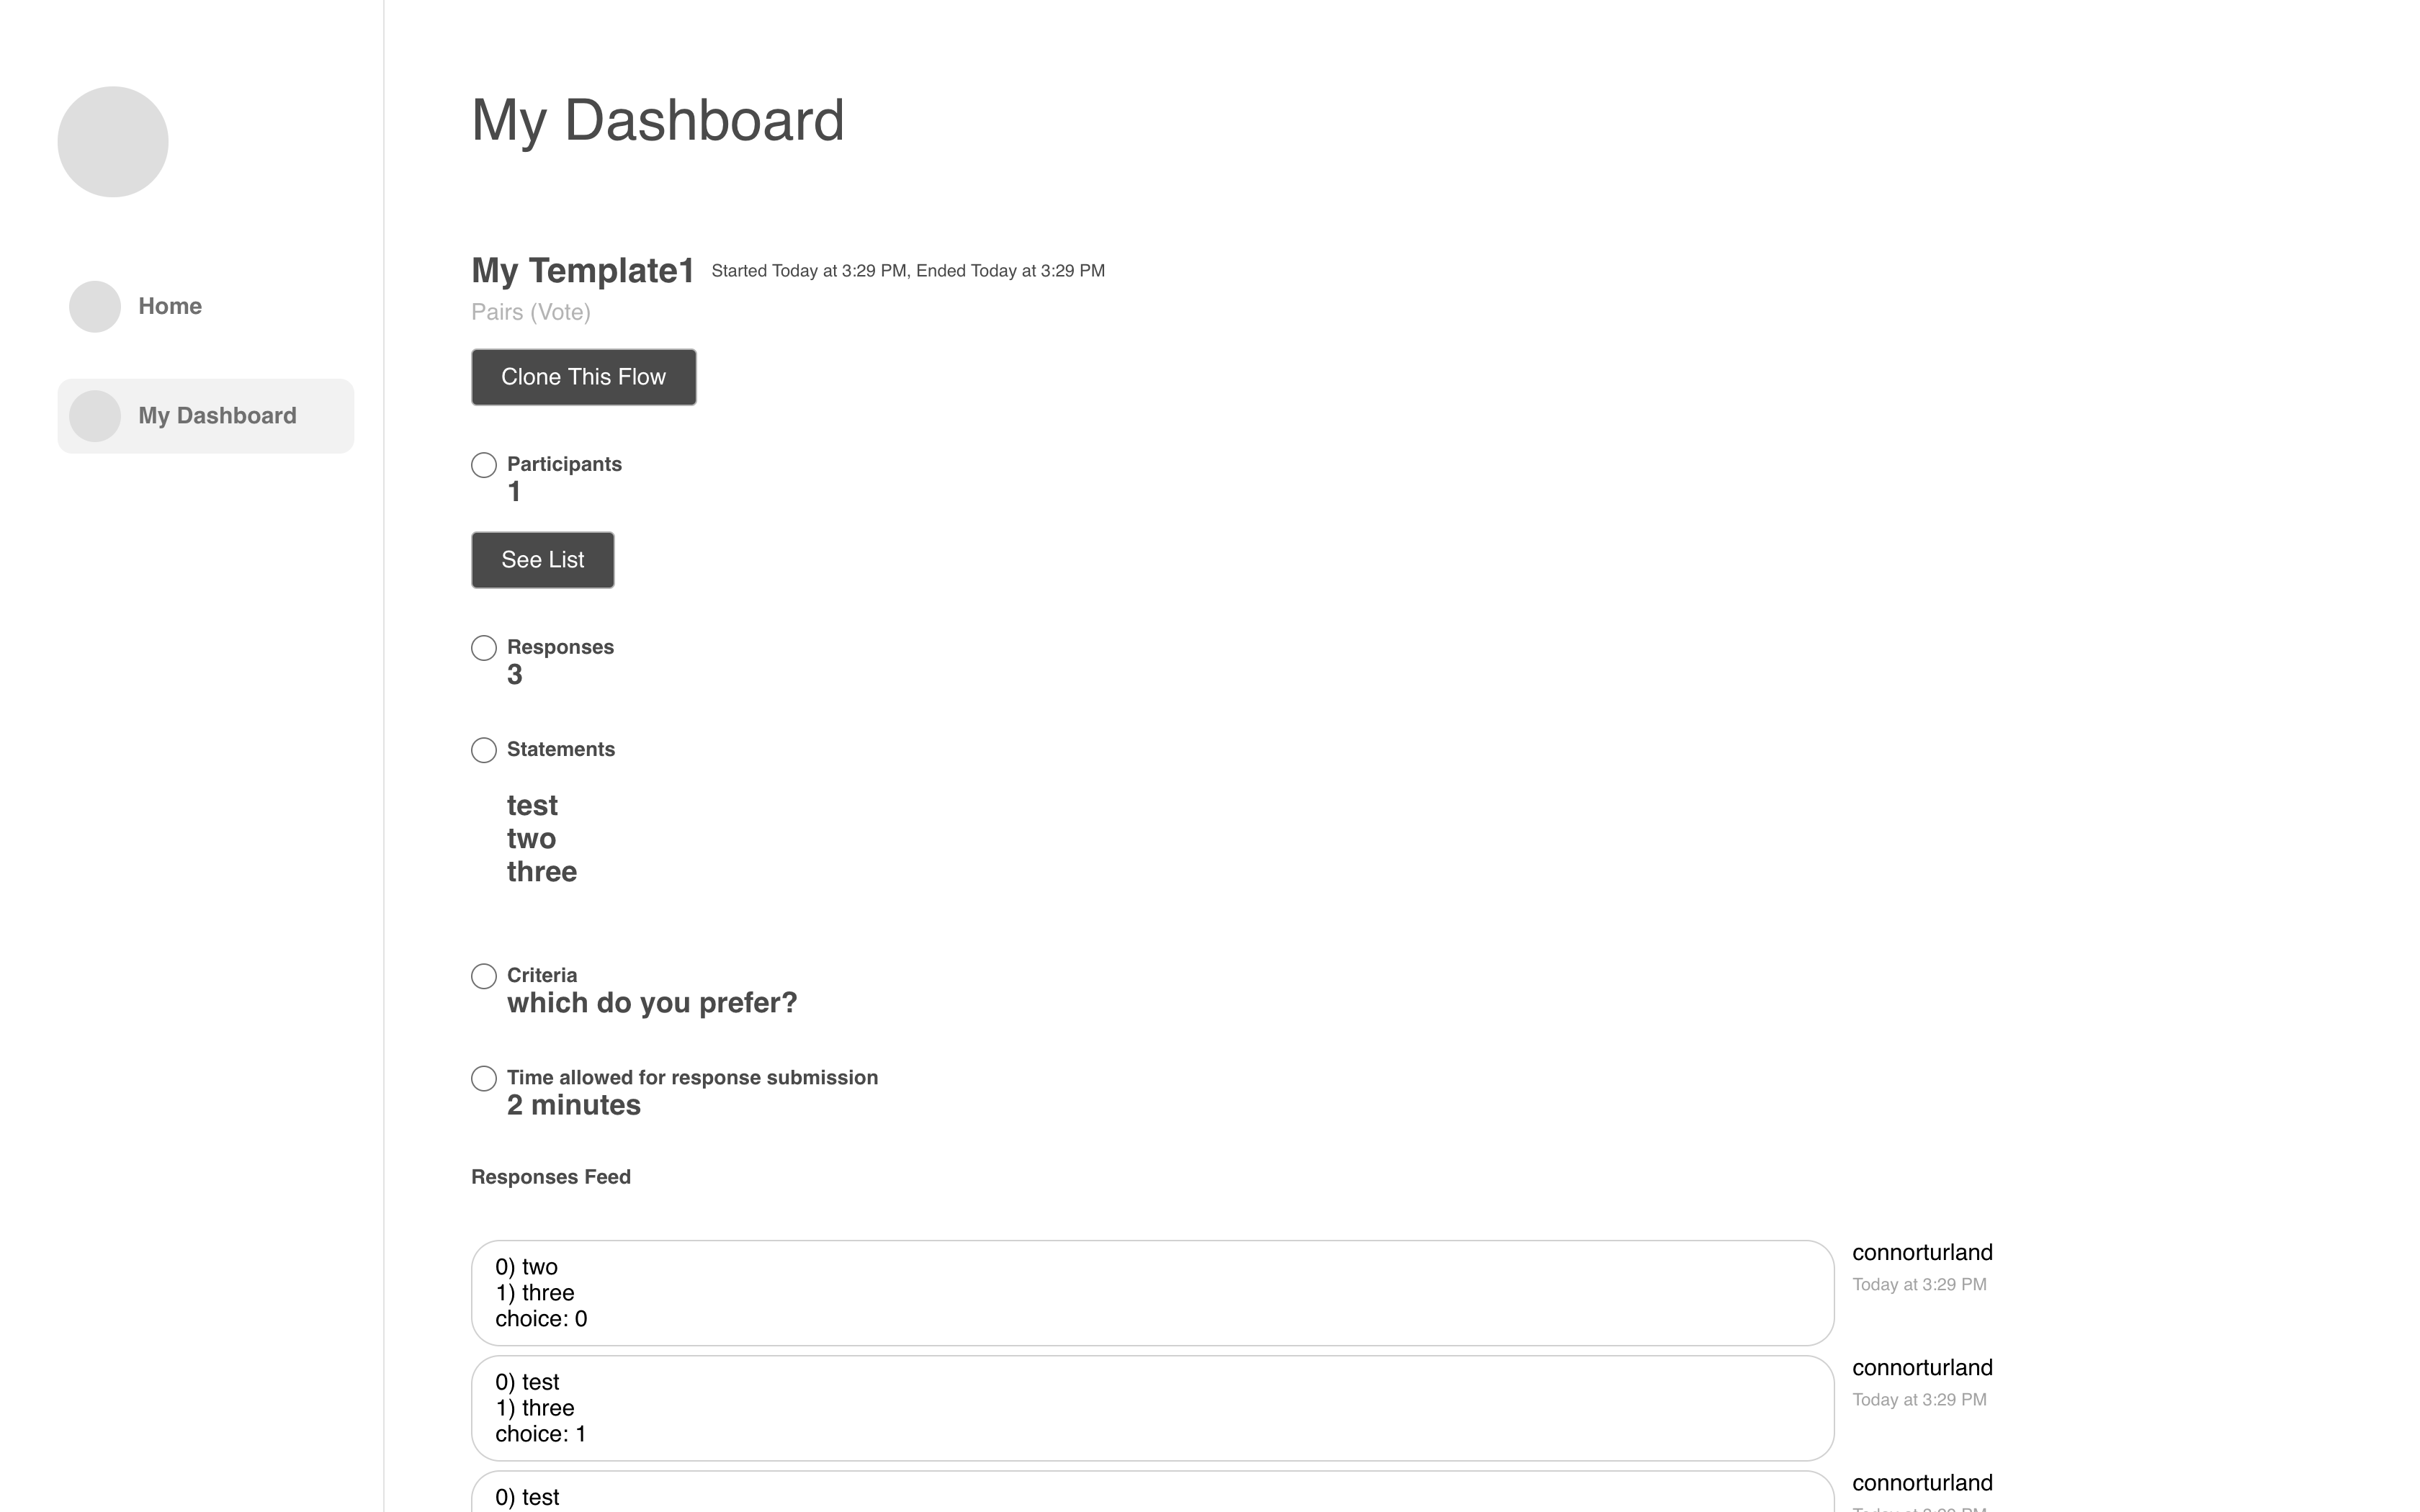
Participants will interact with this flow by interacting with bots or automated systems, and providing inputs!

A live dashboard of events taking place in the flow, and results coming in are viewable.
Once every step of the flow has completed, the final results are saved to the computer that was hosting the flow. From there, they could be uploaded to somewhere available online, or posted into a database for longevity.
Connects to a remote http server which will host registration pages for live links on the web for people to sign up with. Uses rsf-http-register
Environment Variable Setup for connection with a participant register http server:
.env-dev example:
REGISTER_HOST=127.0.0.1
REGISTER_PORT=3002
REGISTER_WS_PROTOCOL=ws
REGISTER_HTTP_PROTOCOL=http
Connects to a rsf specific noflo runtime in order to execute a configured flow-based programming graph.
This repo can be extended to allow different noflo graphs representing various rsf type flows.
These flows can be designed and run on https://app.flowhub.io. Download the graph JSON files, and put them in this repo in the graphs folder. Then, create a JSON template for it and put in the templates folder.
Environment Variable Setup for connection with a rsf noflo server runtime:
.env-dev example:
RUNTIME_ADDRESS=ws://127.0.0.1:3569
RUNTIME_SECRET=1lkj3134jn
If you're trying to connect to a server using wss and a self-signed certificate, make sure you also set:
NODE_TLS_REJECT_UNAUTHORIZED=0
or else it won't connect to the Noflo runtime.
Create a file called .env-dev, and set the appropriate environment variables, based on the above documentation.
run
npm install
npm run tsbuild-electron
npm run tsbuild-react
npm start
While developing, if you make changes anywhere in typescript/electron-only, the electron server will auto-restart.
If you make changes in src to the UI, you will get live reload for development.
Create a file called .env-prod, and set the appropriate environment variables, based on the above documentation.
npm install
npm run tsbuild-electron
npm run tsbuild-react
npm run build
To open the app and test this build, run
npm run electron
To package for MacOS, run
npm run package-mac
To package for Windows, run
npm run package-win
src/*- React code for the UI
typescript/*.js- typescript code shared between the UI, and the electron code
typescript/electron-only/*.js- typescript code just for running in the main electron flow, not the UI