Image graph is a representation of a network whose nodes have images as their background. You can construct this graph in graphspace_python by the following steps:
You have to import the ~graphspace_python.graphs.classes.gsgraph.GSGraph class to construct a graph and ~graphspace_python.api.client.GraphSpace client class to upload the graph to GraphSpace.
>>> from graphspace_python.graphs.classes.gsgraph import GSGraph >>> from graphspace_python.api.client import GraphSpace
You have to initialize the GraphSpace client by providing your username and password.
>>> graphspace = GraphSpace('user1@example.com', 'user1')
You can create a graph using the GSGraph class.
>>> G = GSGraph()
Using the mothods of the GSGraph class you can set name, tags and visibility status for your newly created graph.
>>> G.set_name('Image Graph') >>> G.set_tags(['image-graph', 'image', 'graphspace', 'demo']) >>> G.set_is_public()
Meta data for the graph can be set in the following way:
>>> data = { >>> 'description': 'A demo network where the nodes constitute of images.<br>You can view the functional demo of this graph at:>>> <a href="http://js.cytoscape.org/demos/images-breadthfirst-layout/\">http://js.cytoscape.org/demos/images-breadthfirst-layout/</a>', >>> 'directed': True >>> } >>> G.set_data(data)
You can add nodes to the graph from an iterable container having node names in it.
>>> nodes = ['cat', 'bird', 'ladybug', 'aphid', 'rose', 'grasshopper', 'plant', 'wheat'] >>> G.add_nodes_from(nodes)
After adding the nodes you can set their positions(x,y coord) in the following way:
>>> G.set_node_position('cat', y=-36.7, x=738.3) >>> G.set_node_position('bird', y=152.6, x=738.3) >>> G.set_node_position('ladybug', y=340.1, x=465.2) >>> G.set_node_position('aphid', y=528.1, x=269) >>> G.set_node_position('rose', y=716.3, x=738.3) >>> G.set_node_position('grasshopper', y=340.1, x=1031.8) >>> G.set_node_position('plant', y=528.1, x=738.3) >>> G.set_node_position('wheat', y=528.1, x=1227.7)
You can add edges to the graph from an iterable container having source and target pairs in it.
>>> edges = [('cat', 'bird'), ('bird', 'ladybug'), ('bird', 'grasshopper'), ('grasshopper', 'plant'), >>> ('grasshopper', 'wheat'), ('ladybug', 'aphid'), ('aphid', 'rose')] >>> G.add_edges_from(edges)
You can assign style to the added nodes and edges in the following manner:
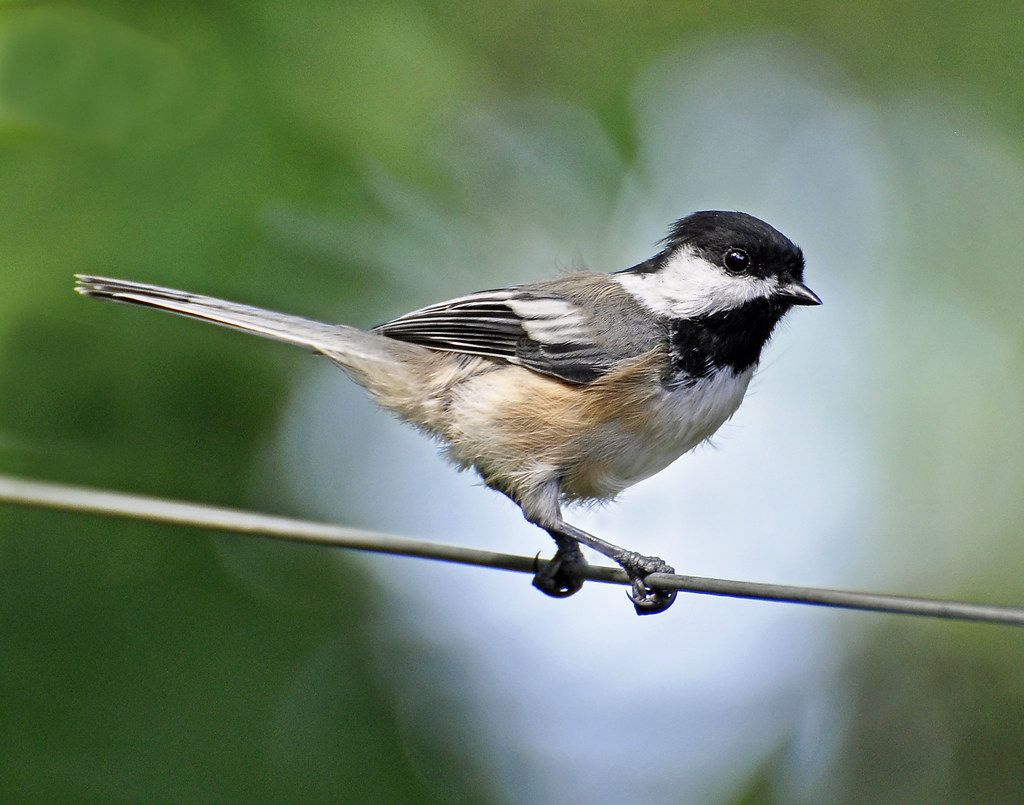
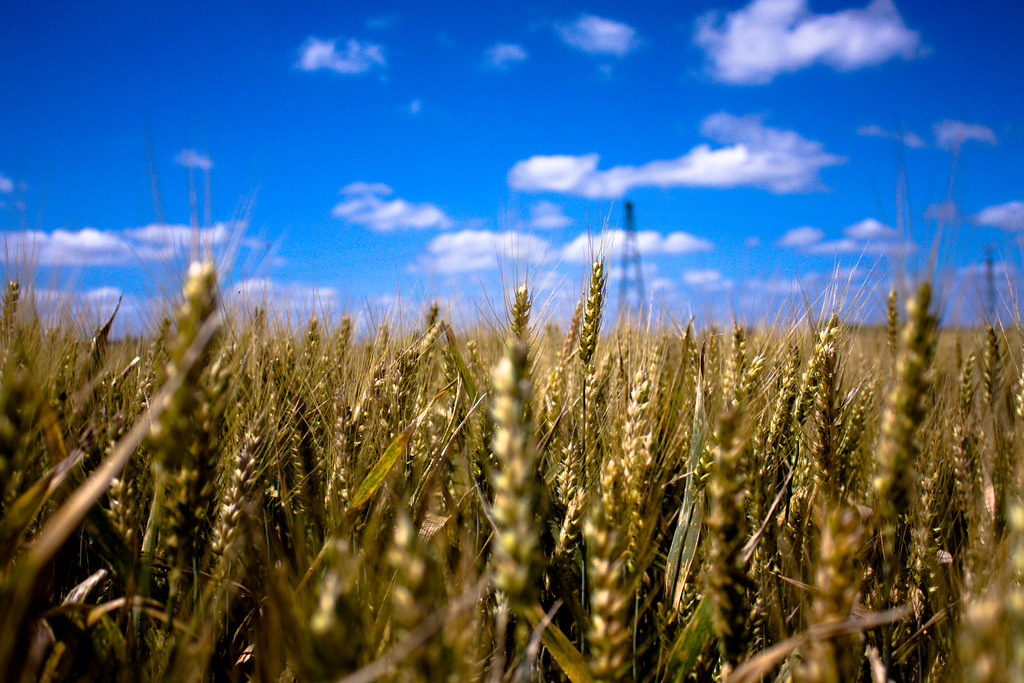
>>> G.add_style('node', { >>> "height": 80, >>> "width": 80, >>> "background-fit": "cover", >>> "border-color": "#000", >>> "border-width": 3, >>> "border-opacity": 0.5 >>> }) >>> G.add_style('node[name="bird"]', { >>> "background-image": "https://farm8.staticflickr.com/7272/7633179468_3e19e45a0c_b.jpg" >>> }) >>> G.add_style('node[name="cat"]', { >>> "background-image": "https://farm2.staticflickr.com/1261/1413379559_412a540d29_b.jpg" >>> }) >>> G.add_style('node[name="ladybug"]', { >>> "background-image": "https://farm4.staticflickr.com/3063/2751740612_af11fb090b_b.jpg" >>> }) >>> G.add_style('node[name="aphid"]', { >>> "background-image": "https://farm9.staticflickr.com/8316/8003798443_32d01257c8_b.jpg" >>> }) >>> G.add_style('node[name="rose"]', { >>> "background-image": "https://farm6.staticflickr.com/5109/5817854163_eaccd688f5_b.jpg" >>> }) >>> G.add_style('node[name="grasshopper"]', { >>> "background-image": "https://farm7.staticflickr.com/6098/6224655456_f4c3c98589_b.jpg" >>> }) >>> G.add_style('node[name="plant"]', { >>> "background-image": "https://farm1.staticflickr.com/231/524893064_f49a4d1d10_z.jpg" >>> }) >>> G.add_style('node[name="wheat"]', { >>> "background-image": "https://farm3.staticflickr.com/2660/3715569167_7e978e8319_b.jpg" >>> }) >>> G.add_style('edge', { >>> "width": 6, >>> "target-arrow-shape": "triangle", >>> "line-color": "#ffaaaa", >>> "target-arrow-color": "#ffaaaa" >>> })
Finally, you can upload the graph to GraphSpace.
>>> graph = graphspace.post_graph(G) >>> graph.url 'http://graphspace.org/graphs/32708'
This demo graph is already present on GraphSpace. You can view it at http://graphspace.org/graphs/22758
