
satshakit born during my FabAcademy2015 as one the first test boards for my quadcopter final project. As some of my fellow students had difficulties with Fabkit, they tried to make this prototype board. The board was very appreciated that now almost all my fellow students made it for their exercises, or use it as a starting point for their final projects. Thus I decided to do this release, if anyone wants to try it. Now, one year later, I am again in a FabLab developing new satshakit boards in my spare time.
satshakit is a 100% Arduino IDE and libraries compatible, fabbable and open source board, and also an improved version of Fabkit.
Main improvements and features over Fabkit are:
- 16Mhz instead of 8Mhz
- crystal instead of resonator
- costs less (7-9 euro vs 13 euro)
- 100% compatible with default Arduino IDE (satshakit is recognized as Arduino UNO)
- ADC6/7 connected instead of ADC6/7 not connected (satshakit laser and cnc)
- larger space to easy soldering (satshakit laser and cnc)
Find here all the available satshakit boards: satshakit github organization
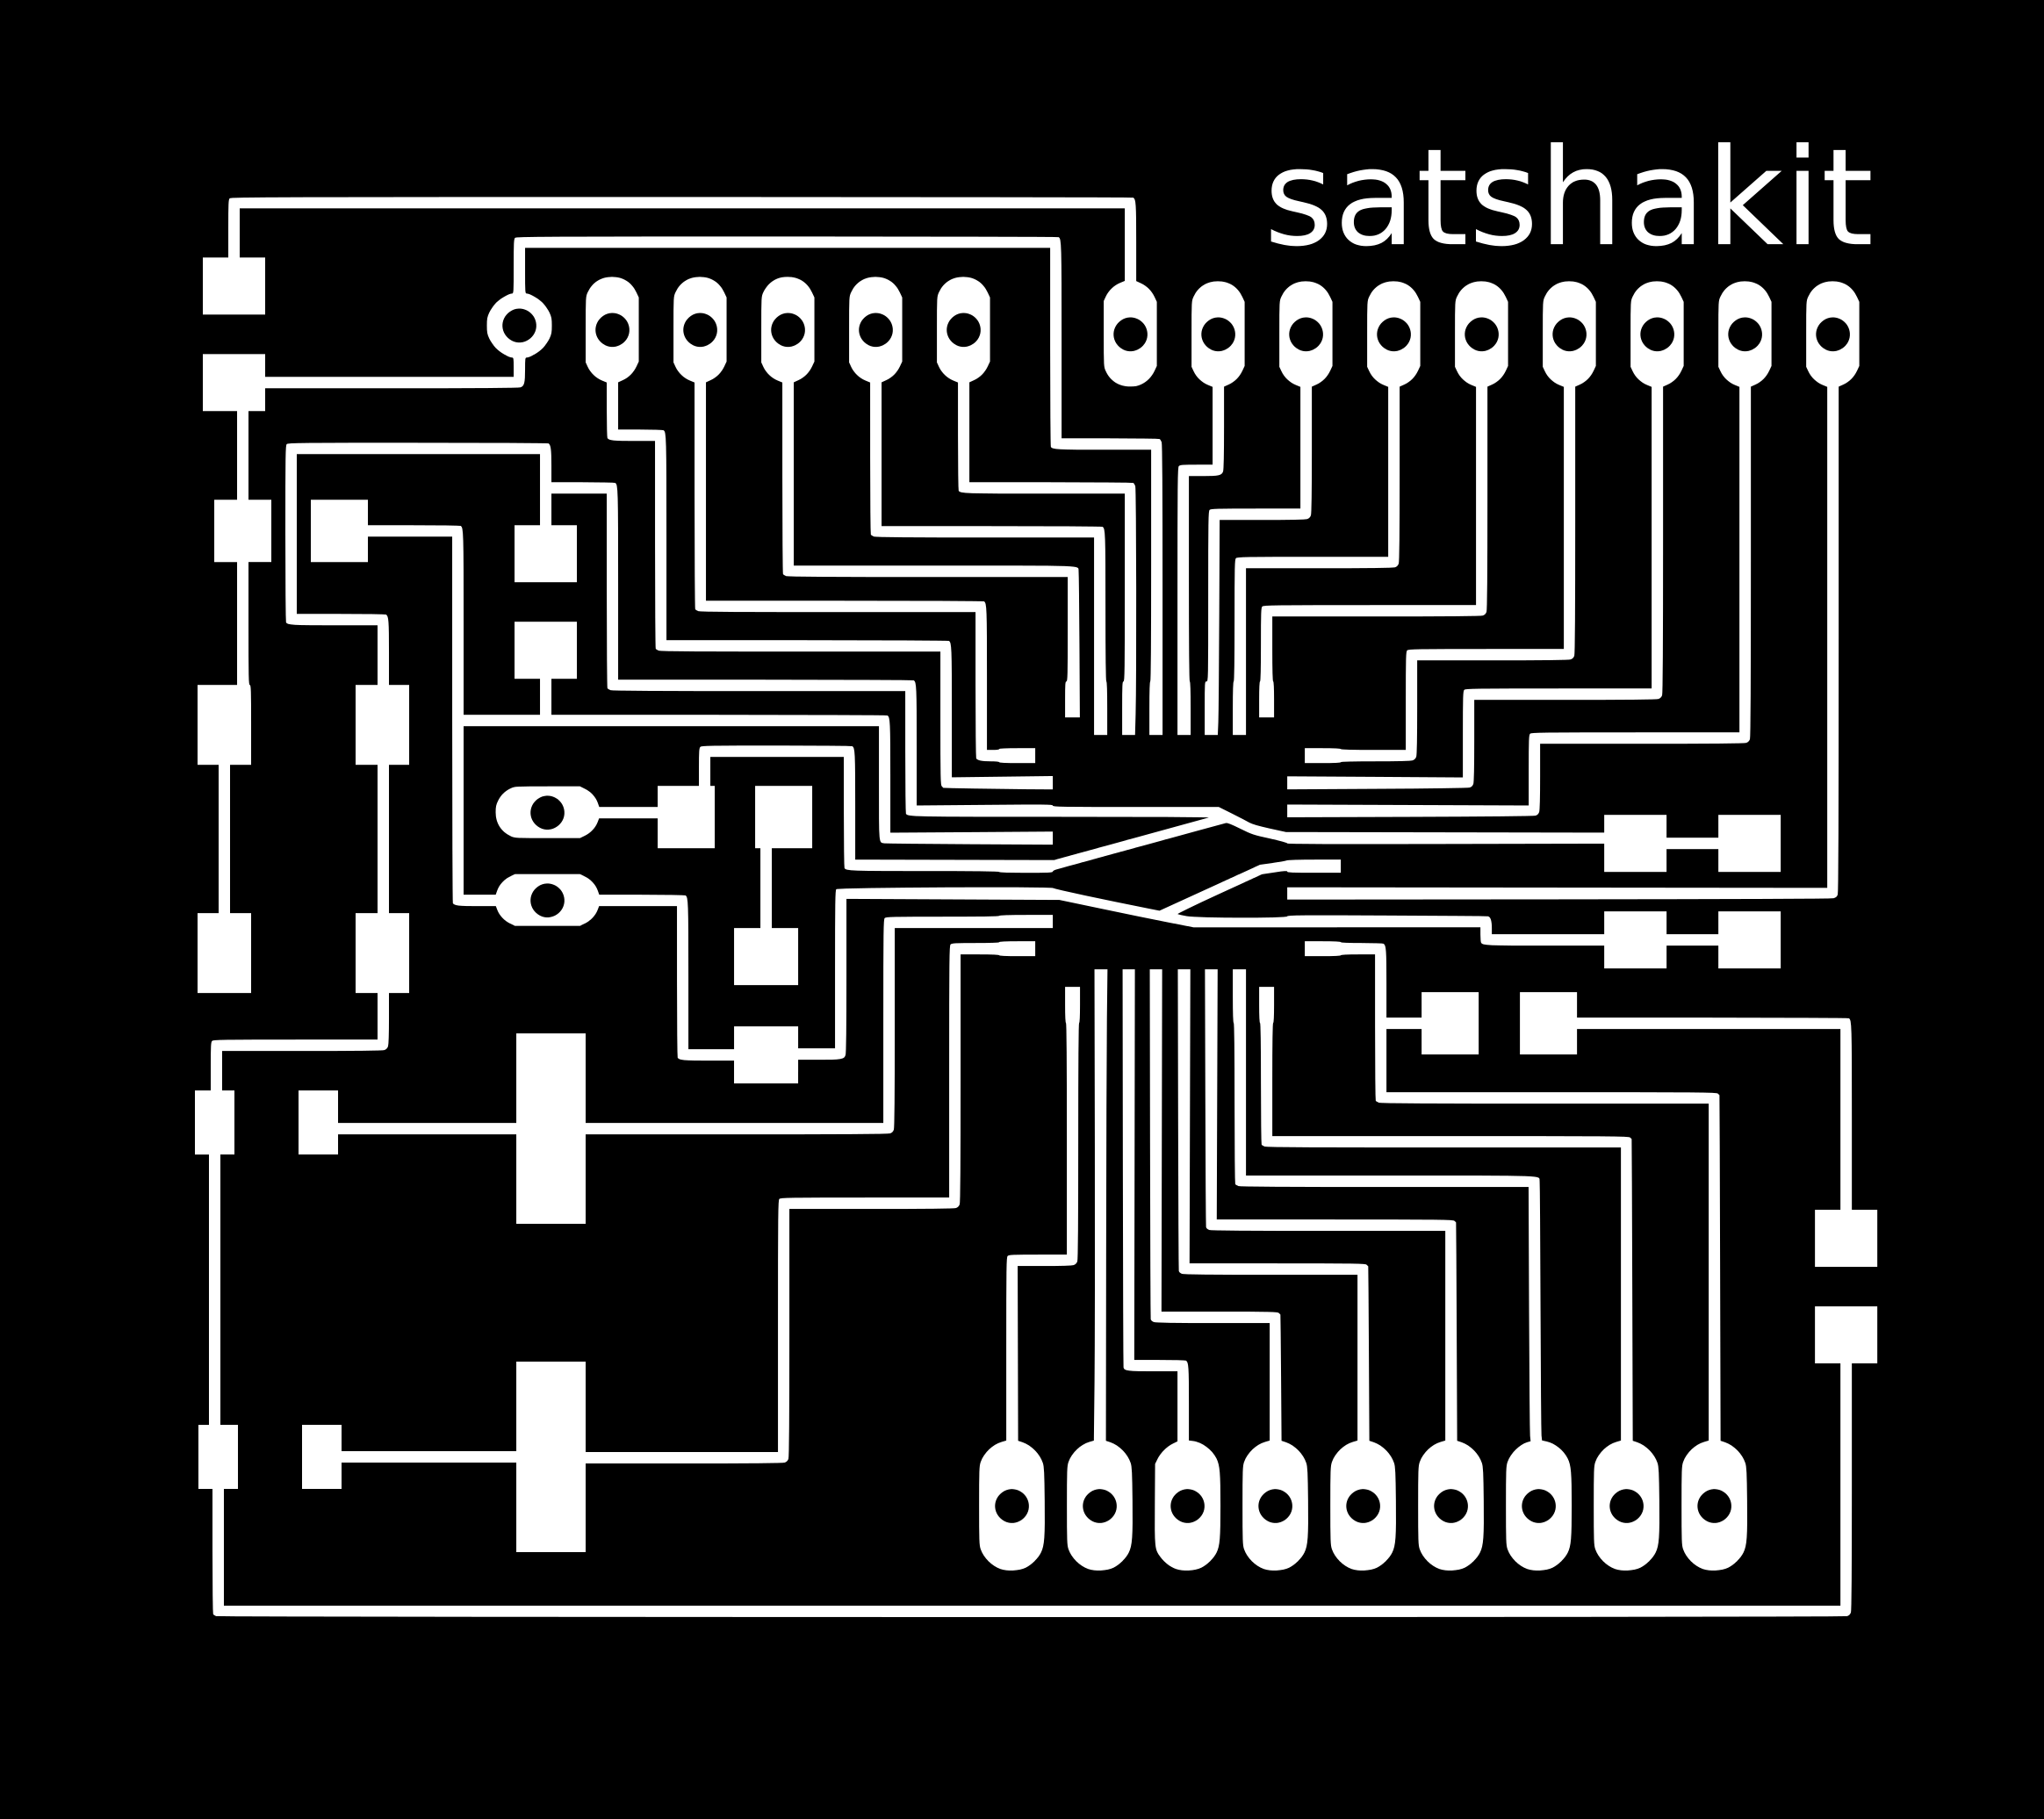
satshakit laser and satshakit cnc are the standard versions of the satshakit. They are actually the same board, showing some layout differences to improve the fabrication process using a fiber laser cutter machine, or a little cnc mill. These satshakits are meant to be a general purpose board, having the full Arduino pinout plus ADC6/7 pins, large space for easy soldering and two led onboard for power and pin 13.
Here is the satshakit laser board:


And this is the satshakit cnc board:


downloads (right click, download as)
- satshakit cnc svg
- satshakit cnc internal png
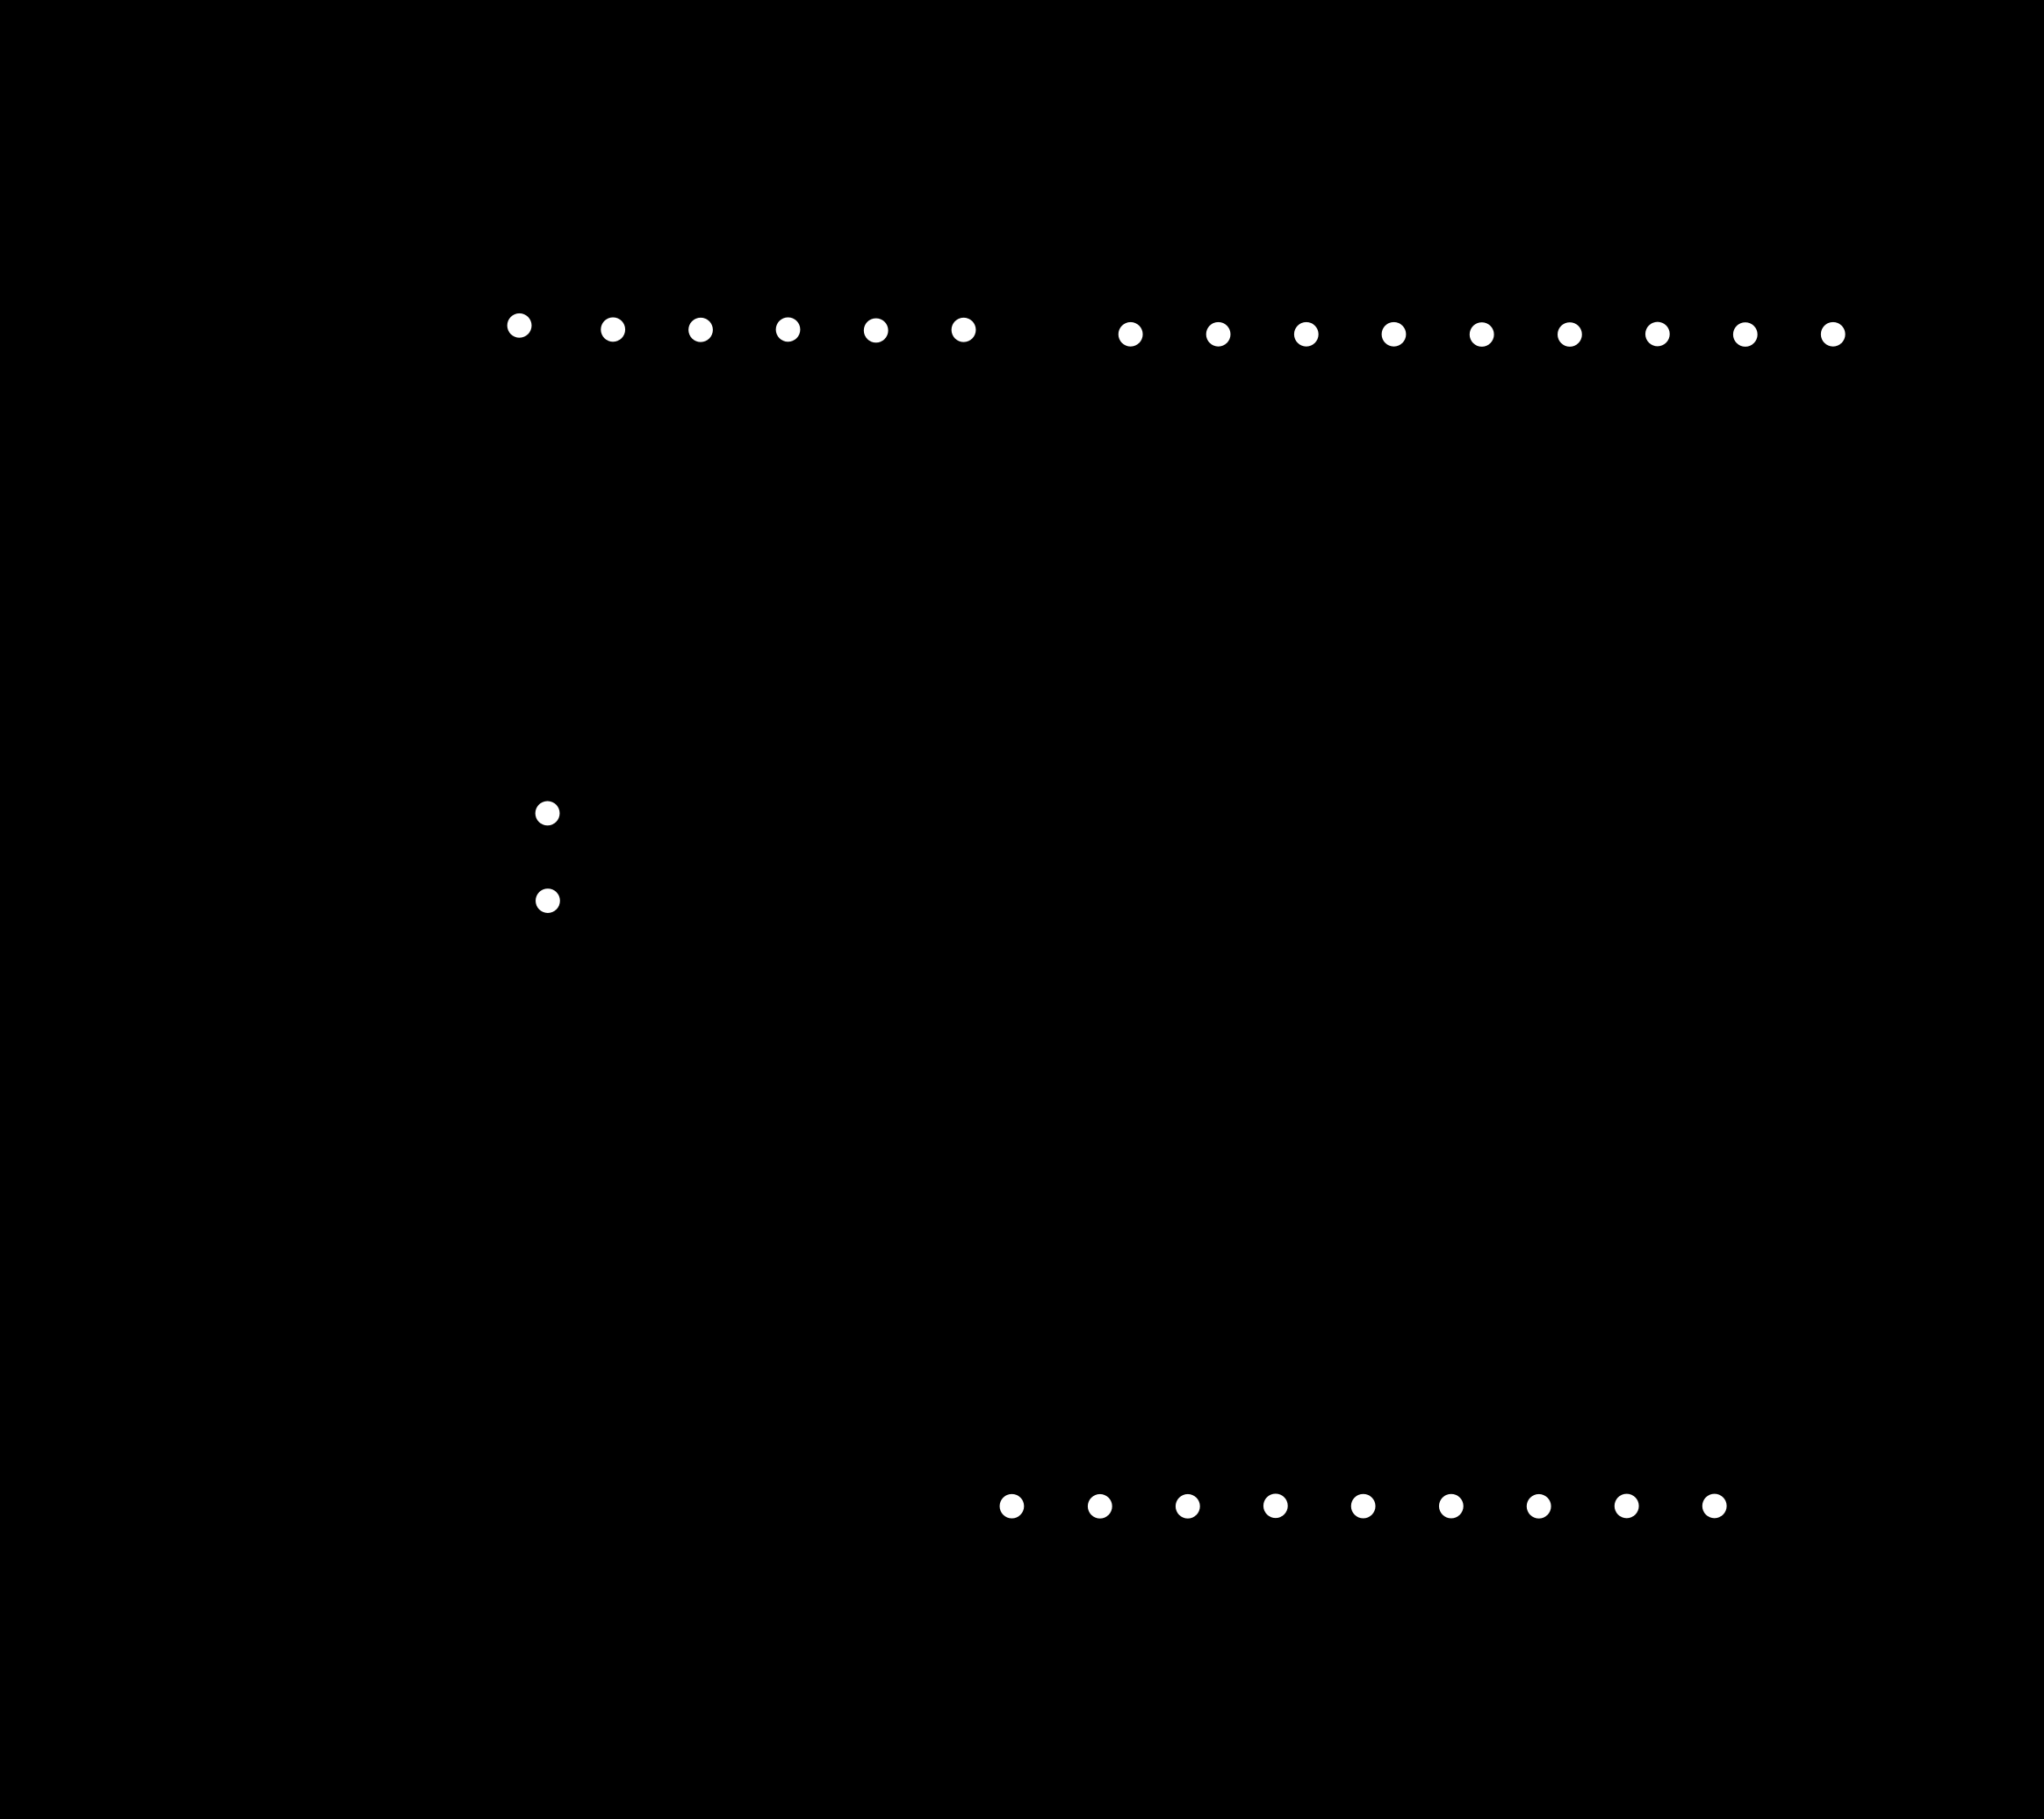
- satshakit cnc holes png
- satshakit cnc cut png
- satshakit cnc cut tips png
- satshakit cnc schematic
- satshakit cnc board
- satshakit laser svg
- satshakit laser schematic
- satshakit laser board
- satshakit laser and cnc BOM Open Document
- satshakit laser and cnc BOM Excel
media
satshakit laser:

satshakit cnc:


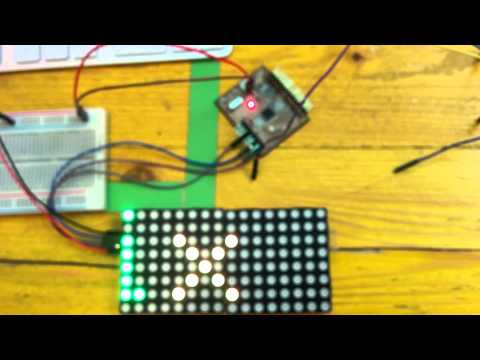
satshakit cnc blinks:
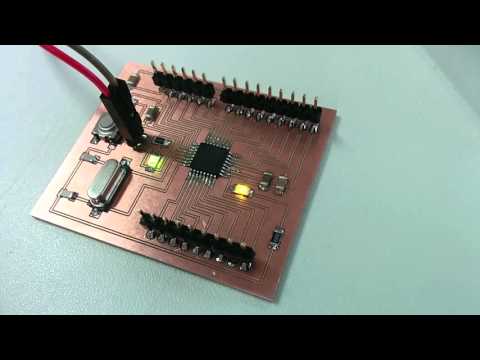
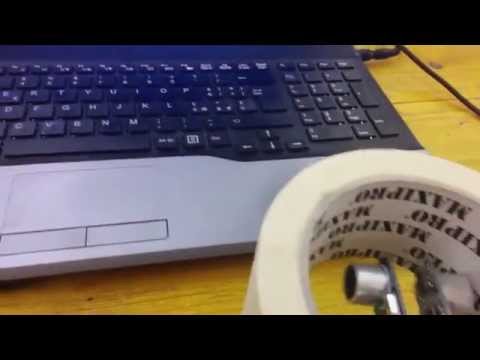
satshakit programmed with a FabISP:
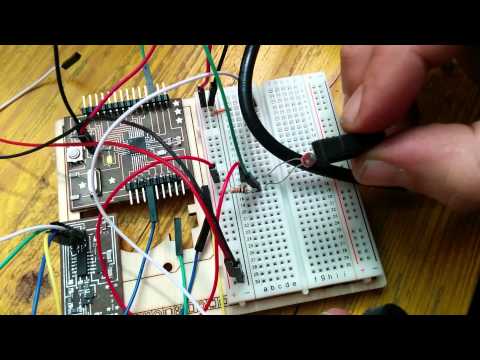
Here are some videos of satshakit while is working with different configuration and/or sensors:
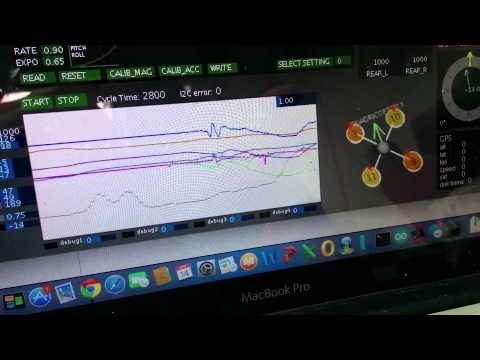
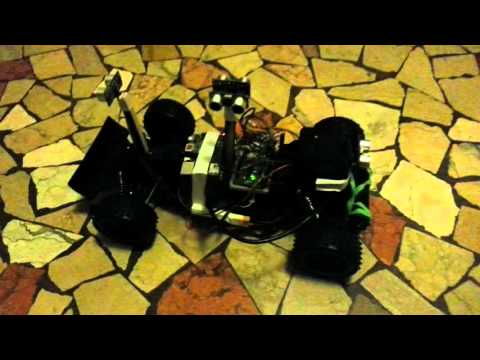
satshakit car with sonars sensors and Raspberry Pi:
satshakit little radar, a satshakit modified board with an ULN2003A:
Due to the power requirements of a multicore satshakit system and to eventually provide power to 3.3V devices, I have also developed a simple power board. This power board can work with 7V-12V as input voltage, and give out 5V and 3.3V. I made this power board with the components I had available, obviously you can make this board only with SMD components.

downloads (right click, download as)
Here is a picture of a soldered power board:

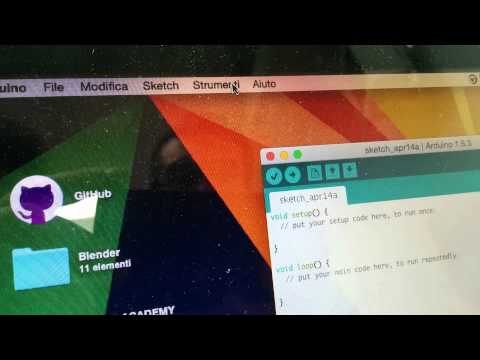
A satshakit board is totally like an Arduino board, thus is possible to use the Arduino IDE without any modification. When you finish solder satshakit, you're ready to program it. If you want to use satshakit as an Arduino, you first need to upload Arduino bootloader. This will also set the ATmega328P fuses as the same of an Arduino UNO. To do this you need to use a programmer, for example another Arduino or FabISP. If you plan to program a satshakit with an Arduino, be sure to upload the Arduino as ISP skecth before connecting the satshakit to it.
Here are the connection schemas to program satshakit laser or satshakit cnc with an Arduino as ISP or with a FabISP:


Once everything is connected, follow these steps to upload Arduino bootloader:
- open Arduino IDE
- select proper programmer (for example Arduino as ISP or USBtinyISP)
- select Arduino UNO as board
- click on tools->Burn Bootloader
With a satshakit cnc or satshakit laser you can use an FTDI USB cable to upload and use you favourite sketch without the need to use a programmer anymore.
Here is the connection schema to program a satshakit using the FTDI cable:

Remember that if you don't have an FTDI cable you always need a programmer, and to select File->Upload using a programmer to upload the code to satshakit.
To use a satshakit like an Arduino, here is the Arduino pinout on satshakit cnc or satshakit laser:

- docs: BOM files for Farnell
- egle projects: eagle projects of satshakit
- media: svg of satshakits, connections schemas, images for cnc milling machine and fiber laser cutter, other images
- Daniele Ingrassia and Engineering Ingegneria Informatica
Fablab opendot
info@opendotlab.it
Via Tertulliano N70, 20137, Milan, Italy
+39.02.36519890
Fablab Kamp-Lintfort
Hochschule Rhein-Waal
Friedrich-Heinrich-Allee 25, 47475 Kamp-Lintfort, Germany
fablab@hochschule-rhein-waal.de
This work is licensed under the terms of the open source license: Creative Commons Attribution-ShareAlike 4.0 International (CC BY-SA 4.0).