The Lemonade app requires just a basic layout; you only need two views to implement all its functionality.
- A
TextViewwhich provides instructions to the user. An ImageViewwhich shows a graphic based on the current state of the app (e.g. a lemon to be squeezed).
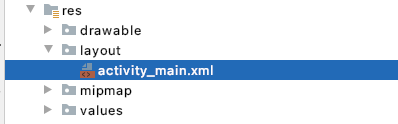
You'll build this layout in activity_main.xml.
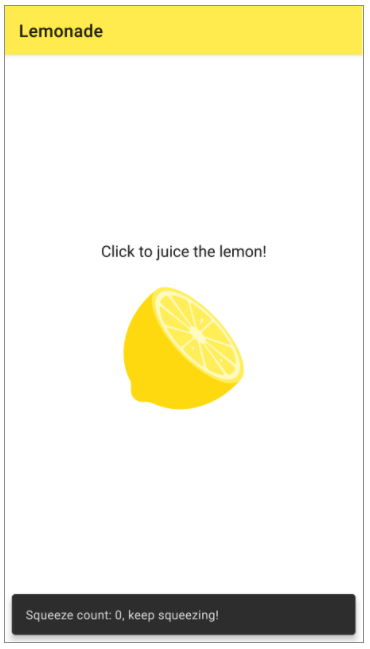
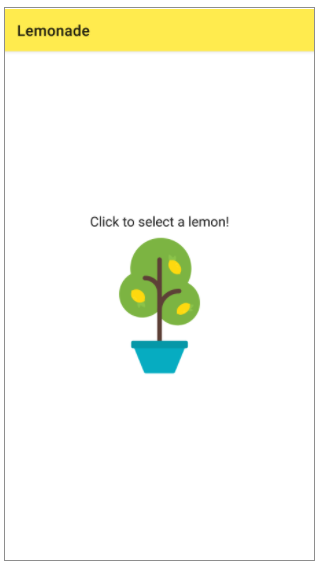
Using your knowledge of the layout editor, your goal is to build a layout that looks something like the below, with both views centered onscreen and the TextView above the ImageView.

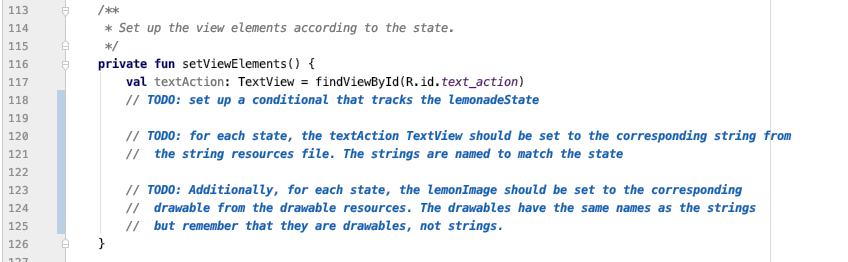
Once your layout is complete, open up MainActivity.kt. This is where you'll implement all the app's logic. You'll notice there's already quite a bit of code. There are also many comments marked // TODO: (example below). These are tasks for you to complete.
There are three basic things you'll need to implement to get the lemonade app working.
- Configure the lemonImage ImageView to respond to user input.
- Implement
clickLemonImage()to update the app's state. - Implement
setViewElements()to update the UI based on the app's current state. Let's take a look at each task one at a time.
Tapping the image view should move the app from one state to another. At the end of onCreate(), notice that there are two listeners that need to be set.
setOnClickListener()should update the app's state. The method to do this is clickLemonImage().setOnLongClickListener()responds to events where the user long presses on an image (e.g. the user taps on the image and doesn't immediately release their finger). For long press events, a widget, called a snackbar, appears at the bottom of the screen letting the user know how many times they've squeezed the lemon. This is done with the showSnackbar() method.
Note: It's important that you DO NOT change the name of any of the existing methods. Otherwise, the tests may be unable to run.
In the next step, you'll implement the logic for changing the app's state.
After completing the previous step, the clickLemonImage() method is now called each time the user taps the image. This method is responsible for moving the app from the current state to the next and updating any variables as needed. There are four possible states: SELECT, SQUEEZE, DRINK, and, RESTART; the current state is represented by the lemonadeState variable. This method needs to do something different for each state.
SELECT: Transition to the SQUEEZE state, set the lemonSize (the number of squeezes needed) by calling the pick() method, and setting the squeezeCount (the number of times the user has squeezed the lemon) to 0.SQUEEZE: Increment the squeezeCount by 1 and decrement the lemonSize by 1. Remember that a lemon will require a variable number of squeezes before the app can transition its state. Transition to the DRINK state only if the new lemonSize is equal to 0. Otherwise, the app should remain in the SQUEEZE state.DRINK: Transition to the RESTART state and set the lemonSize to -1.RESTART: Transition back to the SELECT state. Once you've handled all the updates and transitions between states, be sure to call setViewElements() to update the UI based on the new state.
Tip: A when statement is a great way to check multiple possible conditions of a single value, such as the lemonadeState.
The setViewElements() method is responsible for updating the UI based on the app's state. The text and image should be updated with the values shown below to match the lemonadeState.
SELECT:
- Text: Click to select a lemon!
- Image:
R.drawable.lemon_tree
SQUEEZE:
- Text: Click to juice the lemon!
- Image:
R.drawable.lemon_squeeze
DRINK:
- Text: Click to drink your lemonade!
- Image:
R.drawable.lemon_drink
RESTART:
- Text: Click to start again!
- Image:
R.drawable.lemon_restart
Tip: The starter code already has a variable for the lemonImage when you set the listeners in onCreate().
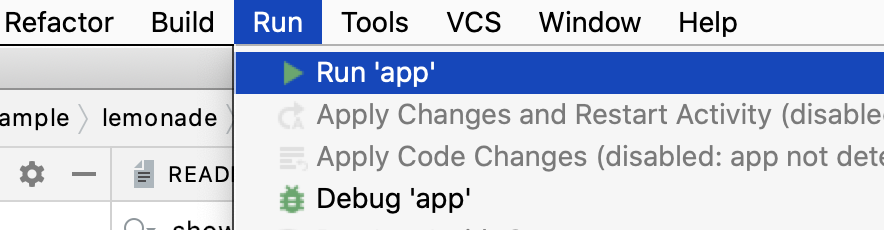
Once you've built the app's UI and implemented the main activity, it's time to see your hard work in action. Run the app using the Run > Run ‘app' menu and the emulator will launch.
The app should now be fully interactive and you should be able to tap the image view to transition between states.
While the lemon is shown on screen, you can also try long-pressing (press and hold) the ImageView to see the snackbar at the bottom revealing the total number of times the lemon has been squeezed. Take some time to run through the app through all the states a few times. Then, take a moment to congratulate yourself for your hard work!