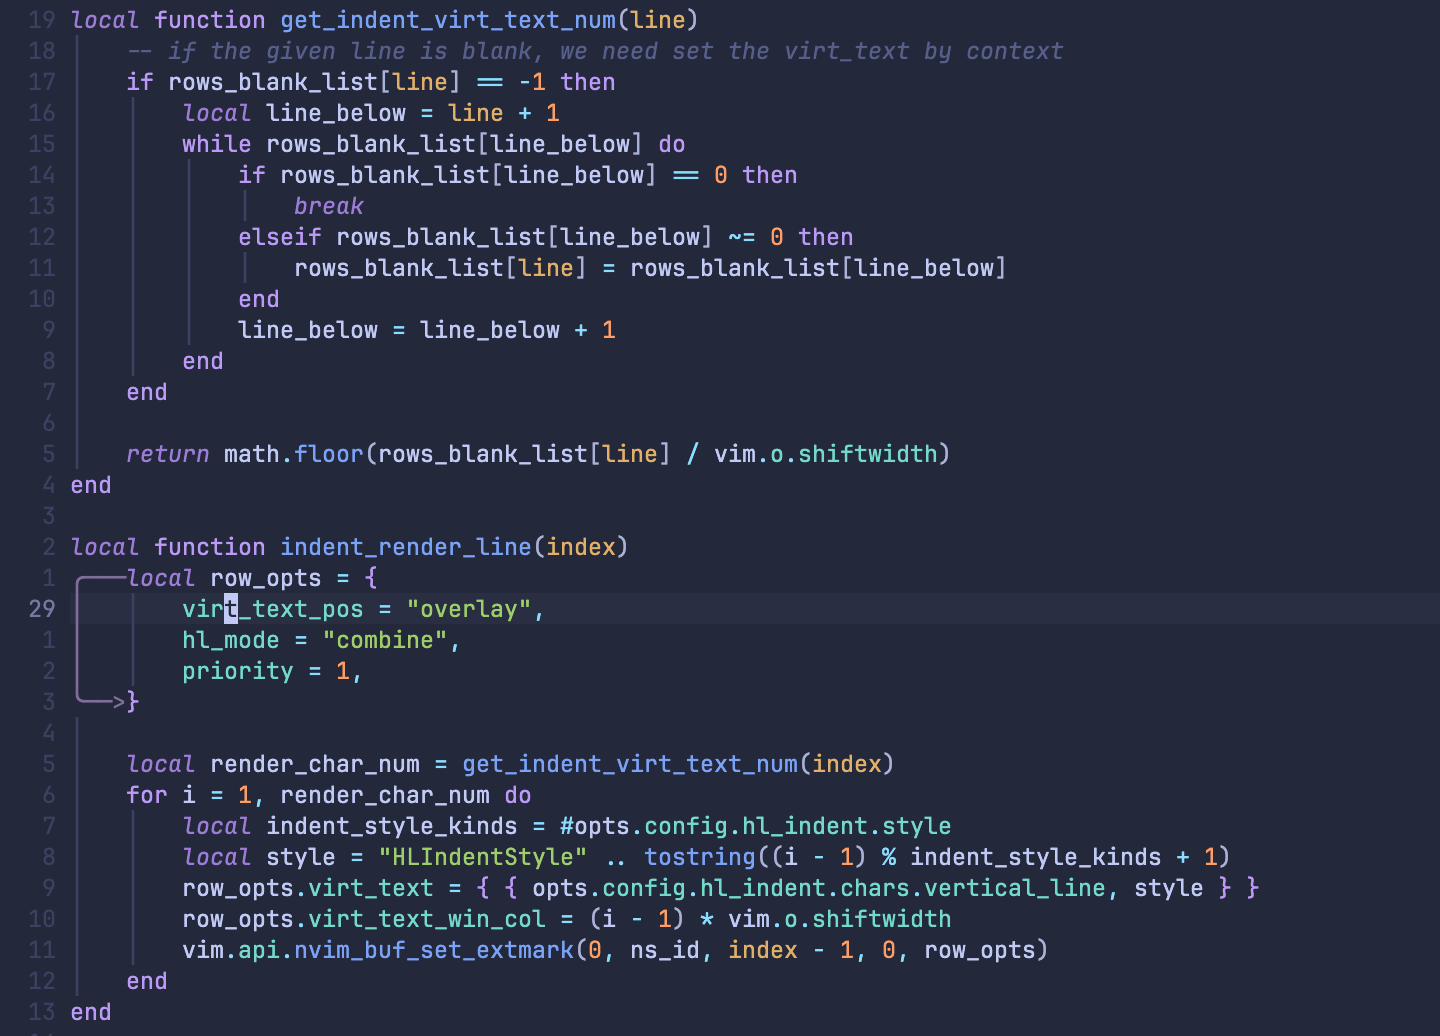
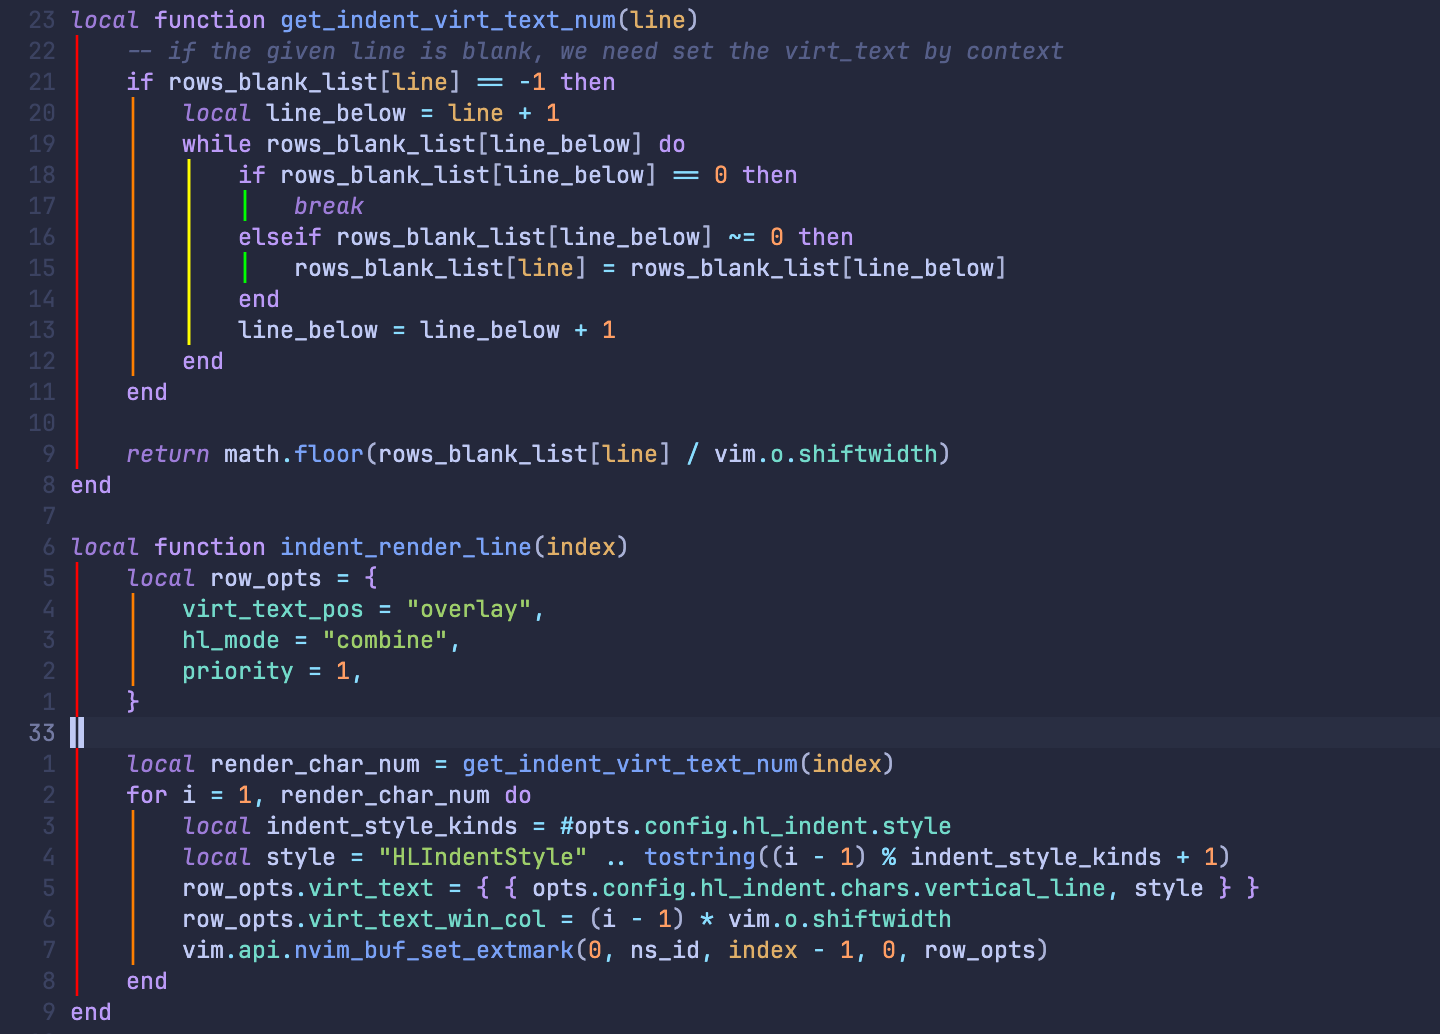
When writing code, we may encounter nested levels and other situations. Indent lines help to determine whether certain codes are at the same level.
The default configuration of this mod is as follows:
local default_conf = {
    priority = 10,
    style = { vim.api.nvim_get_hl(0, { name = "Whitespace" }) },
    use_treesitter = false,
    chars = { "│" },
    ahead_lines = 5,
    delay = 100,
}
The unique configurations are use_treesitter, chars, ahead_lines
-
use_treesitteris used to control whether to use treesitter to determine the indent level, which is disabled by default for performance reasons. If you have high requirements for indentation accuracy, you can try setting it to true, see this issue -
charsis a table, whose characters are used to render the indent lines, you can try setting it as:chars = { "│", "¦", "┆", "┊", },
When rendering, the first level will use the first character, the second level will use the second character, and so on. If the level exceeds the number of characters you set, these characters will be used cyclically.
-
ahead_linesis a number used to control the preview and rendering range of indent lines ahead, which defaults to 5 -
delayis a number that presents a millisecond value, because rendering is very time-consuming in some cases, a throttle function is used to limit the rendering frequency, the larger the value, the smoother the screen scrolling, but at the same time, a larger part of the content will not be rendered (until after delay milliseconds), which defaults to 100
Like chunk, we also need to pay extra attention to the common configuration style:
- Here, style is a RGB string or a table. If it is a string, all indent lines will be rendered in this color. If it is a table, it can be written in two ways:
style = {
"#FF0000",
"#FF7F00",
"..."
},or
style = {
{ bg = "#FF0000", fg = "#FFFFFF" },
{ bg = "#FF7F00", fg = "FF7F00" },
-- ...
},If you set the bg field, the indent lines will render background color for chars
Here is an example of the default indent style:
indent = {
chars = {
"│",
},
style = {
vim.fn.synIDattr(vim.fn.synIDtrans(vim.fn.hlID("Whitespace")), "fg", "gui"),
},
}You can also set the indent lines to be like a rainbow 🌈
indent = {
chars = {
"│",
},
style = {
"#FF0000",
"#FF7F00",
"#FFFF00",
"#00FF00",
"#00FFFF",
"#0000FF",
"#8B00FF",
},
}You can also set multiple character types
indent = {
chars = {
    "│",
    "¦",
    "┆",
    "┊",
},
style = {
vim.fn.synIDattr(vim.fn.synIDtrans(vim.fn.hlID("Whitespace")), "fg", "gui"),
},
}If you prefer a bolder display effect, you can set the rendering background color
indent = {
    enable = true,
    use_treesitter = false,
    chars = {
        " ",
    },
    style = {
        { bg = vim.fn.synIDattr(vim.fn.synIDtrans(vim.fn.hlID("Whitespace")), "fg", "gui") },
    },
    exclude_filetype = exclude_ft,
}


