!!! attention This guide is specific to the USB-C Host Shield board variant. For the variants with the USB (Type-A) connector, please refer to this guide by Hardware Fun.
-
SKU: DEV-21247
[](https://cdn.sparkfun.com/assets/parts/2/1/0/0/8/SparkFun_USB-C_Host_Shield-_01.jpg) -
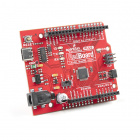
The SparkFun USB-C Host Shield has similar features to our previous USB Host Shield (v2), but we upgraded the USB Type-A connector to a USB-C connector. Additionally, the board provides users with the option to select either the
5VorVINpin to power the shield and USB port.The SparkFun USB Host Shield contains all of the digital logic and analog circuitry necessary to implement a USB peripheral/host controller with your Arduino board. This means you could use your Arduino microcontroller to interface with and control any USB 2.0 compatible device - flash drives, digital cameras, Bluetooth dongles, and much more!
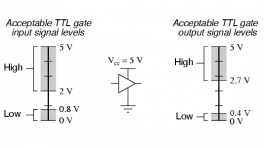
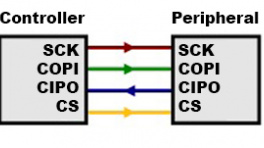
A four-wire serial interface is used to communicate with the host controller chip, so the shield connects the Arduino's hardware SPI pins (D10-13) to the MAX3421E. While the logic-level for the shield is 3.3V, all the SPI signals are sent through a hex converter to keep the shield compatible with any 5V Arduino boards.
[Purchase from SparkFun :fontawesome-solid-cart-plus:](https://www.sparkfun.com/products/21247){ .md-button .md-button--primary }
| [{ width=90% }](https://www.sparkfun.com/products/21247) |
The SparkFun USB-C Host Shield has similar features to our previous USB Host Shield (v2), but we upgraded the USB Type-A connector to a USB-C connector. Additionally, the board provides users with the option to select either the The SparkFun USB Host Shield contains all of the digital logic and analog circuitry necessary to implement a USB peripheral/host controller with your Arduino board. This means you could use your Arduino microcontroller to interface with and control any USB 2.0 compatible device - flash drives, digital cameras, Bluetooth dongles, and much more! A four-wire serial interface is used to communicate with the host controller chip, so the shield connects the Arduino's hardware SPI pins (D10-13) to the MAX3421E. While the logic-level for the shield is 3.3V, all the SPI signals are sent through a hex converter to keep the shield compatible with any 5V Arduino boards. [Purchase from SparkFun :fontawesome-solid-cart-plus:](https://www.sparkfun.com/products/21247){ .md-button .md-button--primary } |
To get started with the USB-C Host Shield, users will need a few additional items. Users may already have some of these items, feel free to modify your cart accordingly. For users just getting started with electronics, we have linked a few tutorials to establish a foundation of knowledge to follow along with this hookup guide.
-
Computer with an operating system (OS) that is compatible with all the software installation requirements.
-
A compatible microcontroller/Arduino board; we recommend the SparkFun RedBoard Plus.
!!! warning The recommended Arduino library for the USB Host Shield is not compatible with all microcontrollers or boards. For a complete list of compatible microcontrollers and boards, please refer to the
README.mdfile of USB Host Library Rev. 2.0. -
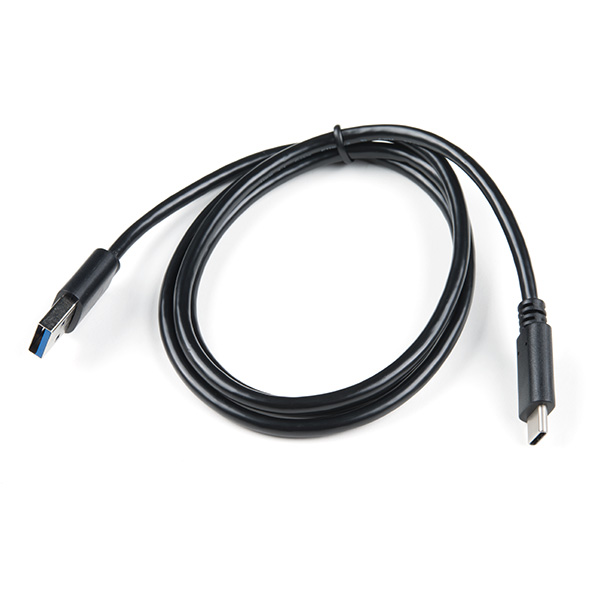
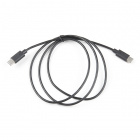
USB 3.1 Cable A to C - 3 Foot - Used to interface with the RedBoard Plus (1) { .annotate }
- If your computer doesn't have a USB-A slot or your microcontroller/Arduino board has a different USB connector, then choose an appropriate cable or adapter.
-
USB Peripheral Device (i.e. flash drive, game controller, smartphone, etc.) (1) { .annotate }
-
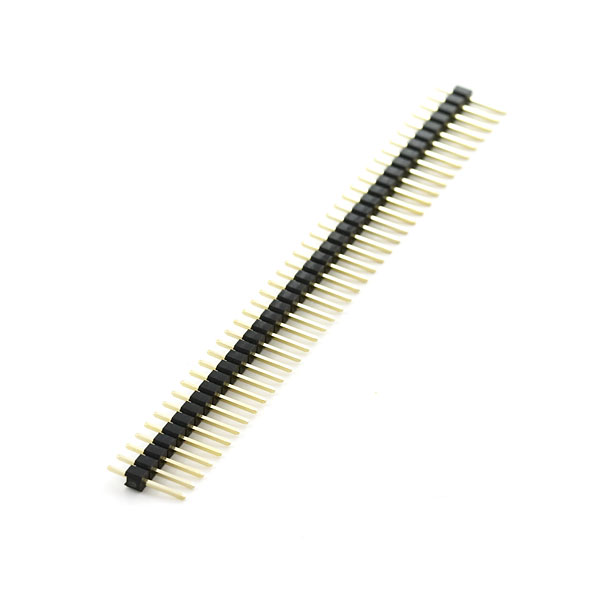
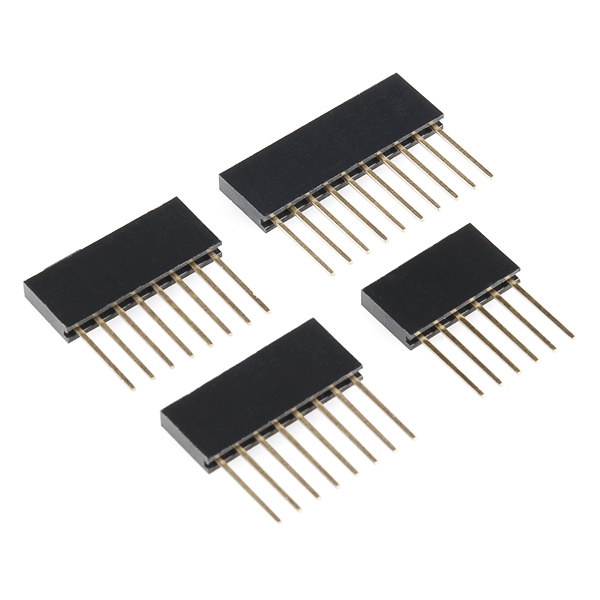
Headers - Used to connect the shield to the Arduino board (1) { .annotate }
- Check out some of the options for the Arduino R3/Uno form factor boards below; otherwise, click here for a full selection of our available headers.
-
Soldering Tools (1) { .annotate }
- Check out the beginner tool kit below; otherwise, click here for a full selection of our available soldering tools.
 CAB-14743
|
 DEV-18158
|
 DEV-21247
|
 PRT-00116
|
 PRT-11417
|
|
 TOL-14681
|
-
USB 3.1 Cable A to C - 3 Foot
CAB-14743
 -
SparkFun RedBoard Plus
DEV-18158
 -
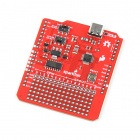
SparkFun USB-C Host Shield
DEV-21247
 -
Break Away Headers - Straight
PRT-00116
 -
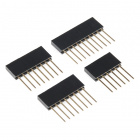
Arduino Stackable Header Kit - R3
PRT-11417
 -
SparkFun Beginner Tool Kit
TOL-14681

!!! tip New to soldering? Check out our Through-Hole Soldering Tutorial for a quick introduction!
How to Solder: Through-Hole Soldering

The following products are used in the Arduino examples shown in this hookup guide. Users are welcome to choose other products; however, these have been tested and verified to work with the examples.
 COM-21870
|
 CAB-16905
|
 SWG-14658
|
 WRL-09434
|
 WIG-17264
|
-
USB 2.0 Type-C Cable - 1 Meter
CAB-16905
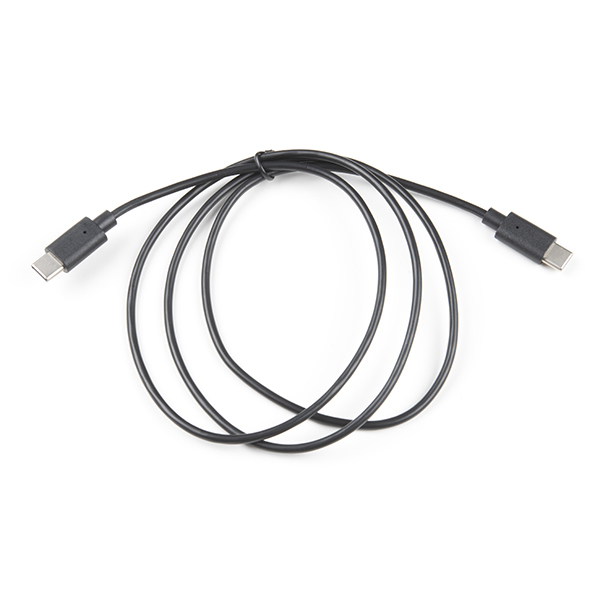 (Coming Soon) -
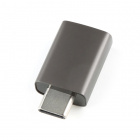
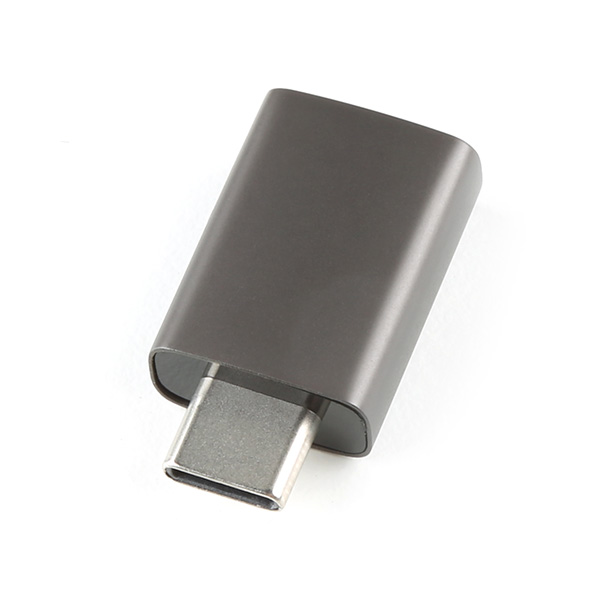
USB A (Female) to Type C (Male) Converter
COM-21870
 -
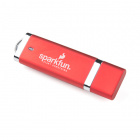
SparkFun USB Thumb Drive (16GB)
SWG-14658
 -
Bluetooth USB Module Mini
WRL-09434
 -
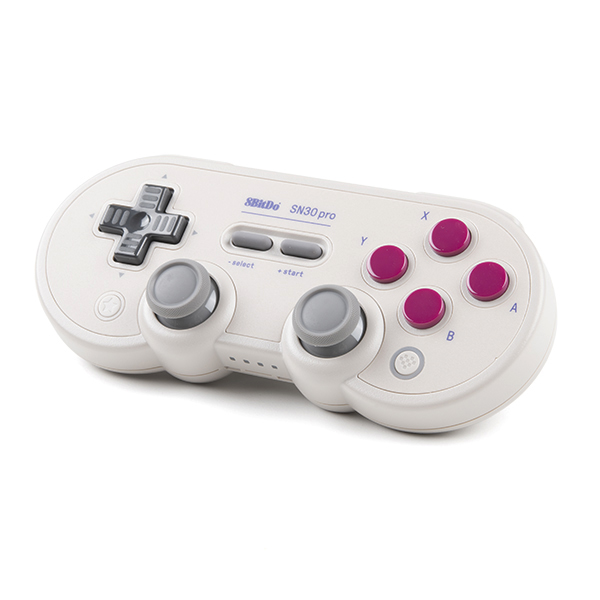
8BitDo SN30 Pro Bluetooth Gamepad
WIG-17264
To modify the jumpers, users will need soldering equipment and/or a knife.
 TOL-09325
|
 TOL-14228
|
 TOL-14579
|
 TOL-09200
|
-
Solder Lead Free - 100-gram Spool
TOL-09325
 -
Weller WLC100 Soldering Station
TOL-14228
 -
Chip Quik No-Clean Flux Pen - 10mL
TOL-14579
 -
!!! tip New to jumper pads? Check out our Jumper Pads and PCB Traces Tutorial for a quick introduction!
How to Work with Jumper Pads and PCB Traces

As a more sophisticated product, we will skip over the more fundamental tutorials (i.e. Ohm's Law and What is Electricity?). However, below are a few tutorials that may help users familiarize themselves with various aspects of the board.

{)
-
 -
 -
 -
How to Solder: Through-Hole Soldering
 -
How to Work with Jumper Pads and PCB Traces
 -
 -
Serial Peripheral Interface (SPI)
