本章来完成文章更新和删除功能。
来看看具体怎么做吧。
文章更新实际上和文章发表非常类似,有了前面的基础就比较简单了,因此这里把代码一口气全贴出来。
新建 frontend/src/views/ArticleEdit.vue 文件,写入:
<!-- frontend/src/views/ArticleEdit.vue -->

<template>
  <BlogHeader/>
  <div id="article-create">
    <h3>更新文章</h3>
    <form>
      <div class="form-elem">
        <span>标题:</span>
        <input v-model="title" type="text" placeholder="输入标题">
      </div>

      <div class="form-elem">
        <span>分类:</span>
        <span
              v-for="category in categories"
              :key="category.id"
              >
          <!--样式也可以通过 :style 绑定-->
          <button
                  class="category-btn"
                  :style="categoryStyle(category)"
                  @click.prevent="chooseCategory(category)"
                  >
            {{category.title}}
          </button>
        </span>
      </div>

      <div class="form-elem">
        <span>标签:</span>
        <input v-model="tags" type="text" placeholder="输入标签,用逗号分隔">
      </div>

      <div class="form-elem">
        <span>正文:</span>
        <textarea v-model="body" placeholder="输入正文" rows="20" cols="80"></textarea>
      </div>

      <div class="form-elem">
        <button v-on:click.prevent="submit">提交</button>
      </div>
      <div class="form-elem">
        <button v-on:click.prevent="deleteArticle" style="background-color: darkred">删除</button>
      </div>
    </form>

  </div>
  <BlogFooter/>
</template>

<script>
  import BlogHeader from '@/components/BlogHeader.vue'
  import BlogFooter from '@/components/BlogFooter.vue'
  import axios from 'axios';
  import authorization from '@/utils/authorization';

  export default {
    name: 'ArticleEdit',
    components: {BlogHeader, BlogFooter},
    data: function () {
      return {
        title: '',
        body: '',

        // 所有分类
        categories: [],
        // 选定的分类
        selectedCategory: null,
        // 标签
        tags: '',

        // Article id
        articleID: null,
      }
    },
    mounted() {
      // 页面初始化时获取所有分类
      axios
        .get('/api/category/')
        .then(response => this.categories = response.data);

      // 与前面章节说的一样
      // 如果你不希望非管理员用户也能获取原始 Markdown 数据
      // 那么必须在后端进行鉴权
      // 根据用户身份选用不同的序列化器
      const that = this;
      axios
        .get('/api/article/' + that.$route.params.id + '/')
        .then(function (response) {
          const data = response.data;
          that.title = data.title;
          that.body = data.body;
          that.selectedCategory = data.category;
          that.tags = data.tags.join(',');
          that.articleID = data.id;
      	})
    },
    methods: {
      // 根据分类是否被选中,按钮的颜色发生变化
      categoryStyle(category) {
        if (this.selectedCategory !== null && category.id === this.selectedCategory.id) {
          return {
            backgroundColor: 'black',
          }
        }
        return {
          backgroundColor: 'lightgrey',
          color: 'black',
        }
      },
      // 选取分类
      chooseCategory(category) {
        // 如果点击已选取的分类,则将 selectedCategory 置空
        if (this.selectedCategory !== null && this.selectedCategory.id === category.id) {
          this.selectedCategory = null
        }
        else {
          this.selectedCategory = category;
        }
      },
      // 点击提交按钮
      // 大部分代码与发表文章相同
      // 有少量改动
      submit() {
        const that = this;
        authorization()
          .then(function (response) {
            if (response[0]) {
              let data = {
                title: that.title,
                body: that.body,
              };

              data.category_id = that.selectedCategory ? that.selectedCategory.id : null;

              data.tags = that.tags
                .split(/[,,]/)
                .map(x => x.trim())
                .filter(x => x.charAt(0) !== '');

              const token = localStorage.getItem('access.myblog');
              axios
                .put('/api/article/' + that.articleID + '/',
                     data,
                     {
                headers: {Authorization: 'Bearer ' + token}
              })
                .then(function (response) {
                that.$router.push({name: 'ArticleDetail', params: {id: response.data.id}});
              })
            }
            else {
              alert('令牌过期,请重新登录。')
            }
          }
        )
      },
      deleteArticle() {
        const that = this;
        const token = localStorage.getItem('access.myblog');
        authorization()
          .then(function (response) {
            if (response[0]) {
              axios
                .delete('/api/article/' + that.articleID + '/',
                  {
                		headers: {Authorization: 'Bearer ' + token}
              		})
                .then(() => that.$router.push({name: 'Home'}))
            }
            else {
              alert('令牌过期,请重新登录。')
            }
          }
        )
      }
    }
  }
</script>

<style scoped>
  .category-btn {
    margin-right: 10px;
  }
  #article-create {
    text-align: center;
    font-size: large;
  }
  form {
    text-align: left;
    padding-left: 100px;
    padding-right: 10px;
  }
  .form-elem {
    padding: 10px;
  }
  input {
    height: 25px;
    padding-left: 10px;
    width: 50%;
  }
  button {
    height: 35px;
    cursor: pointer;
    border: none;
    outline: none;
    background: steelblue;
    color: whitesmoke;
    border-radius: 5px;
    width: 60px;
  }
</style>代码仔细一看,和发表文章几乎大部分内容都是一样的,但还是有以下区别:
- Vue 管理的数据中多了
articleID,用于获取需要更新的文章的索引,以便更新或删除时使用。 - 页面在初始化
mounted时,将已有的文章旧数据(比如标题、标签、正文等)填入表单控件。 - 提交按钮将数据
PUT到原文章进行更新(注意此处分类的赋值代码有些许改动)。 - 新增了删除的方法。
这里建议读者逐行对比和发表文章的代码,想想为什么代码之间会有些小区别。
代码相似就说明有优化和合并的可能。教程就不作赘述了,留给读者以后自行优化。
提示:利用 Props 确定是发表还是更新。
另一个问题是,文章更新页面未作鉴权。虽然无权限用户不能做更改资源的操作,但还是可以拿到原始 Markdown 正文的。如果你很在意这个,那就对相关接口做一次鉴权,根据权限来返回不同的数据(或者给原始正文单独一个带权限的接口)。
剩下的工作就比较简单了。
首先老规矩,注册路由:
// frontend/src/router/index.js

...
import ArticleEdit from "@/views/ArticleEdit.vue";

const routes = [
  ...
  {
    path: "/article/edit/:id",
    name: "ArticleEdit",
    component: ArticleEdit
  },
];
...
接着在文章详情页中放一个更新和删除页面的入口:
<!-- frontend/src/views/ArticleDetail.vue -->

<template>
  ...
  <p id="subtitle">
    ...
    <span v-if="isSuperuser">
      <router-link
        :to="{ name: 'ArticleEdit', params: { id: article.id }}"
      >
        更新与删除
      </router-link>
    </span>
  </p>
  ...
</template>

<script>
  ...
  computed: {
    isSuperuser() {
      return localStorage.getItem('isSuperuser.myblog') === 'true'
    }
  }
  ...
</script>
如果是管理员用户,则显示此入口。(这里也用到了计算属性)
完成了,让我们测试一下。
详情页面的入口:
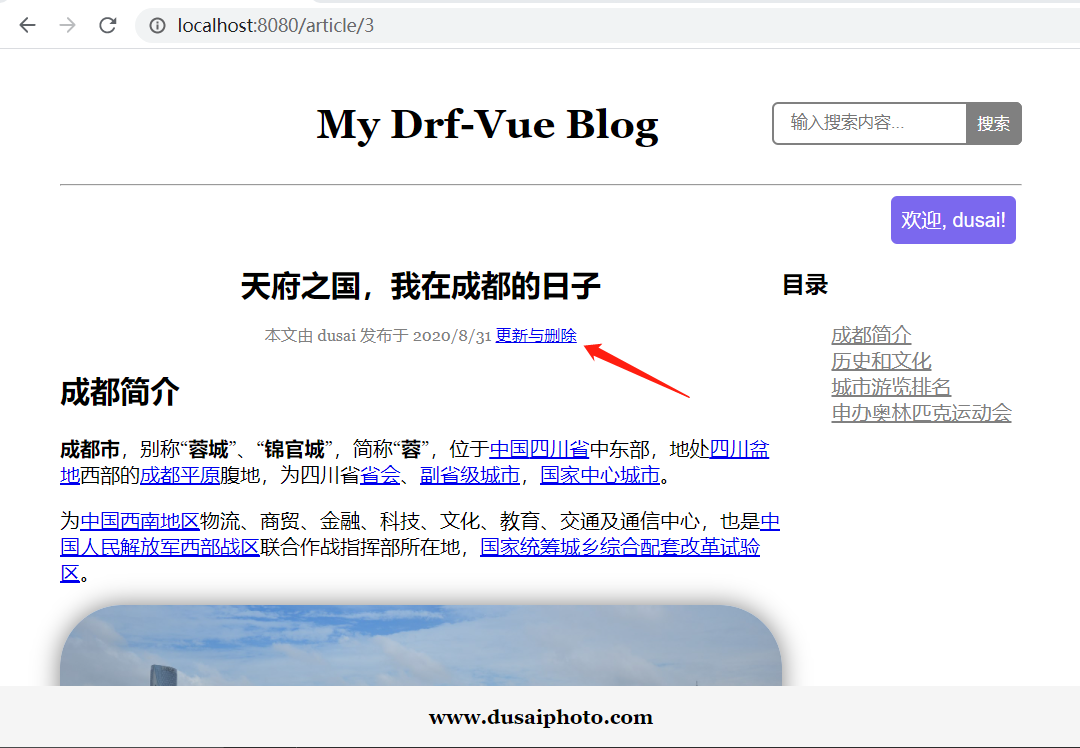
点击之后:
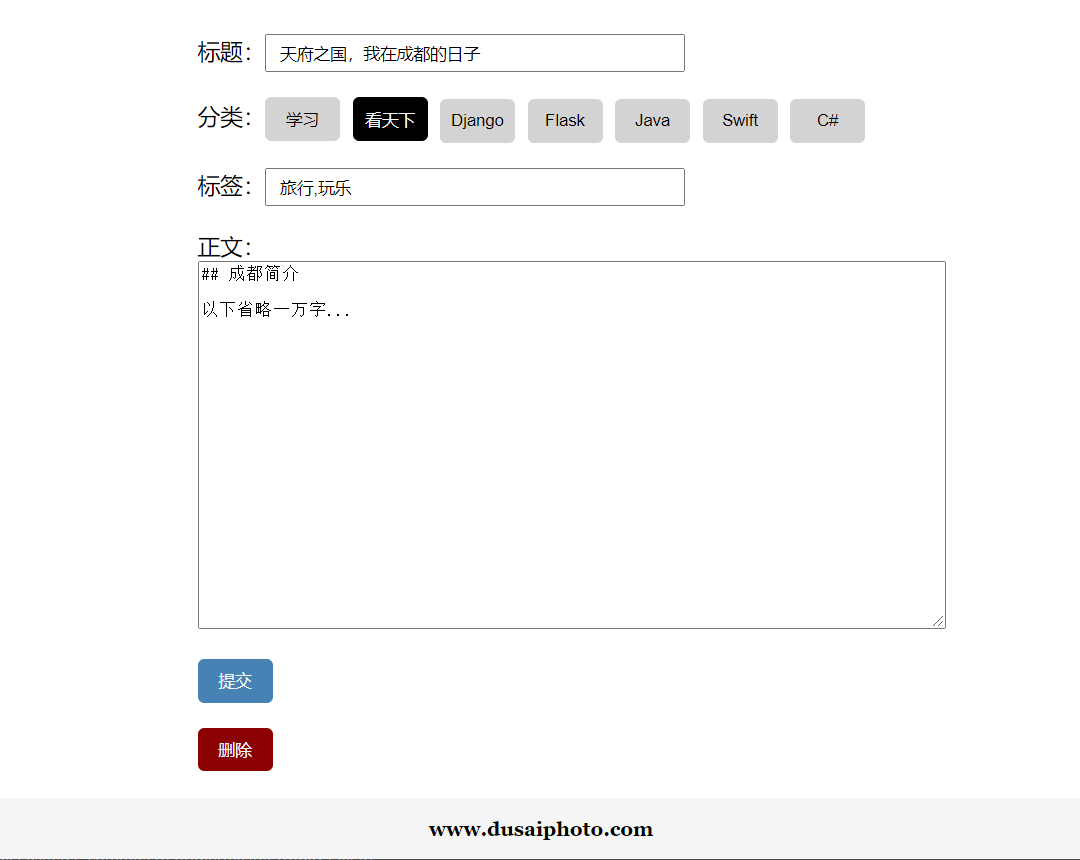
进入页面后会自动填充入旧数据,并且更新和删除都是能正常工作了。
文章的增删改查就做完了,感觉如何?如果你可以不看资料独立完成,那么恭喜你,知识掌握得比较扎实了。
分类的增删改查不做也可以,毕竟博客而已,大不了后台改就 ok 了。教程就不讲重复的内容了,读者自行完成吧。