
-
Sign up for Oracle Cloud Always Free Service : https://www.oracle.com/cloud/free/ or login if you're already account holder. Oracle Cloud provides many 'always free' resources and we will use free "Compute (VM)" from where we will serve our pre-trained PyTorch model. You can read more about free cloud offerings here
-
Login to OCI web console and click 'Create Instance' : https://www.oracle.com/cloud/sign-in.html
-
Create Free Linux Instance : In order to save manual insallation steps, it's recommended to use this pre-configured cloud developer image comes ready to use with popular programming languages and enviornments such as Java, Python, Go, Node.JS and even OCI CLI and Docker etc removing the need for manual installation.
- Name : Give your instance a meaninful name, for e.g 'pytorch-serving-vm'
- Shape : VM.Standard.E2.1.Micro
- Leave all the default options as is and make sure to download your Private and Public key locally as you will need it for connecting to the VM from local machine.
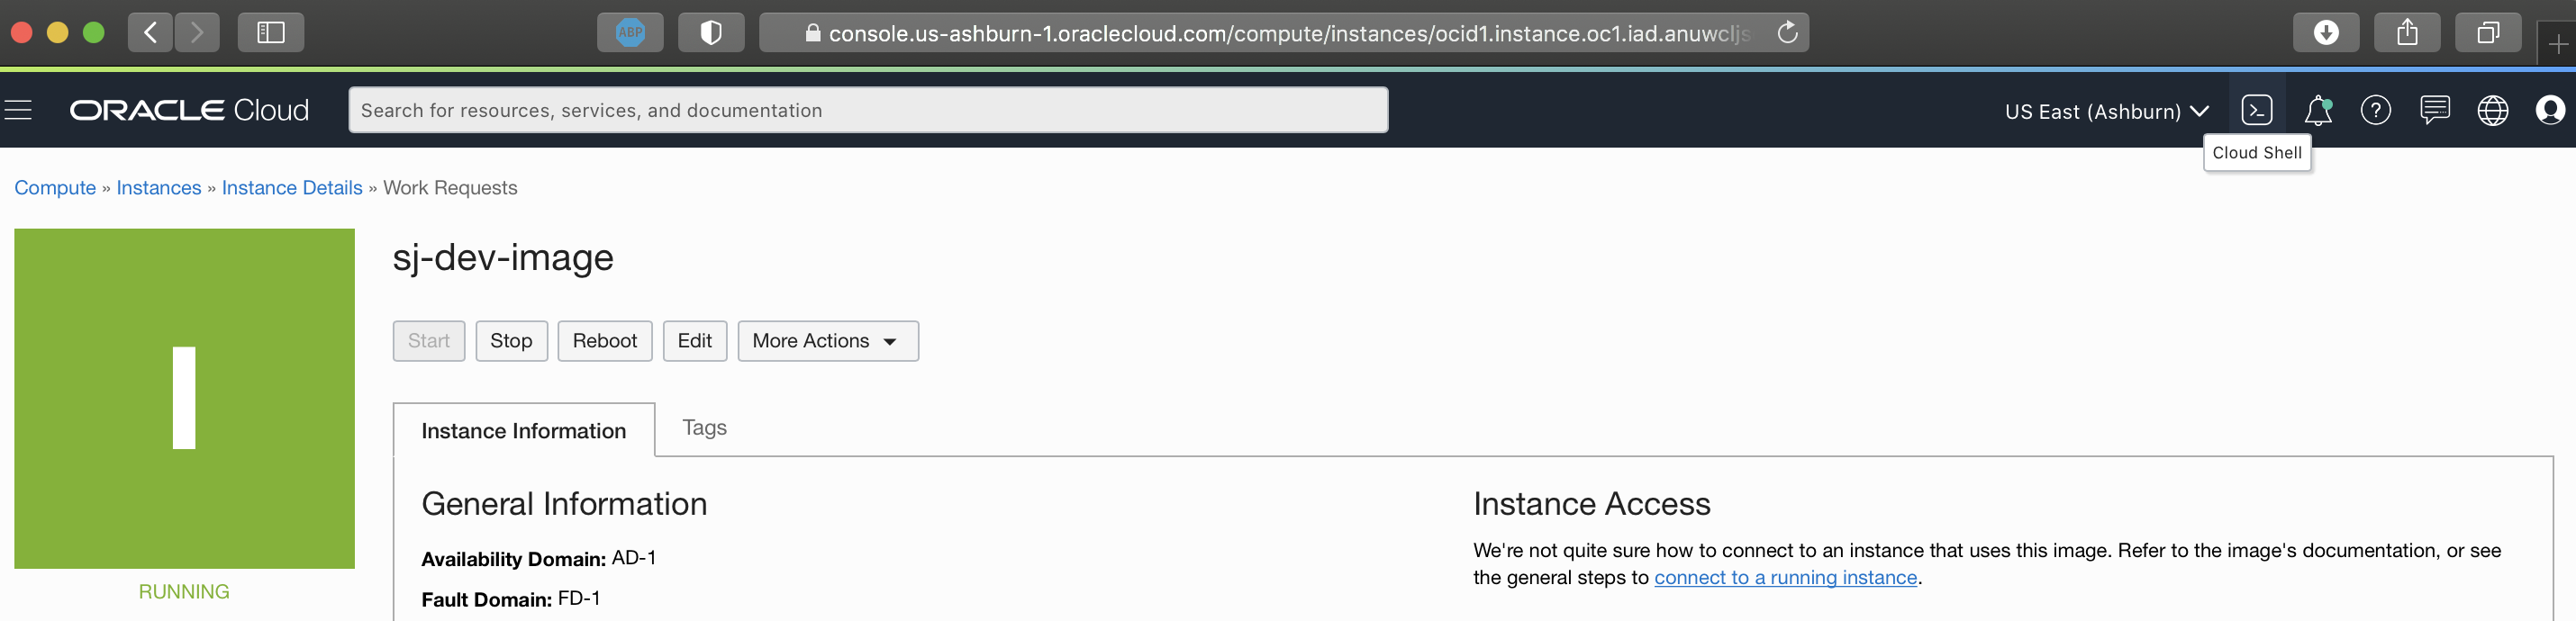
- Click 'Create Button' and in about a minute your free VM should be 'running'. Note down your Public IP Address as we will use this to connect to the VM. Congratulations, you're half way through!
- Log into this free Linux instance using from your browser by clicking on 'Cloud Shell Icon'. Alternativly you can login to the VM from your local machine terminal application using SSH keys with username 'opc'. For more information about that see here
- Chage permission for your private key to be read only :
chmod 400 <private_key>where <private_key> is the full path and name of the file that contains the private key associated with the instance you want to access. - Connect to VM on Oracle Cloud by typing:
ssh –i <private_key> <username>@<public-ip-address>where <private_key> is the full path and name of the file that contains the private key associated with the instance you want to access. is the default username for the instance. For Oracle Linux and CentOS images, the default username is opc. For Ubuntu images, the default username is ubuntu. is your instance IP address that you retrieved from the Console.
- Once you're in the VM, now we can we will install - JDK 11, Anaconda and TorchServe.
- JDK 11: TorchServe needs JDK 11, so even if you used 'Cloud Developer Image' to create the VM it comes with JDK 8 so you need to install OpenJDK 11, which you can easily do by install using yum, then chaging the enviornment to use JDK 11 and finally confirming it's running Java 11
sudo yum install openjdk-11-jdk
sudo alternatives --config java
java -version
-
Anaconda Installation : We will create a directory called 'dev' and install conda and add it to our path so we can use various conda commands. This will take some time, follow the prompt and accept the default options when prompted.
mkdir dev cd dev wget https://repo.continuum.io/archive/Anaconda3-2019.10-Linux-x86_64.sh md5sum Anaconda3-2019.10-Linux-x86_64.sh echo -e 'export PATH="$HOME/anaconda3/bin:$PATH"' >> $HOME/.bashrc source ~/.bashrc conda update -n base -c defaults conda conda init bash source ~/.bashrc -
TorchServe : Here we will install TorchServe using Anaconda.
conda install torchserve torch-model-archiver
conda create -n torchserve
source activate torchserve
conda install psutil pytorch torchvision torchtext -c pytorch # this may take sometime
- Using TorchServe : The model needs to be in a model-archive format so the following commands will create that. First we will clone the example PyTorch Serve sample repo and install the dependencies. Then we will use a Image Classification pre-trained model and deploy that. Here you can use your own model istead of this pre-trained model.
git clone https://github.com/pytorch/serve.git
cd serve
pip install .
cd model-archiver
pip install .
wget https://download.pytorch.org/models/densenet161-8d451a50.pth #download a pre-trained model that we will convert to model-archive format
torch-model-archiver --model-name densenet161 --version 1.0 \
  --model-file examples/image_classifier/densenet_161/model.py \
  --serialized-file densenet161-8d451a50.pth \
  --extra-files examples/image_classifier/index_to_name.json \
  --handler image_classifier
mkdir model_store # this will be our model repository in the cloud
mv densenet161.mar model_store/
torchserve --start --model-store model_store --models densenet161=densenet161.mar
- Test : Finally let's test our API endpoint by sending the model image using HTTP POST request with a .jpg of an animal and it should return what it is. Open a new tab and run the following commands to download the image and then run inference on it using CURL commands.
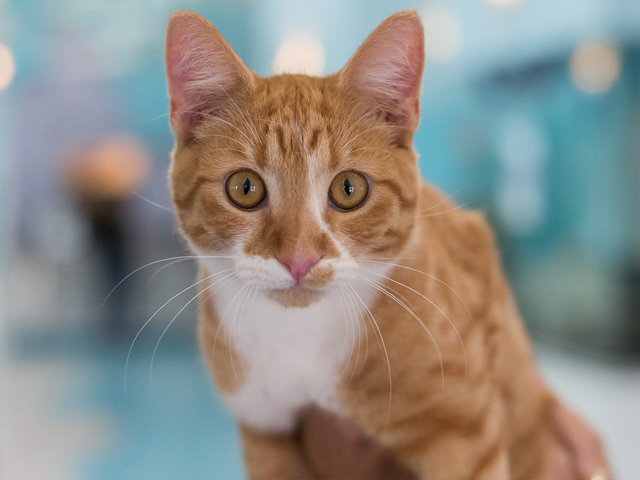
curl -O https://raw.githubusercontent.com/suyashjoshi/TorchServe-OCI/main/LDN-Z-CAT-1.jpg
curl -X POST http://127.0.0.1:8080/predictions/densenet161 -T LDN-Z-CAT-1.jpg
Congratualtions now you have a cloud end point that you can reach to do ML infrence, this was deployed using TorchServe and in future tutorial, I will show you how to create a ReactJS Client App that will call this endpoint for ML Inference.
References:
- Model Server Guide for TorchServe : https://github.com/pytorch/serve/blob/master/docs/README.md
- Deploy Your Model using TorchServe (YouTube video) : https://www.youtube.com/watch?v=jdE4hPf9juk
- TorchServe is a tool for serving neural net models for inference : https://pypi.org/project/torchserve/
- Dataset to Train the model from Kaggle : https://www.kaggle.com/c/dogs-vs-cats/data