This document explains basic usage of Swift for TensorFlow, including:
- How to run Swift in Colaboratory
- How to use the Swift interpreter and compiler
- How to use Swift for TensorFlow with Xcode (macOS only)
To see example models written using Swift for TensorFlow, go to tensorflow/swift-models.
Note: Swift for TensorFlow is an early stage project. It has been released to enable open source development and is not yet ready for general use by machine learning developers.
Colaboratory is a free Jupyter notebook environment that requires no setup and runs entirely in the cloud.
Click here to create a Swift notebook in Colaboratory!
Put Swift code in the cell, and click the play button on the left of the cell (or hit Ctrl + Enter) to execute it.
For examples of what you can do, visit this tutorial in Colab.
You must have a working toolchain for Swift for TensorFlow (swift, swiftc, etc) before proceeding with these instructions. If not, please install Swift for TensorFlow or build from source before proceeding.
With the Swift interpreter, you can use Swift like a scripting language. Create a file called inference.swift with your favorite text editor and paste the following:
import TensorFlow

struct MLPClassifier {
    var w1 = Tensor<Float>(repeating: 0.1, shape: [2, 4])
    var w2 = Tensor<Float>(shape: [4, 1], scalars: [0.4, -0.5, -0.5, 0.4])
    var b1 = Tensor<Float>([0.2, -0.3, -0.3, 0.2])
    var b2 = Tensor<Float>([[0.4]])

    func prediction(for x: Tensor<Float>) -> Tensor<Float> {
        let o1 = tanh(matmul(x, w1) + b1)
        return tanh(matmul(o1, w2) + b2)
    }
}
let input = Tensor<Float>([[0.2, 0.8]])
let classifier = MLPClassifier()
let prediction = classifier.prediction(for: input)
print(prediction)
Save inference.swift and navigate to its containing directory in the terminal. Then, run swift -O inference.swift. You should see something like:
$ swift -O inference.swift
[[0.680704]]
Note: the -O flag enables Swift to run with optimizations. This is currently required for some programs that use the TensorFlow module to run properly. This will become unnecessary when the compiler implementation is completed. Check out the FAQ for more details.
The Swift interpreter ran your program and printed the classifier's prediction, as expected.
Extra: If your operating system supports multi-argument shebang lines, you can turn inference.swift into a directly-invokable script by adding the following line at the top of inference.swift:
- Mac:
#!/usr/bin/env swift -O - Ubuntu 16.04:
#!swift -O
Next, add executable permissions to inference.swift:
$ chmod +x inference.swiftYou can now run inference.swift using ./inference.swift:
$ ./inference.swift
[[0.680704]]
If you get an error from running ./inference.swift directly but not from swift -O inference.swift, it’s likely because your operating system doesn’t support multi-argument shebang lines.
You must have a working toolchain for Swift for TensorFlow (swift, swiftc, etc) before proceeding with these instructions. If not, please install Swift for TensorFlow or build from source before proceeding.
With the Swift compiler, you can compile Swift programs into executable binaries. To try it, run the following:
- Mac:
swiftc -O -sdk `xcrun --show-sdk-path` inference.swift - Ubuntu:
swiftc -O inference.swift
swiftc should produce an executable in the current directory called inference. Run it to see the same result:
$ ./inference
[[0.680704]]
This was a simple demonstration of Swift for TensorFlow. To see example models written using Swift for TensorFlow, go to tensorflow/swift-models.
Swift for TensorFlow provides an Xcode toolchain. Begin by installing it from this page.
Next, switch to the new toolchain. Open Xcode’s Preferences, navigate to Components > Toolchains, and select the installed Swift for TensorFlow toolchain. The name of the toolchain should start with "Swift for TensorFlow".

On macOS Catalina, Verify Code Signature for Swift for TensorFlow toolchains produces a code signature error. This prevents Xcode projects built using Swift for TensorFlow toolchains from running. To work around this issue, go to Project Target Settings > Signing & Capabilities > + Capability > Hardened Runtime and check Disable Library Validation.

Swift for TensorFlow does not officially support Xcode Playgrounds, and related bugs are tracked by TF-500.
- Install the LLDB extension.
- Install the Swift extension.
- Build SourceKit-LSP from sources.
- Search for swift-lsp-dev from the VS Code extensions view and install it.
Steps 3 and 4 are only required for code outline and navigation, first two steps are sufficient for debugging with LLDB. There are two significant caveats:
- Navigation doesn't work across multiple files. In other words, jumping to a definition in another file than the current one isn't possible.
- Debugging sometimes stops spuriously while stepping through the code. Also, watch doesn't work with expressions.
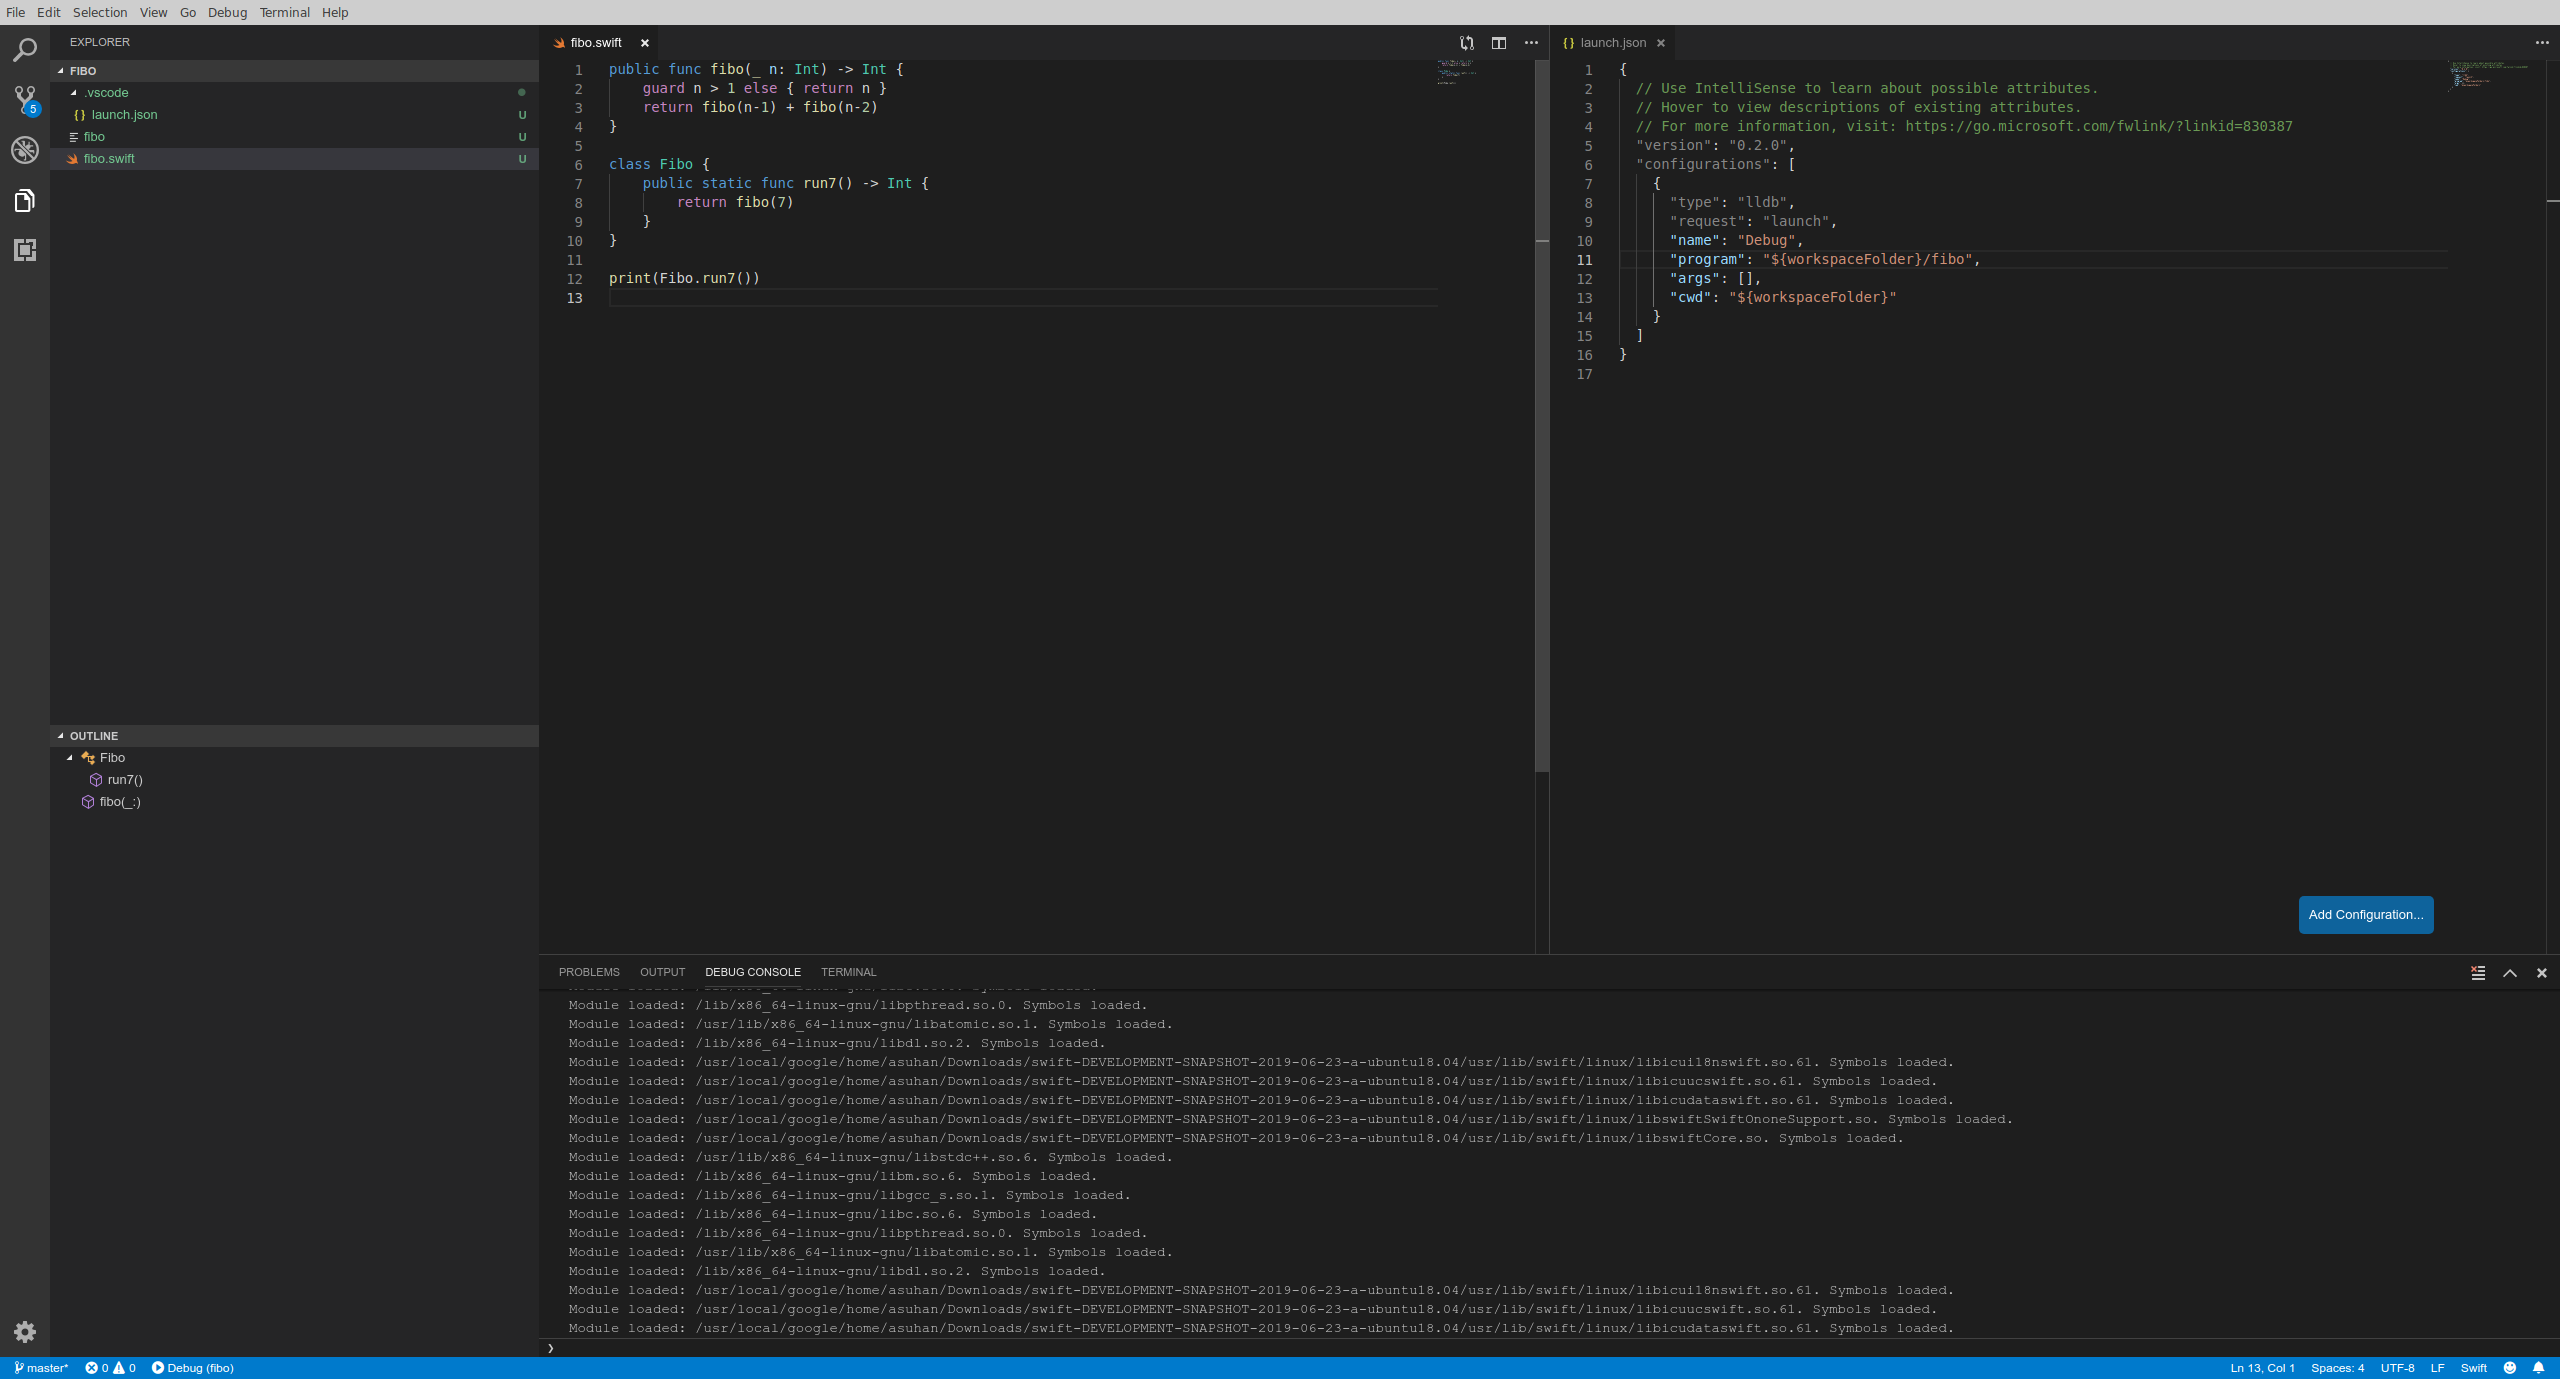
Debugging and outline workflows match the usual VS Code experience: