| title | metadesc | noindex | order | page_id | warning | contextual_links | |||||||||||||||||||||||||||||||||||||||||||||||
|---|---|---|---|---|---|---|---|---|---|---|---|---|---|---|---|---|---|---|---|---|---|---|---|---|---|---|---|---|---|---|---|---|---|---|---|---|---|---|---|---|---|---|---|---|---|---|---|---|---|---|---|---|---|
Capture Single Element for a Web Project |
Elements play an important role in Automation Testsing. Learn how to capture single element for a Web Application project in Testsigma |
false |
6.23 |
Capture Single Element for a Web Project |
false |
|
In a Web project in Testsigma, you can selectively capture elements one at a time using the Testsigma recorder. This article discusses how to capture single element using recorder.
-
You should know how to create an web project in Testsigma.
-
You should have Testsigma chrome extension installed.
-
A Web app to test.
-
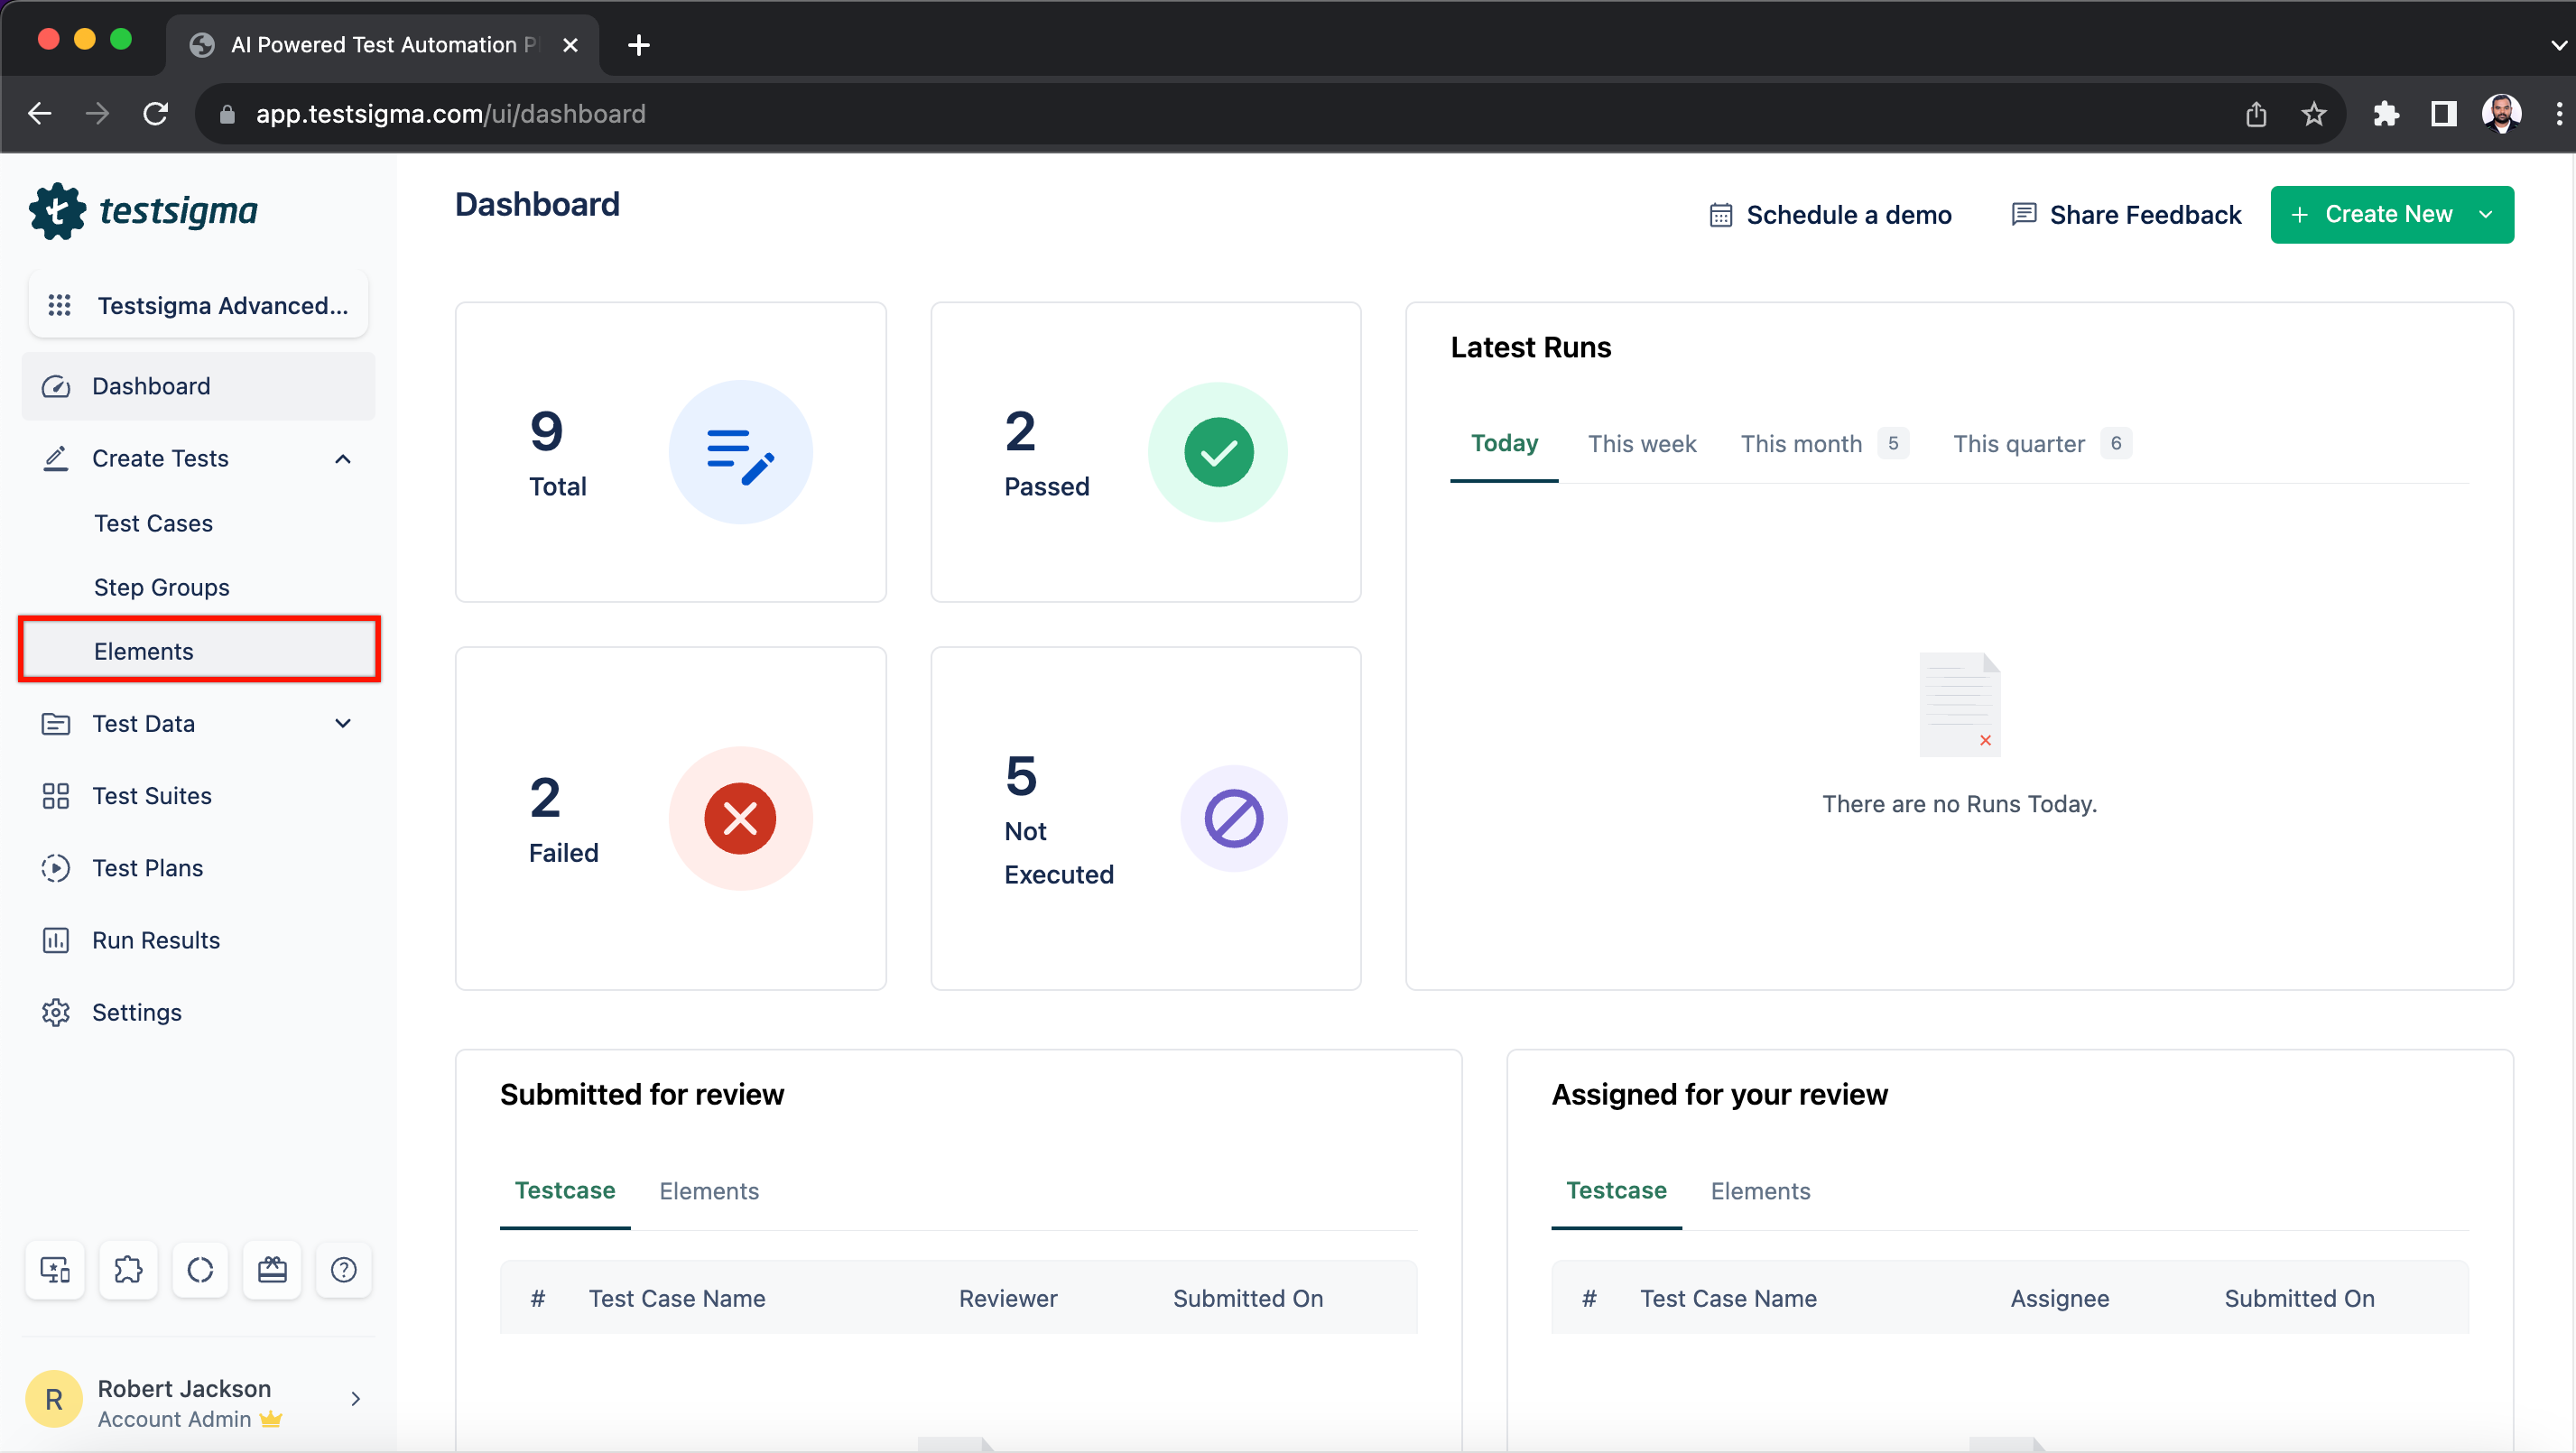
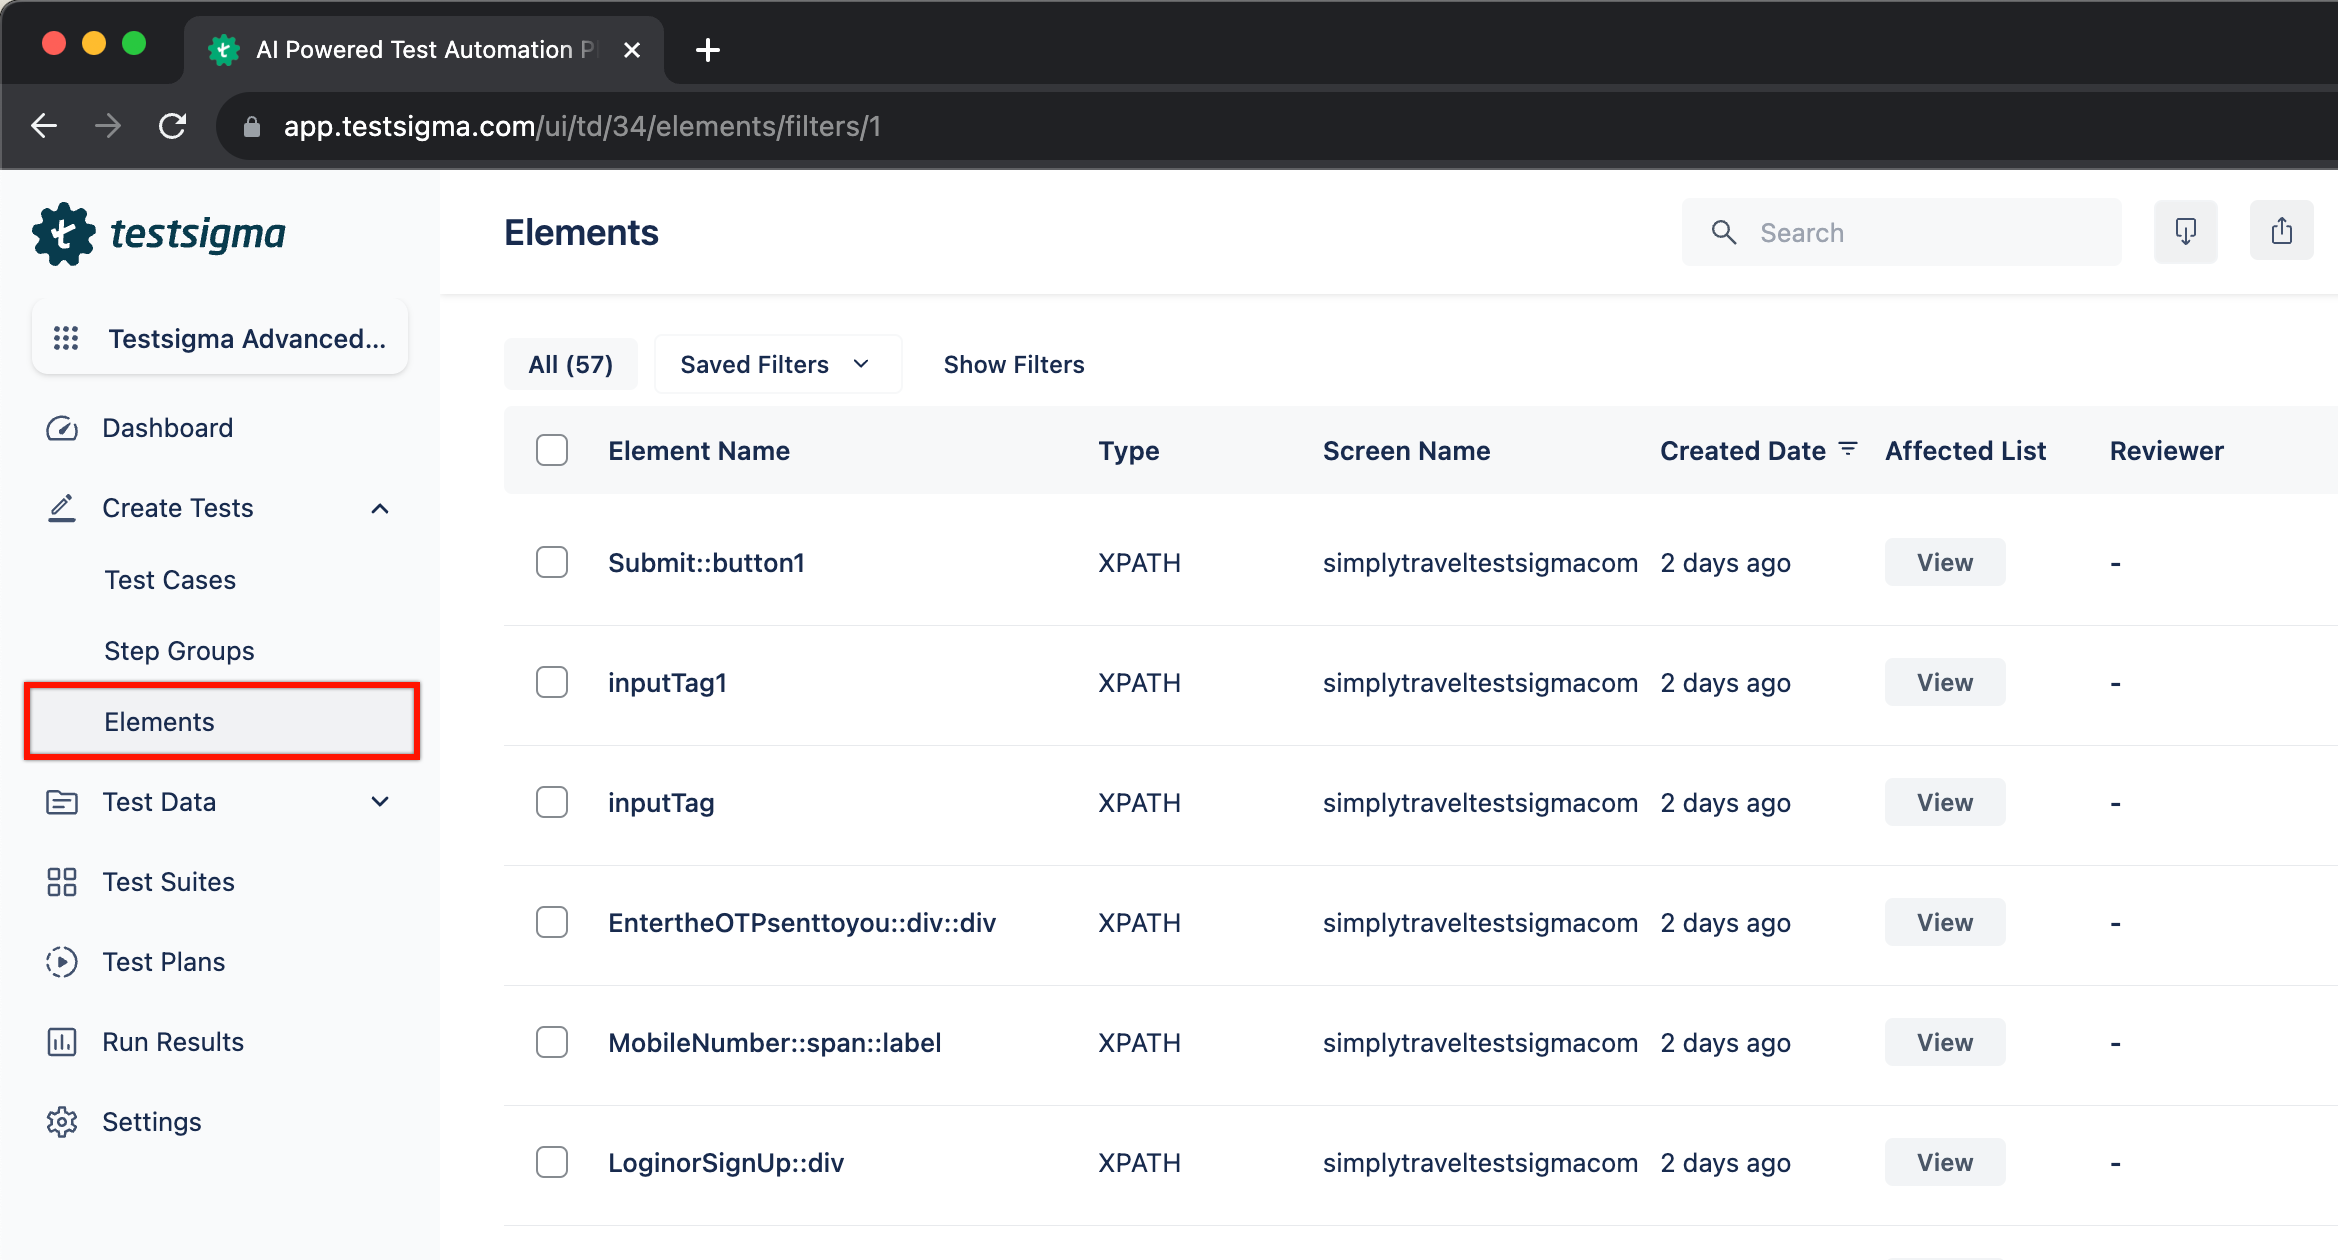
Navigate to Create Tests > Elements.
-
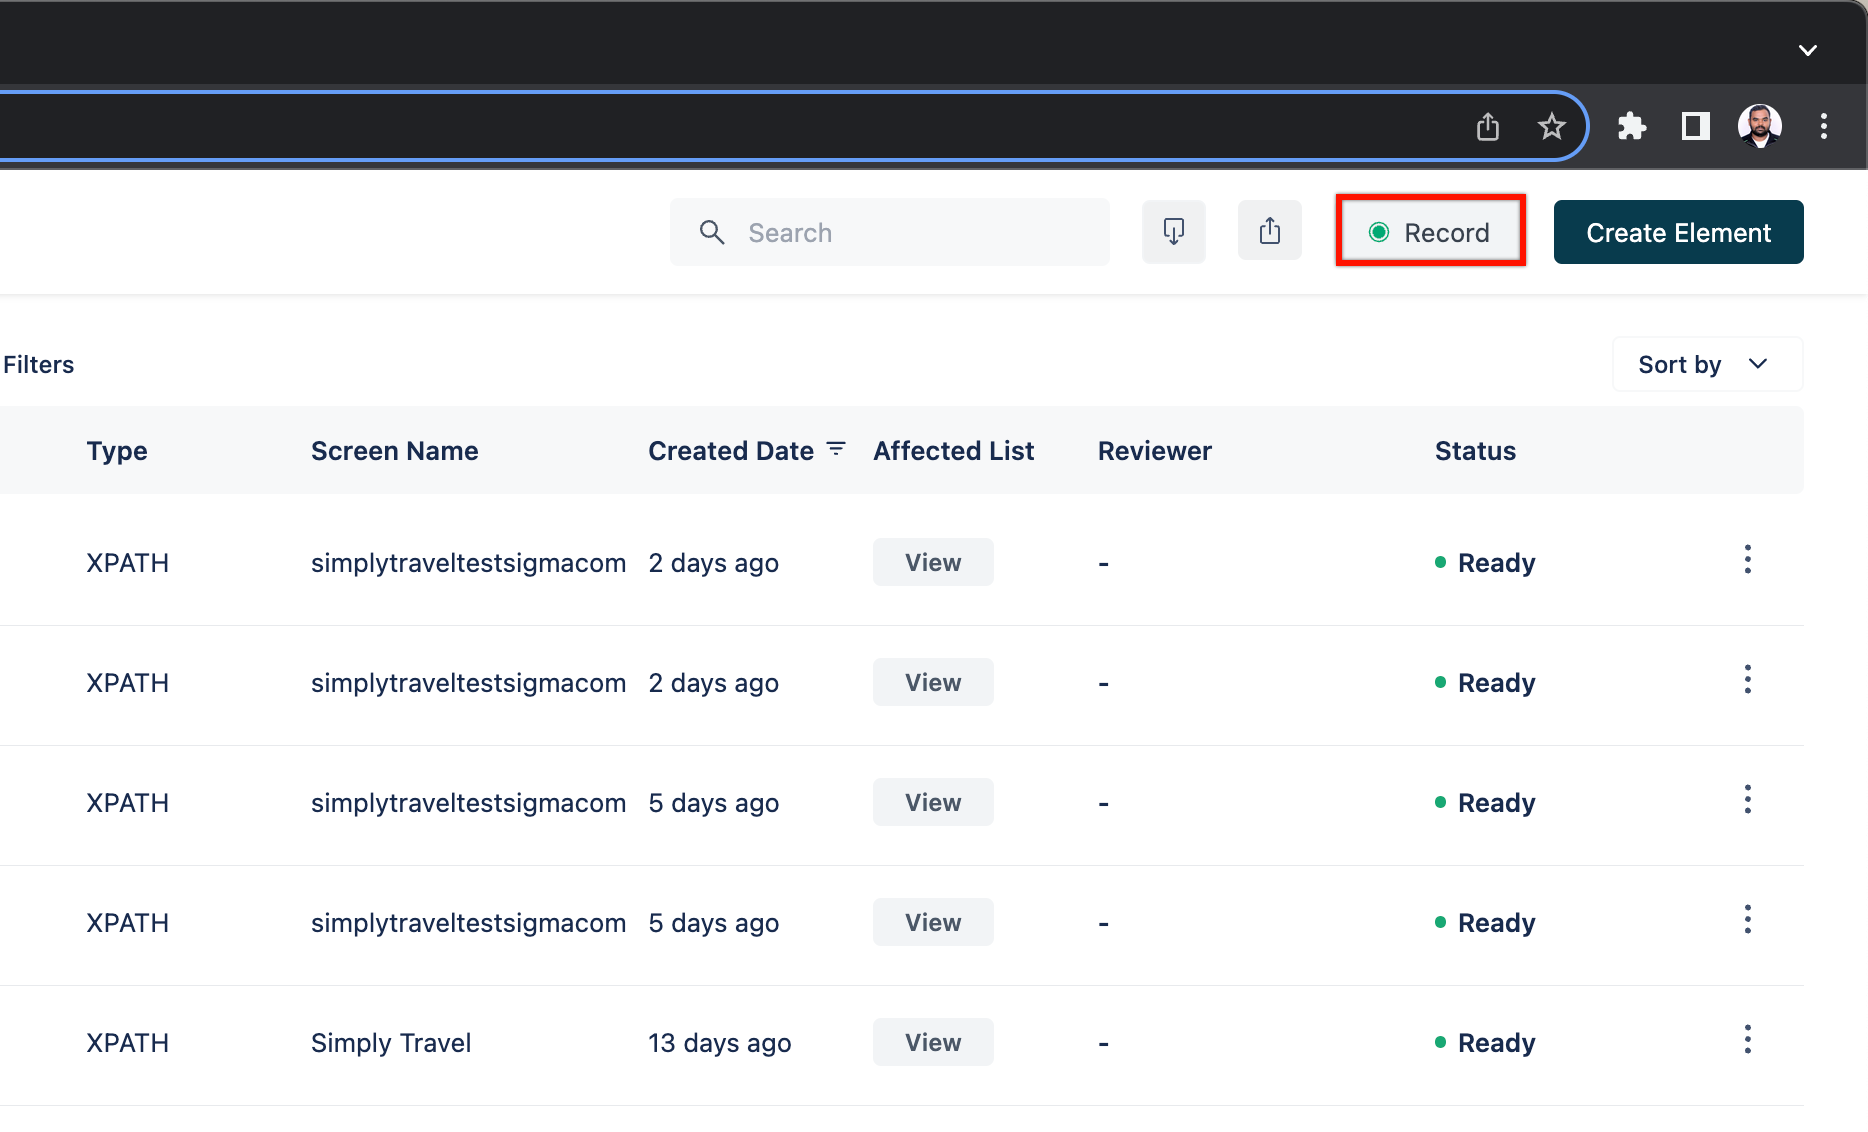
Click on Record.
-
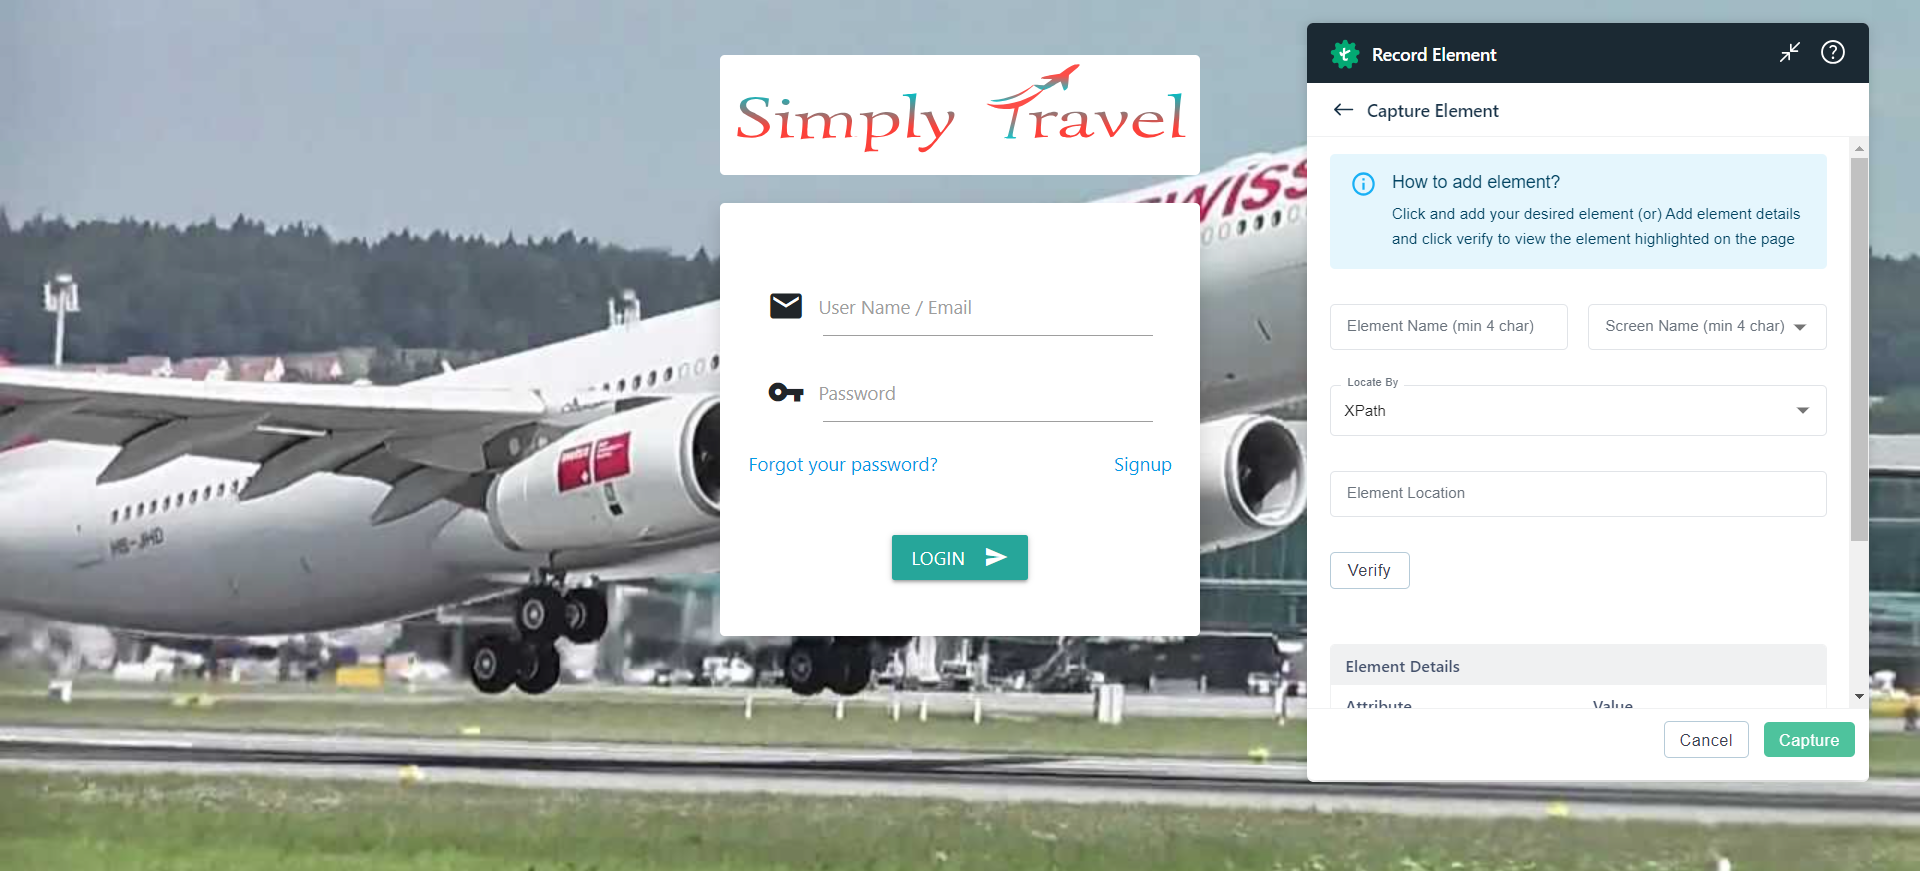
This will open a new tab. Enter the URL from which you want to capture the single element. The Testsigma test recorder will appear and will be ready to start recording. Here, we opened a new tab and entered the URL for Simply Travel.
-
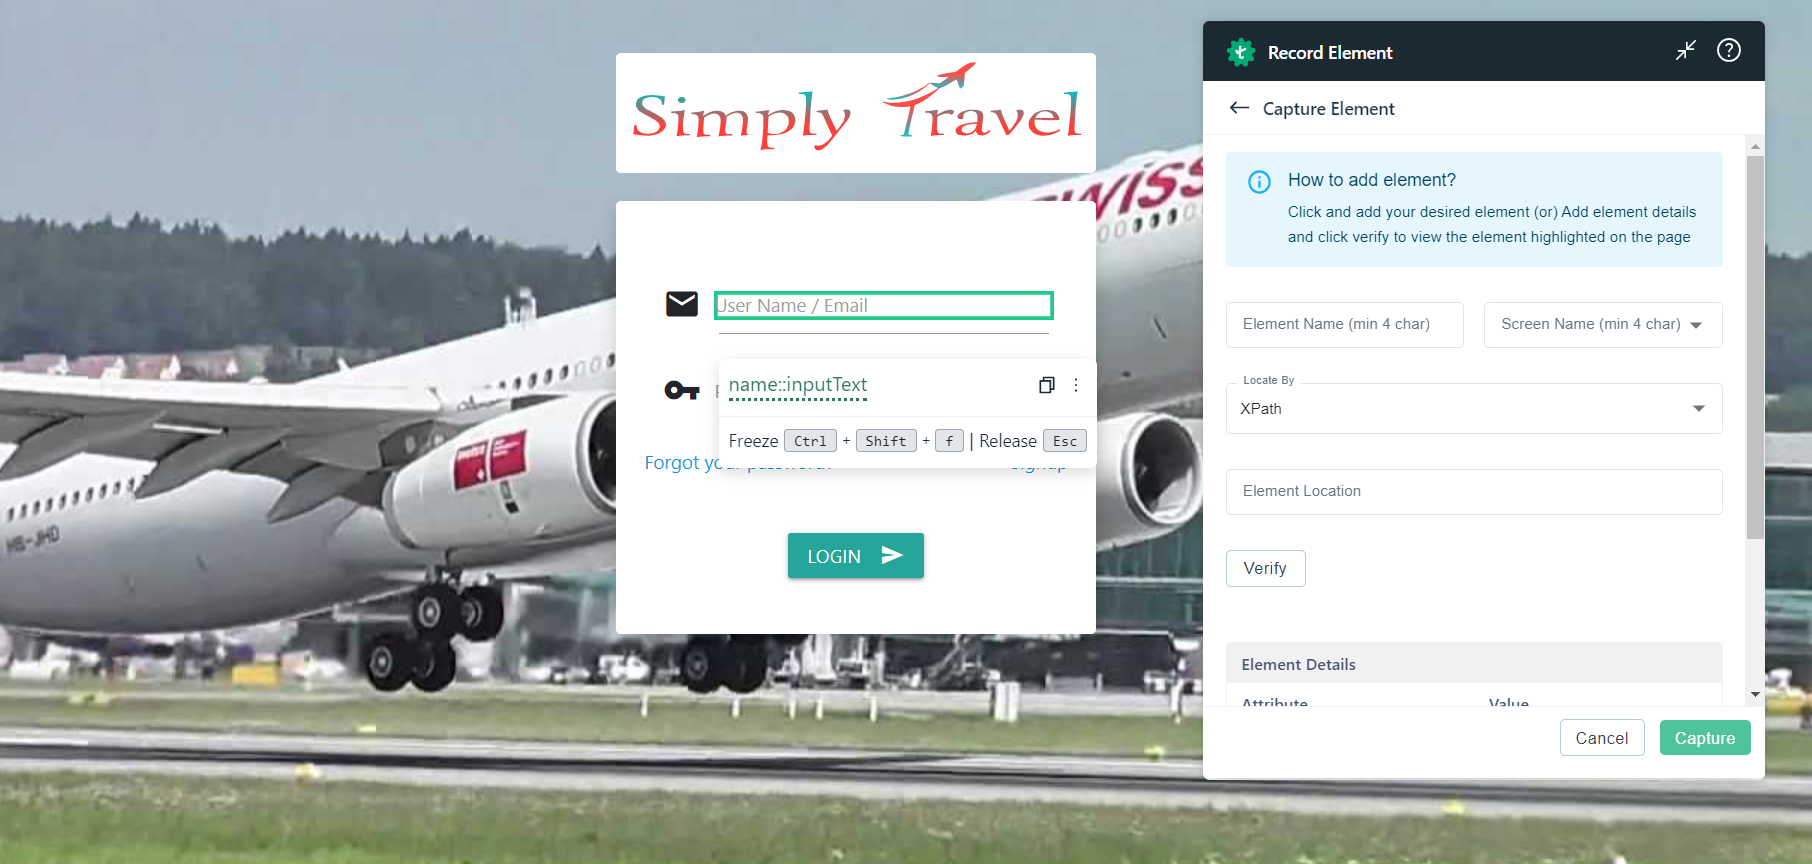
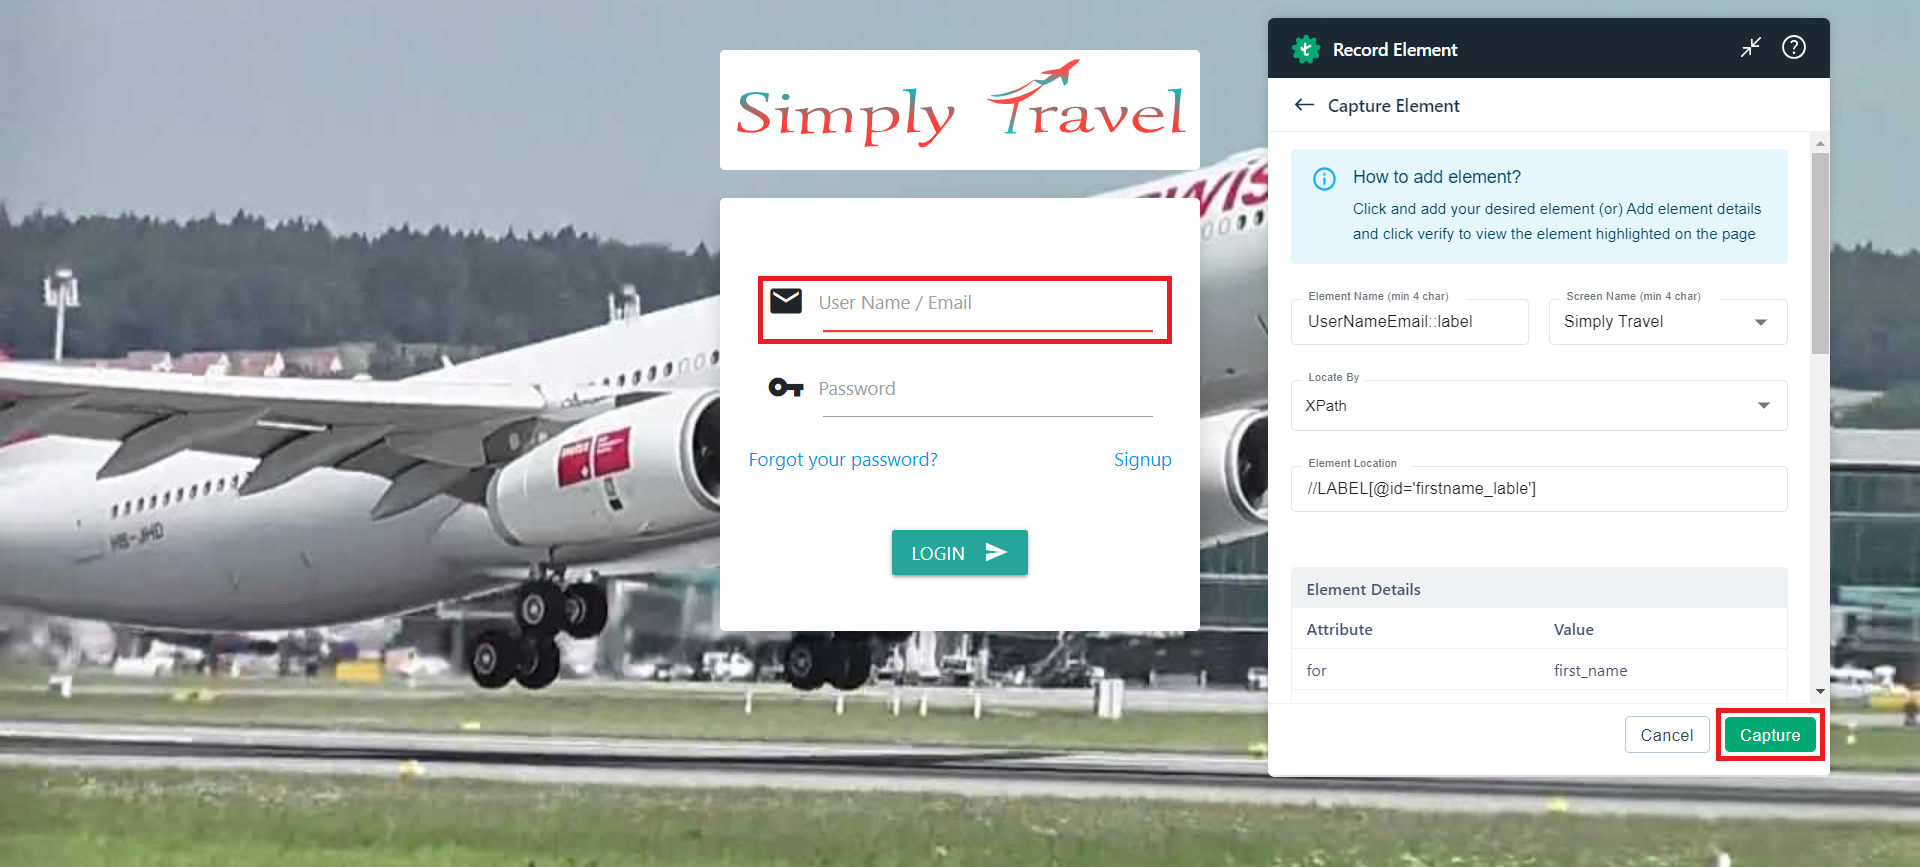
Hover over the element you want to capture and make sure that it is highlighted in green (here we are capturing the username field):
-
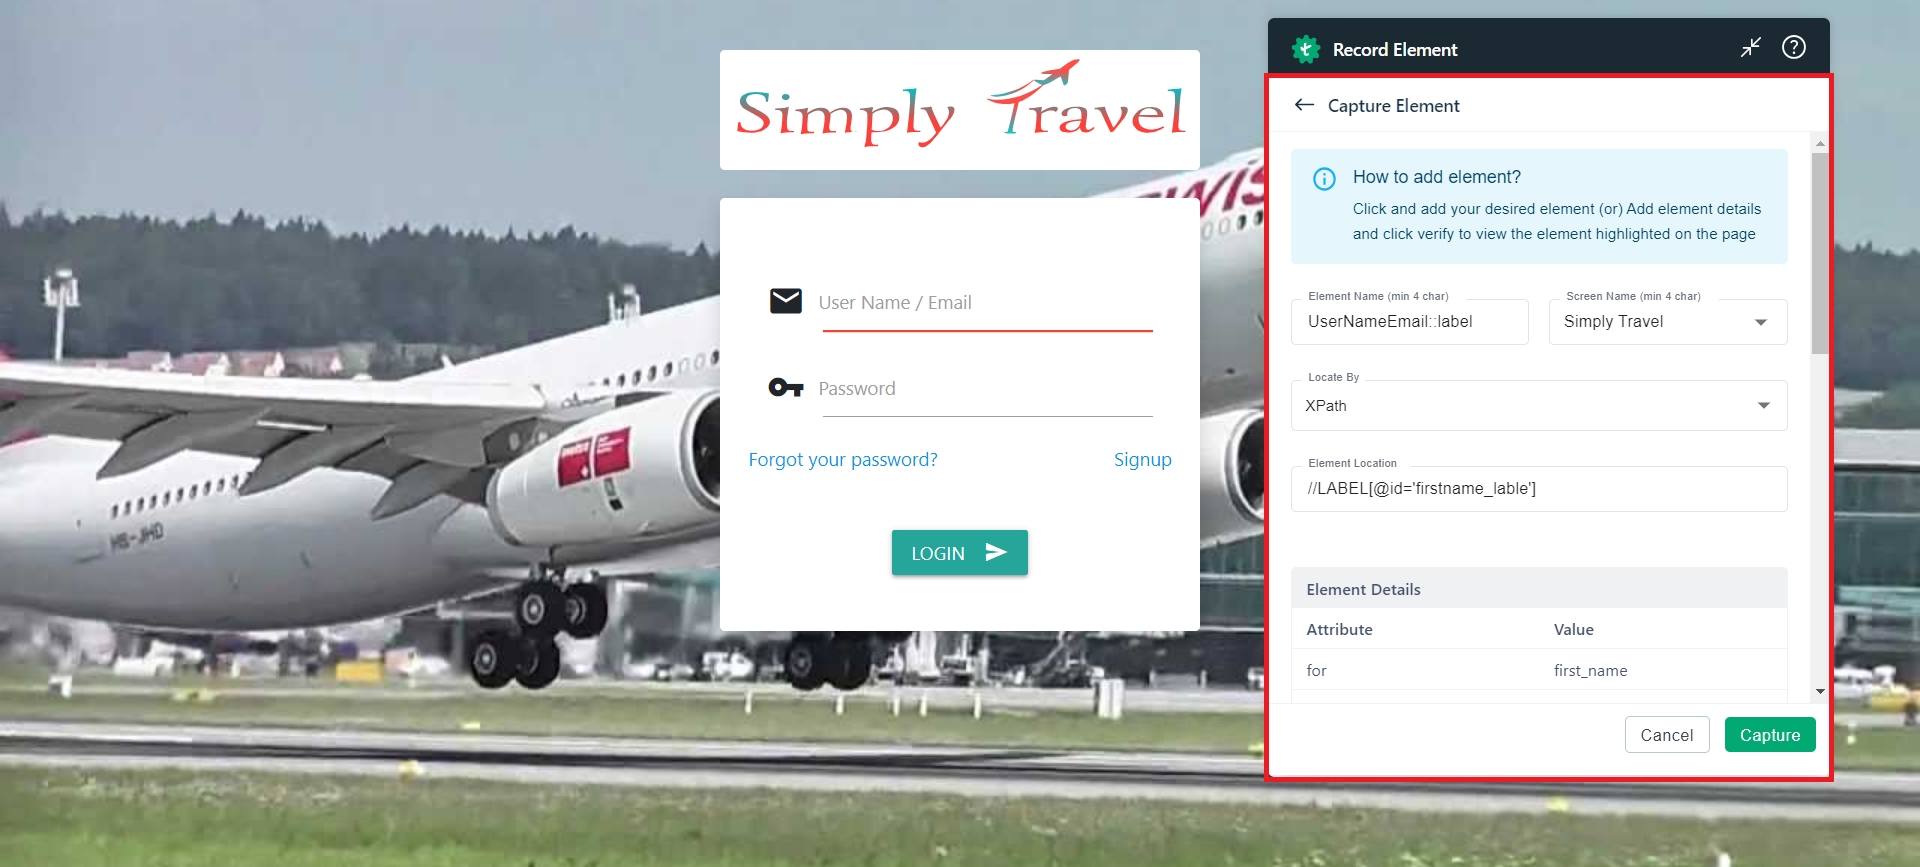
Click on the hovered element and wait for the element to appear in the recorder.
-
Click on Capture, you will be redirected to the Elements page.
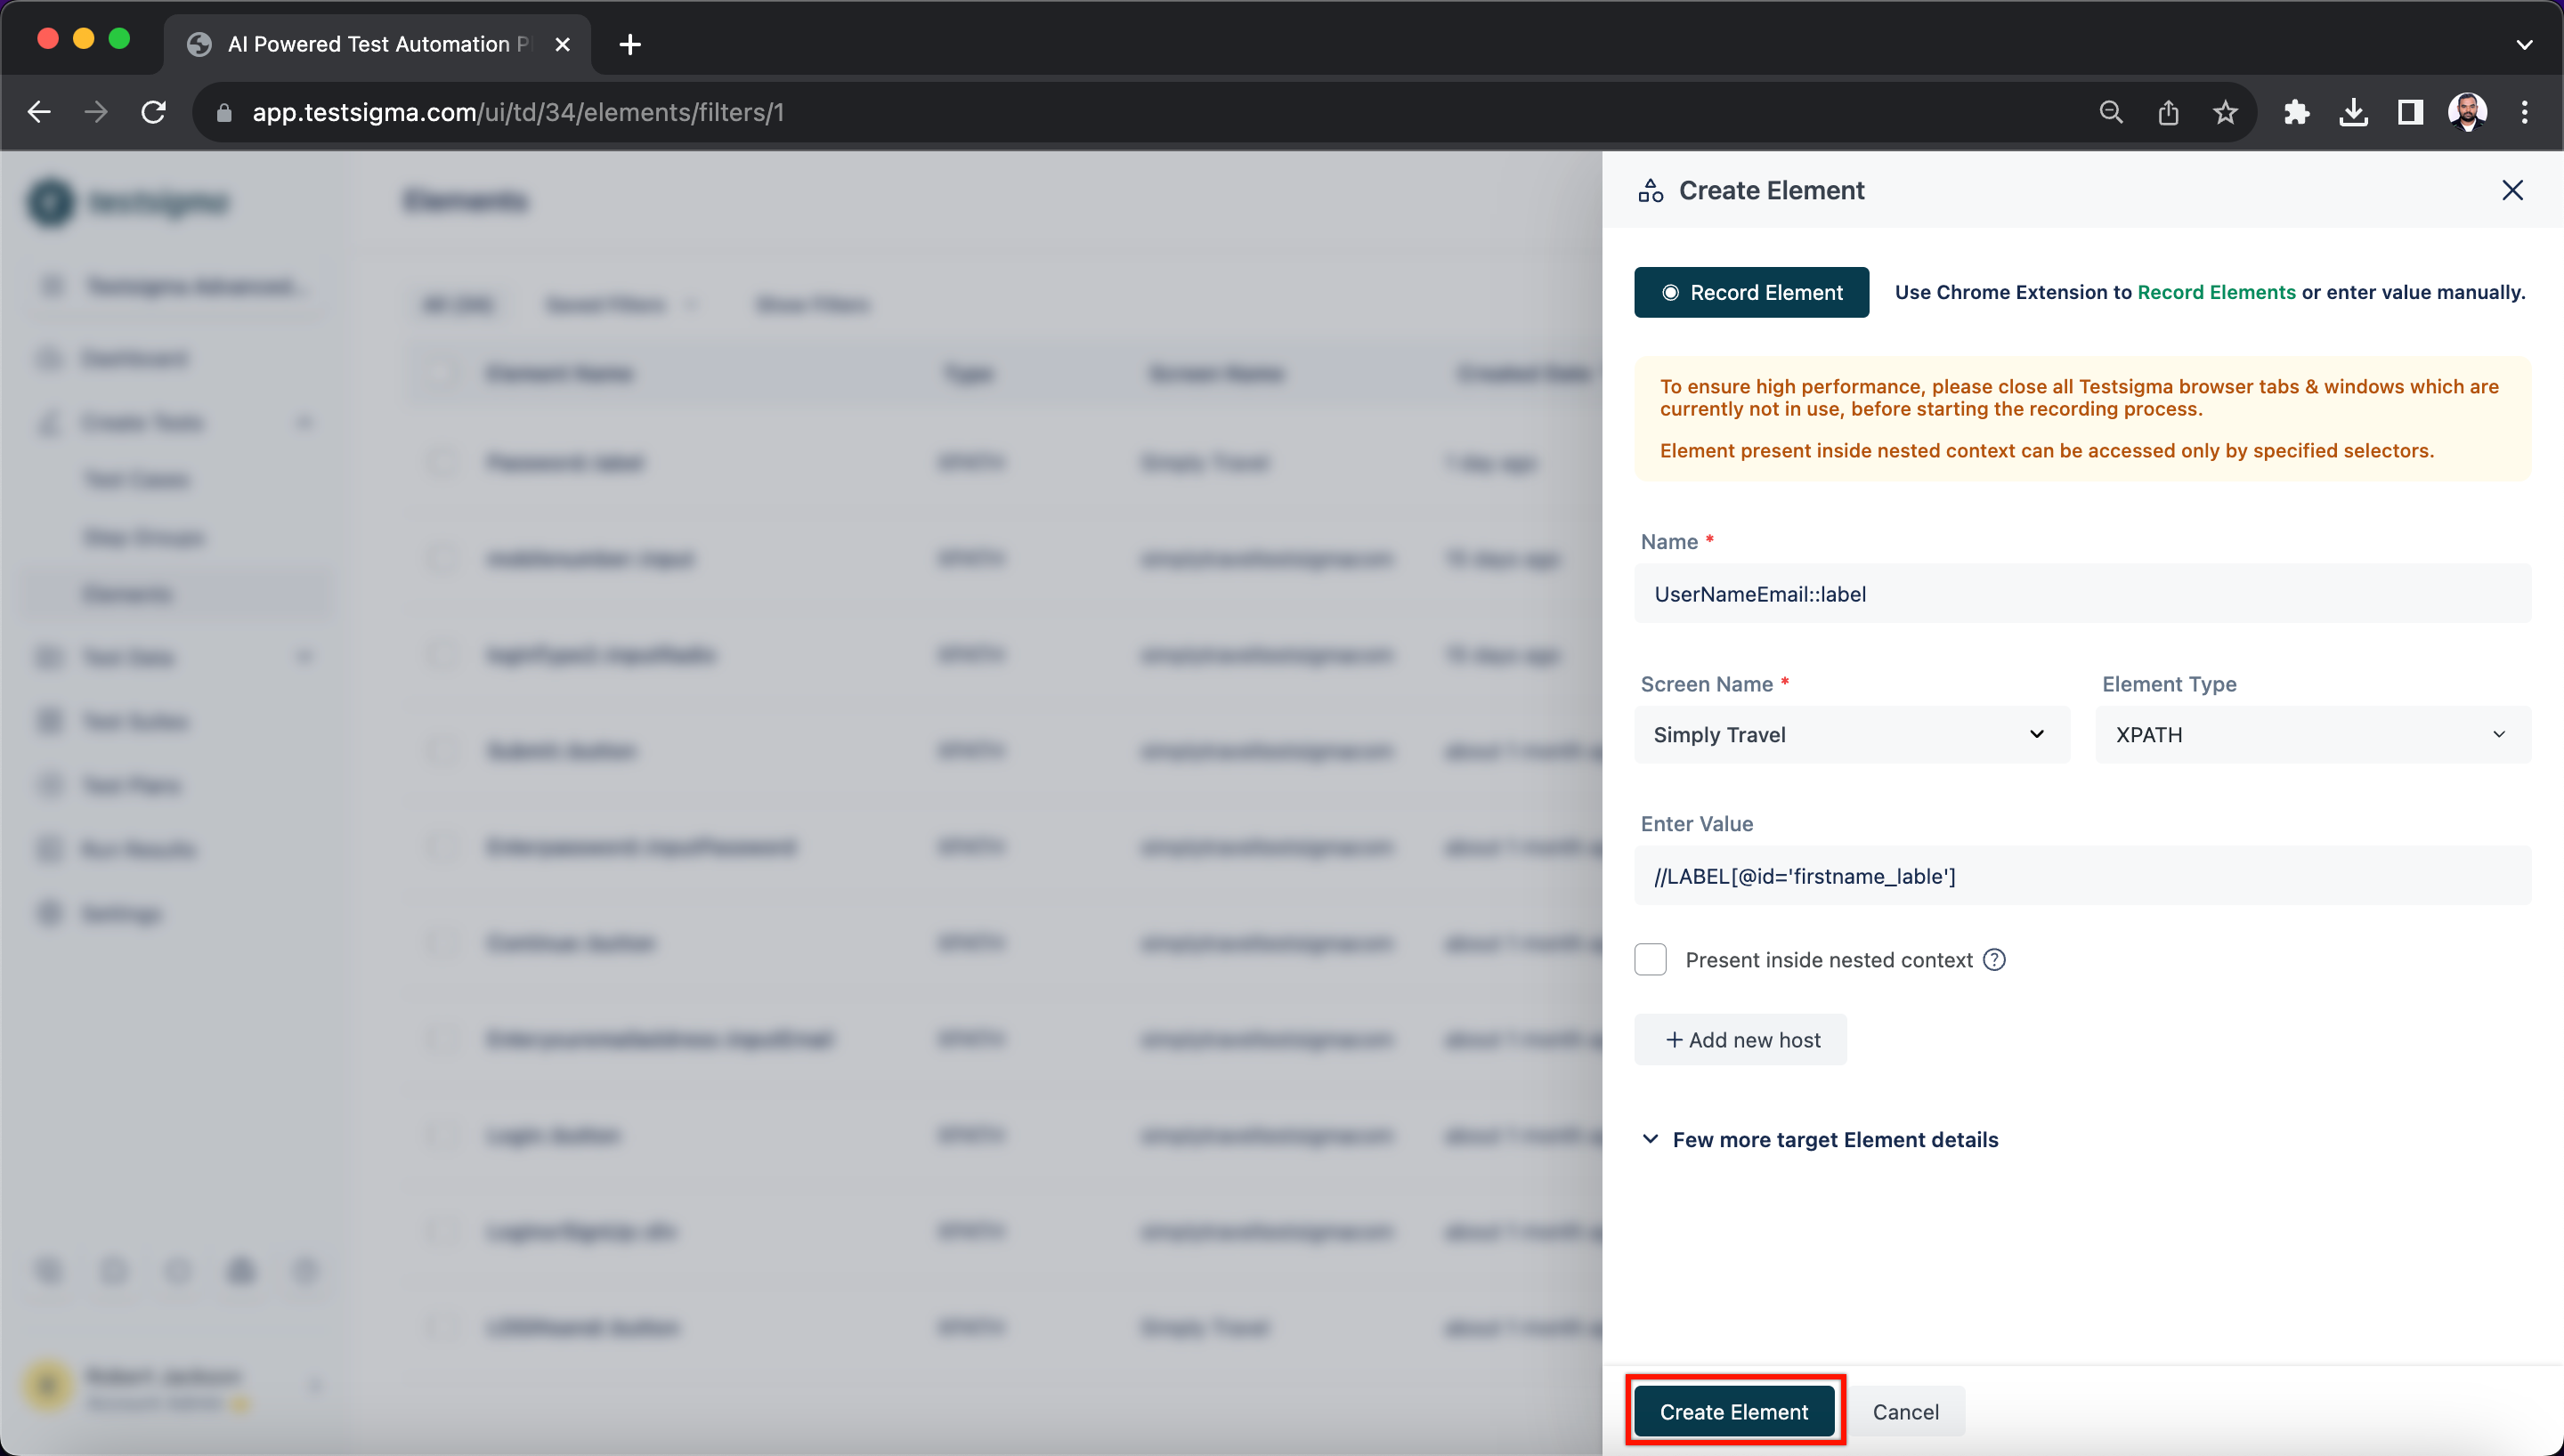
-
Check all the options and click on Create Element.
Here’s a quick GIF demonstrating how to create an element from the Elements page.
-
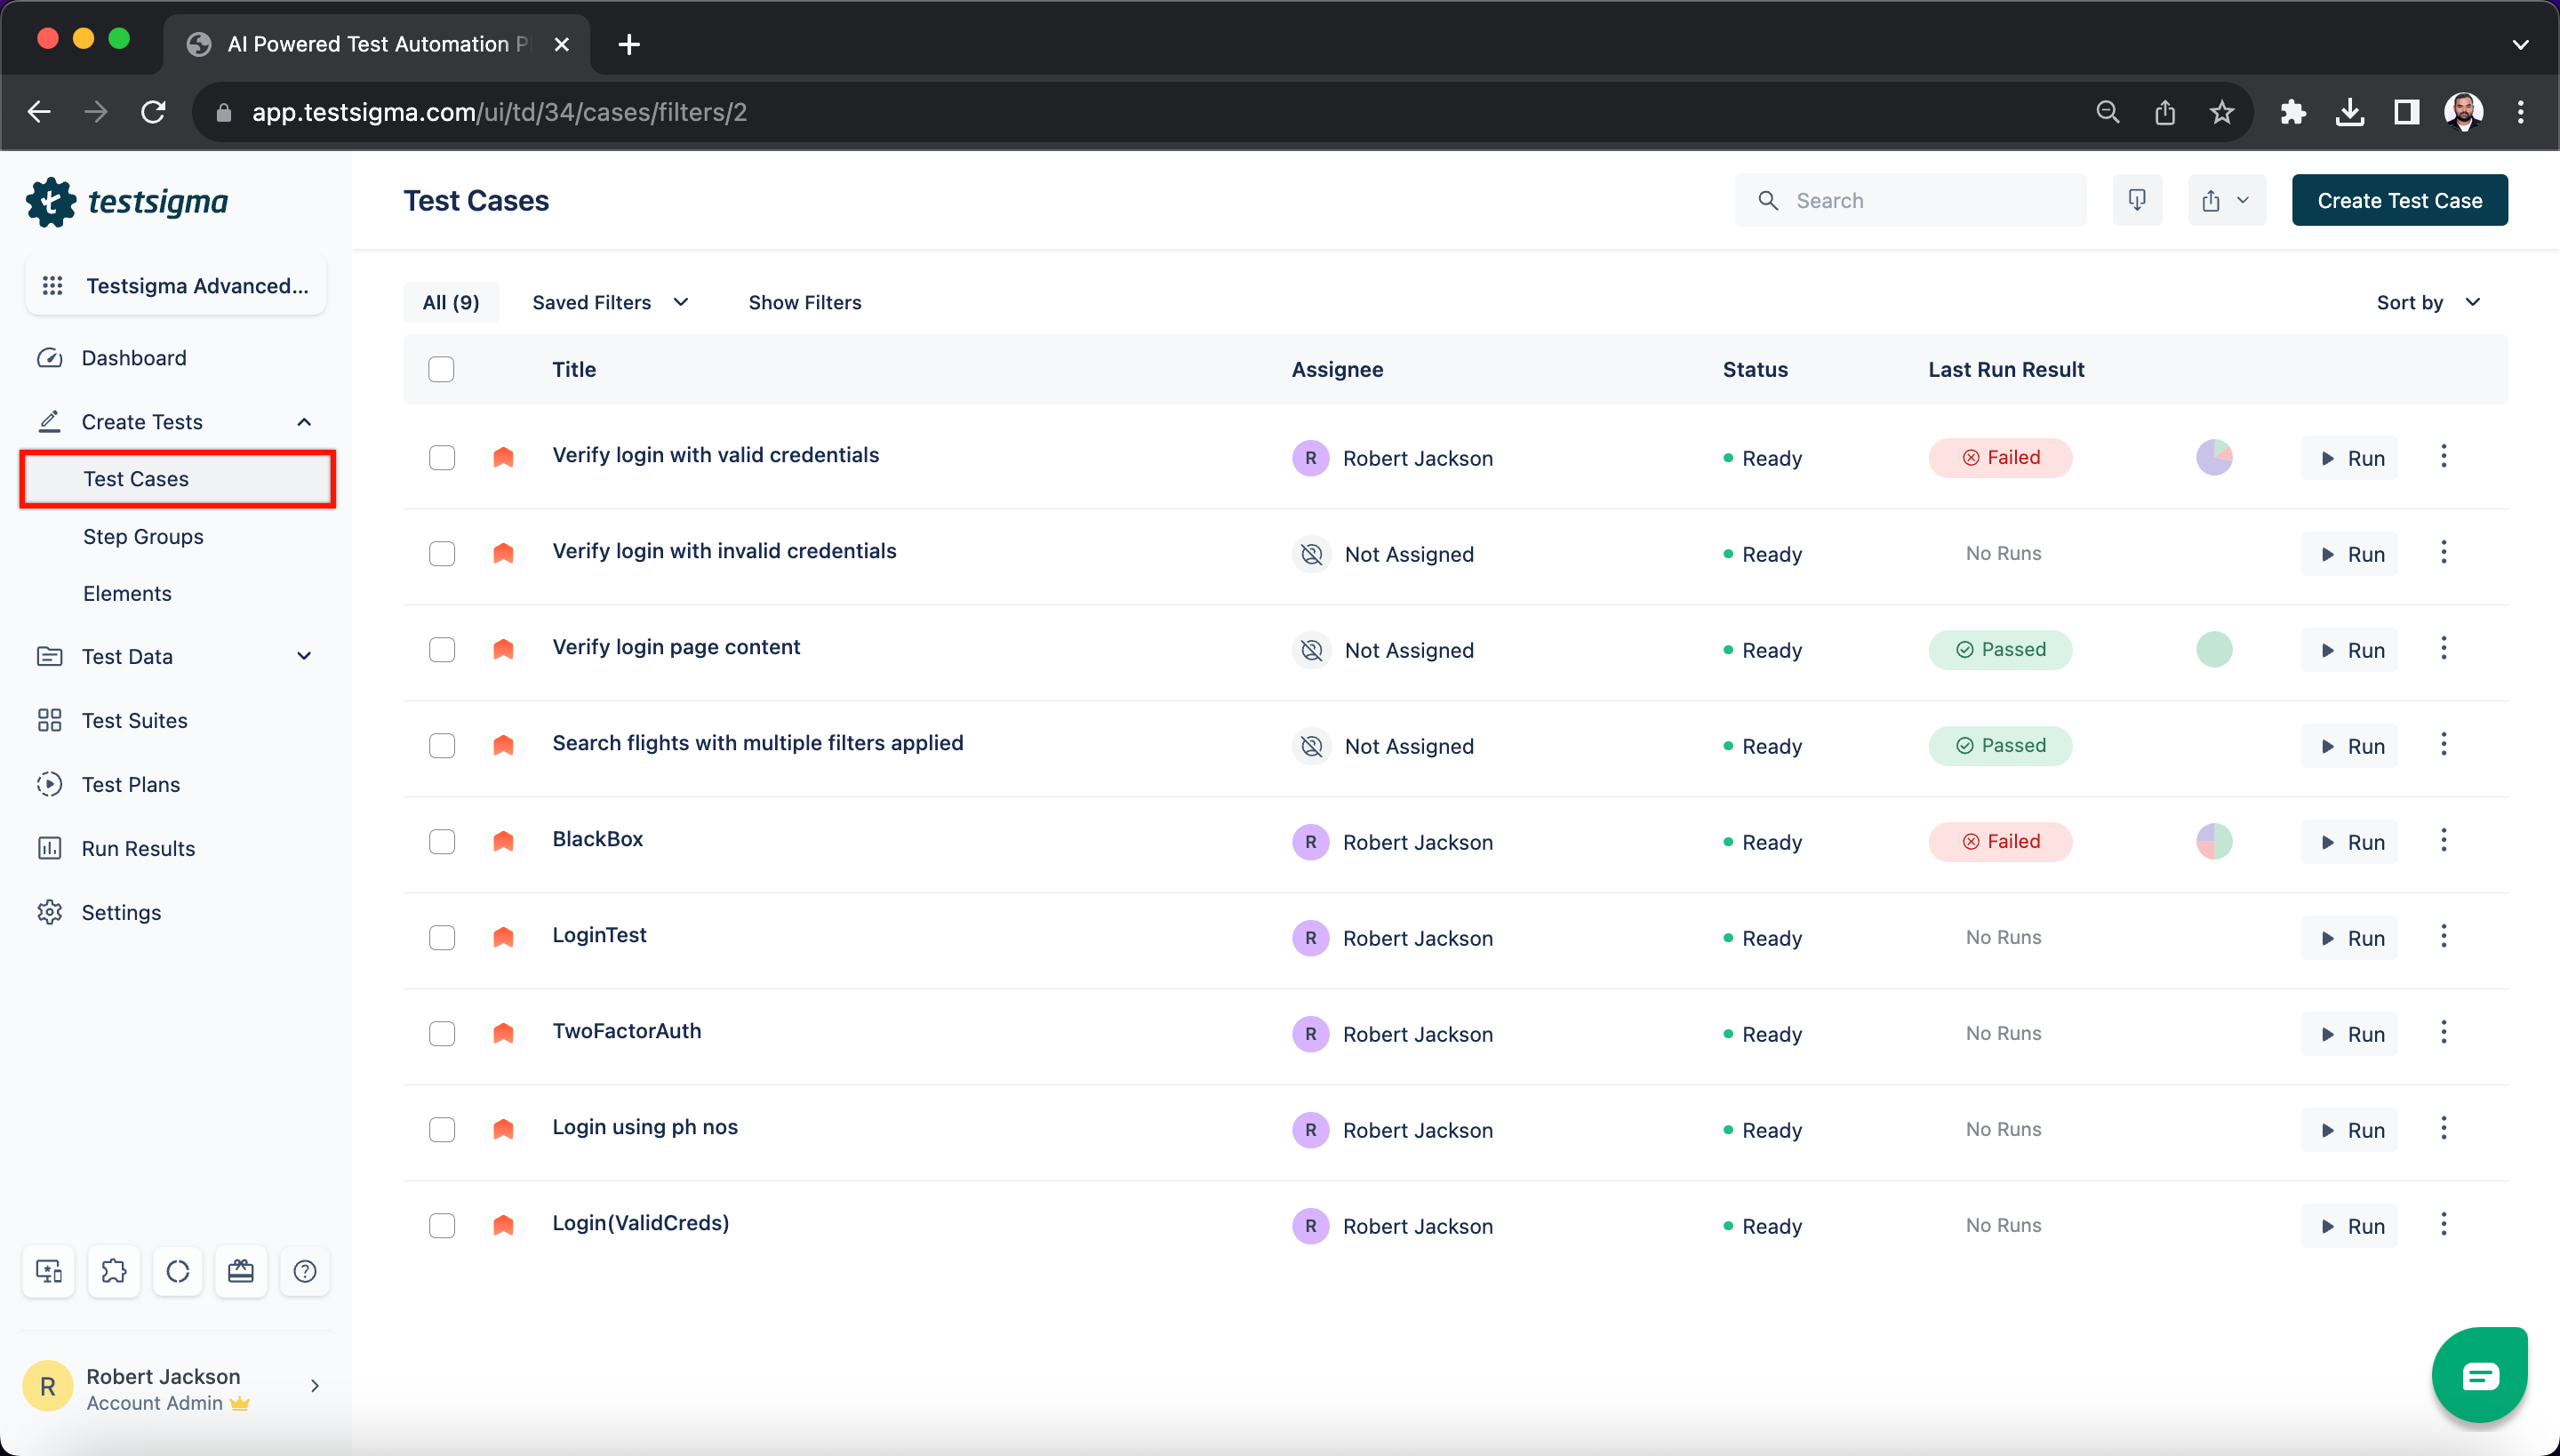
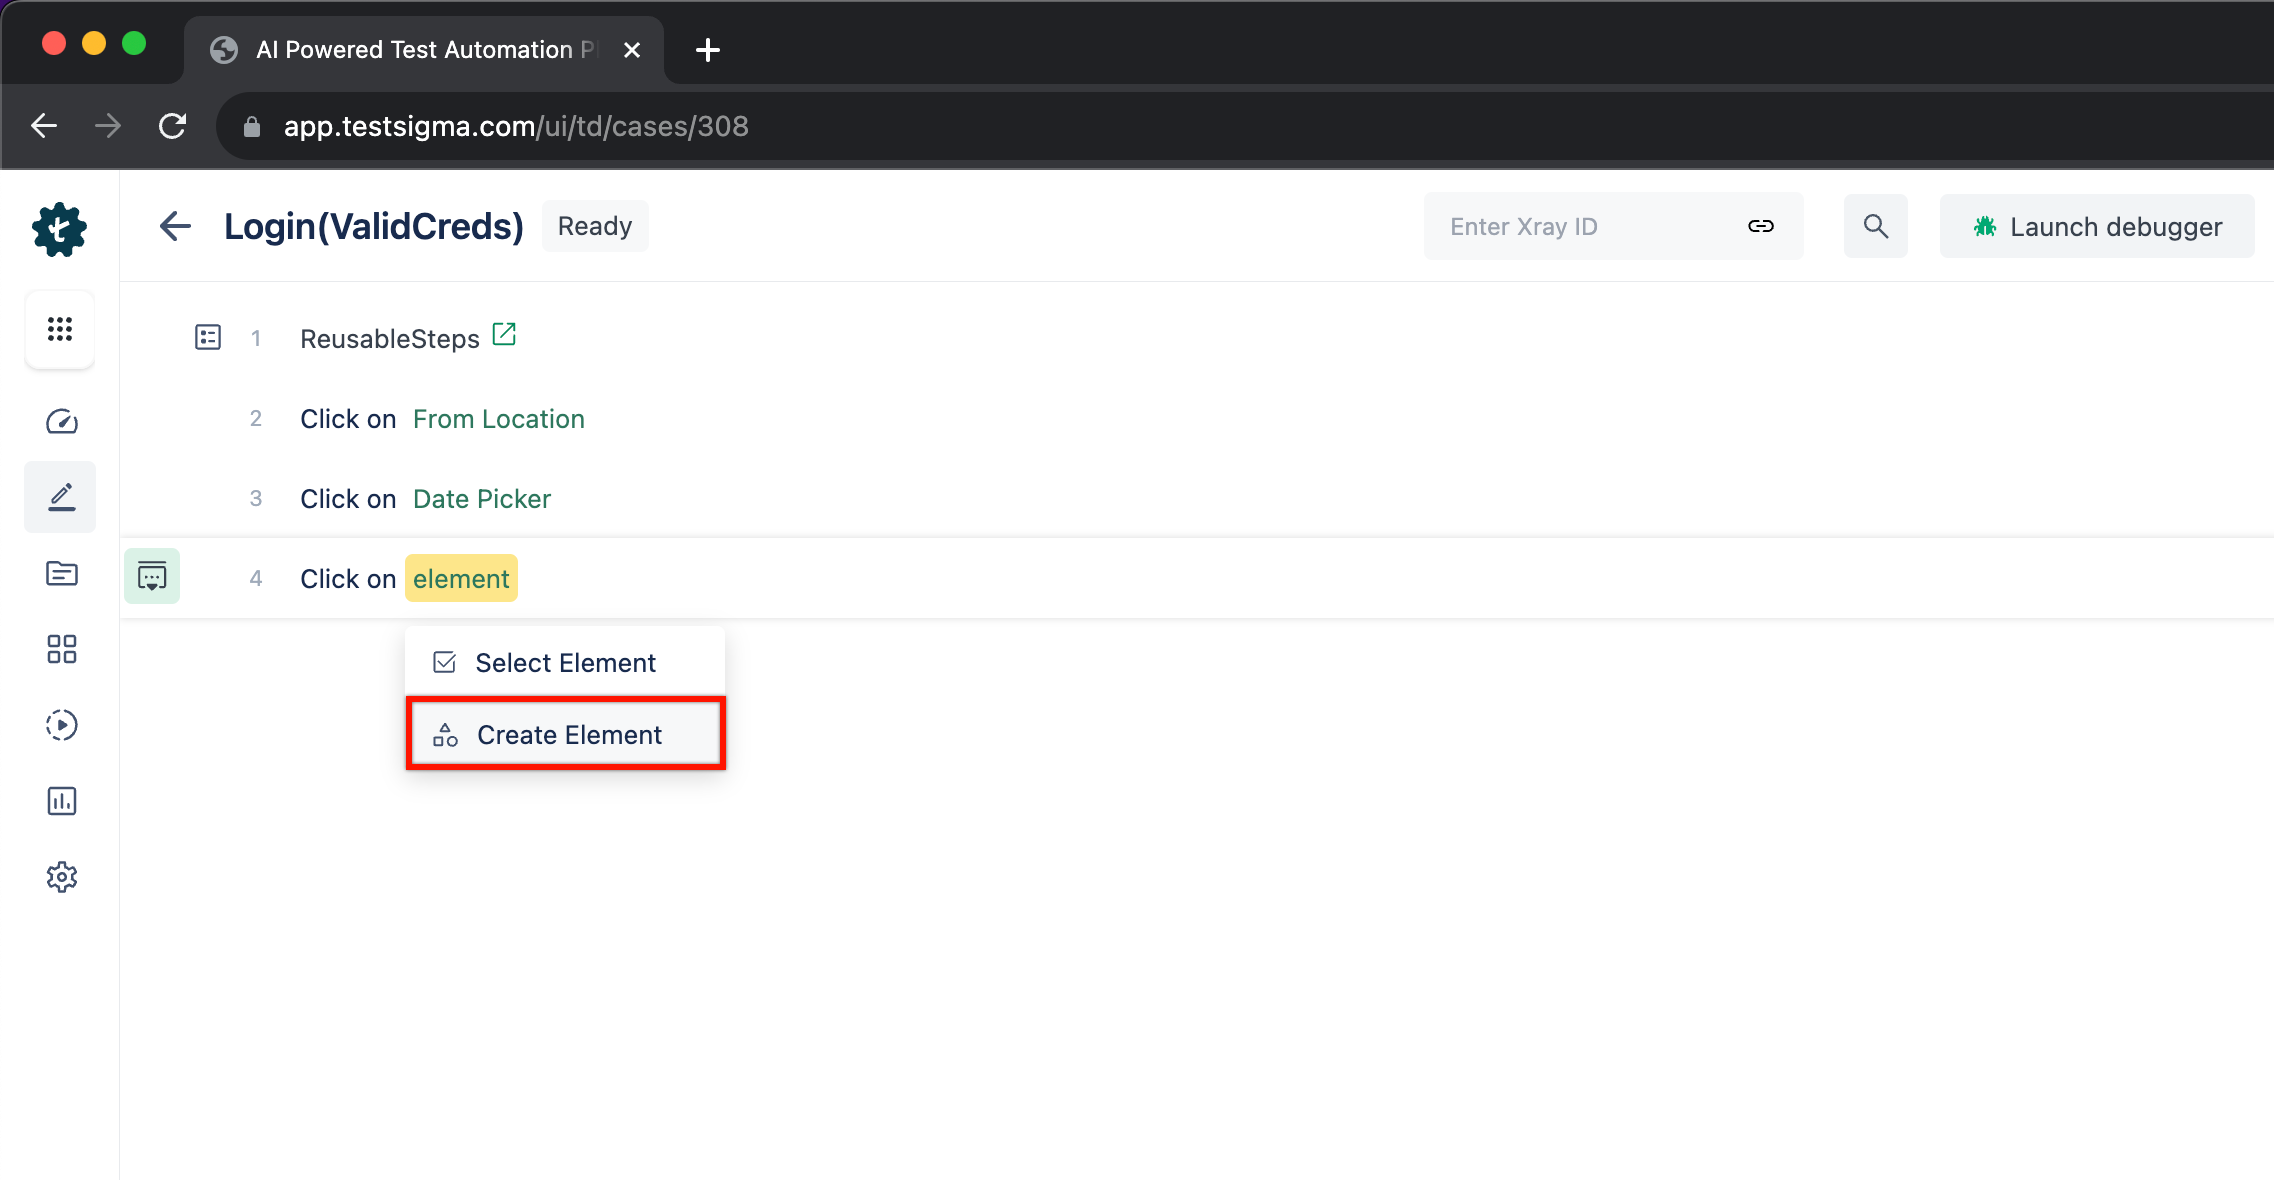
Navigate to Create Tests > Test Cases, create a new test case or select an existing test case.
-
Click on Create Element.
-
Follow the steps 3-8, mentioned in steps to create an element from the elements page to create an element.
-
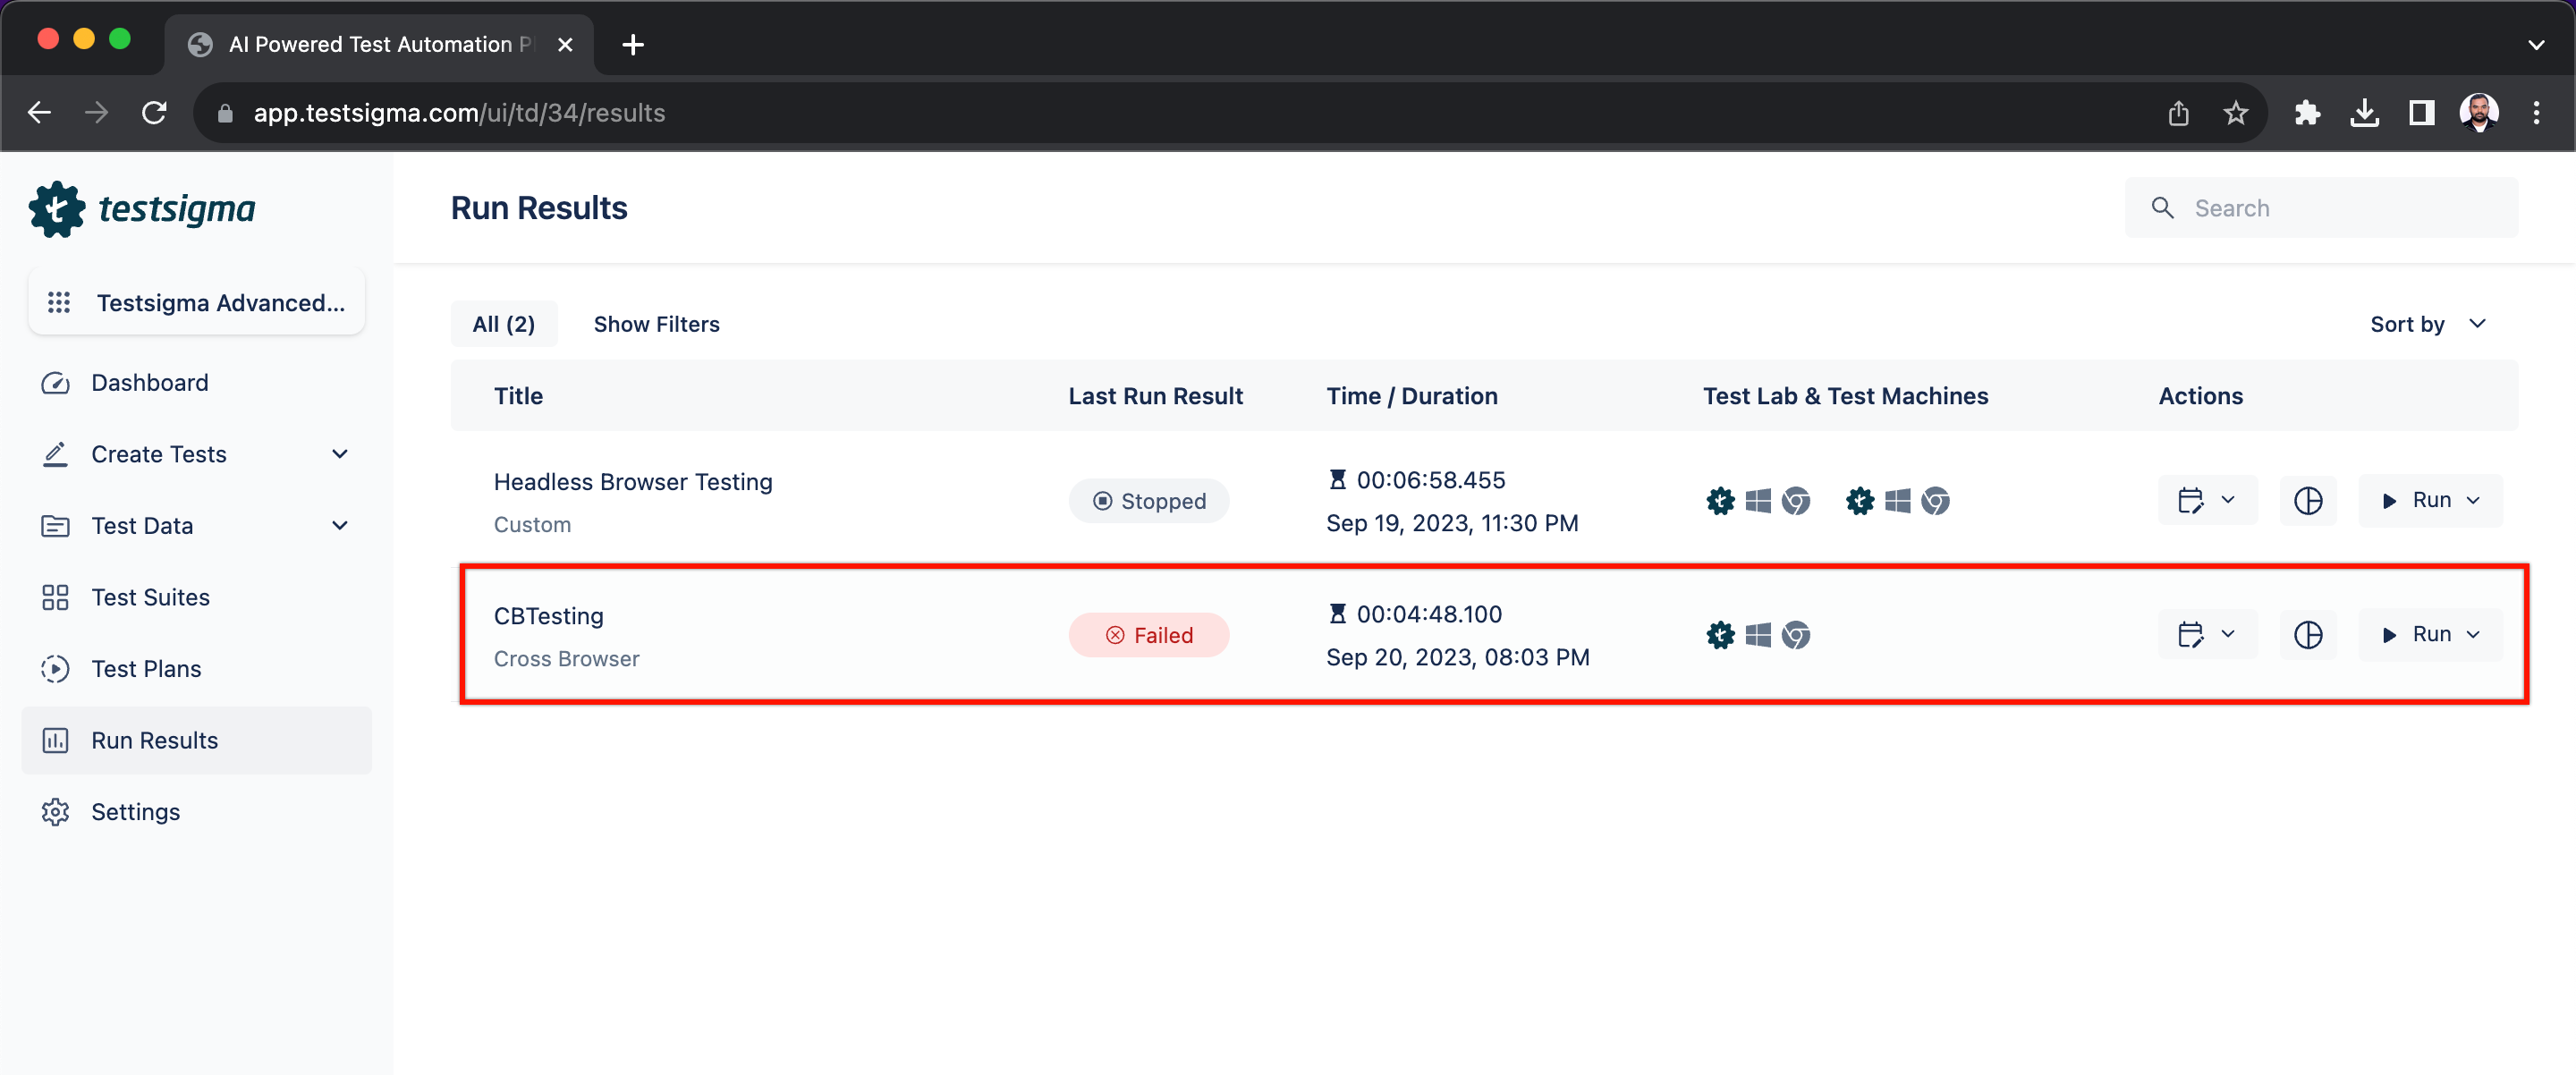
Navigate to Run Results and click on the run result you want to edit.
-
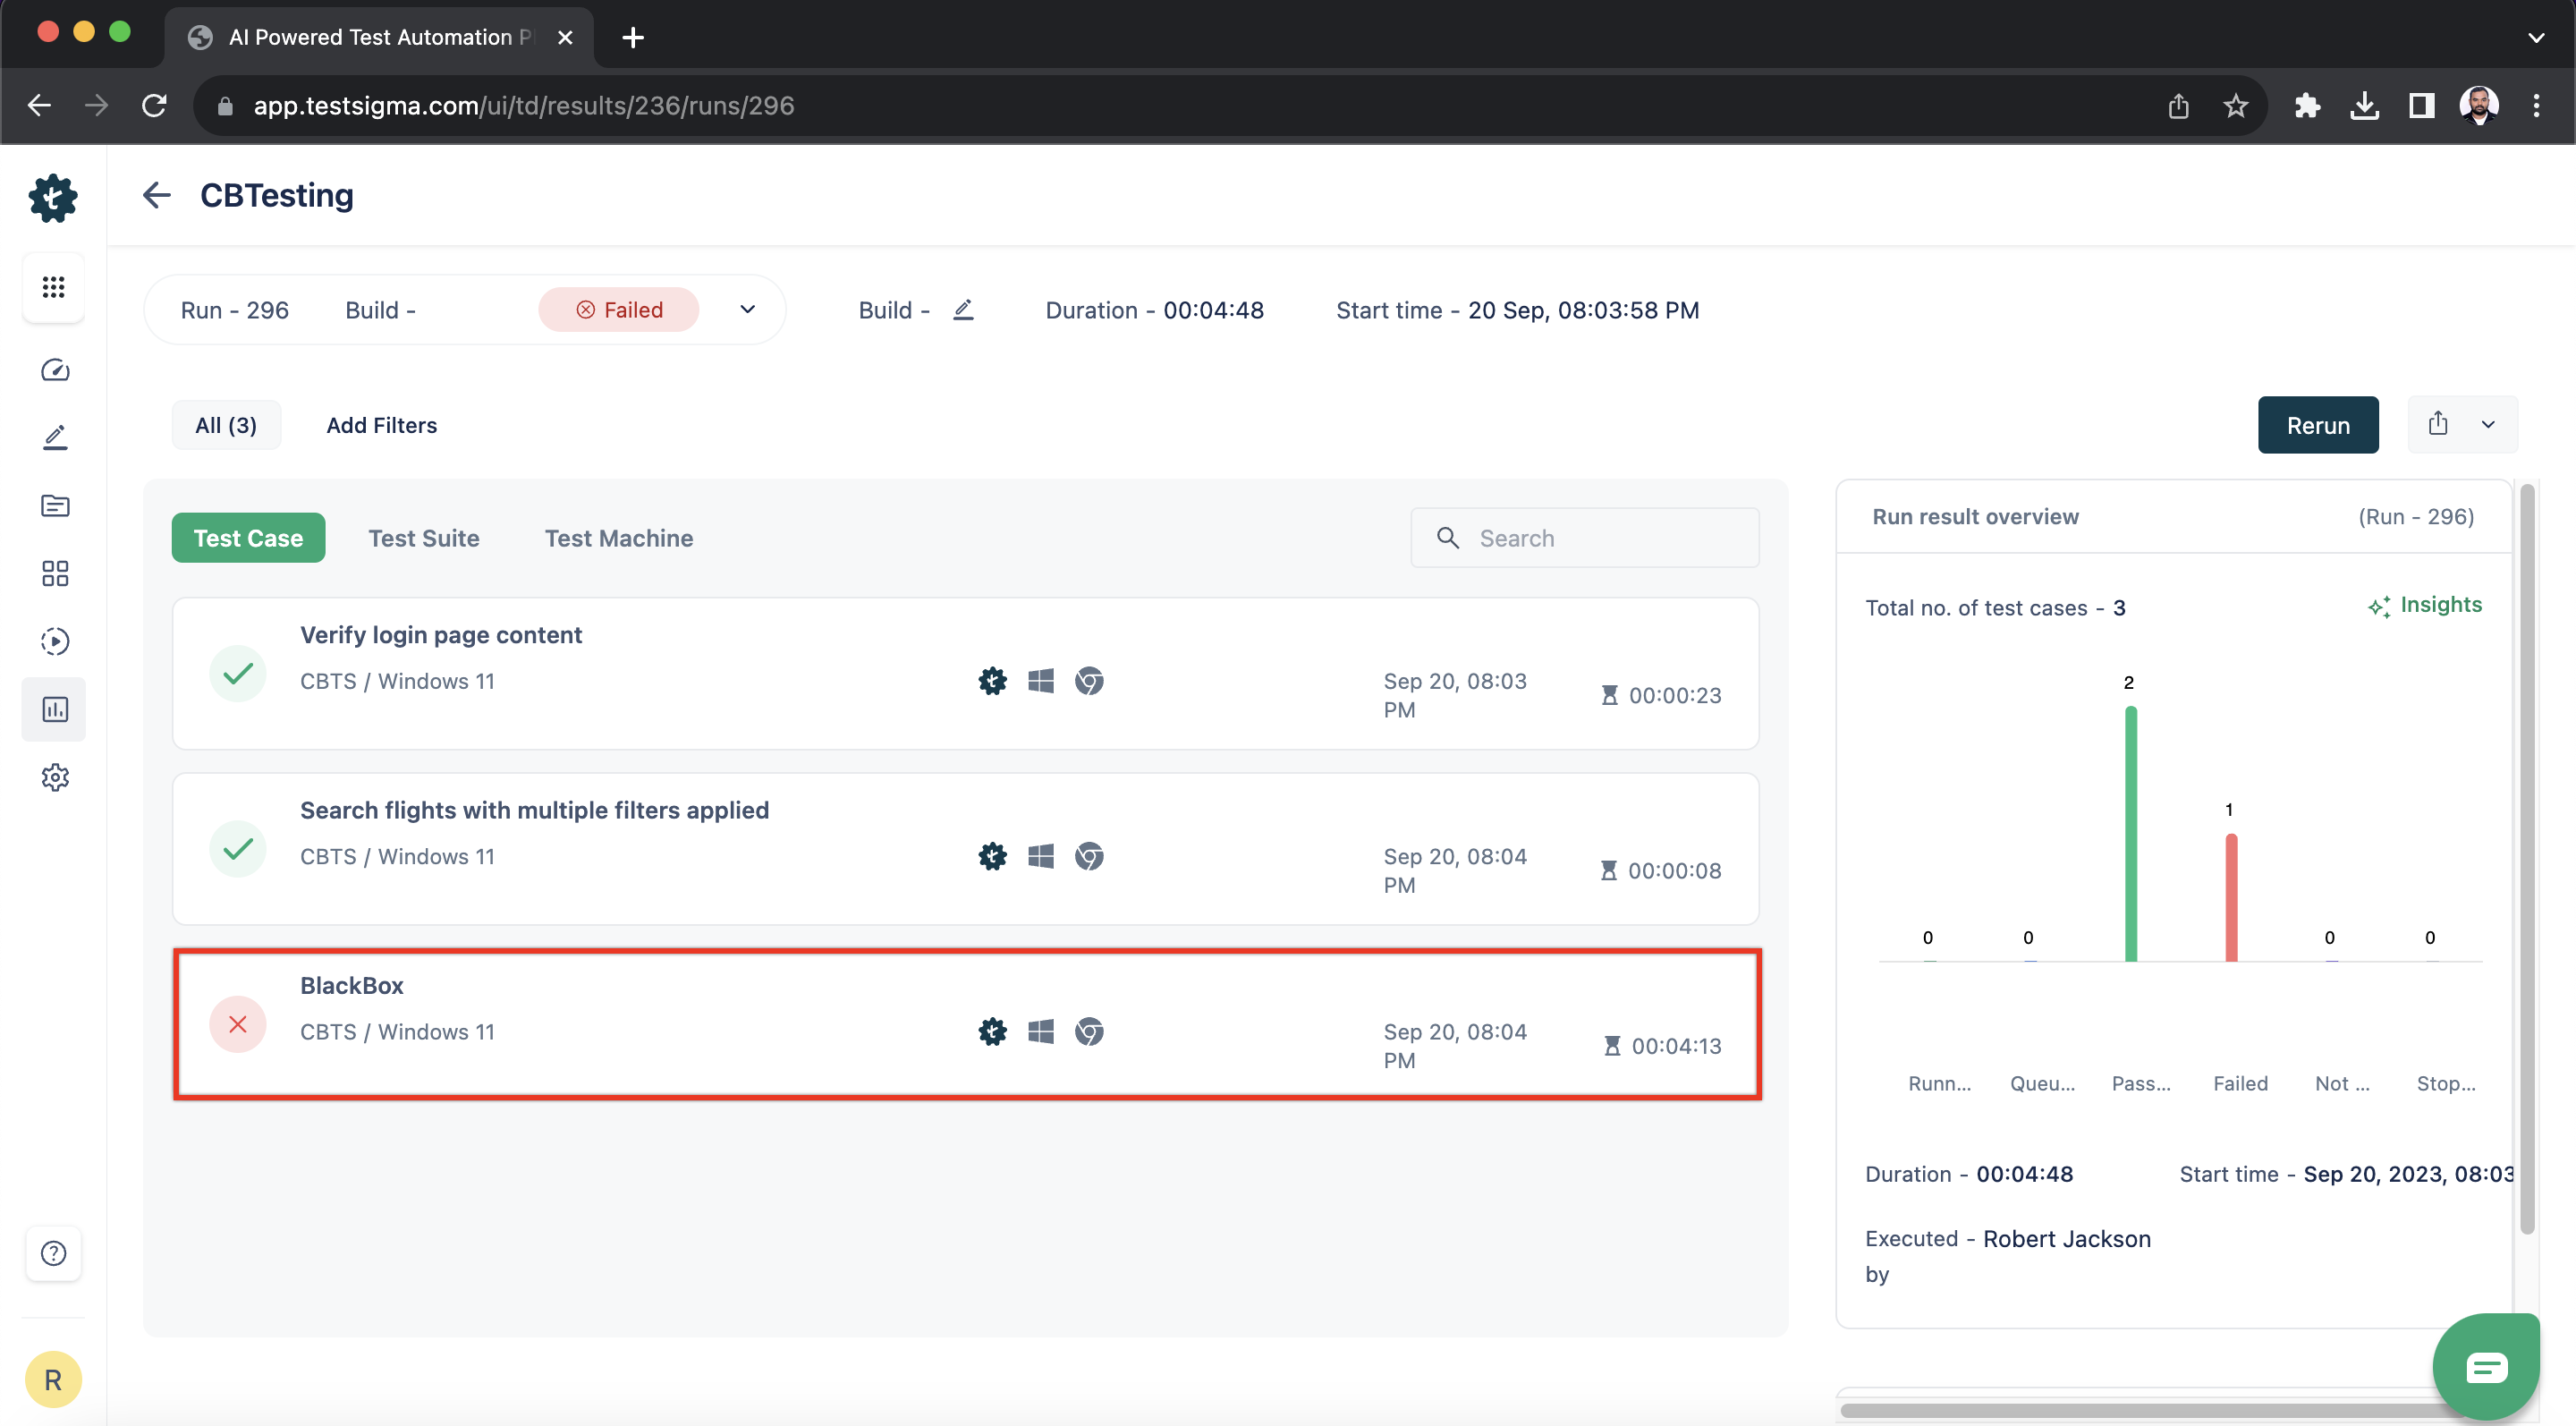
On the Run Results Details page, click on the test case result in which you want to edit the element.
-
Click the test step in which you want to edit the element and hover over the test step details on the right side of the page and click on edit.
-
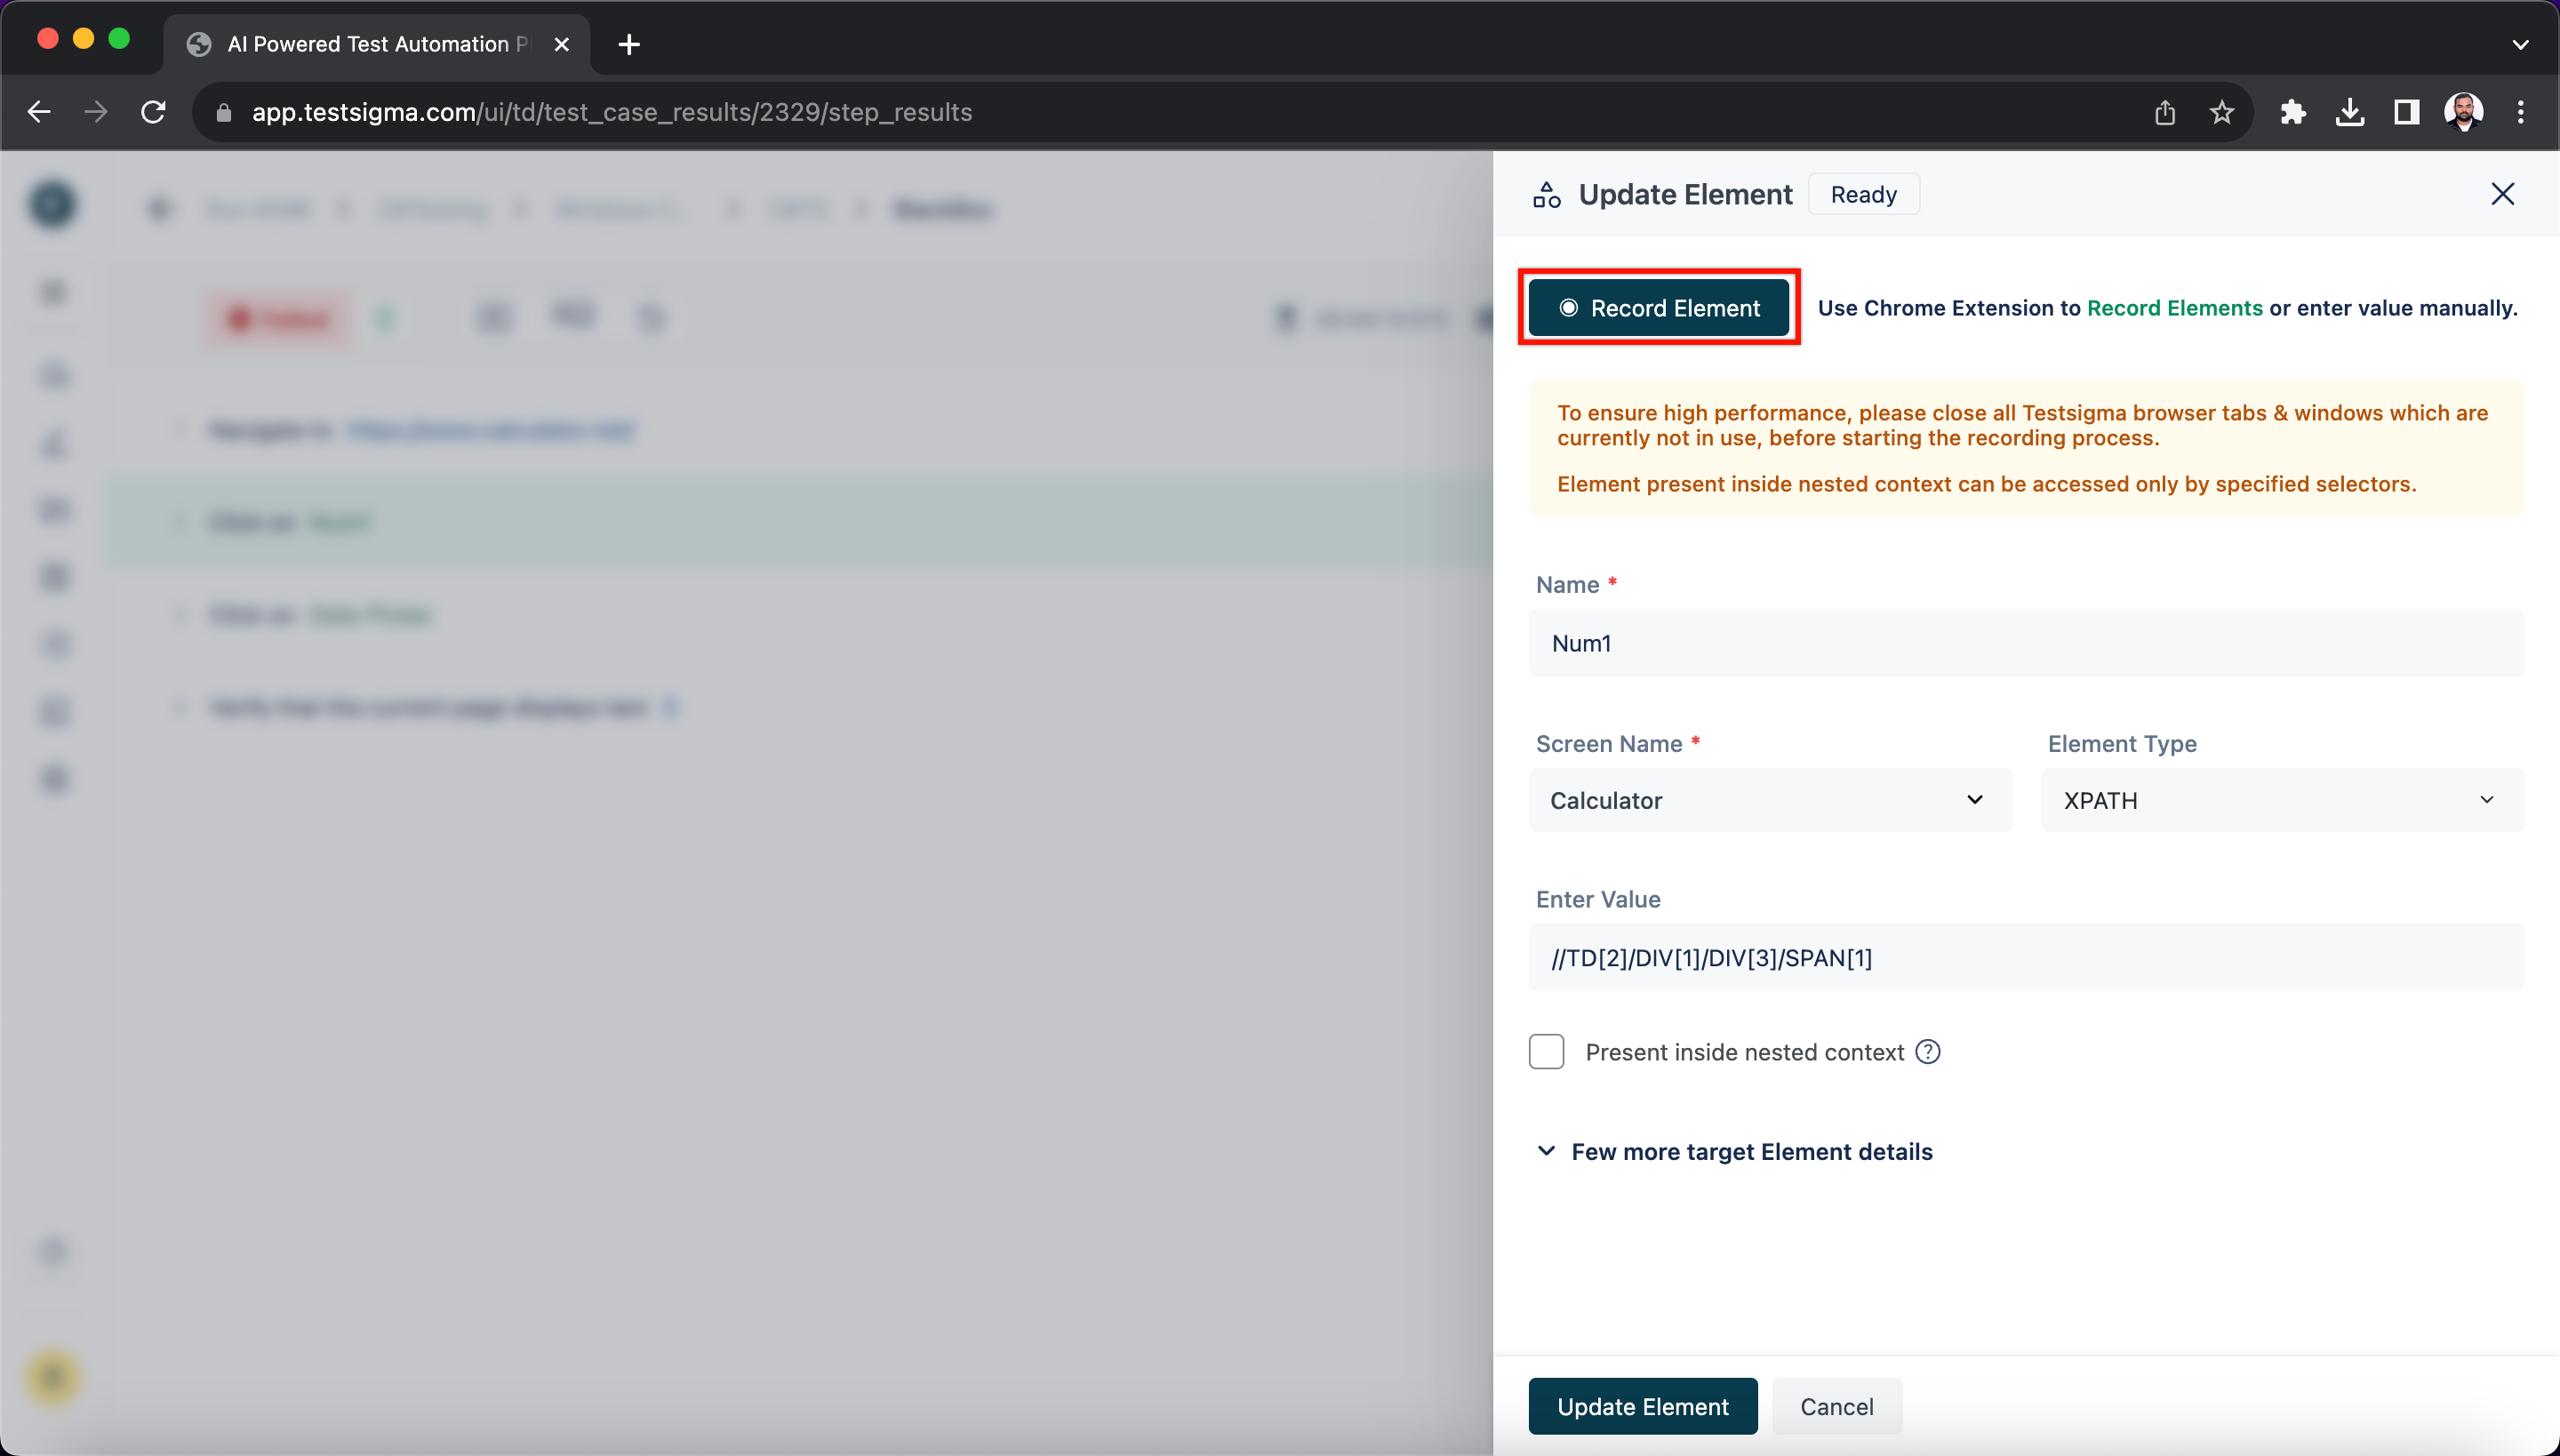
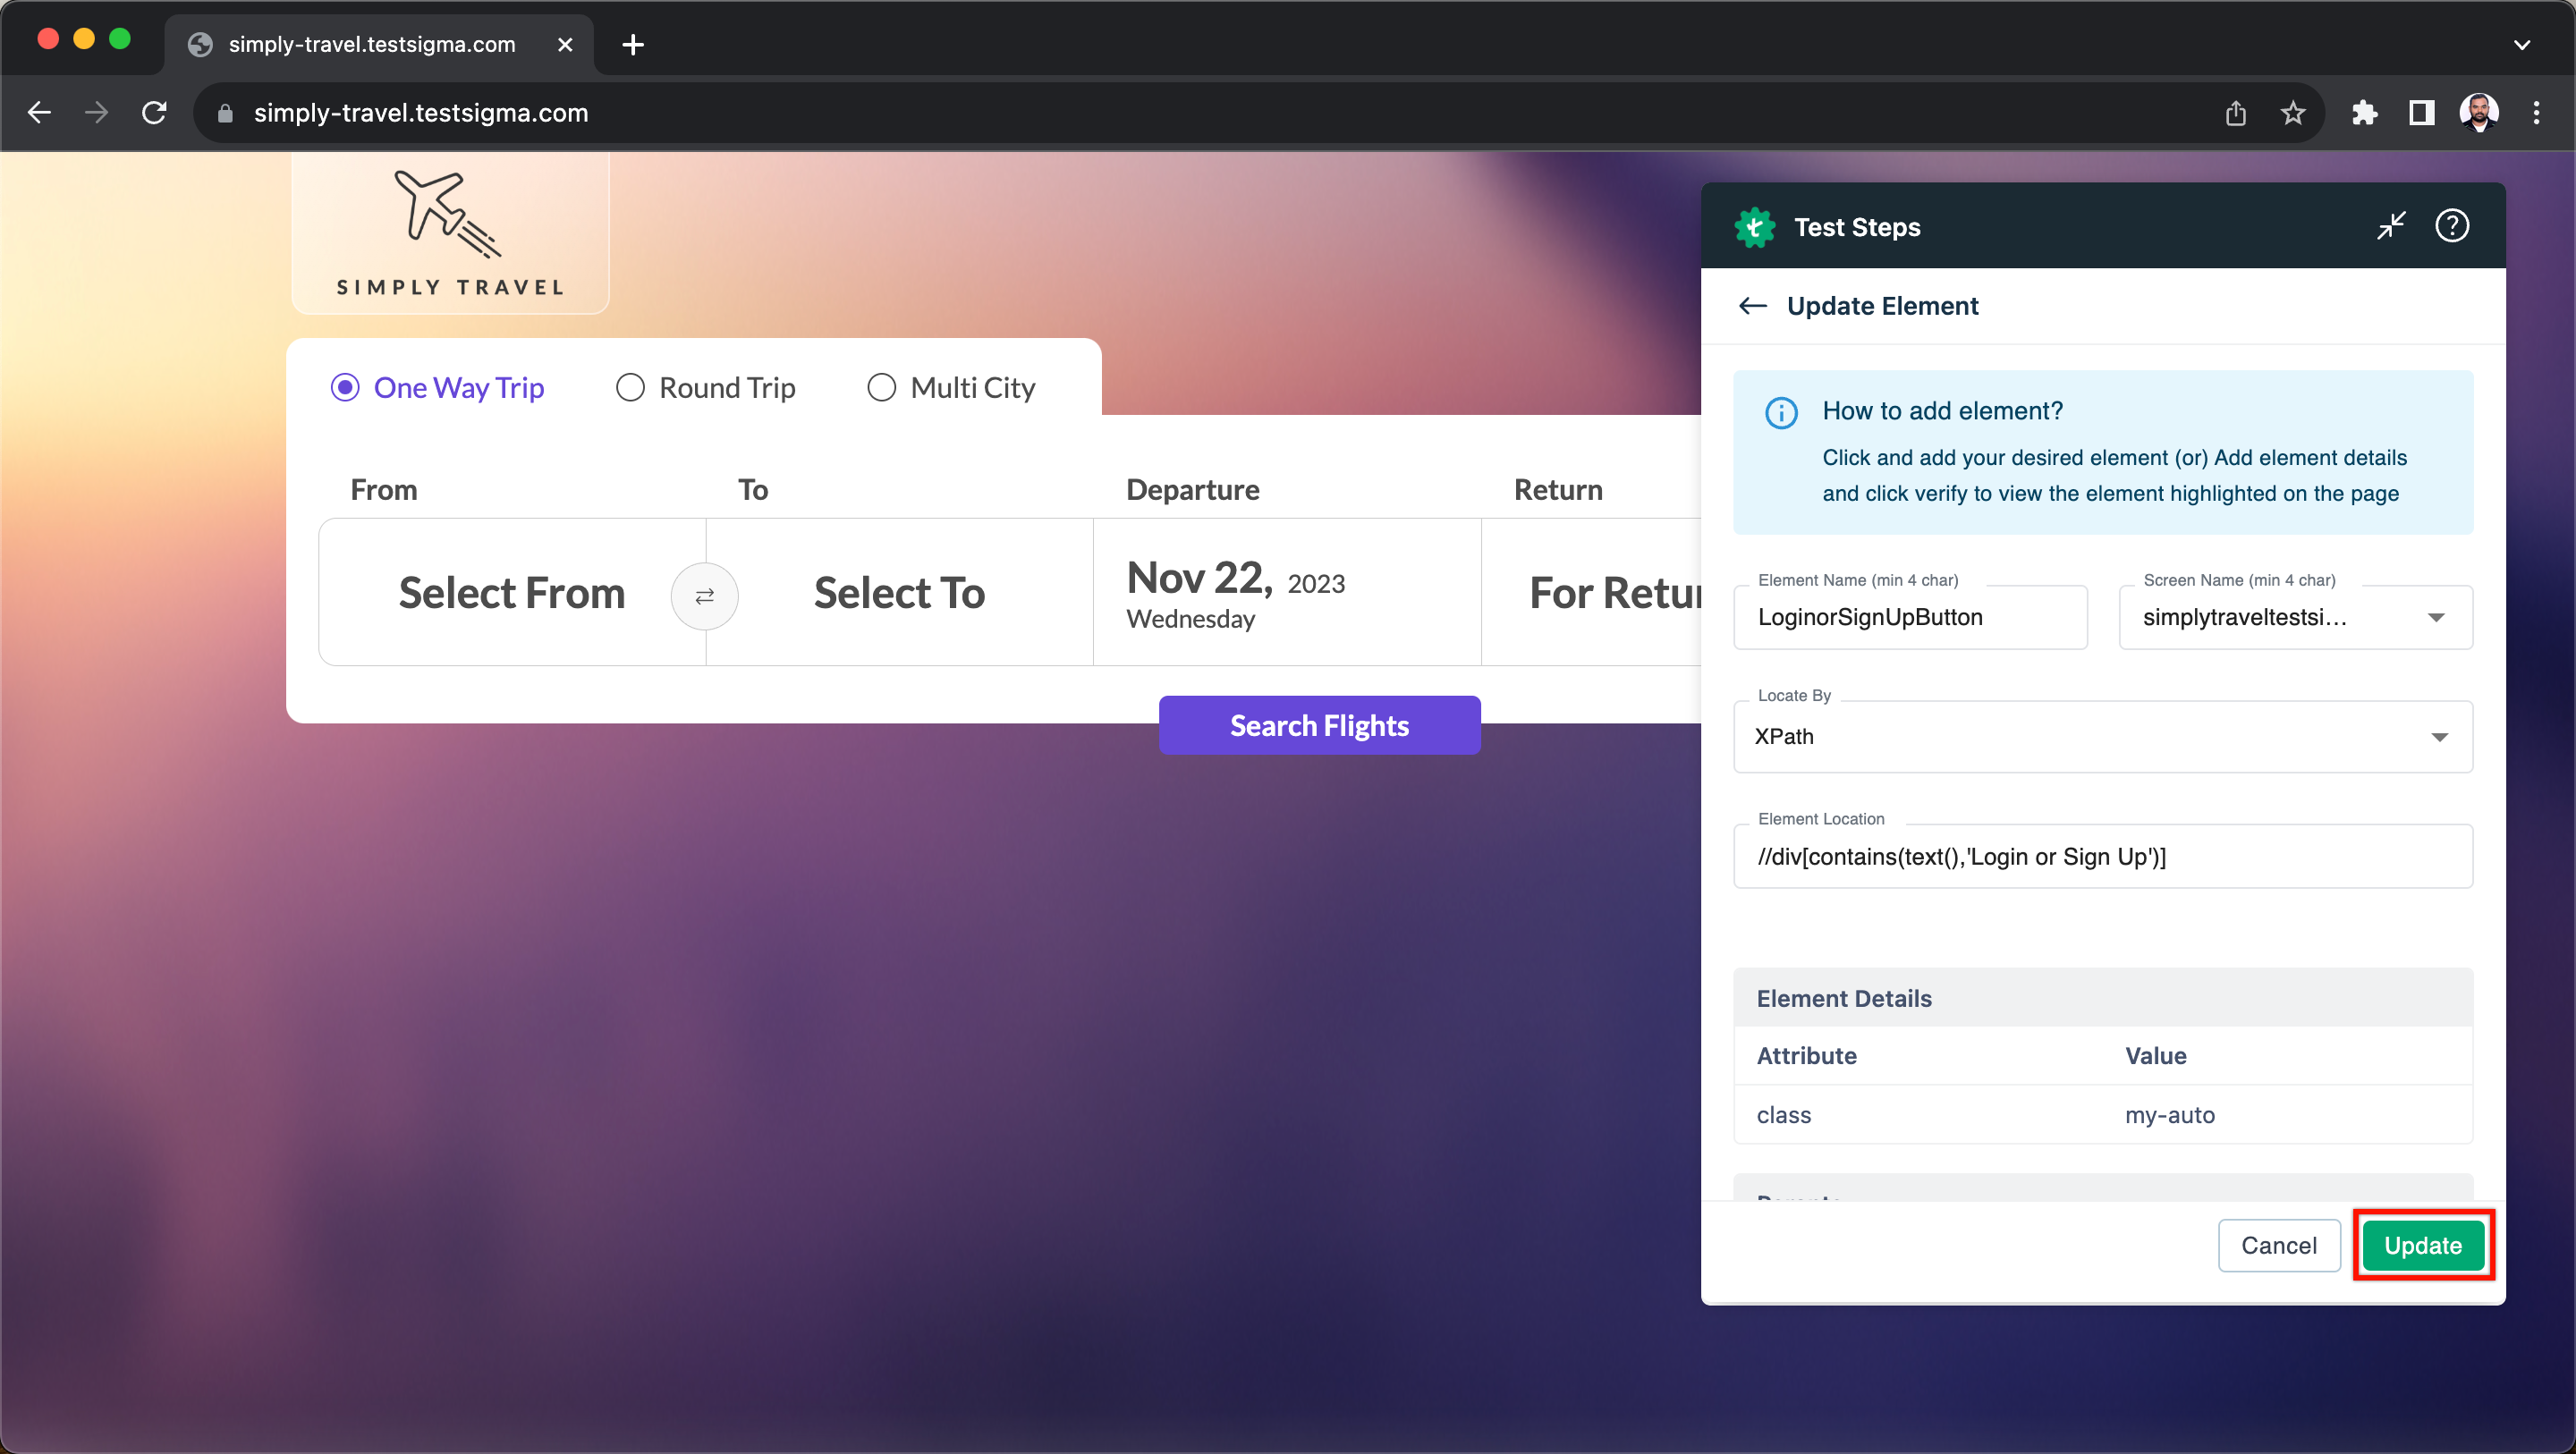
You’ll get an Update Element overlay.
-
Click on Record Element to capture a new element. Refer to steps 3-8 from creating an element from the elements section for detailed information.

-
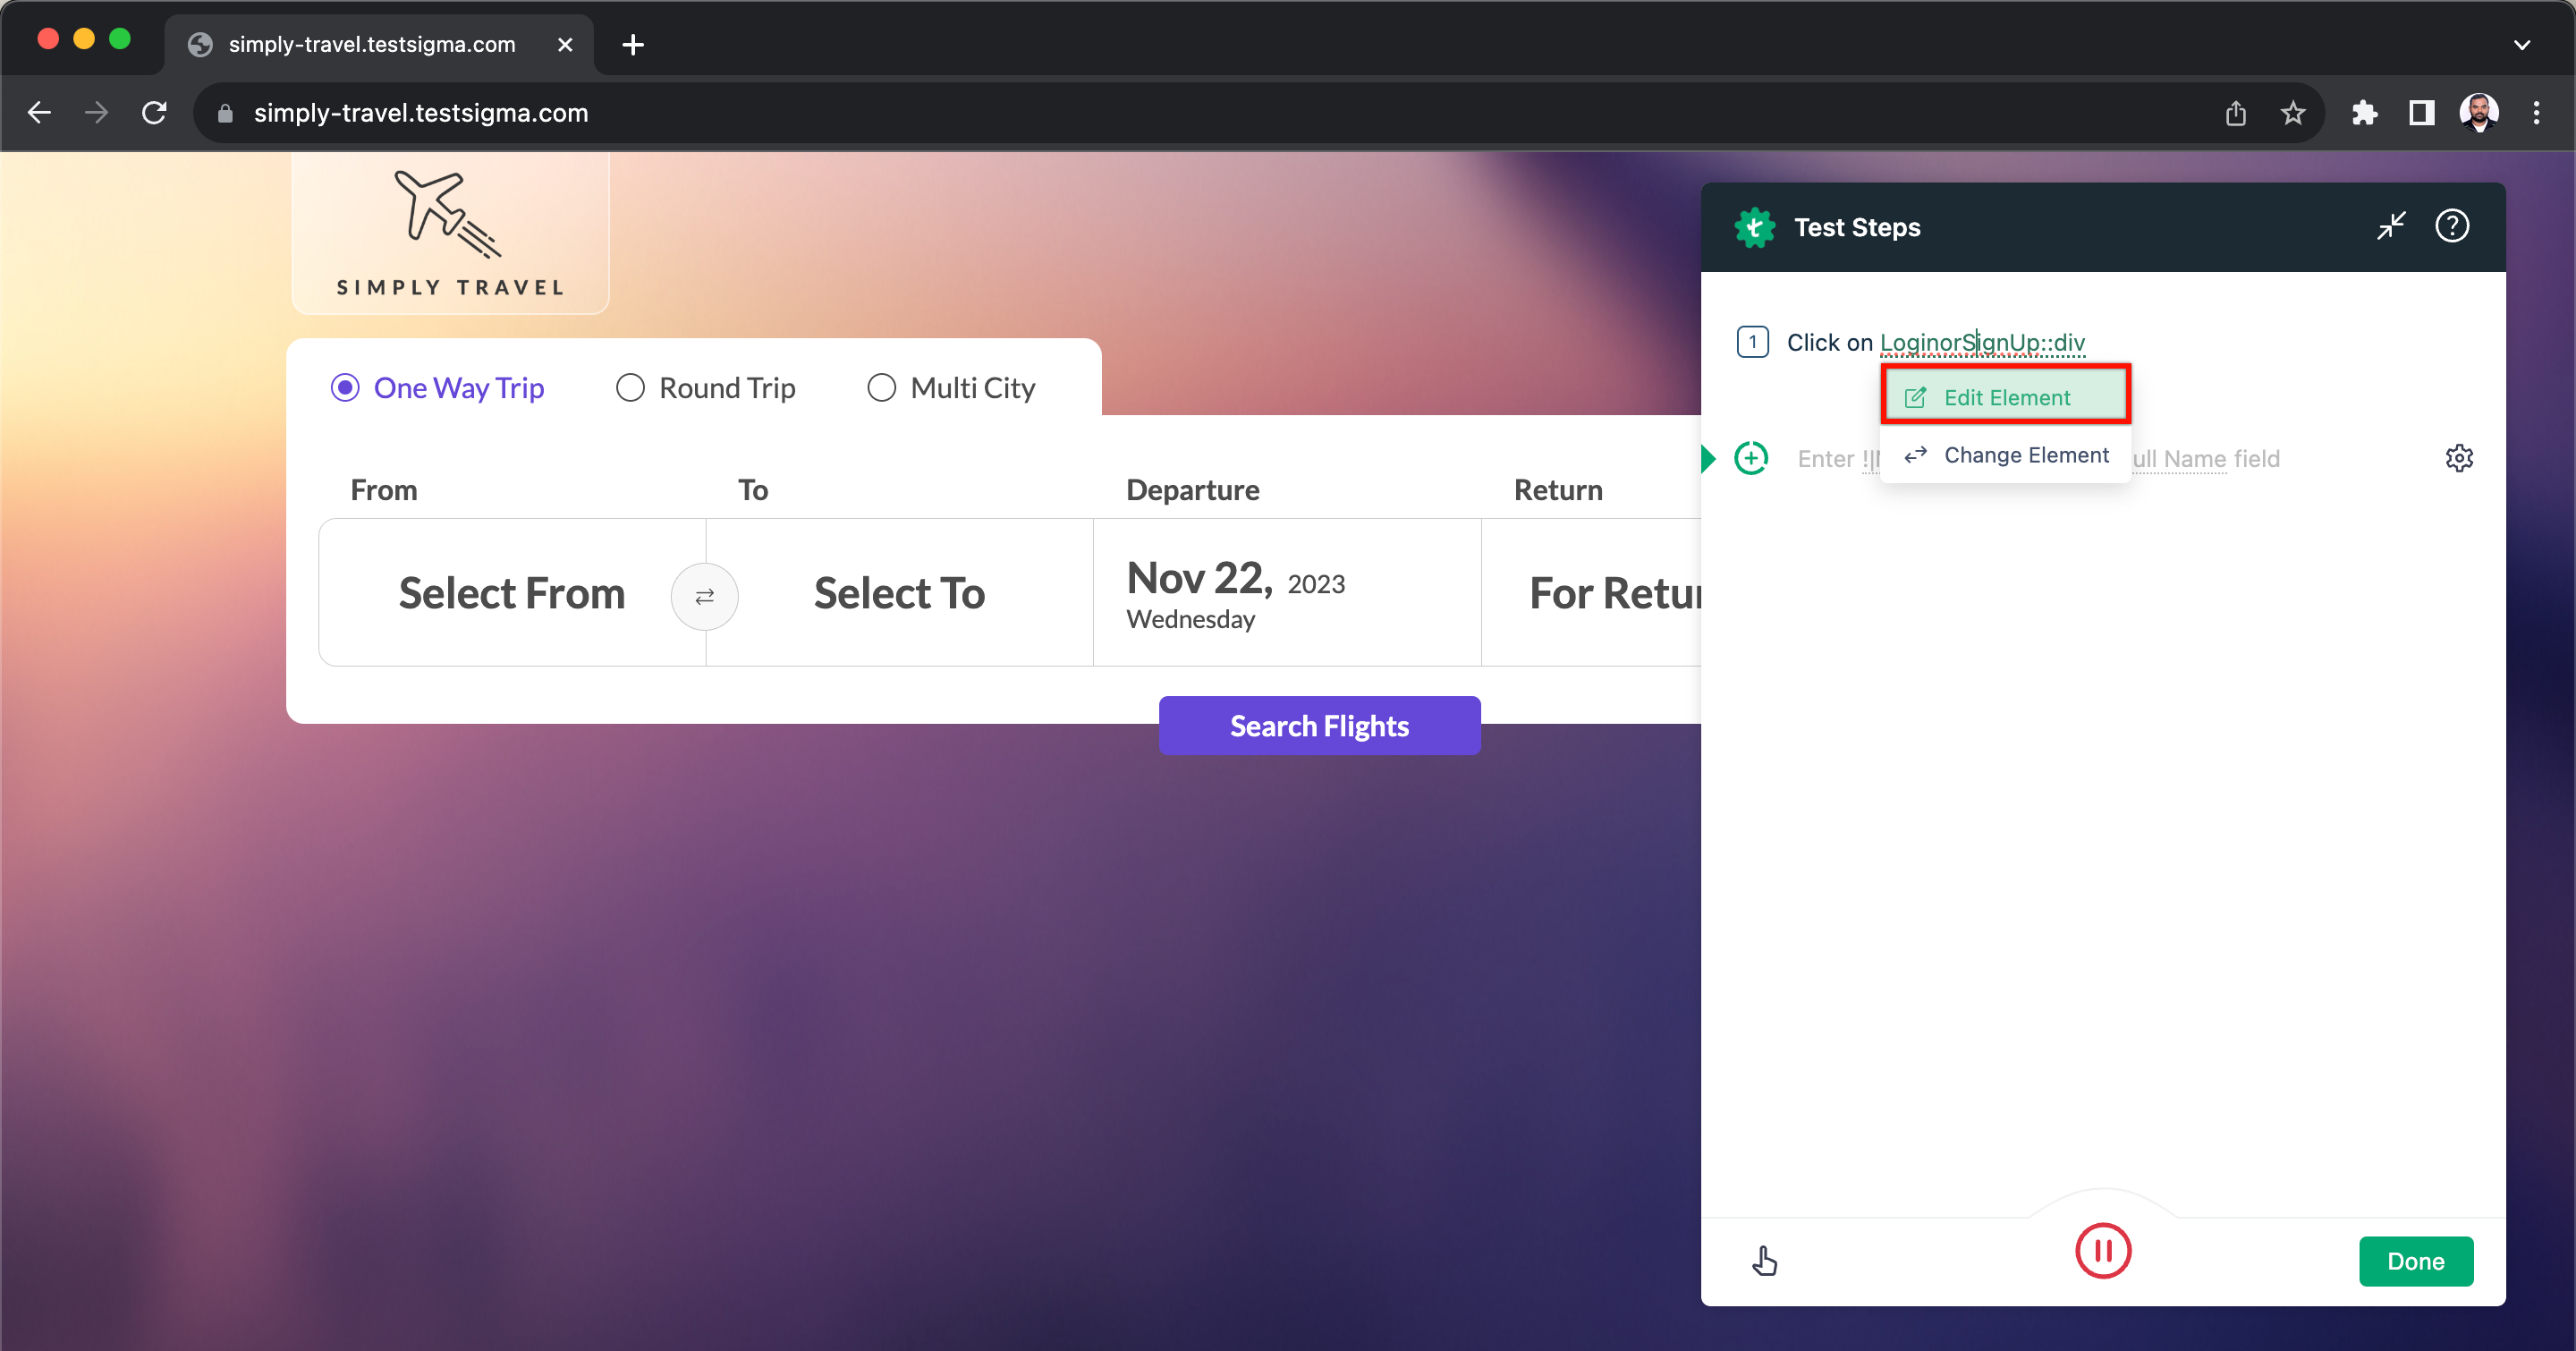
Navigate to Create Tests > Elements and create a test case using the recorder.
-
Hover over the element you want to update and click on Edit Element.
-
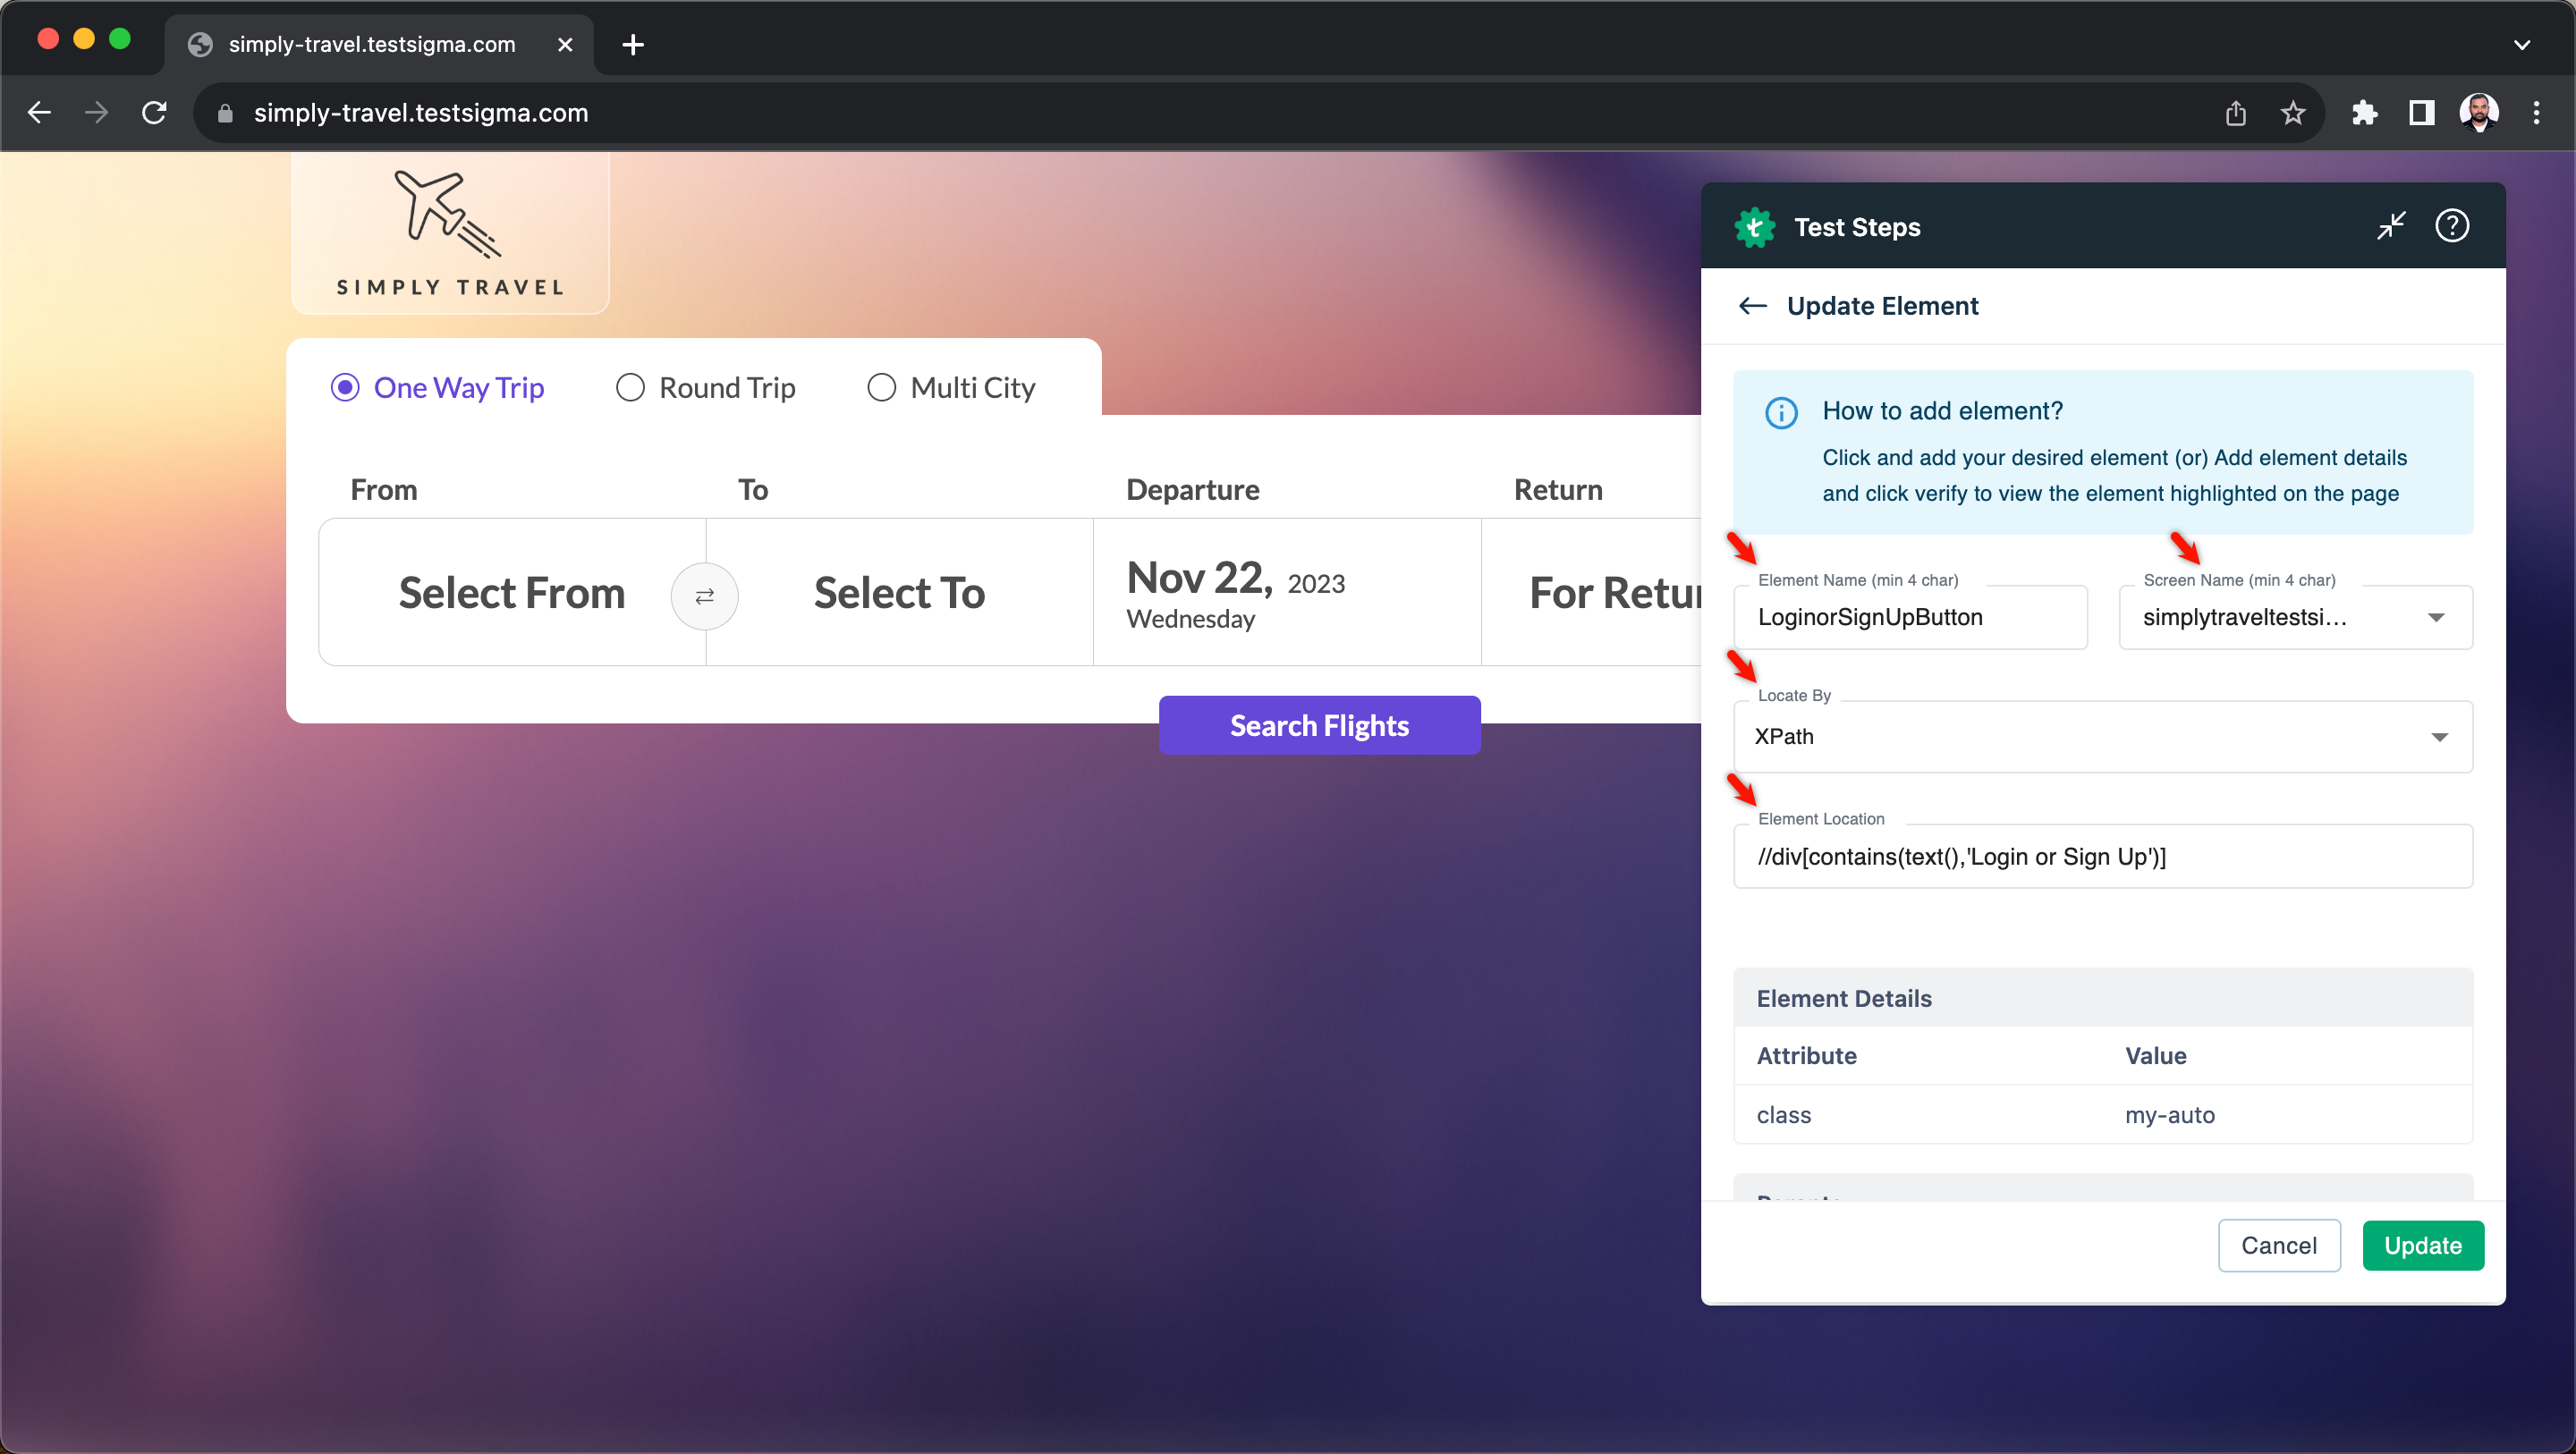
On the Update Element overlay, you can update the Element Name, Screen Name, select the Element Type & Location.
-
Click on Update to finalize the changes.
-
Create a test case in which you will be reusing your pre-recorded elements.
-
Start recording test steps for the test case.
-
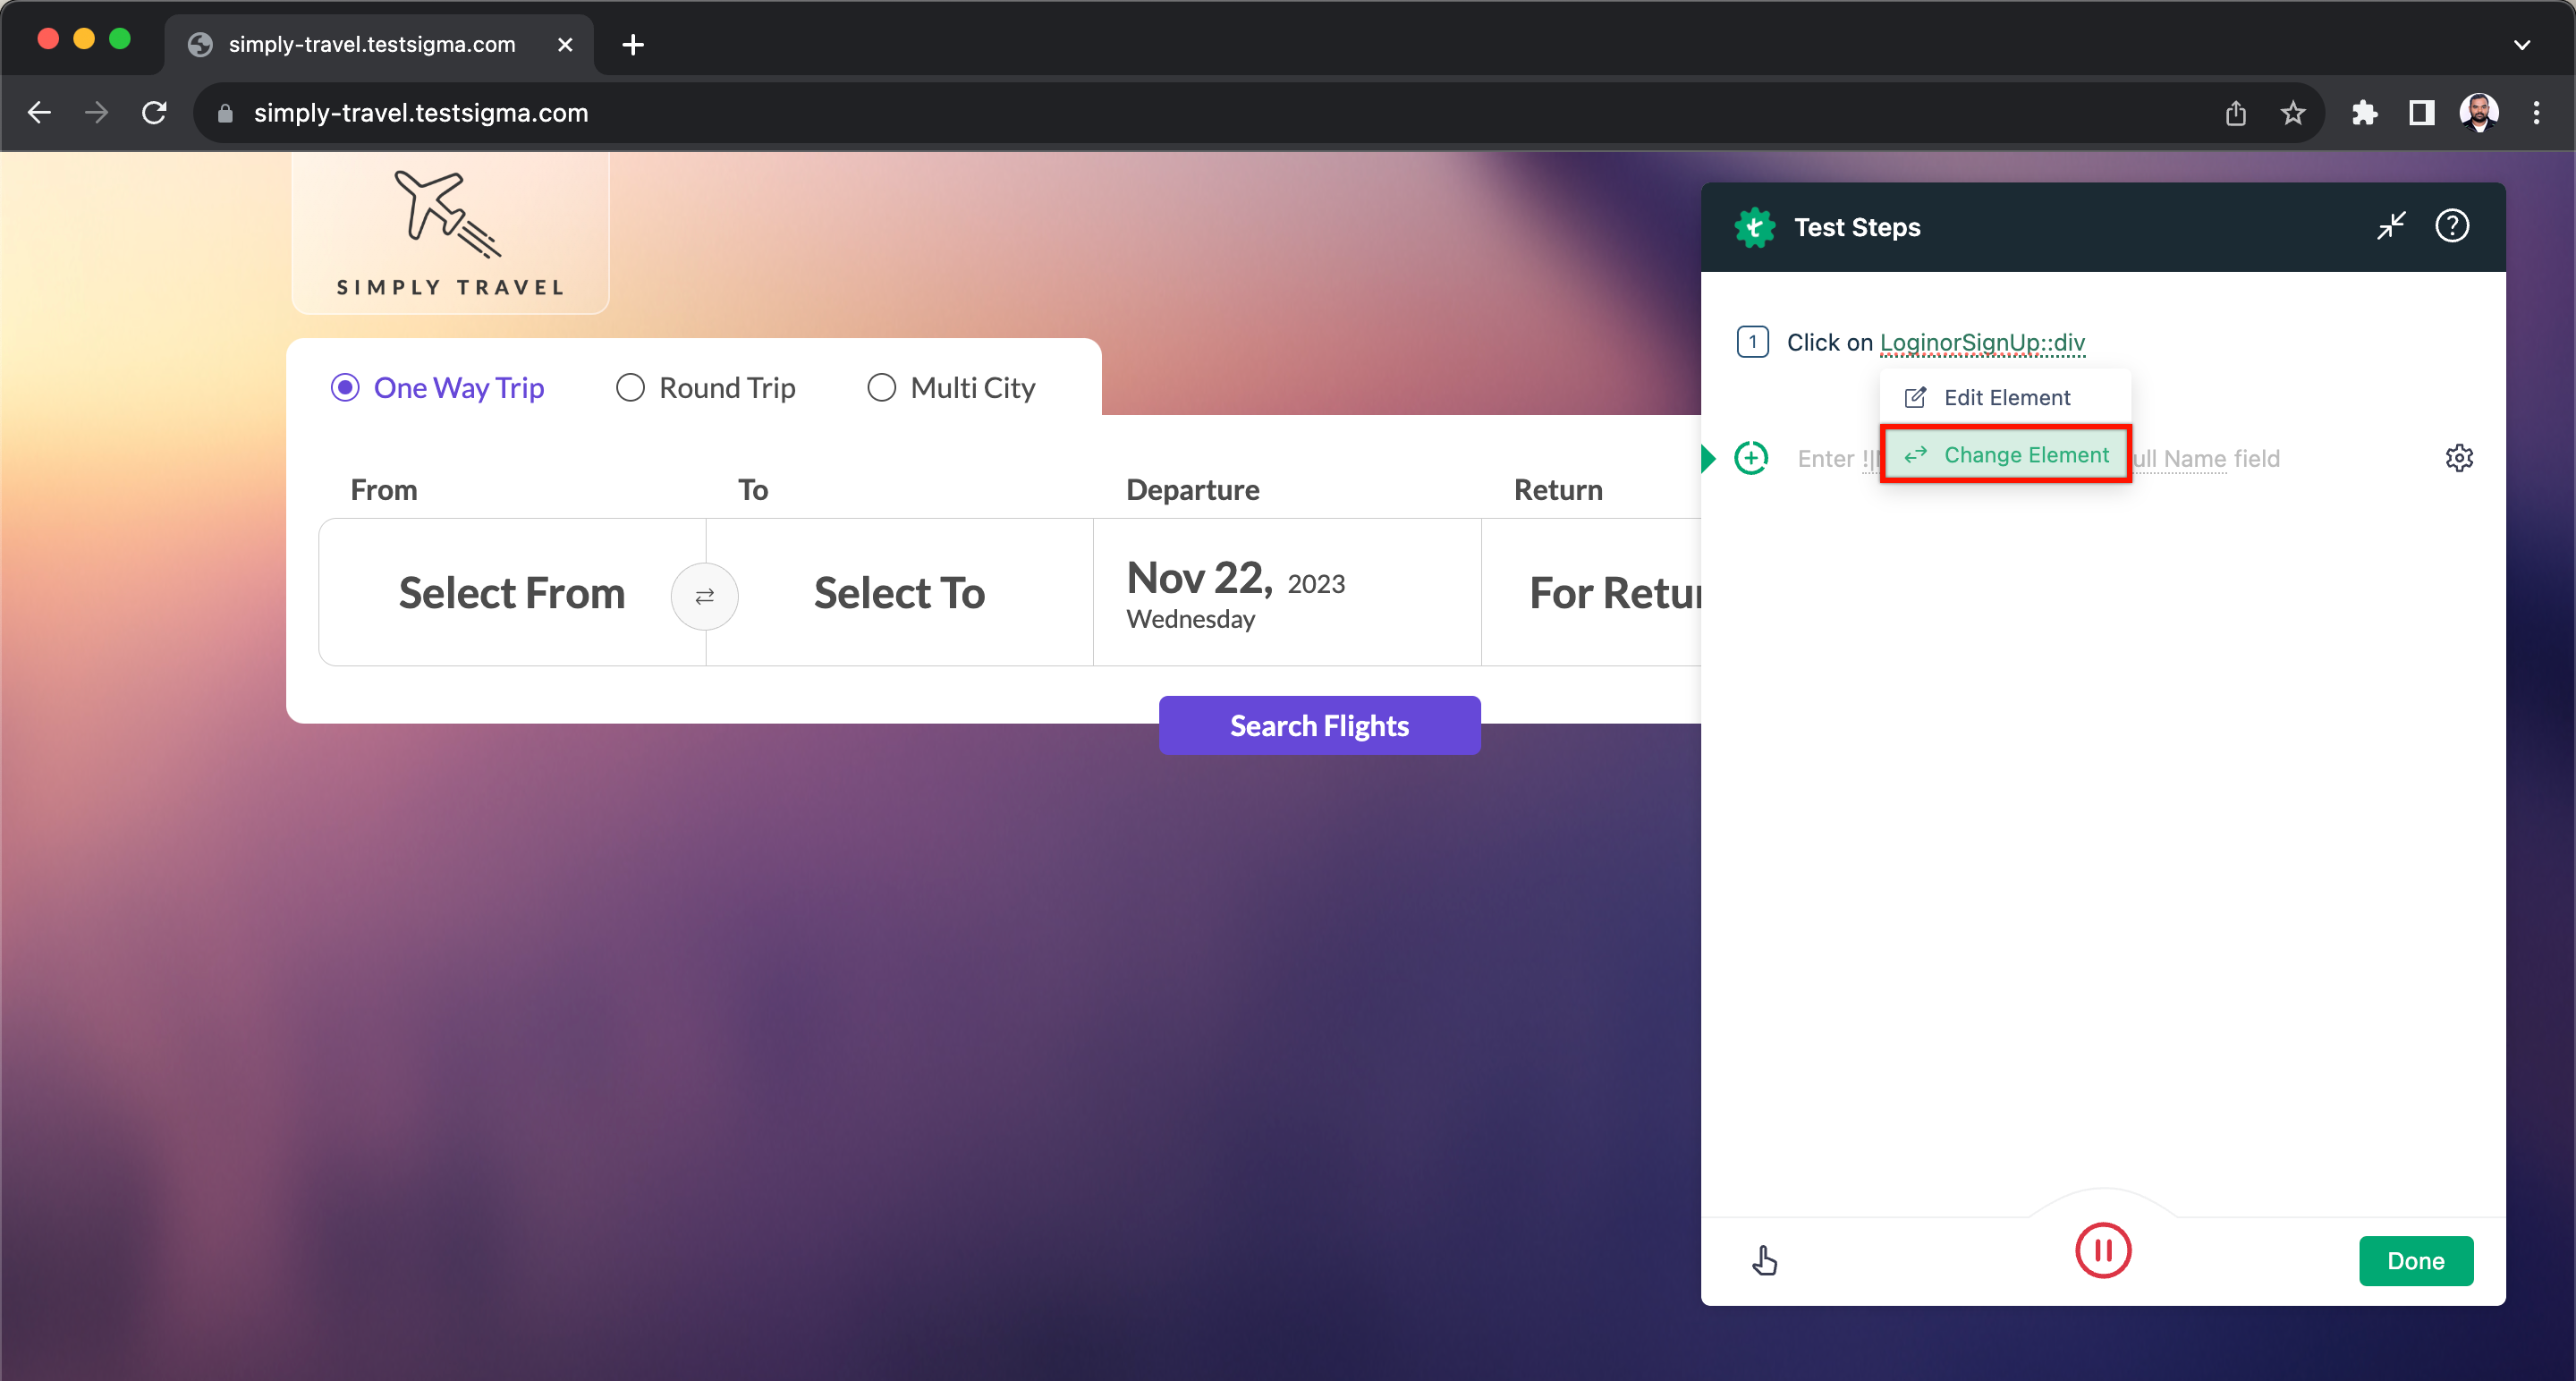
Hover over the element on the test step where you want to reuse the saved element and click on Change Element.
-
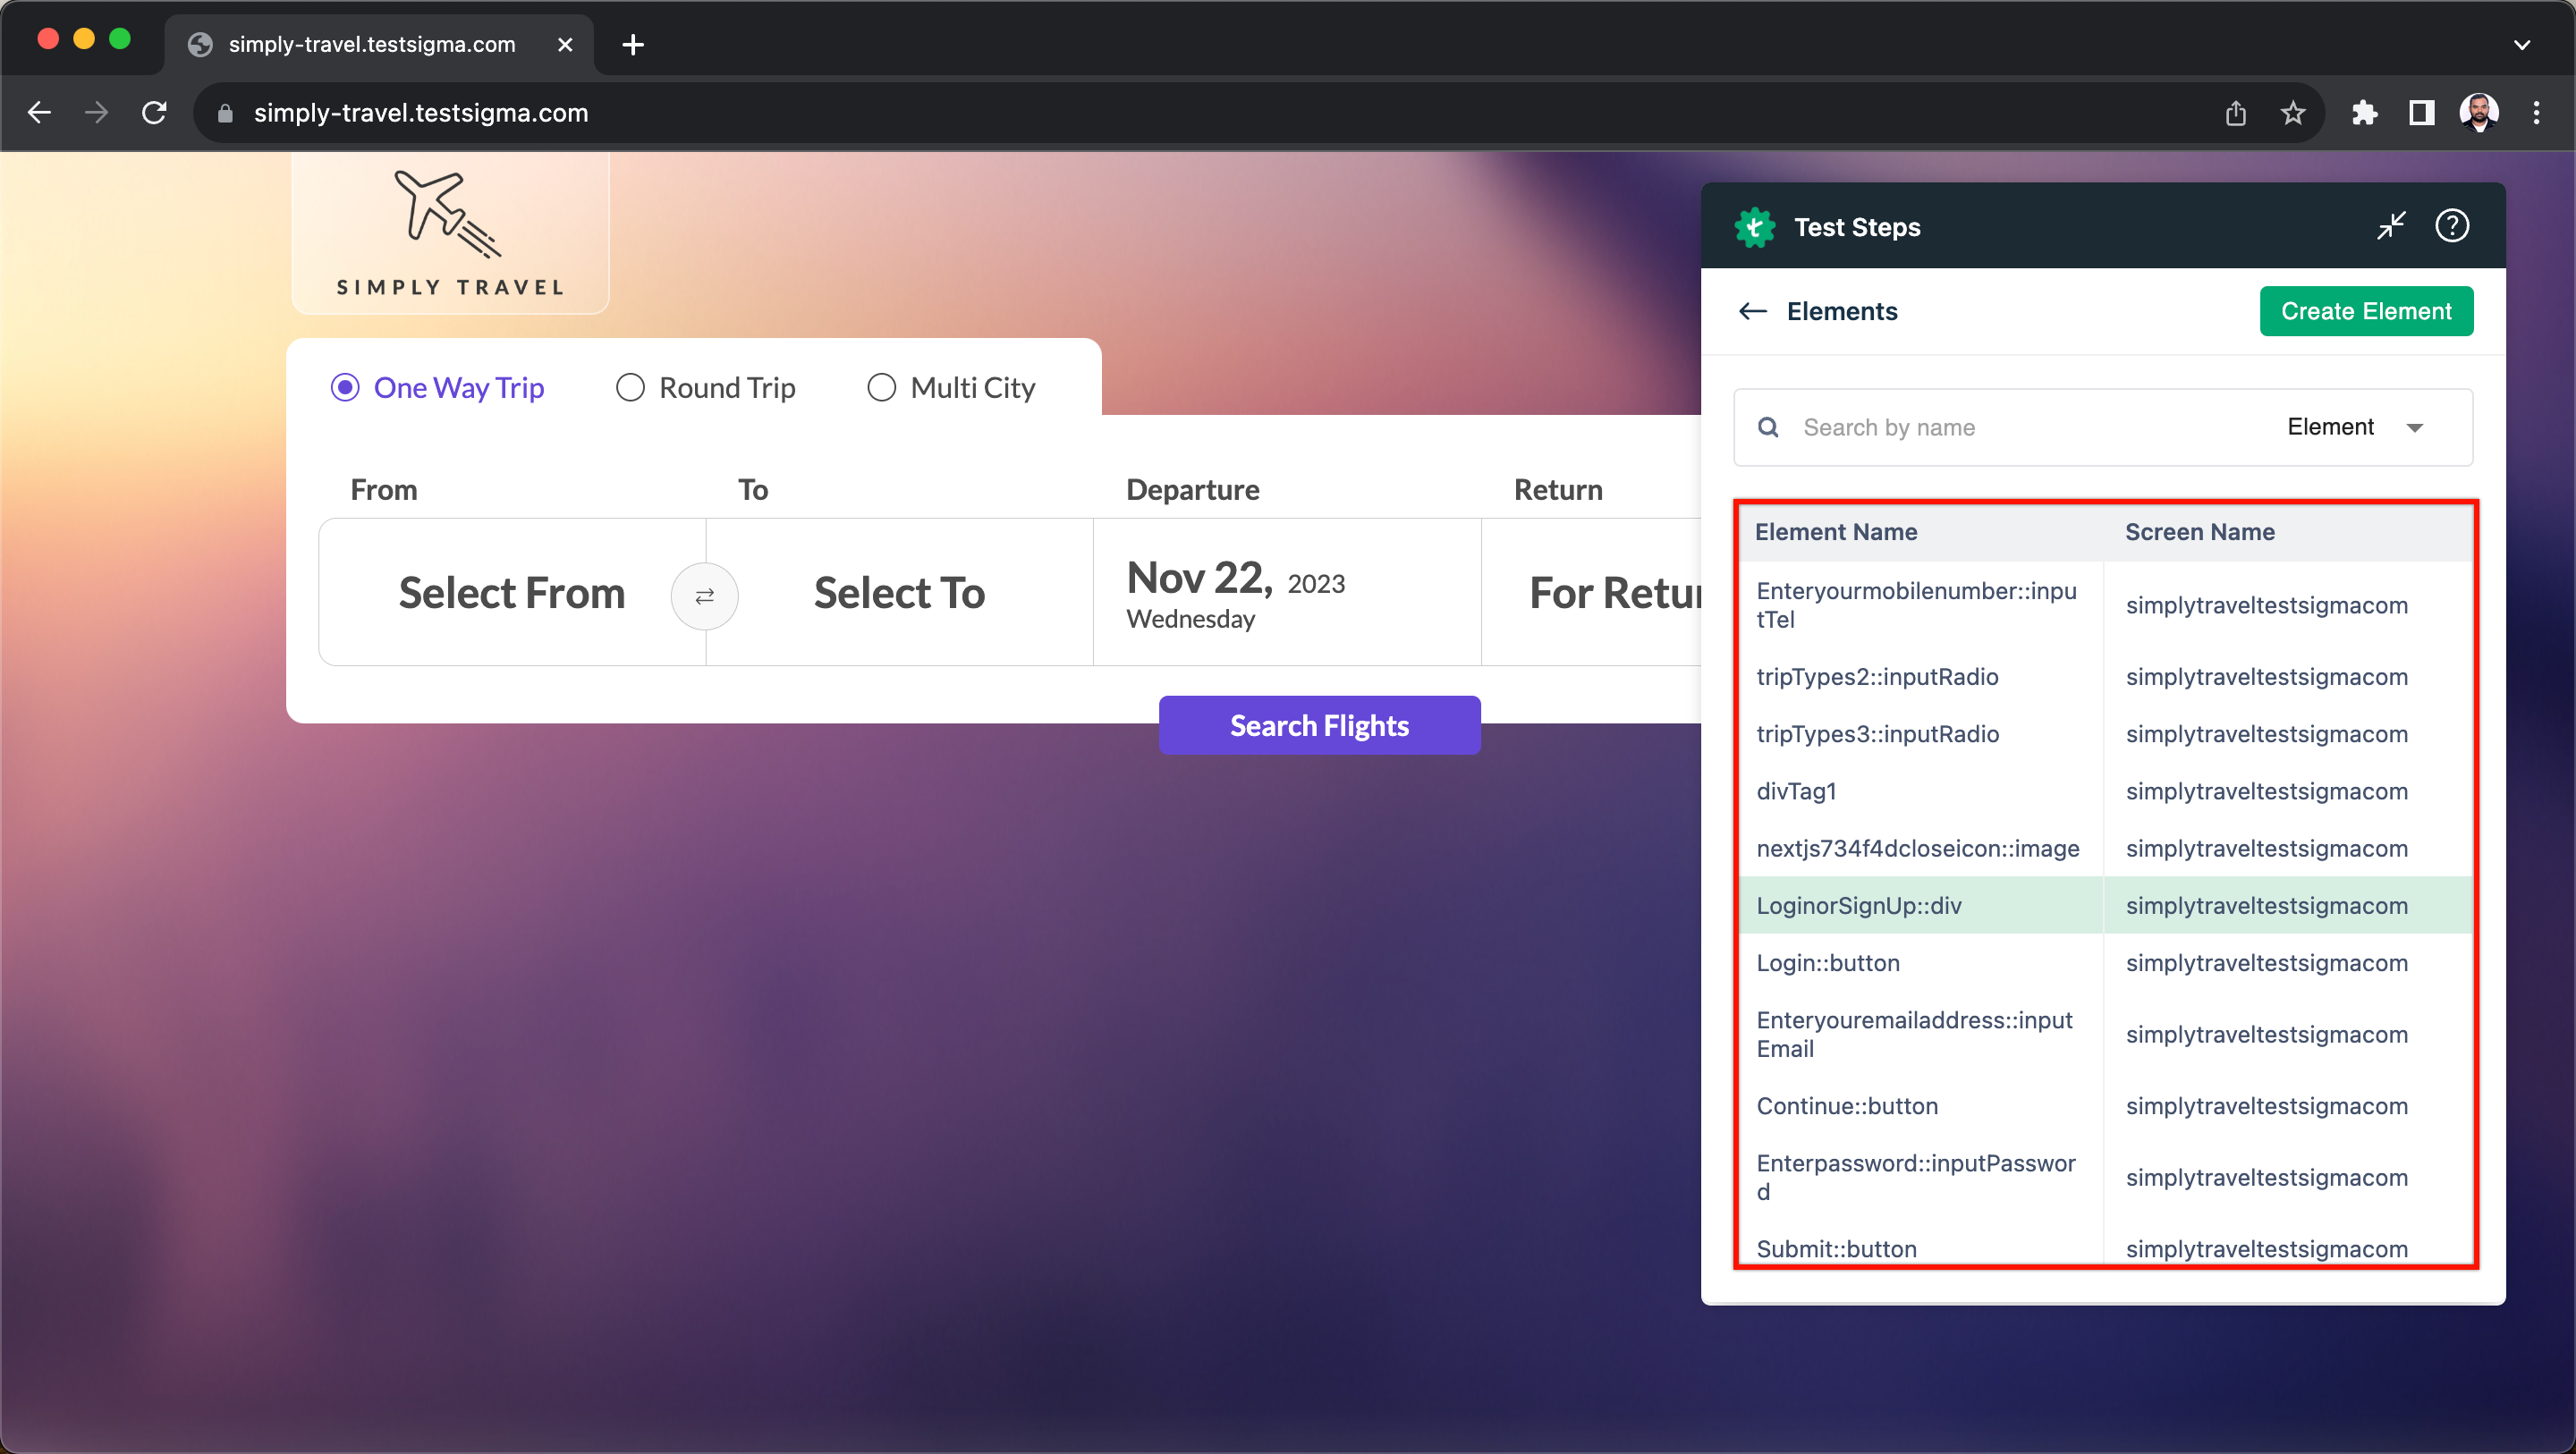
On Elements overlay, select the element you want to reuse.
-
The element will be automatically updated.
[[info | NOTE:]] | You can also reuse the element by following the same steps while creating a test case manually.