| title | metadesc | noindex | order | page_id | warning | contextual_links | ||||||||||||
|---|---|---|---|---|---|---|---|---|---|---|---|---|---|---|---|---|---|---|
Visual Testing - Configure Test Cases |
How to configure visual testing for your Test Cases |
false |
14.5 |
Visual Testing - Configure Test Cases |
false |
|
There might be times when you want to fail the Test Case if the Visual Test fails. With Testsigma, you can now configure Test Cases by turning the feature on while creating the Test Cases. This article explains how to enable this feature. For the same feature on the Test Step level, refer to Configure Test Steps.
Here is a quick GIF demonstrating how to enable this feature in Testsigma.

-
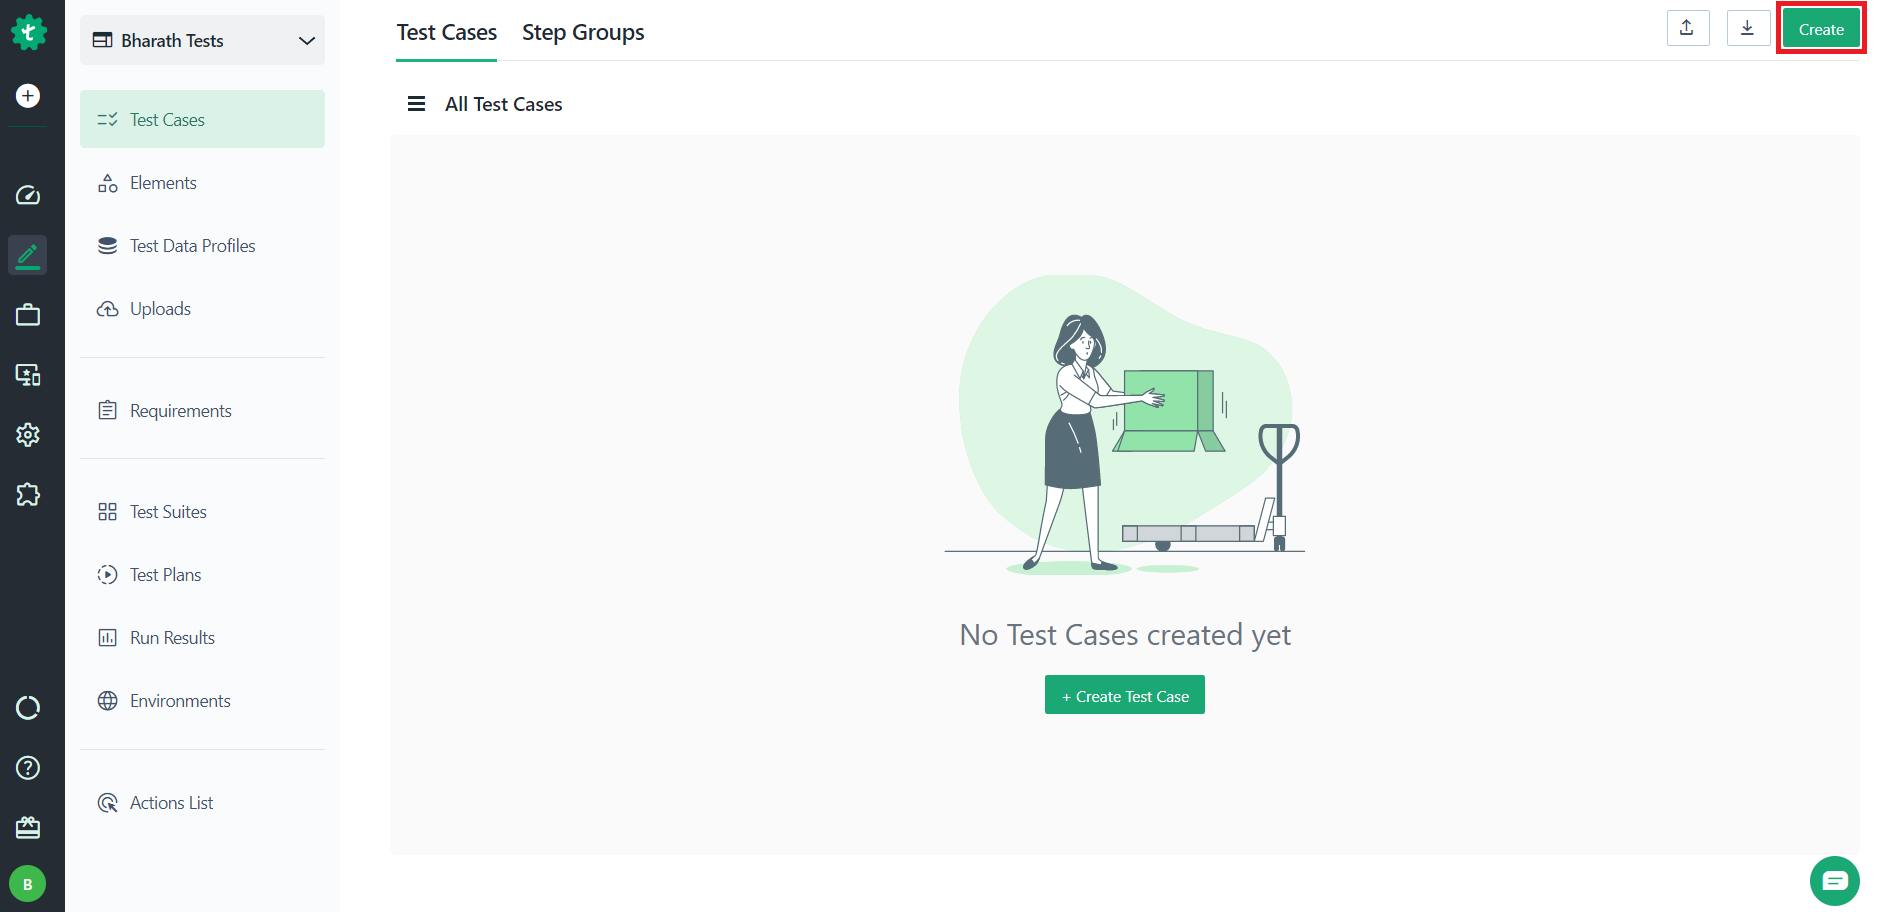
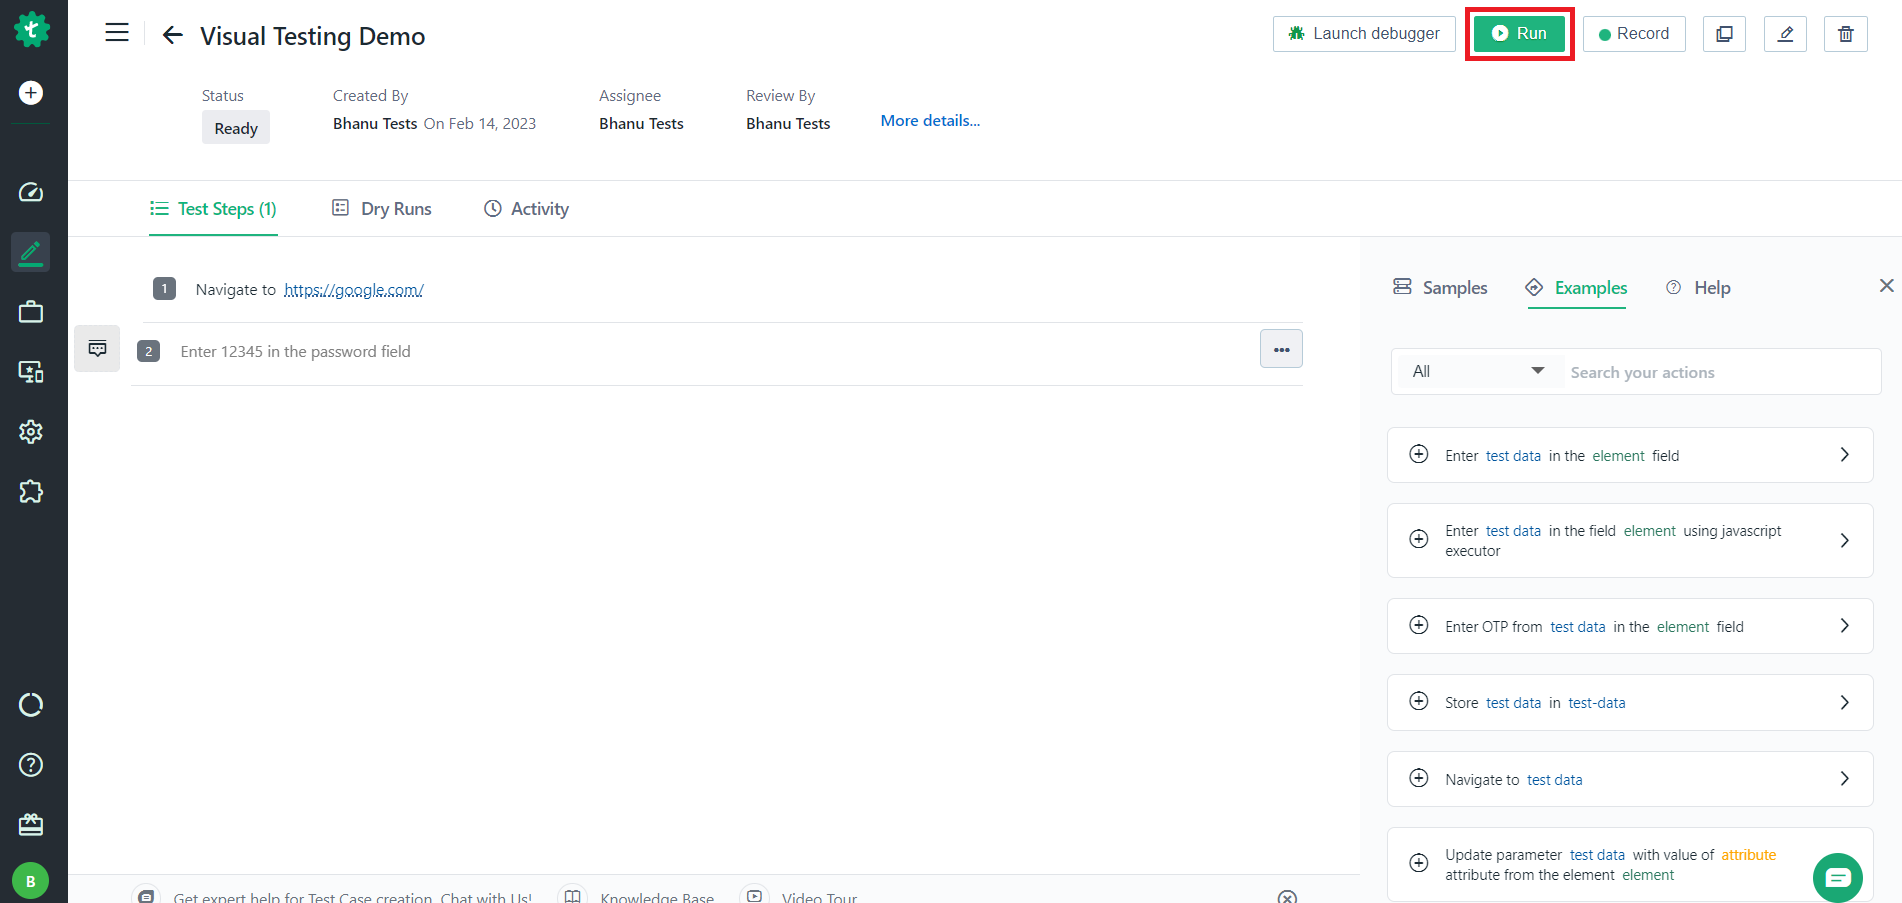
Navigate to Test Development > Test Cases, and click Create.
-
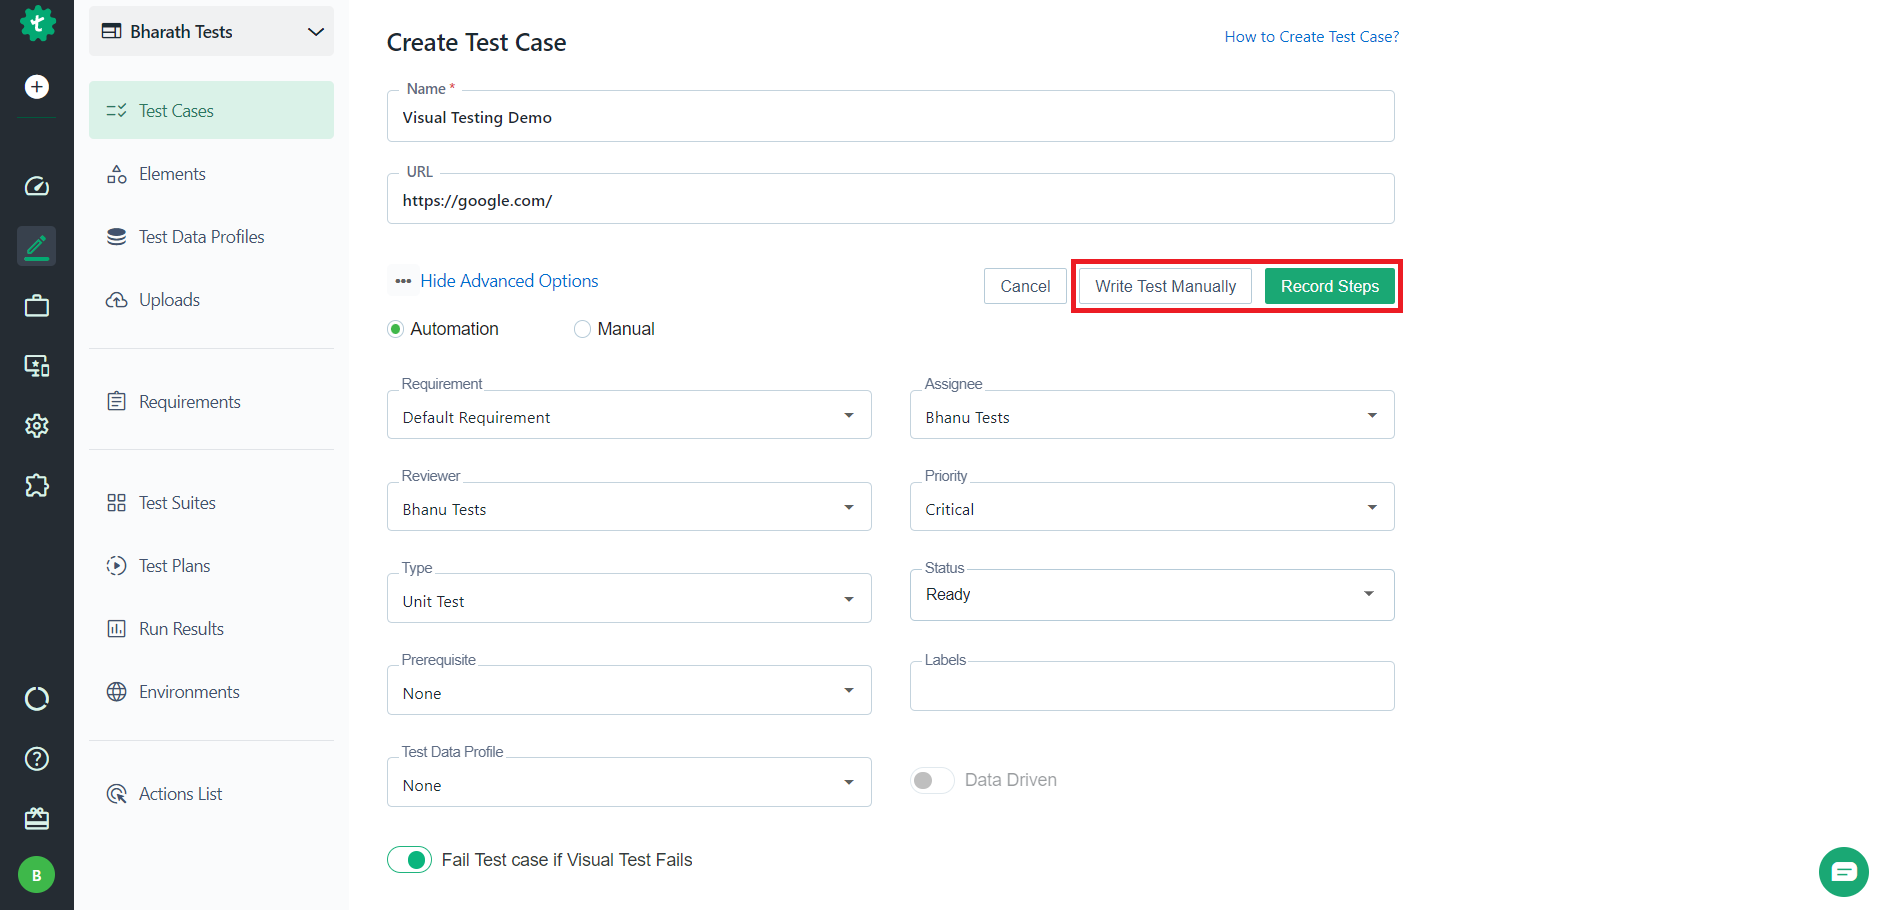
On the Create Test Case page, enter the Name and URL of the application you want to test and click on Show Advanced Options.
-
Turn on the toggle to Fail Test case if Visual Test Fails.
-
Click either Write Test Manually or Record steps to add steps to your Test Case.
-
Once you add the test steps, click Run to execute the Test Case.

[[info | NOTE:]] |This feature becomes available only if you rerun the Test Case. This is because, to execute Visual Testing, Testsigma needs a base image corresponding to the Test Step.
-
After successful execution of the Test Case, click on Re-Run Test Case.
-
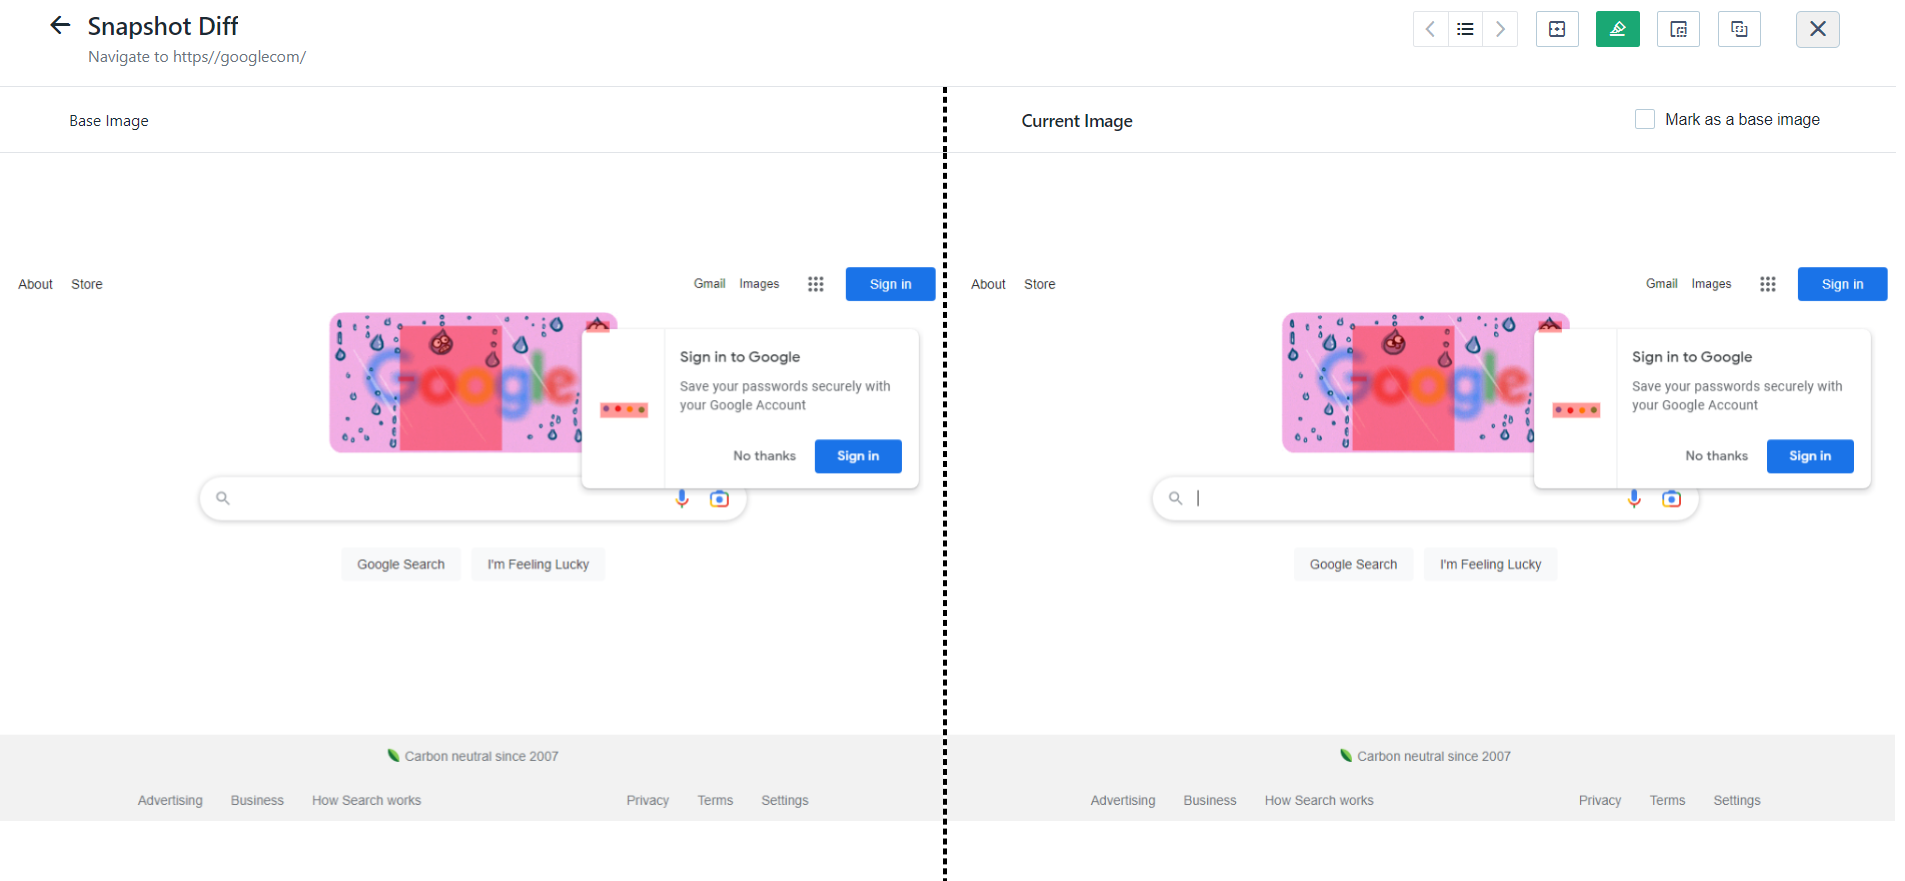
You can click on the camera icon to compare the screenshots.
-
You can see the comparison as shown below:

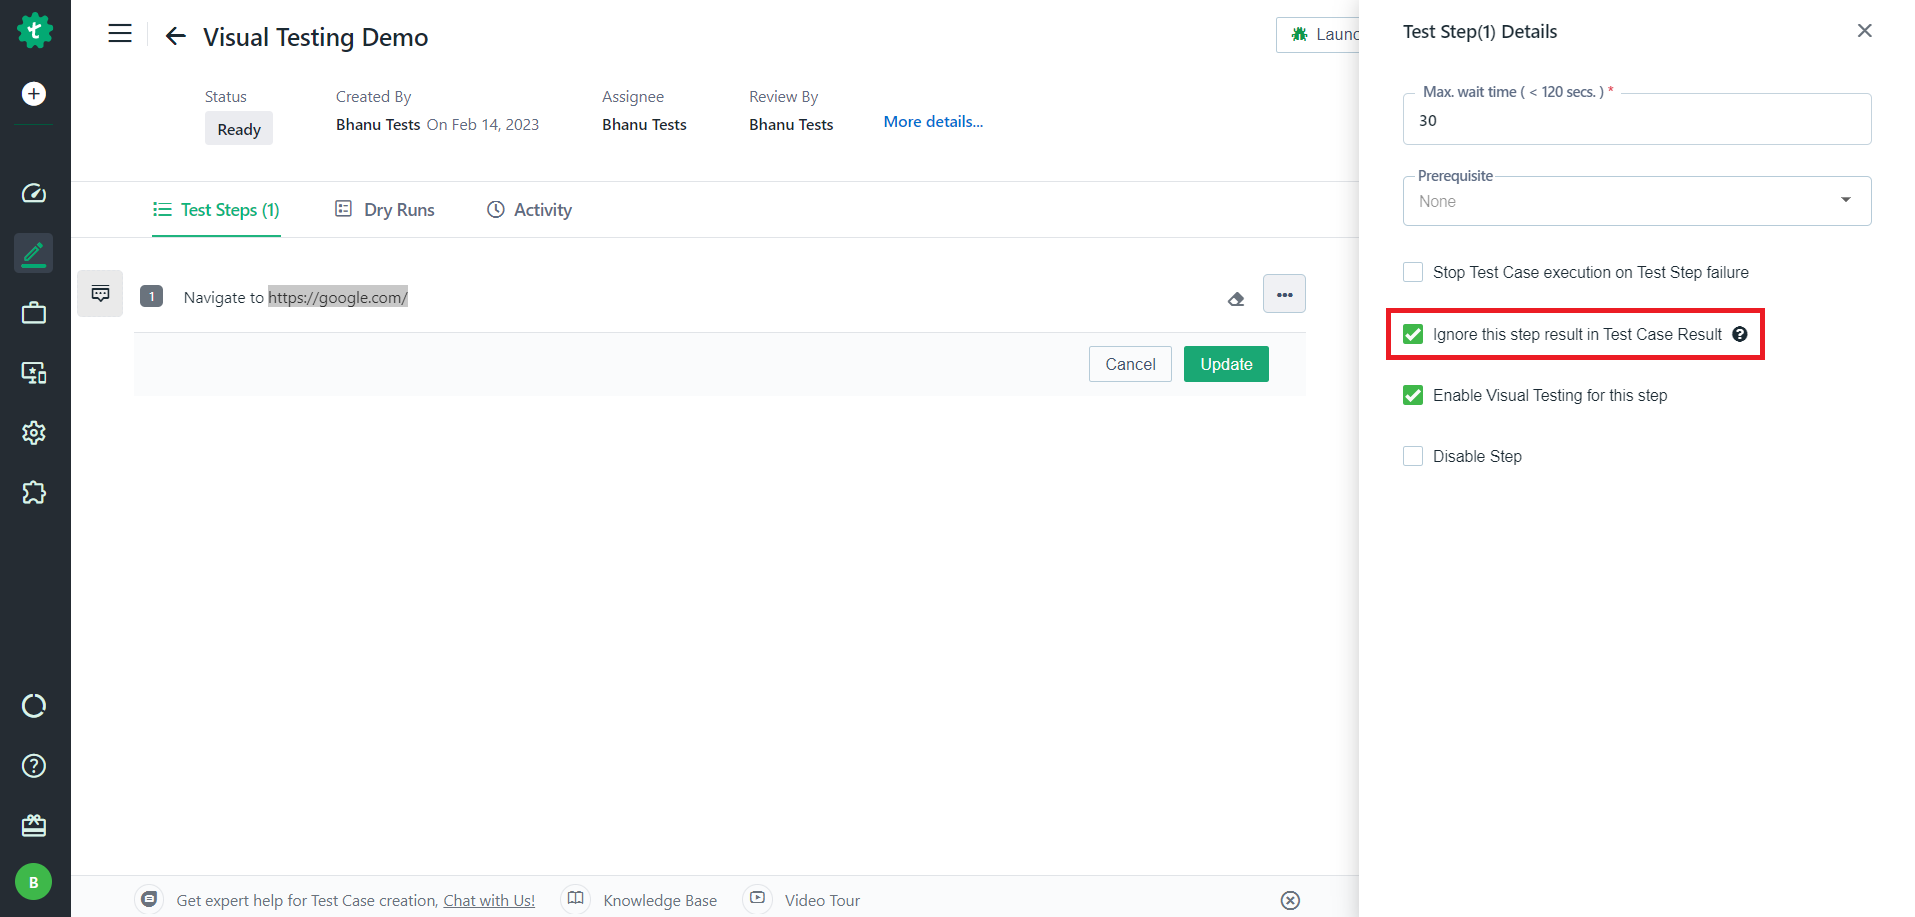
[[info | NOTE:]]
|In case you want to fail the Test Case for some Visual Tests and not fail for others, you can use the setting highlighted below in the Test Step settings. This will help if you have some flaky Visual Tests that give false results.
|