| layout | title | description | date | category | (!CanRemoveIfFalse)press_release | (!CanRemoveIfFalse)is_non-tech | banner | author | design | tags | related | ||||||||||||||||||
|---|---|---|---|---|---|---|---|---|---|---|---|---|---|---|---|---|---|---|---|---|---|---|---|---|---|---|---|---|---|
post |
Title Should be Less Than 56 characters |
Description goes here and must be less than 156 characters. |
2017-10-05 8:30 |
Technical guide, Thing, Thing2, PR, Press |
true |
true |
|
|
|
|
|
TL;DR: A brief synopsis that includes link to a github repo.

[Link text](http://url.goes.here)
> _"Sample quote from someone cool."_ —Someone Cool
> **Note:** Blockquote note text
Note: It's necessary to use curly brace tags instead of backticks when code samples mess up the Jekyll blog engine formatting:
{% highlight html %}
{% raw %}

{{use raw tag when curly braces are present}}

{% endraw %}
{% endhighlight %}
jstypescriptcssscss$ bashtext
- Em dash:
—(don't use hyphens for this) - Lambda:
λ
<a href="#some-target" target="_self">Link to Target</a>

### <span id="#some-target"></span>Target
{% include tweet_quote.html quote_text="Lorem ipsum dolor sit amet." %}
Important Note: Make sure this is updated to reflect the appropriate application type, allowed callback / CORS settings, and API identifier when pasting into a post.
You'll need an Auth0 account to manage authentication. You can sign up for a free account here. Next, set up an Auth0 Client and API so Auth0 can interface with your app and API.
- Go to your Auth0 Dashboard and click the "create a new client" button.
- Name your new app and select "Single Page Web Applications".
- In the Settings for your new Auth0 client app, add
http://localhost:4200to the Allowed Callback URLs andhttp://localhost:4200to the Allowed Origins (CORS). - Scroll down to the bottom of the Settings section and click "Show Advanced Settings". Choose the OAuth tab and change the JsonWebToken Signature Algorithm to
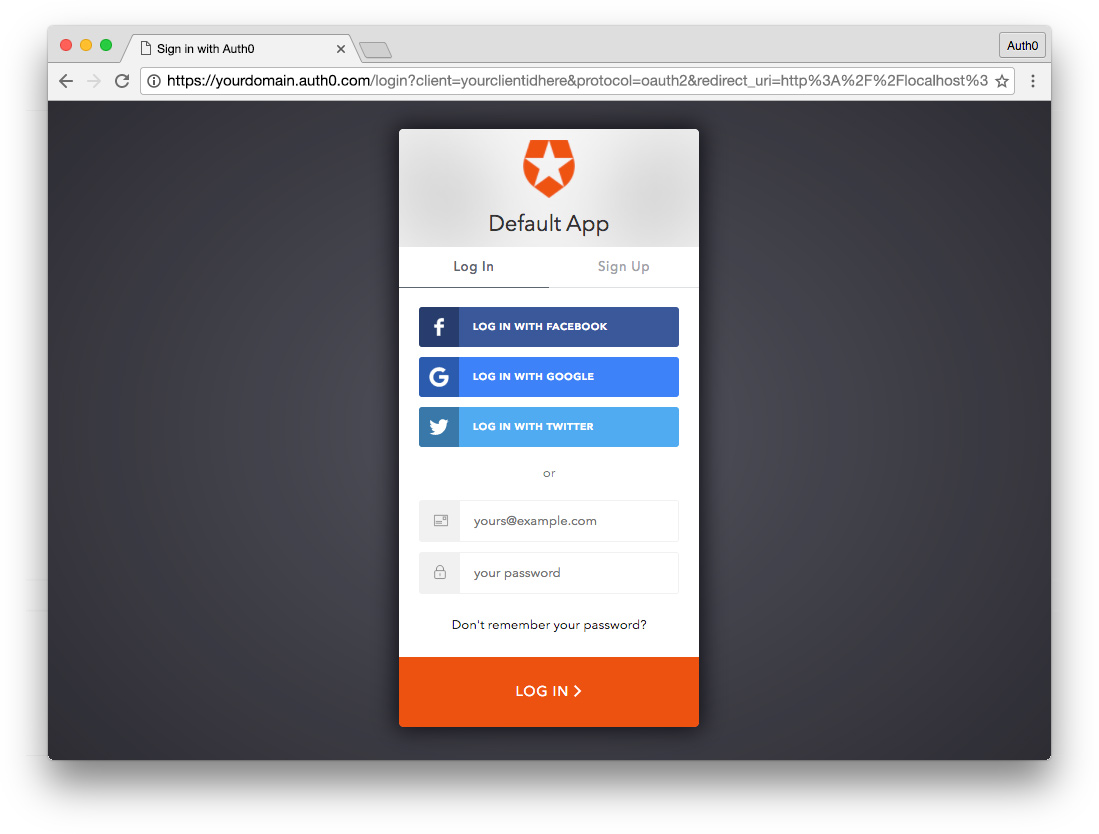
RS256. - If you'd like, you can set up some social connections. You can then enable them for your app in the Client options under the Connections tab. The example shown in the screenshot above utilizes username/password database, Facebook, Google, and Twitter.
- Under your account name in the upper right corner of your Auth0 Dashboard, choose Account Settings from the dropdown, then select the Advanced tab. Scroll down to the Settings section and turn on the toggle for Enable APIs Section. Now you will have a link to manage APIs in your dashboard left sidebar navigation.
- Go to APIs in your dashboard and click on the "Create API" button. Enter a name for the API. Set the Identifier to your API endpoint URL. In this example, this is
http://localhost:3001/api/. The Signing Algorithm should beRS256.