It's usually recommended to use the provided binaries, but in some cases you may need to customize AutoSpotting for your own environment.
You'll need to set up a local environment able to compile Go code, compile the binaries locally, upload them to an S3 bucket in your AWS account and update your CloudFormation or Terraform stack to use those new binaries.
-
Install Go, git, Docker and the AWS command-line tool. You may use the official binaries or your usual package manager, whatever you prefer is fine.
-
Verify that they were properly installed.
go version, should be at least 1.7git versiondocker versionaws --version
-
Set up a directory for your Go development. I'm using
godevin my home directory for this example. -
Set the
GOPATHenvironment variable to point at yourgodevdirectory:export GOPATH=$HOME/godevOptionally add this line to your .bash_profile to persist across console sessions.
-
Run the following command to install the AutoSpotting project into your GOPATH directory:
go get github.com/cristim/autospottingThis downloads the source from GitHub, pulls in all necessary dependencies, builds it for local execution and deploys the binary into the golang binary directory which you may also want to append to your PATH.
-
Navigate to the root of the AutoSpotting repository:
cd $GOPATH/src/github.com/cristim/autospotting -
(Optional) You may want to make a minor change to the source code so you can tell when the tool is running your own custom-built version. If so, add a line like this to the
autospotting.gofile'smain()function:fmt.Println("Running <my organization name> binaries") -
(Optional) Try building and running the test suite locally to make sure everything works correctly:
make testBelow you can see more details on the other available make directives.
-
Build the code:
make buildorgo buildshould both work, the only difference is the inclusion of versioning information into the binary, which may not matter much anyway.
-
Run the code, assuming you have AWS credentials defined in your environment or in the default AWS credentials profile:
./autospottingYou may also pass some command line flags, see the --help for more information on the available options.
When you are happy with how your custom build behaves, you can generate a build for AWS Lambda.
-
Set up an S3 bucket in your AWS account that will host your custom binaries.
-
The build system can use a
BUCKET_NAMEvariable that tells it where to upload new binaries. Set it into your environment to the name of your S3 bucket.export BUCKET_NAME=my-bucket -
Define some AWS credentials or profile information into your environment.
-
Build and upload your binaries to the S3 bucket.
make upload -
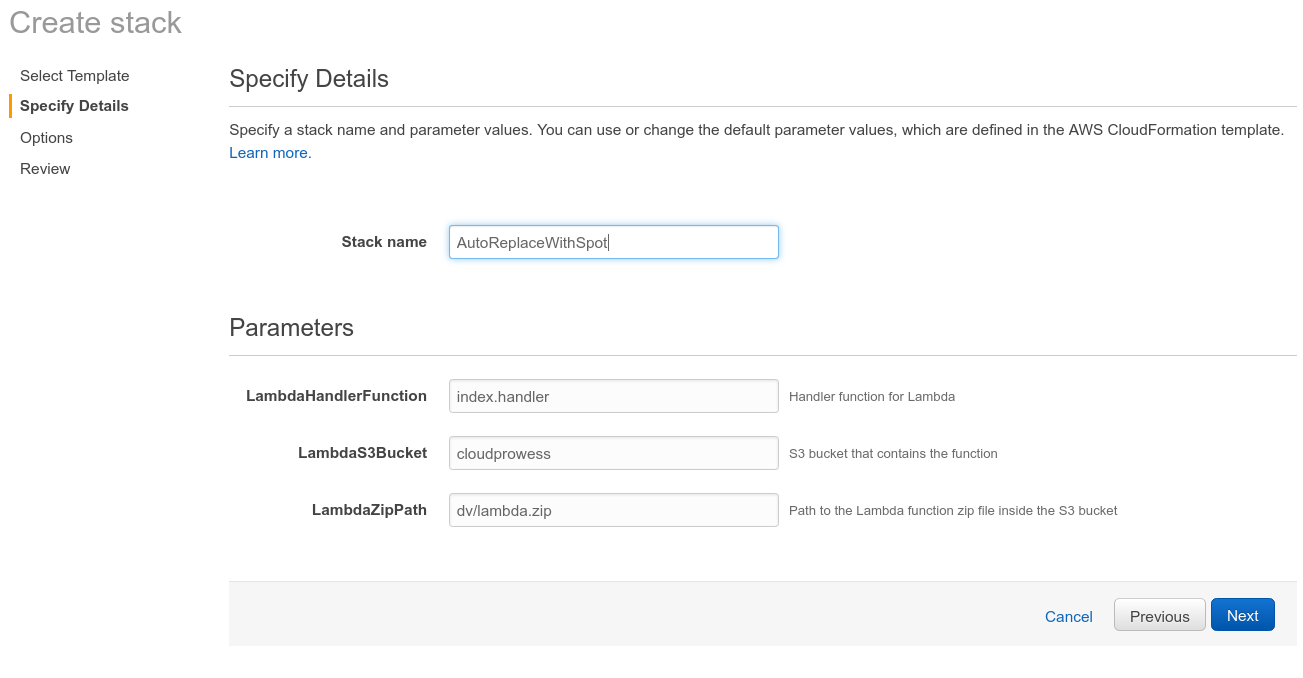
If you're already set up to use the tool with the official binaries, update your existing CloudFormation stack, and change the
LambdaS3Bucketfield to your S3 bucket name on the Stack Parameters section of the stack configuration. -
Save the CloudFormation configuration and let it create/update the resources. The tool should now be running against the binaries you built locally and uploaded to your own S3 bucket.
It is recommended to contribute your changes into the mainline version of the project whenever possible, so that others can benefit from your enhancements and bug fixes, but for some reasons you may still want to run your own fork.
Unfortunately the golang import paths can make it tricky, but there is a nice article which documents the problem in detail and gives a couple of possible workarounds.
Use these directives defined in the Makefile to build, release, and test the
tool:
-
all (default, can be ommitted)
- Verifies that the necessary dependencies are installed.
- Runs
go buildto compile the project for local development.
-
upload
- Prepares a special build designed to run in AWS Lambda.
- Uploads the generated binaries from
build/s3to the specified S3 bucket.
-
test
- Runs the test suite.
-
build_local
- Compiles the project for local execution.
The repository also contains a Dockerfile and docker-compose configuration
that allows you to build AutoSpotting Docker containers and run them
conveniently without installing a Go build environment.
If you have docker and docker-compose installed, it's as simple as running
docker-compose up
All the supported environment variables listed in the docker-compose.yaml
configuration file are passed to the running container. You will at least need
to have defined some AWS credential environment variables.
You can also invoke the container entrypoint directly using
docker-compose run autospotting
This also accepts all the autospotting command-line arguments, including -help
which explains all the available options.
Pre-built Docker images for the latest builds are also available on Dockerhub at cristim/autospotting