This is a quick introduction on how to use Cascade.
The node graph is the window you see at the bottom. When the application starts there will be two default nodes created for you. A Read and a Write.
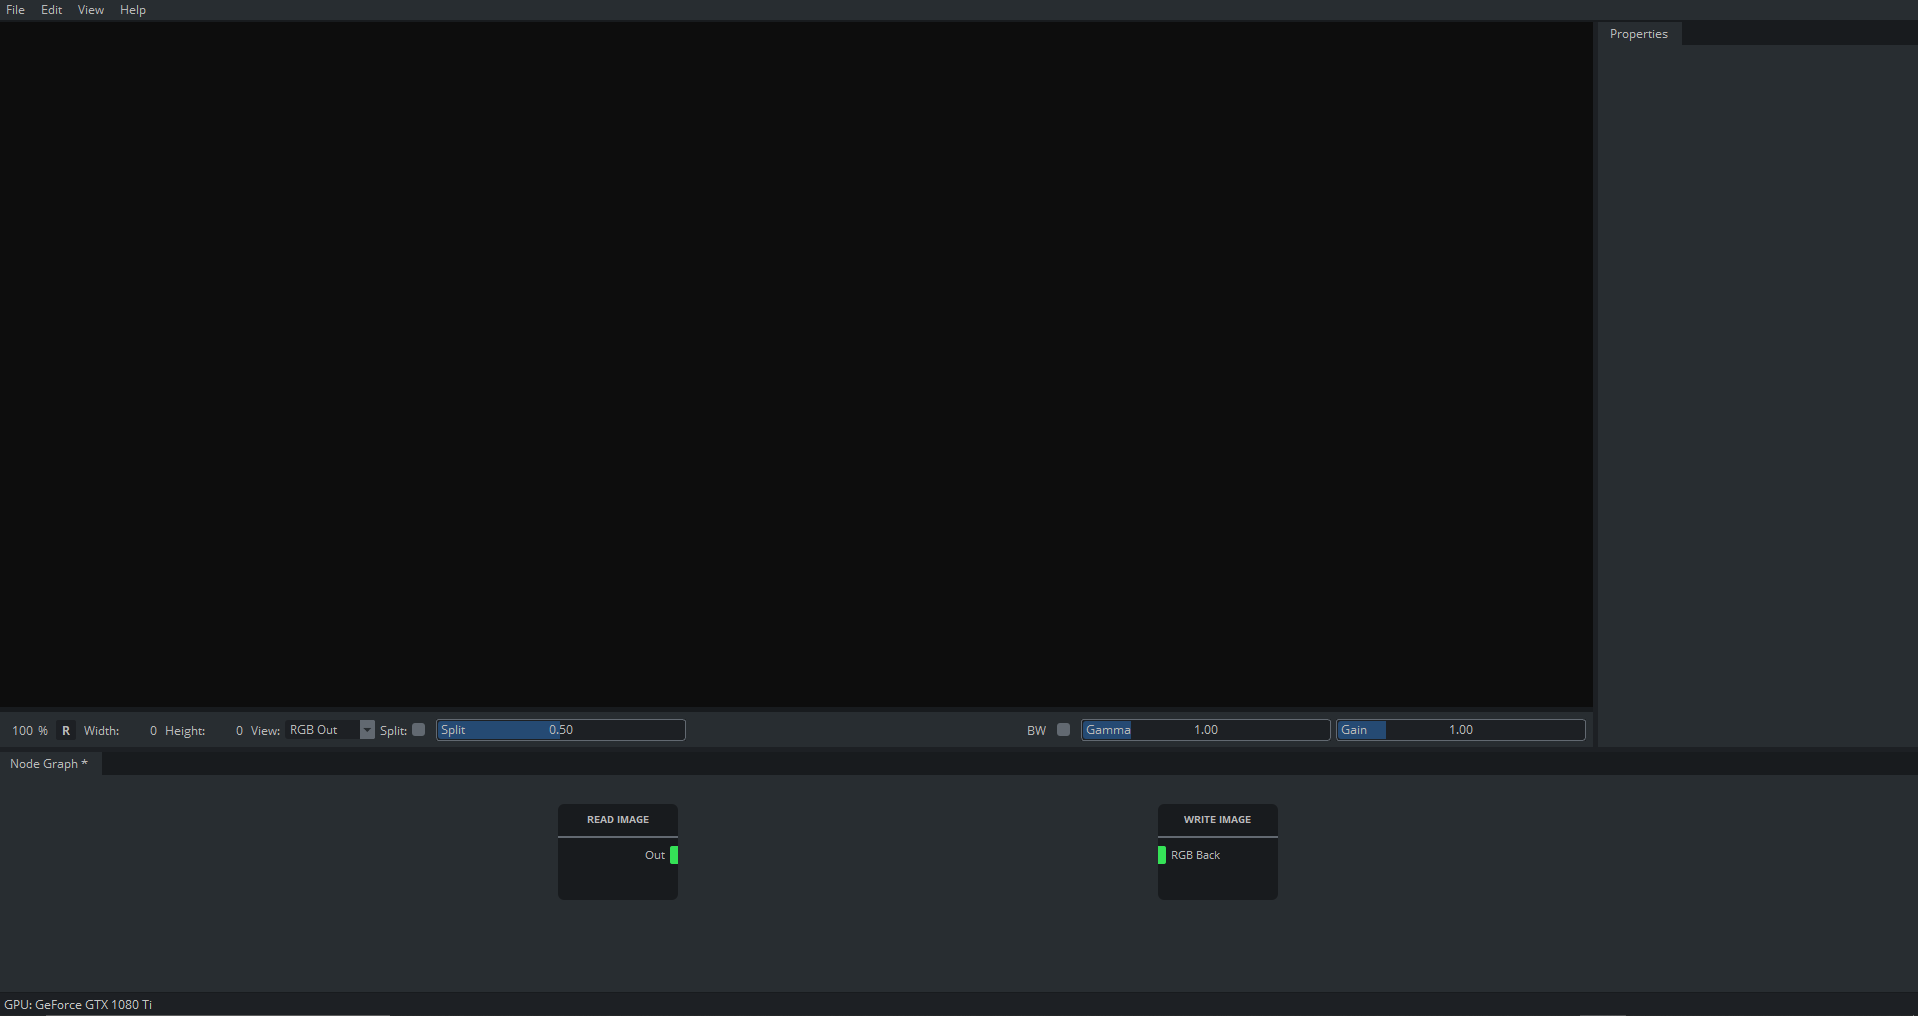
To load an image double-click on the Read Node. This brings up the Properties Panel on the right. Click on the Load button and choose an image file in the dialog.
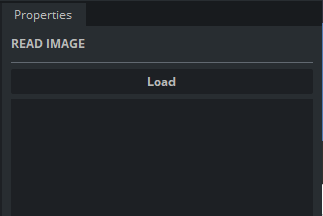
This loads the image into the Read Node. You will see the path added to the list in the properties panel.
We still can't see the image though. That is because we are not viewing the node. To view the output of a node, click on it and press F4.
This shows you the RGB image the node is outputting. If you press F4 again, you can toggle between viewing the RGB output and the Alpha output.
There is a little box under the viewer that shows you what you are currently looking at.
The viewer can be toggled between five states:
- RGB Front input (F1)
- RGB Back input (F2)
- Alpha input (F3)
- RGB/Alpha Output (F4)
Now, let's do something with our image.
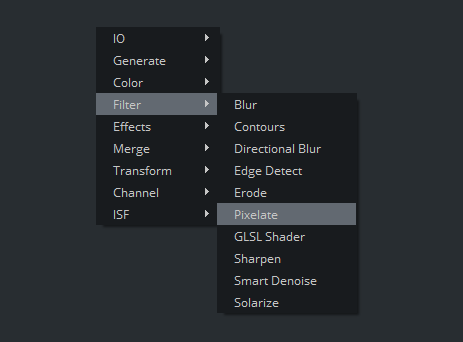
Right-click anywhere in the node graph to bring up the context menu and navigate to Filter > Pixelate.
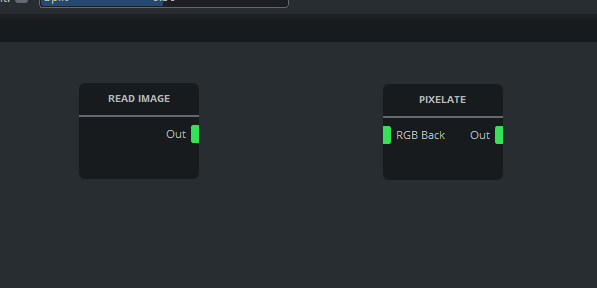
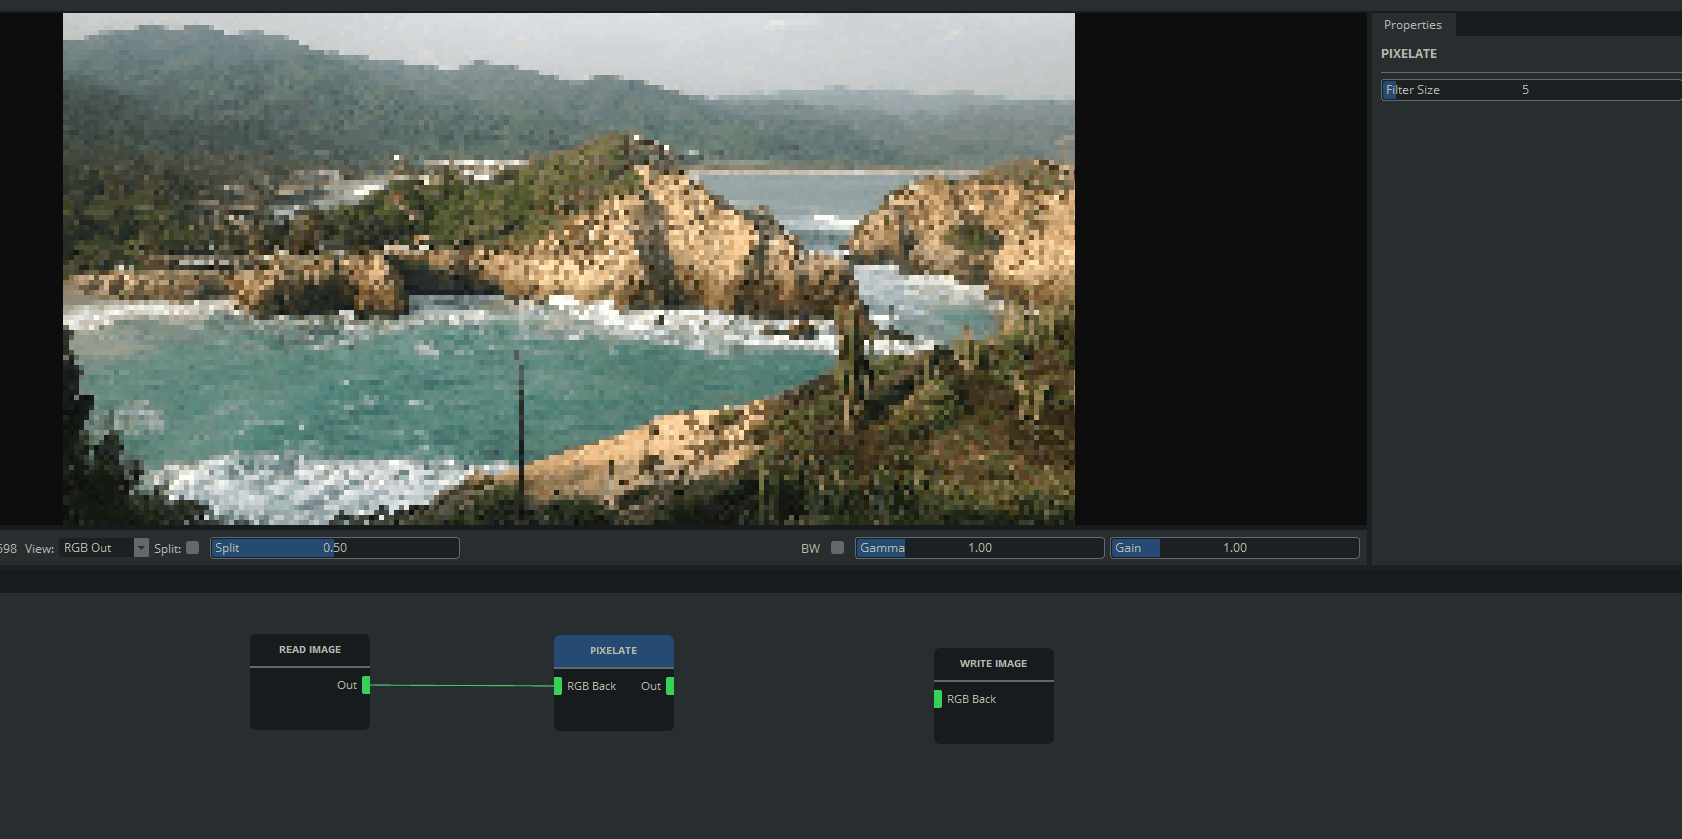
This creates a Pixelate Node. Now, left click and drag from the green output of the Read Node to create a connection and hook it up to the input of the Pixelate Node.
You should see the pixelation effect on your image. If not, make sure to click the Pixelate Node and press F4.
In the properties panel you can adjust the strength of the effect.
Note
Whenever you want to reset a slider control to its default value you can do so by left-clicking it with the Ctrl-Key pressed.
If you want to save the result image to disk, connect the output of the Pixelate Node to the input of the Write Node.
In the Write Node properties set a folder and a file name and choose a file type.
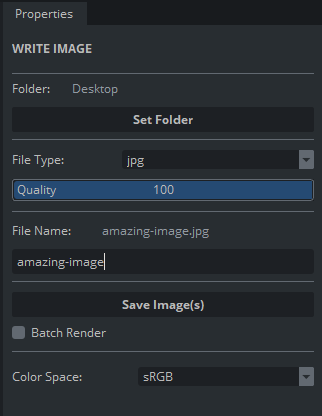
Now, click on Save Image and your file will be saved to disk.
If you want to keep this node setup and come back to it later, you can save it by going top the menu at the top and choosing File > Save Project.