- January 14, 2024: Added LLM chat application (TinyLlama 1.1B and Mistral 7B) with initial GPU support! More info here.
- December 14, 2023: Added support for Stable Diffusion XL Turbo 1.0! (thanks to @AeroX2)
- October 3, 2023: Added support for Stable Diffusion XL 1.0 Base!
- Introduction
- Stable Diffusion 1.5
- Stable Diffusion XL 1.0 Base
- Stable Diffusion XL Turbo 1.0
- TinyLlama 1.1B and Mistral 7B
- Features of OnnxStream
- Performance
- Attention Slicing and Quantization
- How OnnxStream Works
- How to Build
- How to Convert SD 1.5 Model
- Related Projects
- Credits
The challenge is to run Stable Diffusion 1.5, which includes a large transformer model with almost 1 billion parameters, on a Raspberry Pi Zero 2, which is a microcomputer with 512MB of RAM, without adding more swap space and without offloading intermediate results on disk. The recommended minimum RAM/VRAM for Stable Diffusion 1.5 is typically 8GB.
Generally major machine learning frameworks and libraries are focused on minimizing inference latency and/or maximizing throughput, all of which at the cost of RAM usage. So I decided to write a super small and hackable inference library specifically focused on minimizing memory consumption: OnnxStream.
OnnxStream is based on the idea of decoupling the inference engine from the component responsible of providing the model weights, which is a class derived from WeightsProvider. A WeightsProvider specialization can implement any type of loading, caching and prefetching of the model parameters. For example a custom WeightsProvider can decide to download its data from an HTTP server directly, without loading or writing anything to disk (hence the word "Stream" in "OnnxStream"). Three default WeightsProviders are available: DiskNoCache, DiskPrefetch and Ram.
OnnxStream can consume even 55x less memory than OnnxRuntime with only a 50% to 200% increase in latency (on CPU, with a good SSD, with reference to the SD 1.5's UNET - see the Performance section below).
These images were generated by the Stable Diffusion example implementation included in this repo, using OnnxStream, at different precisions of the VAE decoder. The VAE decoder is the only model of Stable Diffusion 1.5 that could not fit into the RAM of the Raspberry Pi Zero 2 in single or half precision. This is caused by the presence of residual connections and very big tensors and convolutions in the model. The only solution was static quantization (8 bit). The third image was generated by my RPI Zero 2 in about 3 hours 1.5 hours (using the MAX_SPEED option when compiling). The first image was generated on my PC using the same latents generated by the RPI Zero 2, for comparison:
VAE decoder in W16A16 precision:

VAE decoder in W8A32 precision:

VAE decoder in W8A8 precision, generated by my RPI Zero 2 in about 3 hours 1.5 hours (using the MAX_SPEED option when compiling):

The OnnxStream Stable Diffusion example implementation now supports SDXL 1.0 (without the Refiner). The ONNX files were exported from the SDXL 1.0 implementation of the Hugging Face's Diffusers library (version 0.19.3).
SDXL 1.0 is significantly more computationally expensive than SD 1.5. The most significant difference is the ability to generate 1024x1024 images instead of 512x512. To give you an idea, generating a 10-steps image with HF's Diffusers takes 26 minutes on my 12-core PC with 32GB of RAM. The minimum recommended VRAM for SDXL is typically 12GB.
OnnxStream can run SDXL 1.0 in less than 300MB of RAM and therefore is able to run it comfortably on a RPI Zero 2, without adding more swap space and without writing anything to disk during inference. Generating a 10-steps image takes about 11 hours on my RPI Zero 2.
The same set of optimizations for SD 1.5 has been used for SDXL 1.0, but with the following differences.
As for the UNET model, in order to make it run in less than 300MB of RAM on the RPI Zero 2, UINT8 dynamic quantization is used, but limited to a specific subset of large intermediate tensors.
The situation for the VAE decoder is more complex than for SD 1.5. SDXL 1.0's VAE decoder is 4x the size of SD 1.5's, and consumes 4.4GB of RAM when run with OnnxStream in FP32 precision.
In the case of SD 1.5 the VAE decoder is statically quantized (UINT8 precision) and this is enough to reduce RAM consumption to 260MB. Instead, the SDXL 1.0's VAE decoder overflows when run with FP16 arithmetic and the numerical ranges of its activations are too large to get good quality images with UINT8 quantization.
So we are stuck with a model that consumes 4.4GB of RAM, which cannot be run in FP16 precision and which cannot be quantized in UINT8 precision. (NOTE: there is at least one solution to the FP16 problem, but I have not investigated further since even running the VAE decoder in FP16 precision, the total memory consumed would be divided by 2, so the model would ultimately consume 2.2GB instead of 4.4GB, which is still way too much for the RPI Zero 2)
The inspiration for the solution came from the implementation of the VAE decoder of the Hugging Face's Diffusers library, i.e. using tiled decoding. The final result is absolutely indistinguishable from an image decoded by the full decoder and in this way it is possible to reduce RAM memory consumption from 4.4GB to 298MB!
The idea is simple. The result of the diffusion process is a tensor with shape (1,4,128,128). The idea is to split this tensor into 5x5 (therefore 25) overlapping tensors with shape (1,4,32,32) and to decode these tensors separately. Each of these tensors is overlapped by 25% on the tile to its left and the one above. The decoding result is a tensor with shape (1,3,256,256) which is then appropriately blended into the final image.
For example, this is an image generated by the tiled decoder with blending manually turned off in the code. You can clearly see the tiles in the image:
While this is the same image with blending turned on. This is the final result:

This is another image generated by my RPI Zero 2 in about 11 hours: (10 steps, Euler Ancestral)
Support for SDXL Turbo was contributed by the kind @AeroX2.
The main difference between SDXL and SDXL Turbo is that the Turbo version generates 512x512 images instead of 1024x1024, but with a much lower number of steps. It is possible to get good quality images even with just one step!
No additional optimizations compared to SDXL 1.0 were required to run SDXL Turbo on the RPI Zero 2. SDXL and SDXL Turbo share the same text encoder and VAE decoder: tiled decoding is required to keep memory consumption under 300MB.
This image was generated by my Raspberry PI Zero 2 in 29 minutes (1 step):
This image is an example of 3 step generation, and took 50 minutes on my RPI Zero 2. The quality is the same as the 1 step generated image:
A comparison between SDXL 1.0 and SDXL Turbo run in OnnxStream with respect to the number of steps is available in the model card of the model (by @AeroX2).
- Inference engine decoupled from the
WeightsProvider WeightsProvidercan beDiskNoCache,DiskPrefetch,Ramor custom- Attention slicing
- Dynamic quantization (8 bit unsigned, asymmetric, percentile)
- Static quantization (W8A8 unsigned, asymmetric, percentile)
- Easy calibration of a quantized model
- FP16 support (with or without FP16 arithmetic)
- 39 ONNX operators implemented (the most common)
- Operations executed sequentially but
allmost operators are multithreaded - Single implementation file + header file
- XNNPACK calls wrapped in the
XnnPackclass (for future replacement) - Initial GPU support with cuBLAS (only FP16 and FP32 and only for the LLM app)
OnnxStream depends on XNNPACK for some (accelerated) primitives: MatMul, Convolution, element-wise Add/Sub/Mul/Div, Sigmoid and Softmax.
Stable Diffusion 1.5 consists of three models: a text encoder (672 operations and 123 million parameters), the UNET model (2050 operations and 854 million parameters) and the VAE decoder (276 operations and 49 million parameters). Assuming that the batch size is equal to 1, a full image generation with 10 steps, which yields good results (with the Euler Ancestral scheduler), requires 2 runs of the text encoder, 20 (i.e. 2*10) runs of the UNET model and 1 run of the VAE decoder.
This table shows the various inference times of the three models of Stable Diffusion 1.5, together with the memory consumption (i.e. the Peak Working Set Size in Windows or the Maximum Resident Set Size in Linux).
| Model / Library | 1st run | 2nd run | 3rd run |
|---|---|---|---|
| FP16 UNET / OnnxStream | 0.133 GB - 18.2 secs | 0.133 GB - 18.7 secs | 0.133 GB - 19.8 secs |
| FP16 UNET / OnnxRuntime | 5.085 GB - 12.8 secs | 7.353 GB - 7.28 secs | 7.353 GB - 7.96 secs |
| FP32 Text Enc / OnnxStream | 0.147 GB - 1.26 secs | 0.147 GB - 1.19 secs | 0.147 GB - 1.19 secs |
| FP32 Text Enc / OnnxRuntime | 0.641 GB - 1.02 secs | 0.641 GB - 0.06 secs | 0.641 GB - 0.07 secs |
| FP32 VAE Dec / OnnxStream | 1.004 GB - 20.9 secs | 1.004 GB - 20.6 secs | 1.004 GB - 21.2 secs |
| FP32 VAE Dec / OnnxRuntime | 1.330 GB - 11.2 secs | 2.026 GB - 10.1 secs | 2.026 GB - 11.1 secs |
In the case of the UNET model (when run in FP16 precision, with FP16 arithmetic enabled in OnnxStream), OnnxStream can consume even 55x less memory than OnnxRuntime with a 50% to 200% increase in latency.
Notes:
- The first run for OnnxRuntime is a warm up inference, since its
InferenceSessionis created before the first run and reused for all the subsequent runs. No such thing as a warm up exists for OnnxStream since it is purely eager by design (however subsequent runs can benefit from the caching of the weights files by the OS). - At the moment OnnxStream doesn't support inputs with a batch size != 1, unlike OnnxRuntime, which can greatly speed up the whole diffusion process using a batch size = 2 when running the UNET model.
- In my tests, changing OnnxRuntime's
SessionOptions(likeEnableCpuMemArenaandExecutionMode) produces no significant difference in the results. - Performance of OnnxRuntime is very similar to that of NCNN (the other framework I evaluated), both in terms of memory consumption and inference time. I'll include NCNN benchmarks in the future, if useful.
- Tests were run on my development machine: Windows Server 2019, 16GB RAM, 8750H cpu (AVX2), 970 EVO Plus SSD, 8 virtual cores on VMWare.
The use of "attention slicing" when running the UNET model and the use of W8A8 quantization for the VAE decoder were crucial in reducing memory consumption to a level that allowed execution on a RPI Zero 2.
While there is a lot of information on the internet about quantizing neural networks, little can be found about "attention slicing". The idea is simple: the goal is to avoid materializing the full Q @ K^T matrix when calculating the scaled dot-product attention of the various multi-head attentions in the UNET model. With an attention head count of 8 in the UNET model, Q has a shape of (8,4096,40), while K^T has a shape of (8,40,4096): so the result of the first MatMul has a final shape of (8,4096,4096), which is a 512MB tensor (in FP32 precision):
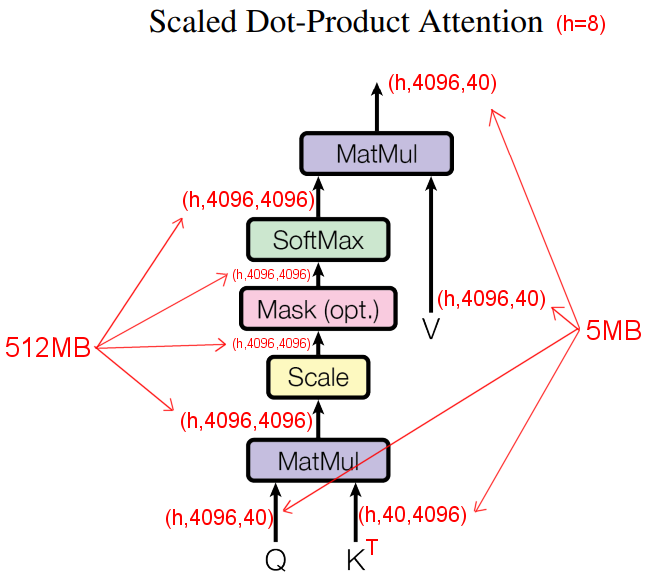
The solution is to split Q vertically and then to proceed with the attention operations normally on each chunk of Q. Q_sliced has a shape of (1,x,40), where x is 4096 (in this case) divided by onnxstream::Model::m_attention_fused_ops_parts (which has a default value of 2, but can be customized). This simple trick allows to lower the overall consumed memory of the UNET model from 1.1GB to 300MB (when the model is run in FP32 precision). A possible alternative, certainly more efficient, would be to use FlashAttention, however FlashAttention would require writing a custom kernel for each supported architecture (AVX, NEON etc), bypassing XnnPack in our case.
This code can run a model defined in the path_to_model_folder/model.txt: (all the model operations are defined in the model.txt text file; OnnxStream expects to find all the weights files in that same folder, as a series of .bin files)
#include "onnxstream.h"

using namespace onnxstream;

int main()
{
    Model model;

    //
    // Optional parameters that can be set on the Model object:
    //
    // model.set_weights_provider( ... ); // specifies a different weights provider (default is DiskPrefetchWeightsProvider)
    // model.read_range_data( ... ); // reads a range data file (which contains the clipping ranges of the activations for a quantized model)
    // model.write_range_data( ... ); // writes a range data file (useful after calibration)
    // model.m_range_data_calibrate = true; // calibrates the model
    // model.m_use_fp16_arithmetic = true; // uses FP16 arithmetic during inference (useful if weights are in FP16 precision)
    // model.m_use_uint8_arithmetic = true; // uses UINT8 arithmetic during inference
    // model.m_use_uint8_qdq = true; // uses UINT8 dynamic quantization (can reduce memory consumption of some models)
    // model.m_fuse_ops_in_attention = true; // enables attention slicing
    // model.m_attention_fused_ops_parts = ... ; // see the "Attention Slicing" section above
    //

    model.read_file("path_to_model_folder/model.txt");

    tensor_vector<float> data;

    ... // fill the tensor_vector with the tensor data. "tensor_vector" is just an alias to a std::vector with a custom allocator.

    Tensor t;
    t.m_name = "input";
    t.m_shape = { 1, 4, 64, 64 };
    t.set_vector(std::move(data));
    model.push_tensor(std::move(t));

    model.run();

    auto& result = model.m_data[0].get_vector<float>();

    ... // process the result: "result" is a reference to the first result of the inference (a tensor_vector<float> as well).

    return 0;
}
The model.txt file contains all the model operations in ASCII format, as exported from the original ONNX file. Each line corresponds to an operation: for example this line represents a convolution in a quantized model:
Conv_4:Conv*input:input_2E_1(1,4,64,64);post_5F_quant_5F_conv_2E_weight_nchw.bin(uint8[0.0035054587850383684,134]:4,4,1,1);post_5F_quant_5F_conv_2E_bias.bin(float32:4)*output:input(1,4,64,64)*dilations:1,1;group:1;kernel_shape:1,1;pads:0,0,0,0;strides:1,1
In order to export the model.txt file and its weights (as a series of .bin files) from an ONNX file for use in OnnxStream, a notebook (with a single cell) is provided (onnx2txt.ipynb).
Some things must be considered when exporting a Pytorch nn.Module (in our case) to ONNX for use in OnnxStream:
- When calling
torch.onnx.export,dynamic_axesshould be left empty, since OnnxStream doesn't support inputs with a dynamic shape. - It is strongly recommended to run the excellent ONNX Simplifier on the exported ONNX file before its conversion to a
model.txtfile.
- Windows only: start the following command prompt:
Visual Studio Tools>x64 Native Tools Command Prompt. - Mac only: make sure to install cmake:
brew install cmake.
First you need to build XNNPACK.
Since the function prototypes of XnnPack can change at any time, I've included a git checkout that ensures correct compilation of OnnxStream with a compatible version of XnnPack at the time of writing:
git clone https://github.com/google/XNNPACK.git
cd XNNPACK
git checkout 579de32260742a24166ecd13213d2e60af862675
mkdir build
cd build
cmake -DXNNPACK_BUILD_TESTS=OFF -DXNNPACK_BUILD_BENCHMARKS=OFF ..
cmake --build . --config Release
Then you can build the Stable Diffusion example.
<DIRECTORY_WHERE_XNNPACK_WAS_CLONED> is for example /home/vito/Desktop/XNNPACK or C:\Projects\SD\XNNPACK (on Windows):
git clone https://github.com/vitoplantamura/OnnxStream.git
cd OnnxStream
cd src
mkdir build
cd build
cmake -DMAX_SPEED=ON -DOS_LLM=OFF -DOS_CUDA=OFF -DXNNPACK_DIR=<DIRECTORY_WHERE_XNNPACK_WAS_CLONED> ..
cmake --build . --config Release
Important: the MAX_SPEED option allows to increase performance by about 10% in Windows, but by more than 50% on the Raspberry Pi. This option consumes much more memory at build time and the produced executable may not work (as was the case with Termux in my tests). So in case of problems, the first attempt to make is to set MAX_SPEED to OFF.
Now you can run the Stable Diffusion example.
The most recent version of the application downloads the weights of the selected model automatically at the first run. Click here for how to download the weights manually.
In the case of Stable Diffusion 1.5, the weights can be downloaded here (about 2GB).
git lfs install
git clone --depth=1 https://huggingface.co/vitoplantamura/stable-diffusion-1.5-onnxstream
In the case of Stable Diffusion XL 1.0 Base, the weights can be downloaded here (about 8GB):
git lfs install
git clone --depth=1 https://huggingface.co/vitoplantamura/stable-diffusion-xl-base-1.0-onnxstream
In the case of Stable Diffusion XL Turbo 1.0, the weights can be downloaded here (about 8GB):
git lfs install
git clone --depth=1 https://huggingface.co/AeroX2/stable-diffusion-xl-turbo-1.0-onnxstream
These are the command line options of the Stable Diffusion example:
--xl                Runs Stable Diffusion XL 1.0 instead of Stable Diffusion 1.5.
--turbo             Runs Stable Diffusion Turbo 1.0 instead of Stable Diffusion 1.5.
--models-path       Sets the folder containing the Stable Diffusion models.
--ops-printf        During inference, writes the current operation to stdout.
--output            Sets the output PNG file.
--decode-latents    Skips the diffusion, and decodes the specified latents file.
--prompt            Sets the positive prompt.
--neg-prompt        Sets the negative prompt.
--steps             Sets the number of diffusion steps.
--seed              Sets the seed.
--save-latents      After the diffusion, saves the latents in the specified file.
--decoder-calibrate (ONLY SD 1.5) Calibrates the quantized version of the VAE decoder.
--not-tiled         (ONLY SDXL 1.0) Don't use the tiled VAE decoder.
--ram               Uses the RAM WeightsProvider (Experimental).
--download          Forces the (re)download of the current model.
--curl-parallel     Sets the number of parallel downloads with CURL. Default is 4.
--rpi               Configures the models to run on a Raspberry Pi.
--rpi-lowmem        Configures the models to run on a Raspberry Pi Zero 2.
Options you're probably interested in: --xl, --turbo, --prompt, --steps, --rpi.
Click to expand
This guide aims to assist you in converting a custom Stable Diffusion model for use with OnnxStream. Whether you're starting from .safetensors or .onnx, this guide has you covered.
- Python 3.x
- ONNX
- ONNX Simplifier
- Linux environment (tested on Ubuntu, Windows WSL also works)
- Swap space (amount varies depending on your approach)
AUTO1111's Stable Diffusion implementation uses operations like Einsum, which are not supported by OnnxStream (yet). Hence, it's advised to use the Hugging Face implementation, which is more compatible.
If you're starting with a .safetensors file, you can convert it to .onnx using the tool available at this GitHub repository.
However, it is recommended to follow the approach in section "Option A" below.
from diffusers import StableDiffusionPipeline
import torch

pipe = StableDiffusionPipeline.from_single_file("https://huggingface.co/YourUsername/YourModel/blob/main/Model.safetensors")

dummy_input = (torch.randn(1, 4, 64, 64), torch.randn(1), torch.randn(1, 77, 768))
input_names = ["sample", "timestep", "encoder_hidden_states"]
output_names = ["out_sample"]

torch.onnx.export(pipe.unet, dummy_input, "/path/to/save/unet_temp.onnx", verbose=False, input_names=input_names, output_names=output_names, opset_version=14, do_constant_folding=True, export_params=True)python -m onnxruntime.tools.make_dynamic_shape_fixed --input_name sample --input_shape 1,4,64,64 model.onnx model_fixed1.onnx
python -m onnxruntime.tools.make_dynamic_shape_fixed --input_name timestep --input_shape 1 model_fixed1.onnx model_fixed2.onnx
python -m onnxruntime.tools.make_dynamic_shape_fixed --input_name encoder_hidden_states --input_shape 1,77,768 model_fixed2.onnx model_fixed3.onnxNote by Vito: This can be achieved simply by following the approach outlined in "Option A" above, which remains the recommended approach. Making the input shapes fixed might be useful if your starting point is already an ONNX file.
python -m onnx_simplifier model_fixed3.onnx model_simplified.onnxWith big models you might run into problems with the simplifier. This tool can sometimes help in that case: https://github.com/luchangli03/onnxsim_large_model
Note:
- If you exported your model from Hugging Face, you'll need around 100GB of swap space.
- If you manually fixed the input shapes, 16GB of RAM should suffice.
- The process may take some time; please be patient.
Once you have the final model from onnx2txt, move it into the unet_fp16 folder of the standard SD 1.5 model, which can be found in the Windows release of OnnxStream.
The command to run the model might look like this:
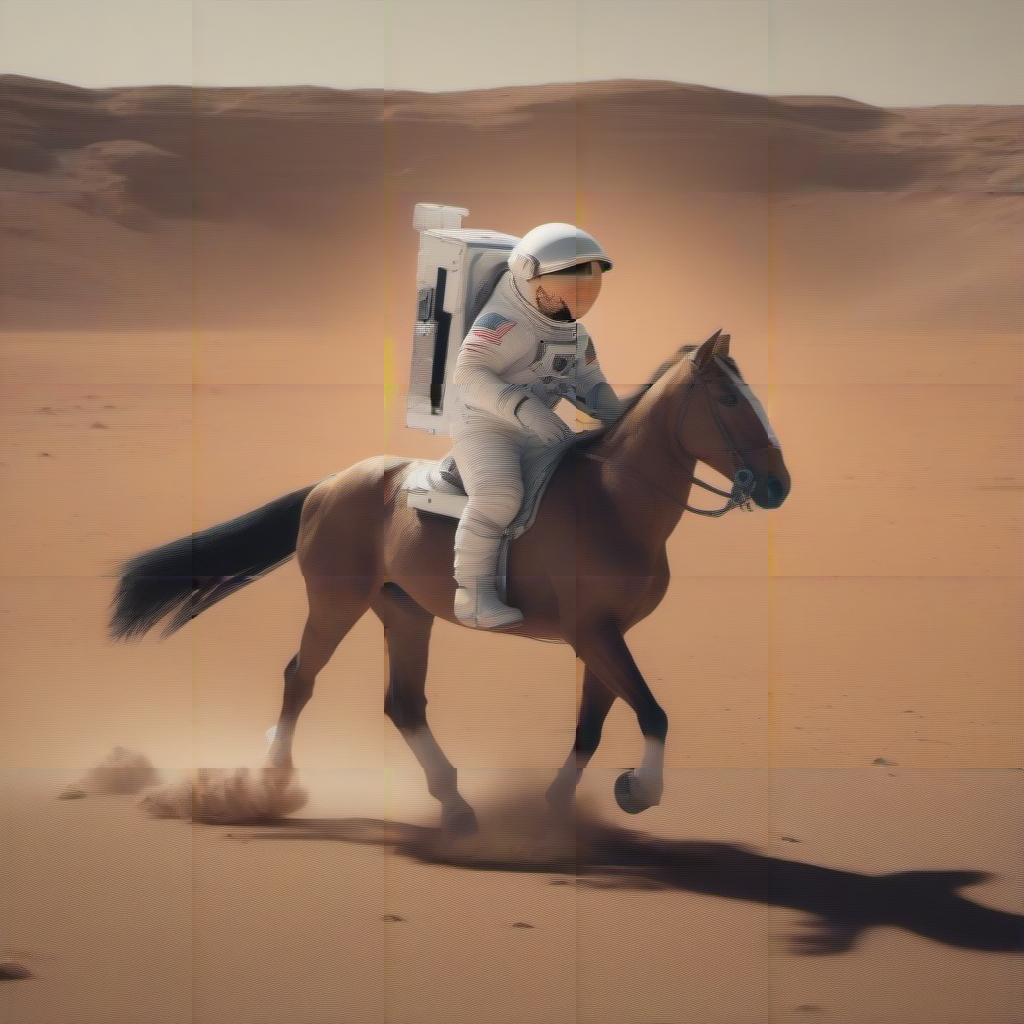
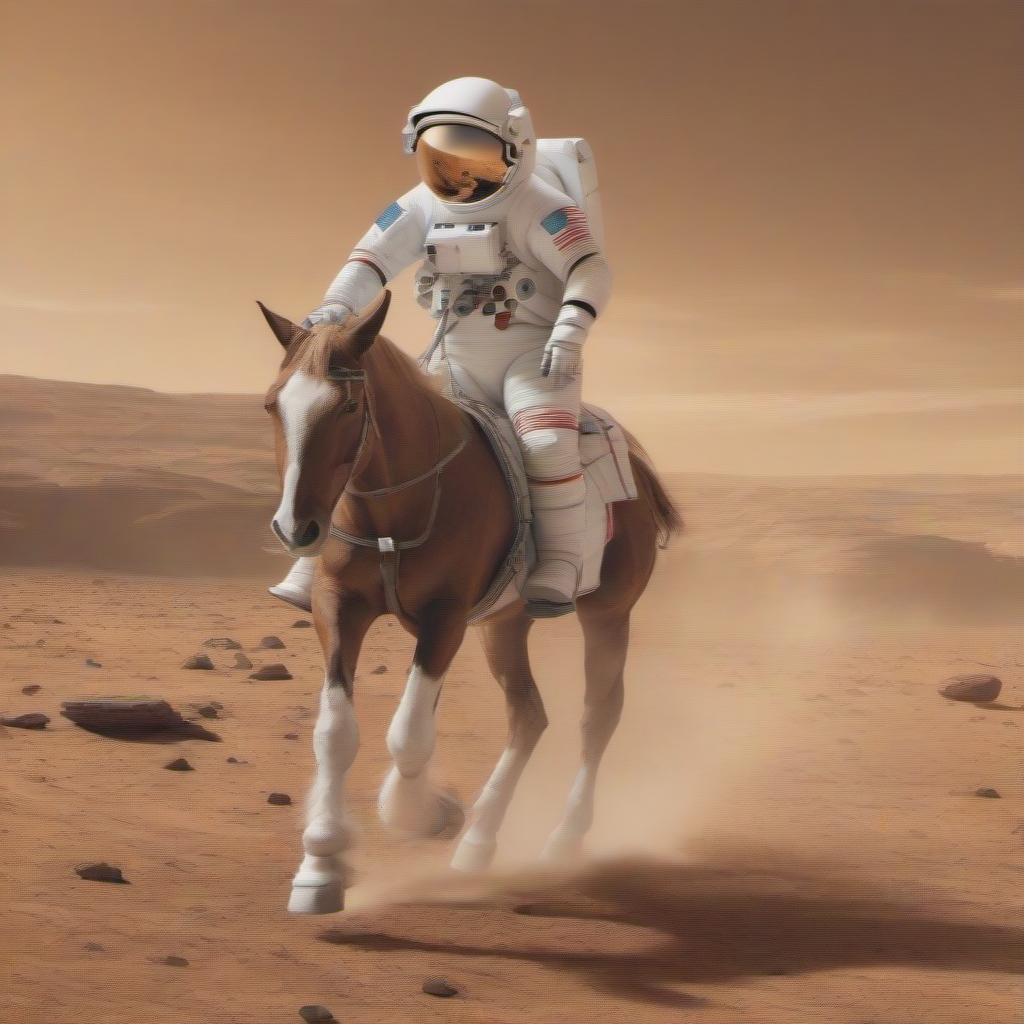
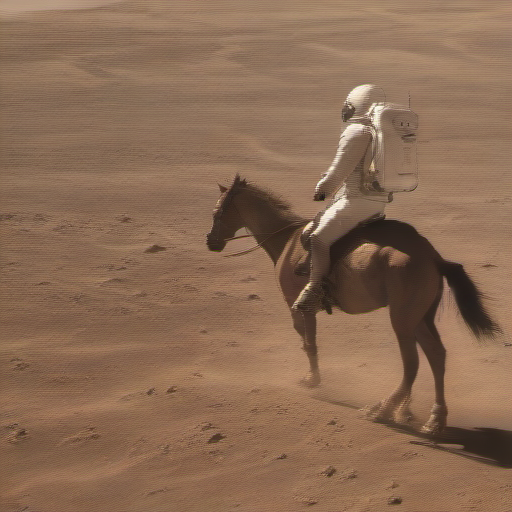
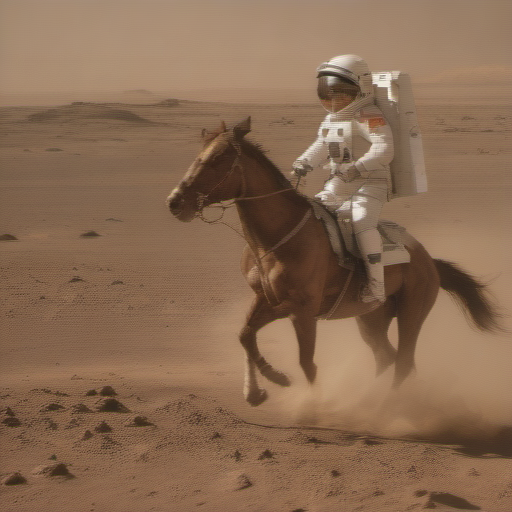
./sd --models-path ./Converted/ --prompt "space landscape" --steps 28 --rpiIf you see the "Shape" operator in the output of Onnx Simplifier or in onnx2txt.ipynb, it indicates that Onnx Simplifier may not be functioning as expected. This issue is often not caused by Onnx Simplifier itself but rather by Onnx's Shape Inference.
In such cases, you have the alternative to re-export the model by modifying the parameters of torch.onnx.export. Locate this file on your computer:
And make sure to:
- Set
opset_versionto 14 - Remove
dynamic_axes
After making these changes, you can rerun Onnx Simplifier and onnx2txt.
Note by Vito: This solution, although working, generates ONNX files with Einsum operations. When OnnxStream supports the Einsum operator, this solution will become the recommended one.
This guide is designed to be a comprehensive resource for those looking to run a custom Stable Diffusion 1.5 model with OnnxStream. Additional contributions are welcome!
- OnnxStreamGui by @ThomAce: a web and desktop user interface for OnnxStream.
- Auto epaper art by @rvdveen: a self-contained image generation picture frame showing news.
- The Stable Diffusion 1.5 implementation in
sd.cppis based on this project, which in turn is based on this project by @EdVince. The original code was modified in order to use OnnxStream instead of NCNN.