JDK 11 Warning
Xamarin.Android 12.0 adds support for Android 12/API-31.
To use the APIs added in Android 12/API-31, the following steps must be done:
- Install JDK-11 and configure Visual Studio to use JDK-11.
- Install API-31
-
Set
$(TargetFrameworkVersion)to v12.0.
However, configuring Visual Studio 2019 or Visual Studio for Mac 8 to use JDK-11 will prevent other features from working correctly. See the JDK 11-Caused Regressions section for details. It will not be possible to target Android 12.0/API-31 and use e.g. the Xamarin.Android Designer at the same time. This will be fixed in a future release.
When Visual Studio 2019 or Visual Studio for Mac 8.10 is configured to use JDK-11, certain Visual Studio features will not work properly.
The Xamarin.Android Designer does not work with JDK-11. When Visual Studio is configured to use JDK-11 and a layout .xml file is opened within the Xamarin.Android Designer, the renderer will display an error message.
In Visual Studio 2019, the Xamarin.Android Designer will display:

In Visual Studio for Mac 8.10, the Xamarin.Android Designer will display:

JDK-11 will not be installed by default in Visual Studio 2019 and Visual Studio for Mac 8.10.
If Visual Studio is not configured to use JDK-11 and $(TargetFrameworkVersion)=v12.0, then the build will fail with an XA0031 error:
error XA0031: Java SDK 11.0 or above is required when using $(TargetFrameworkVersion) v12.0.
Note: the Android Designer is incompatible with Java SDK 11.0: https://aka.ms/vs2019-and-jdk-11
If you have not already installed JDK-11, download a JDK-11 installer. We recommend using the Microsoft Build of OpenJDK:
Once an appropriate JDK-11 installer has been downloaded it, install JDK-11.
Once JDK-11 has been installed, the JDK path can be configured within Visual Studio.
Within Visual Studio 2019:
- Click Tools > Options…
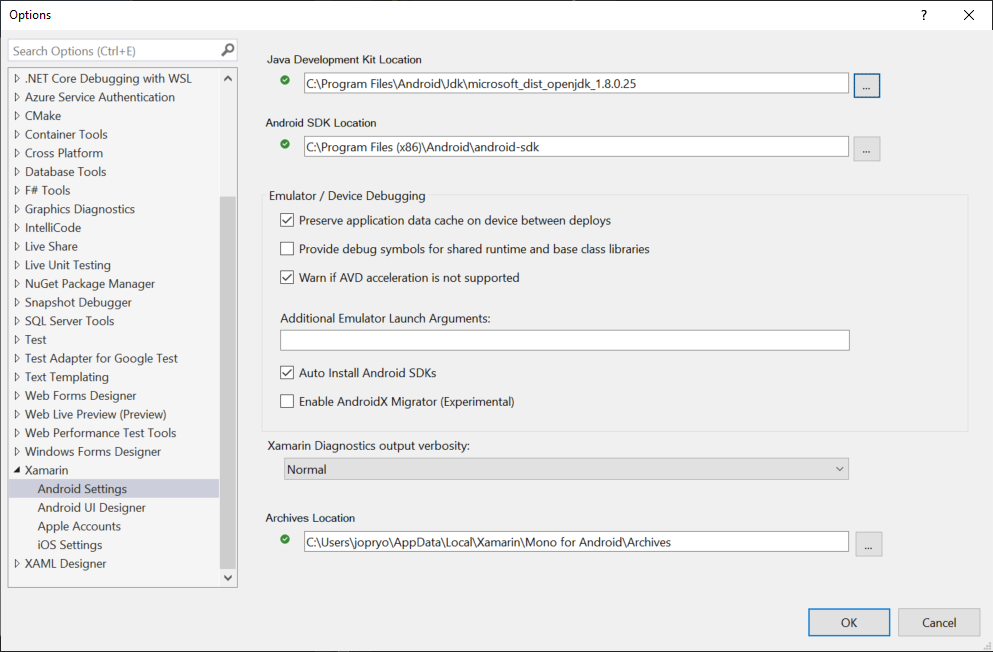
- Within the left-hand tree of the Options dialog box, select Xamarin > Android Settings:
- Within the right-hand panel of the Options dialog box, click the … button next to the Java Development Kit Location path. This presents the JDK Configuration dialog box:

- Within the JDK Configuration dialog box, select the Configure an existing JDK installation (Advanced Users) radio button, then click the Browse button.
- Within the Browse For Folder dialog box, navigate to C:\Program Files\Microsoft\jdk-11.0.12.7-hotspot, then click OK.
- Back within the JDK Configuration dialog box, click Continue
- Back within the Options dialog, click OK.
Builds after this point will use JDK-11.
To use JDK 1.8, follow steps (1)…(3), then:
- Within the JDK Configuration dialog box, select the Use the default installed Microsoft OpenJdk radio button, then click Continue.
Within Visual Studio for Mac 8.10:
- Click Visual Studio > Preferences…
- Within the left-hand tree of the the Preferences dialog, select Projects > SDK Locations > Android.
- Within the right-hand panel of the Preferences dialog, select the Locations tab.

- Click the … button to the right of Java SDK (JDK) Location. This opens a directory selection window.
- Within the directory selection window, press Command+Shift+G and Go to the folder /Library/Java/JavaVirtualMachines/microsoft-11.jdk/Contents/Home, then click Select Directory.
- Within the Preferences dialog, click OK.
Builds after this point will use JDK-11.
To use JDK 1.8, follow steps (1)…(3), then click the Reset to Defaults button.
In order to use Android 12/API-31 APIs, an appropriate android.jar must be installed. This can be done within the Android SDK Manager.
To open the Android SDK Manager within Visual Studio 2019, click Tools > Android > Android SDK Manager….
To open the Android SDK Manager within Visual Studio for Mac 8.10, click Tools > SDK Manager.
Within the Android SDK Manager, click the "gear" icon toward the bottom of the window, then click Repository > Full List (Unsupported):
![]()
Once the window refreshes, click the checkbox next to Android 12.0 - S > Android SDK Platform 31.
Click Apply Changes.
The $(TargetFrameworkVersion) MSBuild property must be set to v12.0 in order to use Android 12 APIs.
<PropertyGroup>
  <TargetFrameworkVersion>12.0</TargetFrameworkVersion>
</PropertyGroup>Within Visual Studio 2019:
- Click Project > Project Name Properties.
- Select the Application tab.
- In the Compile using Android version: (Target Framework) drop-down, select Android 12.0 (S).
- Save changes.
Within Visual Studio for Mac 8.10:
- Click Project > Project Name Options
- In the left-hand tree of the Project Options dialog, select Build > General.
- In the right-hand panel of the Project Options dialog, in the Compile using Android version: (Target Framework) drop-down, select Android 12.0 (S).
- Click OK.