Dashboard
If you are looking for information about using BiglyBT in general, please go to the Help menu and select 'Getting Started'
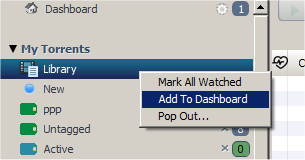
The Dashboard allows you to select various existing views within BiglyBT and add them to a single custom view - right-click on the desired view in the Sidebar and select the 'Add To Dashboard' option (if it currently doesn't exist for a view you want then please raise it as an issue and we'll get it added):
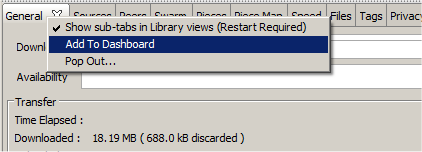
Some tab views can also be added, for example the 'General' tab from a download:
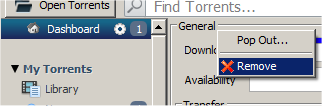
Dashboard entries can be removed by right-clicking on the view title in the Dashboard and selecting 'remove':
You can also add your favourite websites to the dashboard by right-clicking on the sidebar entry and selecting from the menu:
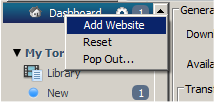
There is also an option there to reset the view to 'start of day'.
To add the 'Options' view to the Dashboard it is necessary to first switch to using a Sidebar based options view (as opposed to the default pop-out version) by going to Tools->Options->Interface->Display and checking the 'Show the Options view as a sidebar entry' option. Then close and re-open the Options - you can now right-click on it in the sidebar and select 'Add To Dashboard'
You can configure the layout of the dashboard components by hitting the cog icon in the sidebar. You are presented with a dialog similar to the following:
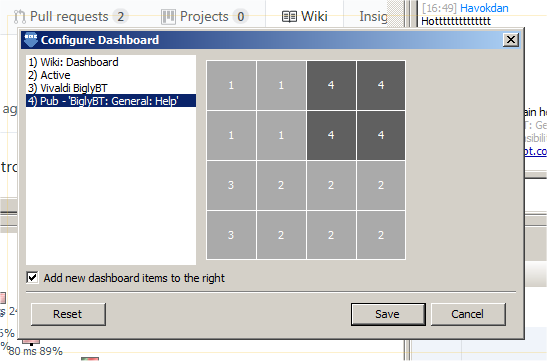
The items are listed on the left, prefixed by a number. To configure the location of an item first select it on the left. Then click on the squares where you logically want that item to appear. You need to select a single rectangular area for each item, weird/split shapes won't work out well! By default new items will be placed on the right of the dashboard - you can change this to being at the bottom by deselecting the check box. The 'reset' button will place all components back into their default positions.
Back in the dashboard view you can drag the various sashes to resize items as desired.
Remember that the Sidebar can be hidden/restored at any time by using the F7 shortcut - this allows the Dashboard to take the full width of BiglyBT.
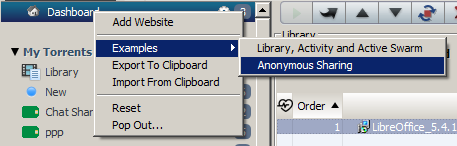
Check out some example dashboards via the menu:
This view combines three elements to allow you to see overall transfer activity and a 3D view of the most active download in your Library at the same time
This shows an example of how you could set up a simple means of anonymously sharing either things in your BiglyBT library, or files on your computer, with other people using the same view. It is based on an anonymous chat channel (this supports the 'drag-and-drop' view for automatically sending a message containing the download/file details to other users, you can change the way it is displayed via the chat's Advanced menu) and an RSS view that is driven from the same chat channel and shows items added there. You can of course set up your own chat channels to share things with more restricted audiences such as friends and family.
In version 2.2 the ability to add views to both the main dashboard and also one in the Sidebar was introduced. As space is limited this is a Tab based dashboard. To add a view to it right-click on the view and select 'Add To' and then 'Sidebar'. The size of the area can be controlled by moving the sash. To remove items right-click on the Tab header area and select 'Remove.
A good example is to add the '3D View Most Active' view - install the '3D View' plugin, show the view by going to the View menu and selecting '3D View (Most Active)' and then right-click on this in the Sidebar and select Add To->Sidebar.
There is an occasional bug whereby the Tab header isn't drawn, making it impossible to remove a view. To work around this add another random view to the Sidebar and then remove them both.
In version 3.1 the Right Bar was introduced to allow content to be added to the right of the BiglyBT window. As with the other views items are added to it by right-clicking on them and selecting 'Add To' and then 'Right Bar'
The All Blocks view introduced in the same version is a good candidate for this area!