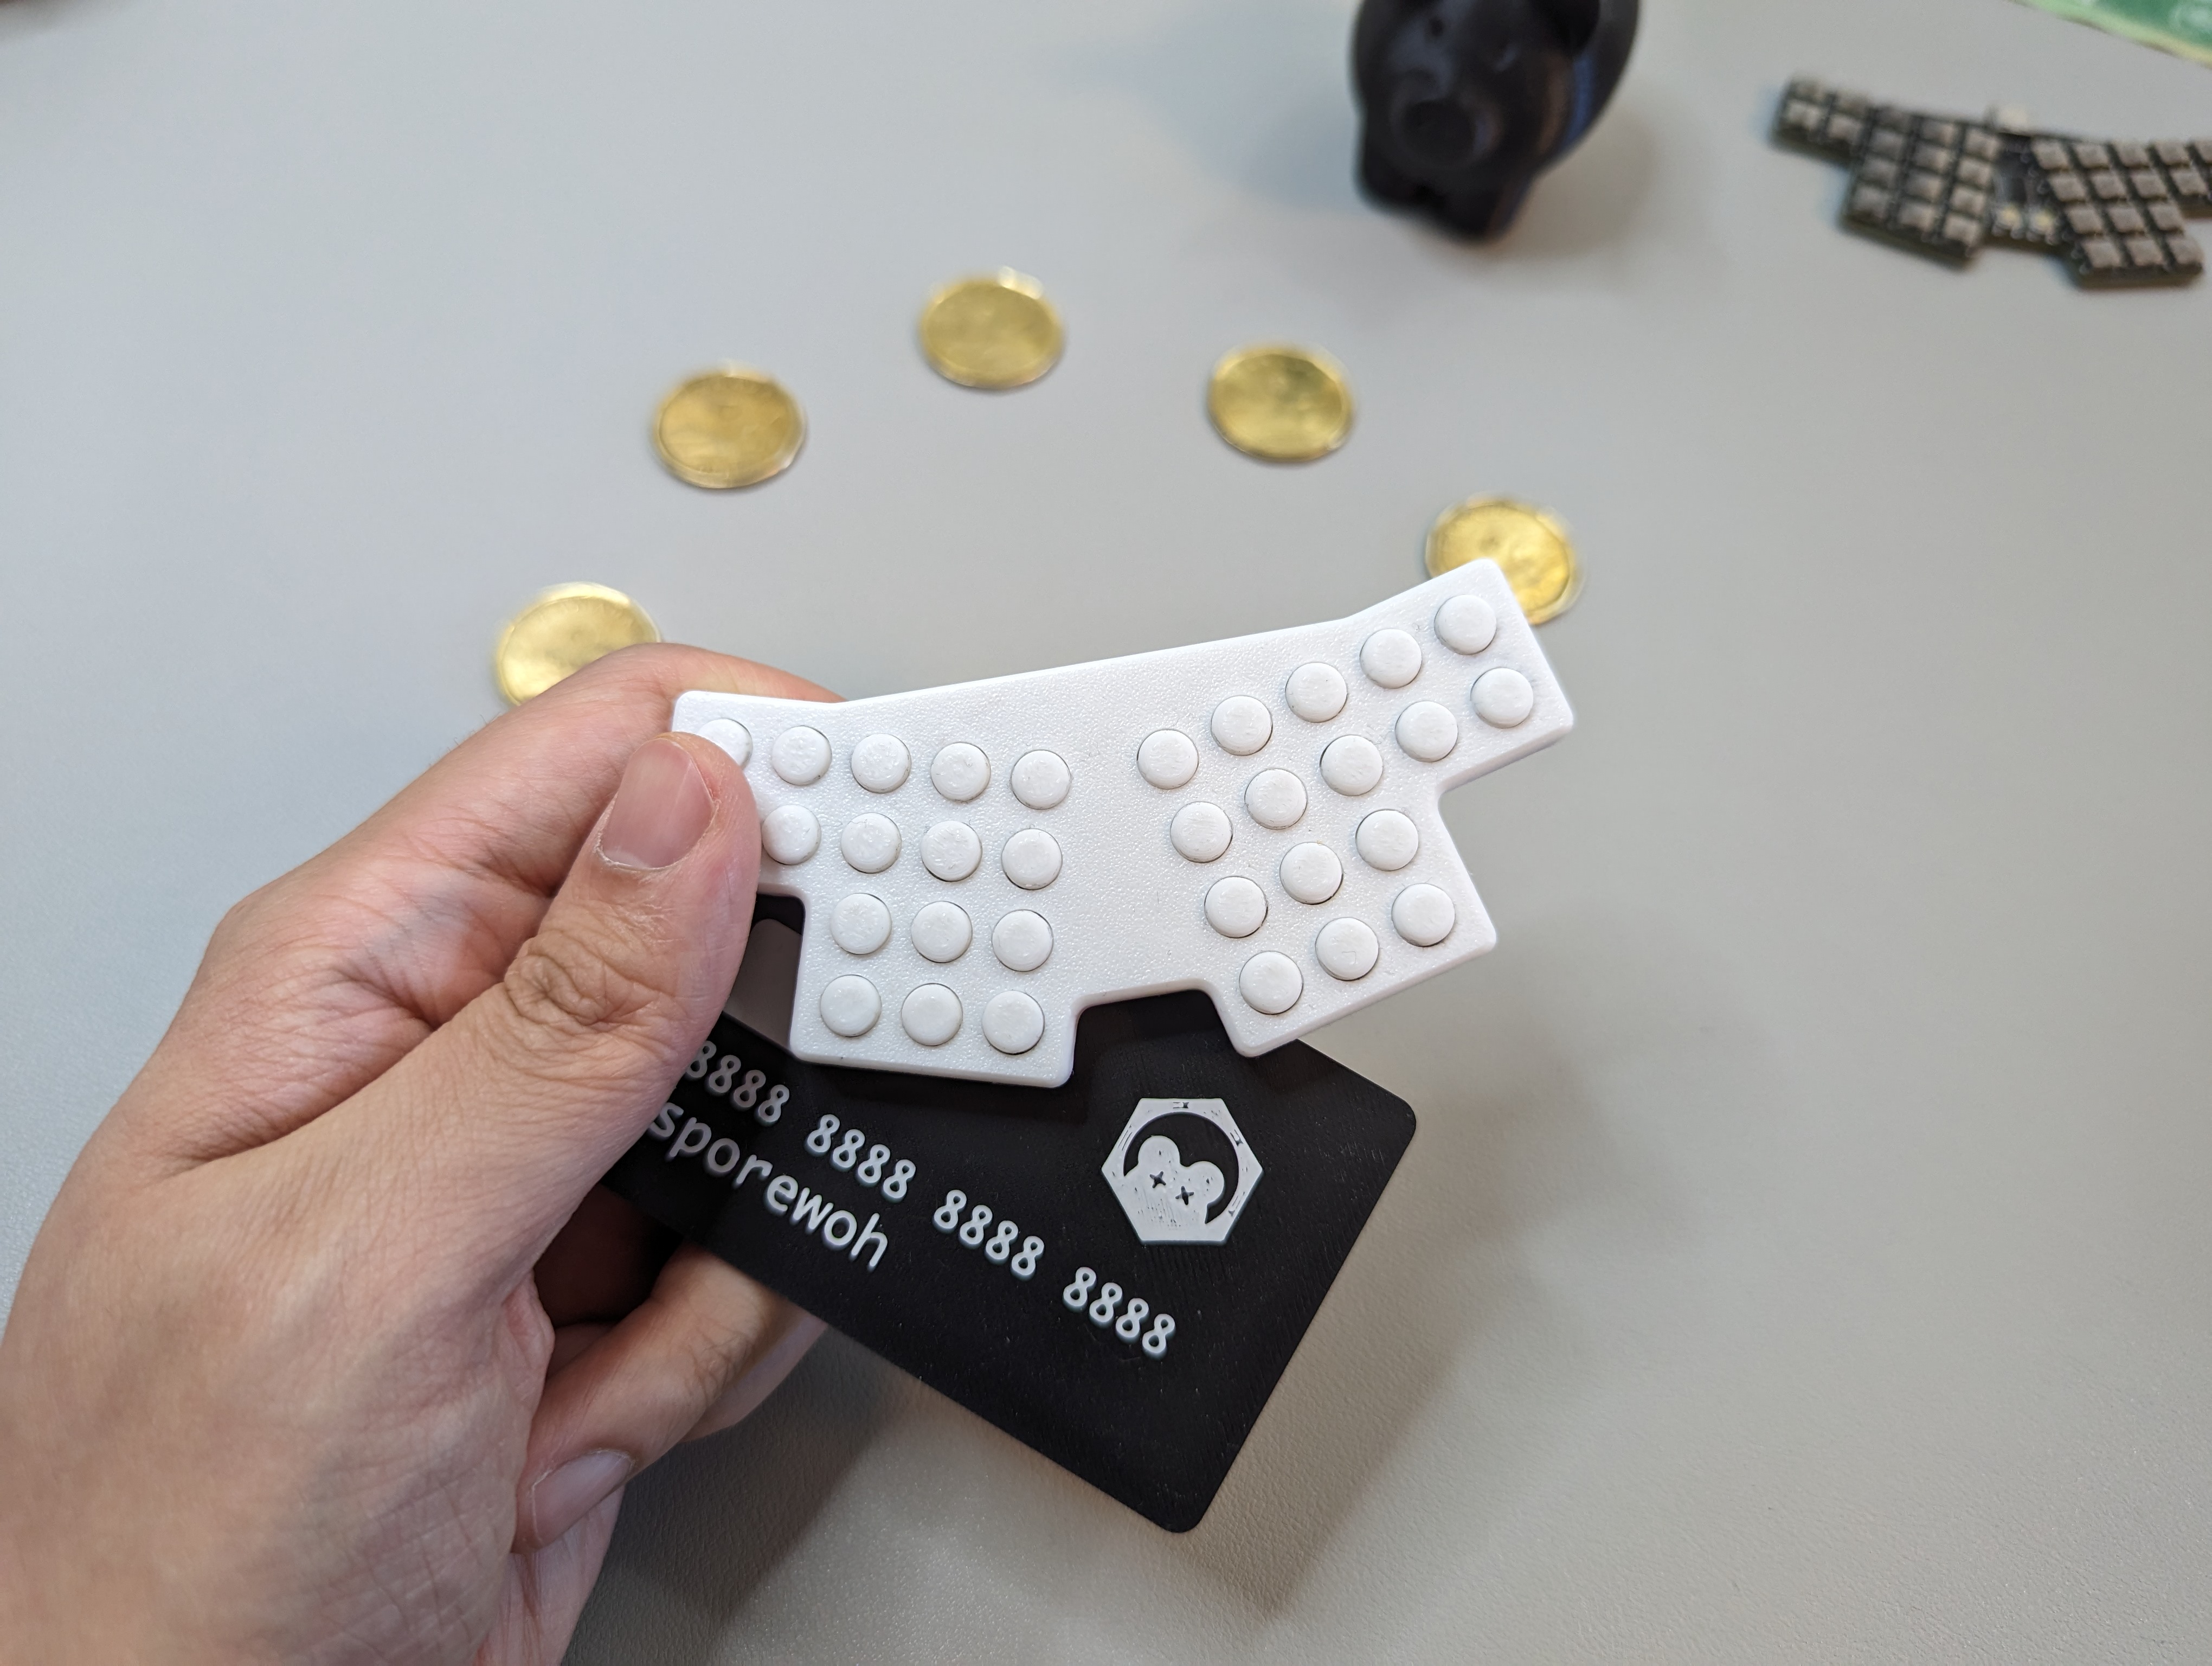
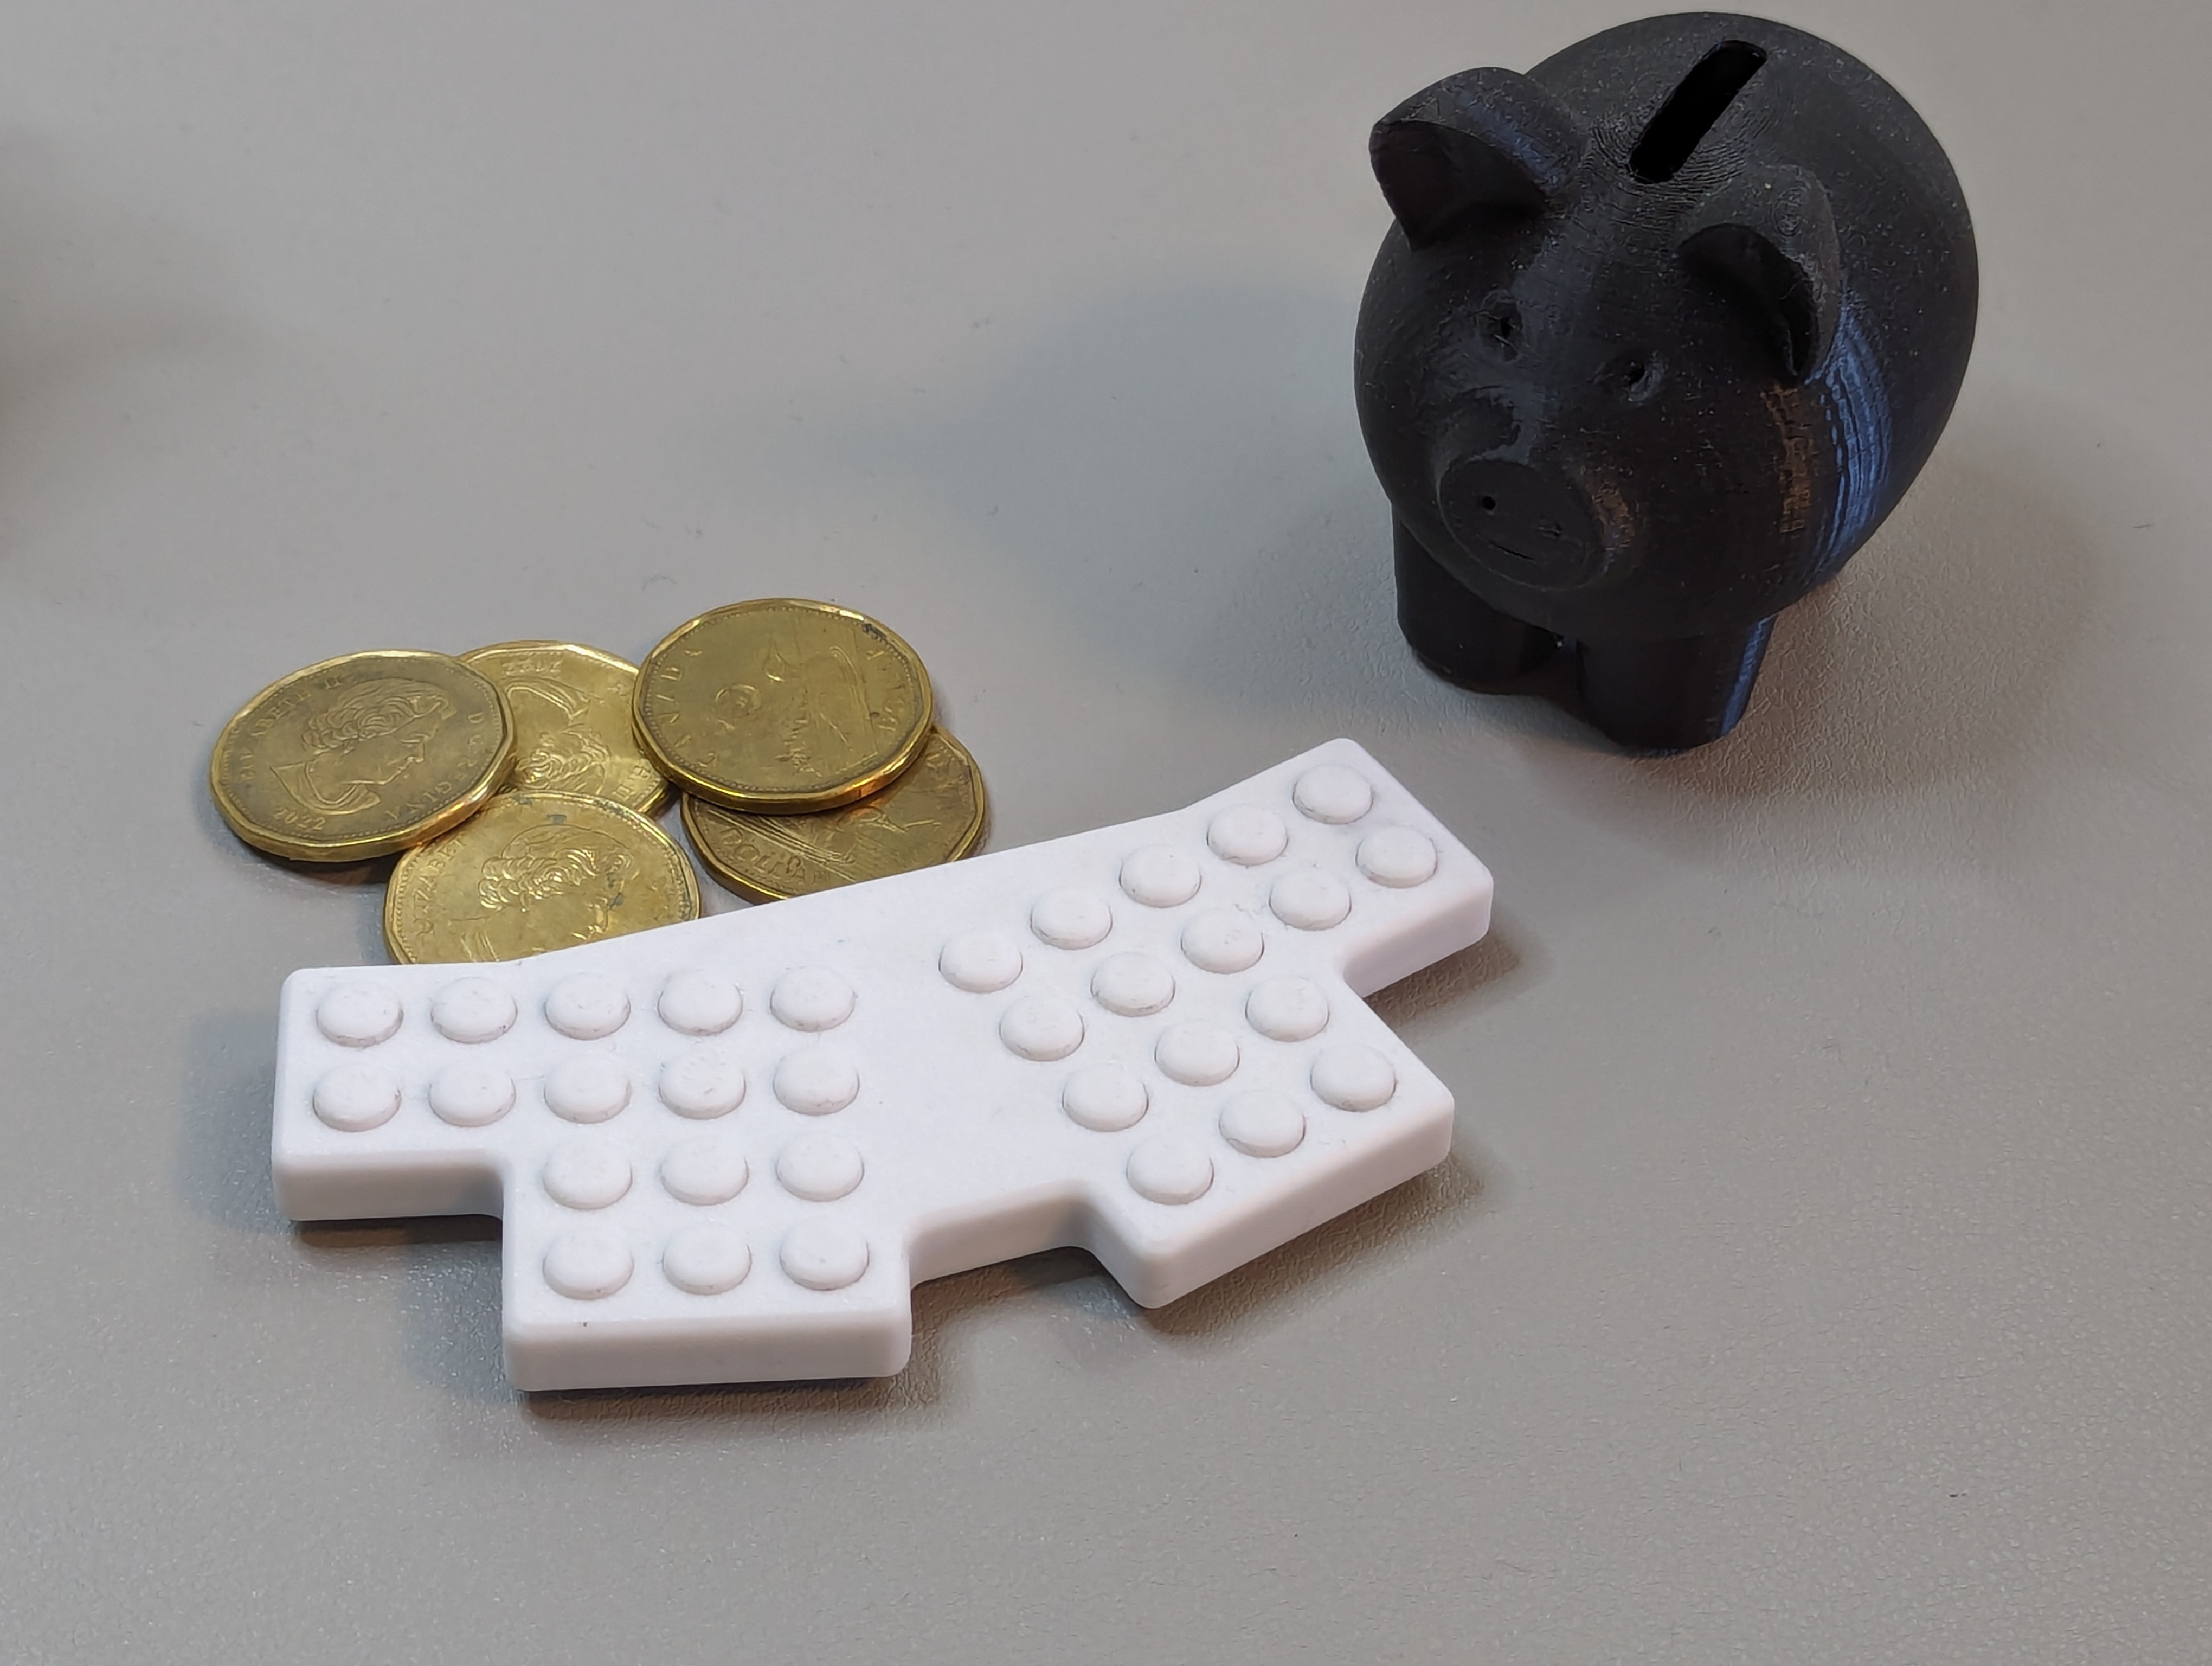
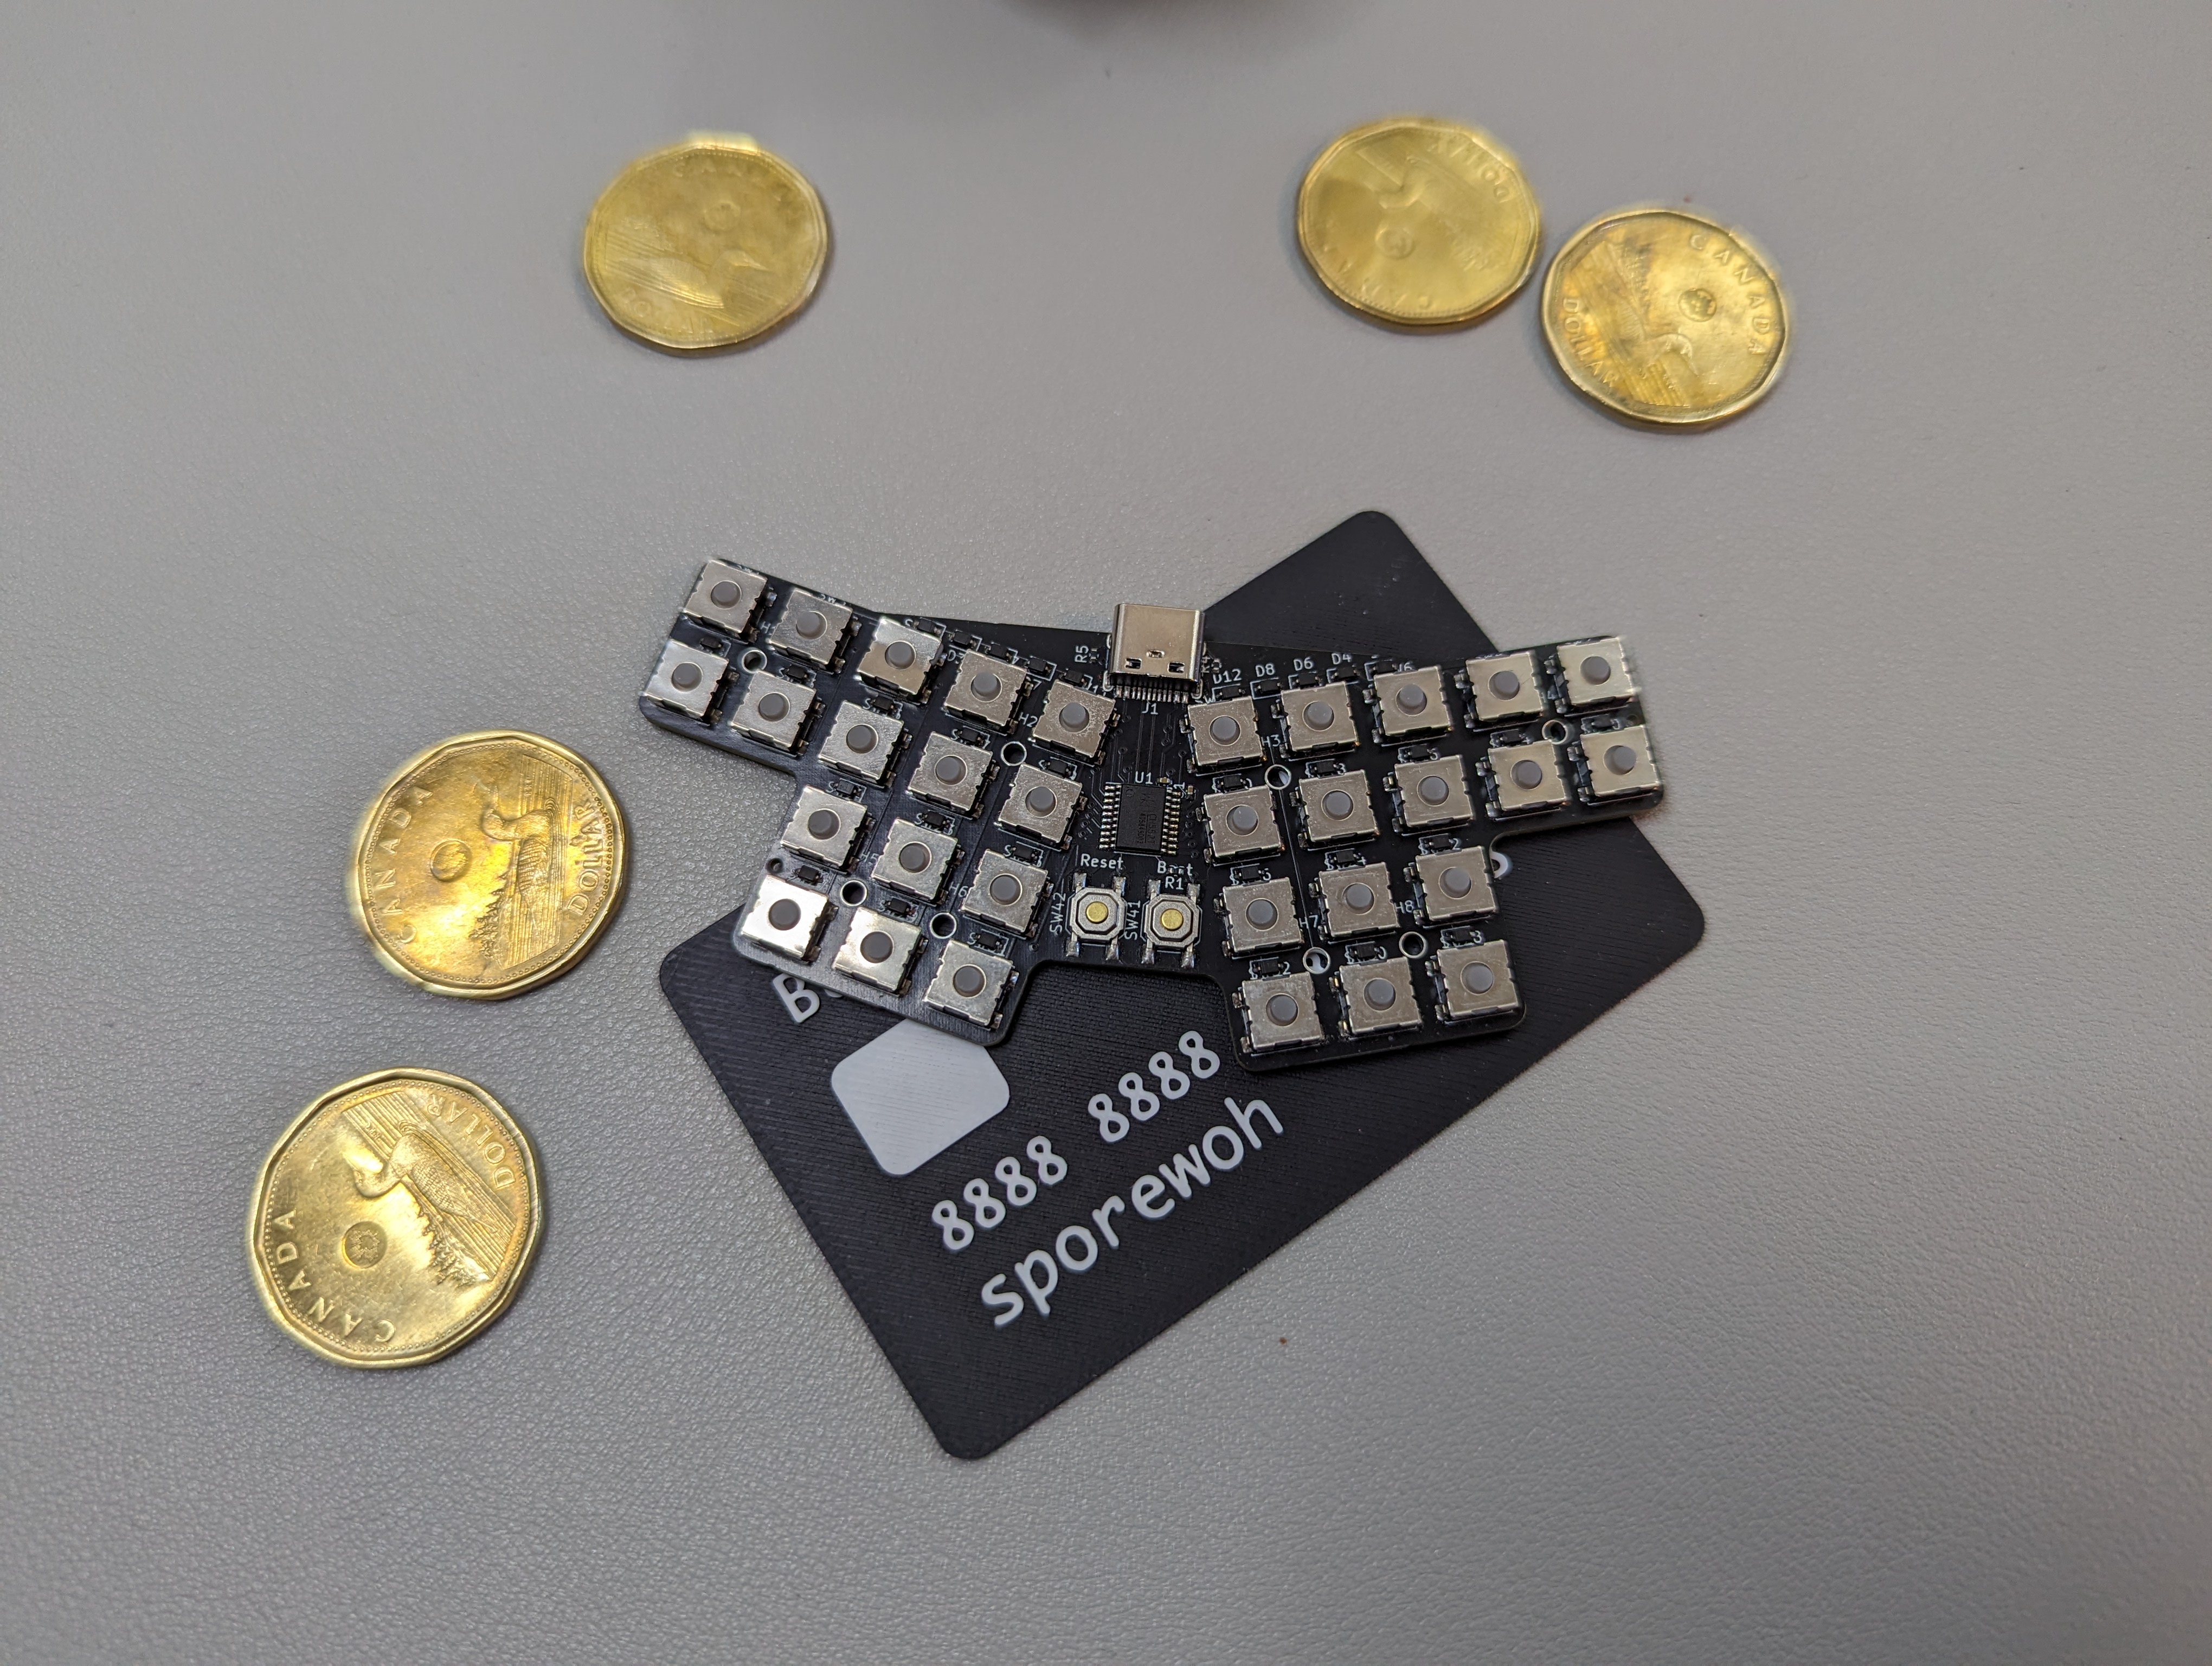
An experimental ultraportable and ultra affordable pocket keyboard that costs $5 worth of materials to make. The project goal is to make a keyboard that can be given away as freebies or gifts. Entire PCBA can be produced by JLCPCB. Uses a CH552 as its MCU, and runs FAK firmware.
v2.0 PCBs are working well and is recommended to try out! v0.0 PCBs use a switch that has a high defect rate. the v2.0 switches use a much more reliable switch.
I recommend using v2.0, though v0.0 has some workarounds outlined in my blog post.
Disclaimer is that this design has very low tolerances for its key switches. You will likely need a 3D printer such as a Bambu Lab A1/A1 mini/P1P/P1S and set the slicing layer resolution to 0.08mm. Printers like the Prusa i3/mini may also work, but have not been tested.
I got excited with the new recent trend of building keyboards with the CH552 chip, and wanted to expand on my pusheenz40 design, with the end goal of building a keyboard that costs so little that I can freely give it away as a small gift or as a freebie at conventions. The size of the board, layout, and component selection (or lack there of) are all in service of getting the price as low as possible.
You can read more about the experiment and the design process in my blog post here: https://chrischrislolo.github.io/orthoLabLogs/idawgs32-how-i-made-a-full-keyboard-for-dollar6.html
Case files include 3MF files, STEP files that include the top case housing, as well as the buttons.
The case files can be found in the case directory.
3D printed cases can and should use the finest resolution possible on your printer, and ideally should use a higher end printer due to it's low tolerances. The models have been tested to work with the Bambu lab A1 and P1S at a layer height and detail setting of 0.08mm (extra fine). It's recommended to use a high quality and/or a newer printer.
Lubricating the case rails with something like krytox 205g0 is highly recommended (and a near must for v0.0 boards), especially when using a CNC aluminum case.
You can find the PCB source files in the pcb folder. The BOM files can be found in this folder.
caseYou can find the files you need in this folder to print out a case for the keyboarddraftsStores any ergogen or intermediate information used in making the casepcbKicad project relating to the project. Contains the BOM, placement files, and gerbers
- 1 PCBA
- The PCB will include all electrical parts required, including switches.
- 1 Aluminum CNC upper case or 3DP upper case
- 32 3D printed buttons
- 8 3mm M1.6 screws (go for flathead for a more flush fit, though other head types should also work)
- 4-8 (ideally 8) 1-2mm bumpons (something like Sj5302 is a good place to start)
Flash the pcb with my FAK branch (see below section). Bootmagic is enabled, so using the top left key to flash from here on out is doable.
Pop the 3D printed buttons/keycaps into the case, and make sure they don't stick and can freely move up and down. If they do stick (e.g. need noticable force applied to pop out), confirm that you're printing at the finest detail setting. All keys need to be flush against the case. Once the switches are in place, over lap the pcb over the case. Gently press the pcb to make sure a button isn't pressed down.
Optionally wrap the board with a rubber band to hold it in place and flip it over to validate everything. Then gently press every button to make sure if it can actuate. If a button is very sticky, reprinting or sanding may be required. If there's slight friction on the keys return, this should slowly go away as the keyboard is broken in. If there's a button that won't actuate, it's possible that the button is misaligned. Flip the board back around, remove the rubber band and pcb, and make sure the problematic key is flush against the case. Place back pcb around and test until all keys properly acutate.
Then turn the keybard around one last time so the pcb is facing upwards. Screw on the screws and test one last time.
Finally, place on the rubber bumpons
Branch and fork of FAK Firmware can be found here: https://github.com/ChrisChrisLoLo/fak/tree/idawgz32