


The full tutorial on how to create this repository can be found on my blog: Serverless image generation.
These need to be setup and configured on your machine:
Use the respective links to learn how to configure these services. GraphicsMagick is used to generate the png files for display.
For first time deployments, this may take a minute, because serverless need to configure your AWS account to add the lambda and api gateway services.
$ serverless deploy -v
Successful deploy output
  Sucessful deploy output:

      Service Information
      service: letter-avatar
      stage: dev
      region: us-east-1
      stack: letter-avatar-dev
      api keys:
        None
      endpoints:
        GET - https://{appId}.execute-api.us-east-1.amazonaws.com/dev/letterAvatar/{initials}
      functions:
        profilePic: letter-avatar-dev-profilePic
Unfortunately, AWS does not support all of the configuration we need to do to get this working via their API yet. So we will need to manually go into our aws console to continue our configurations.
Unfortunately, AWS does not support all of the configuration we need to do to get this working via their API yet. So we will need to manually go into our AWS console to continue our configurations.
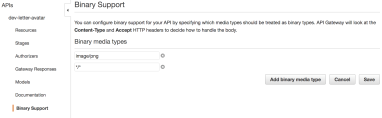
Following this image, we need to add "/" to our binary media type. API Gateway will look at the accept headers of the web request to determine whether or not to use the binary response. If the accept headers don't exactly match what is listed here, the API will return JSON instead of our lovely png. I opt for */* because our API should always return a PNG, not matter what the accept headers are.
In the API Gateway page click "Resources" -> "GET" -> "Integration request"

Now click on the "pencil" icon next to the lambda function
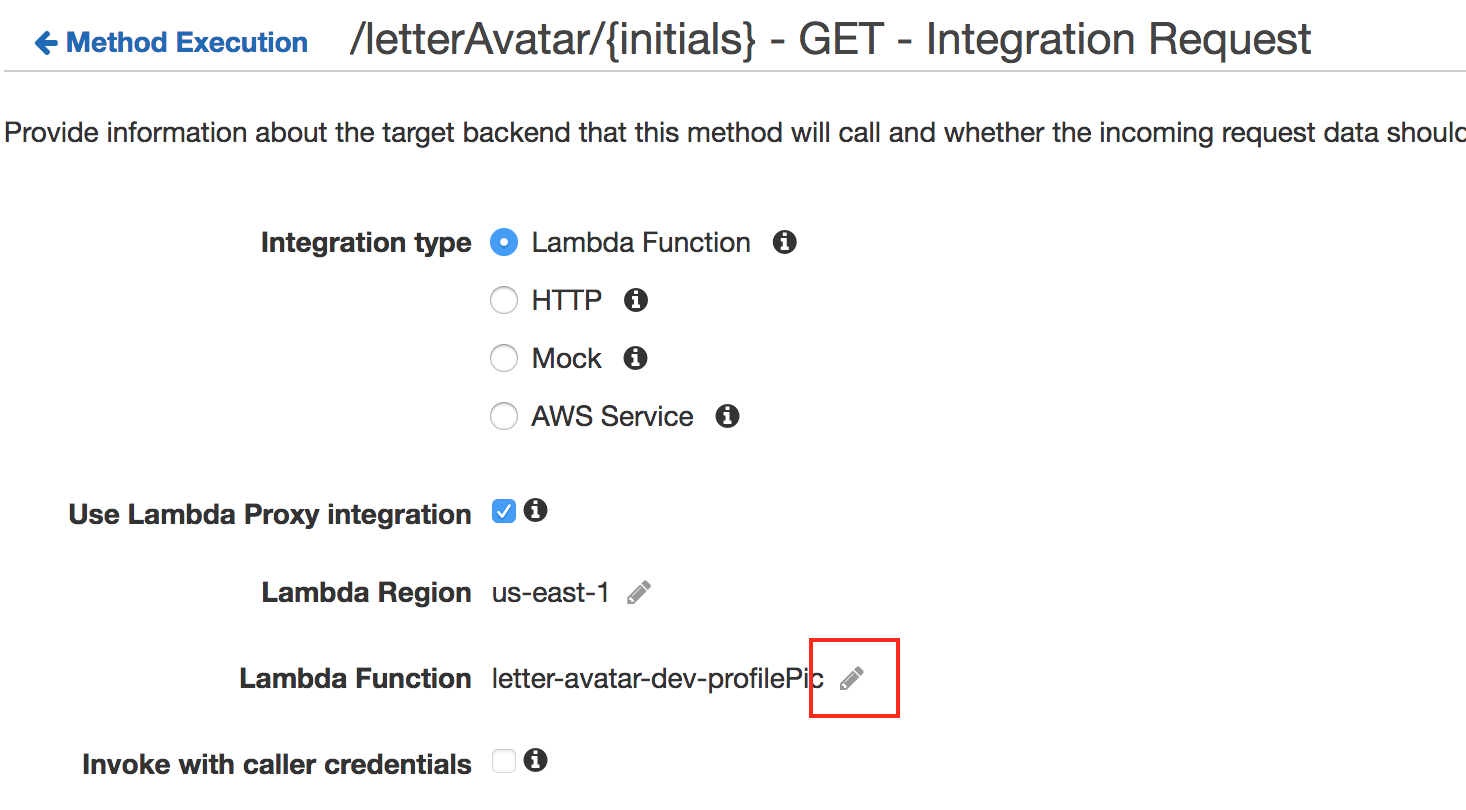
and then click on the check box. This will trigger an alert saying it needs to add a permission to AWS lambda. Click ok, and continue.

Woot! That is it for the configuration.
For these changes to take place, we need to redeploy our lambda app.
$ serverless deploy -v
In your web browser, hit the given url from the previous step, but replace {initials} with your initials.
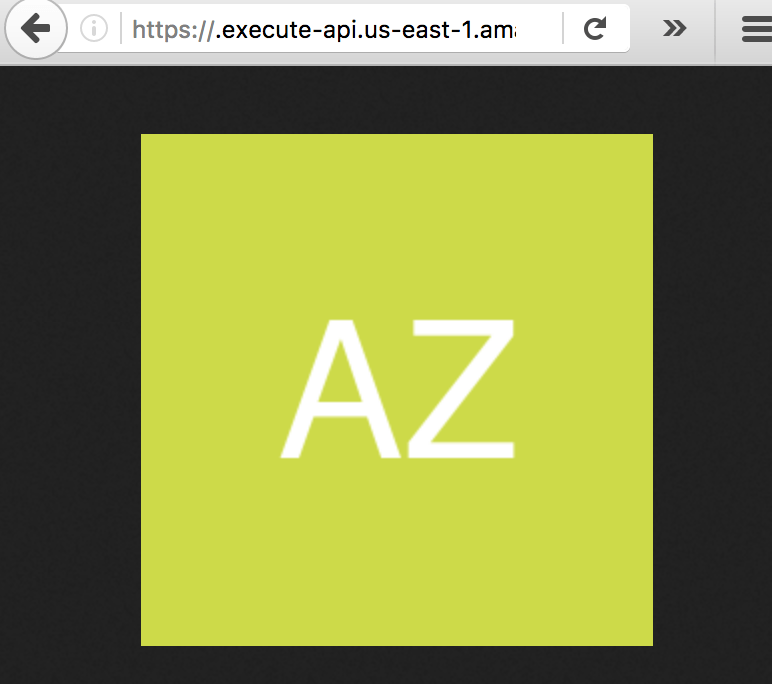
Now you can embed these images in images tags or use them on your native mobile app just like you would with a regularly uploaded image.