![]()


Please consider following this project's author, Thom-x, and consider starring the project to show your ❤️ and support.
Docker image of Fr24feed, FlightAware and dump1090.
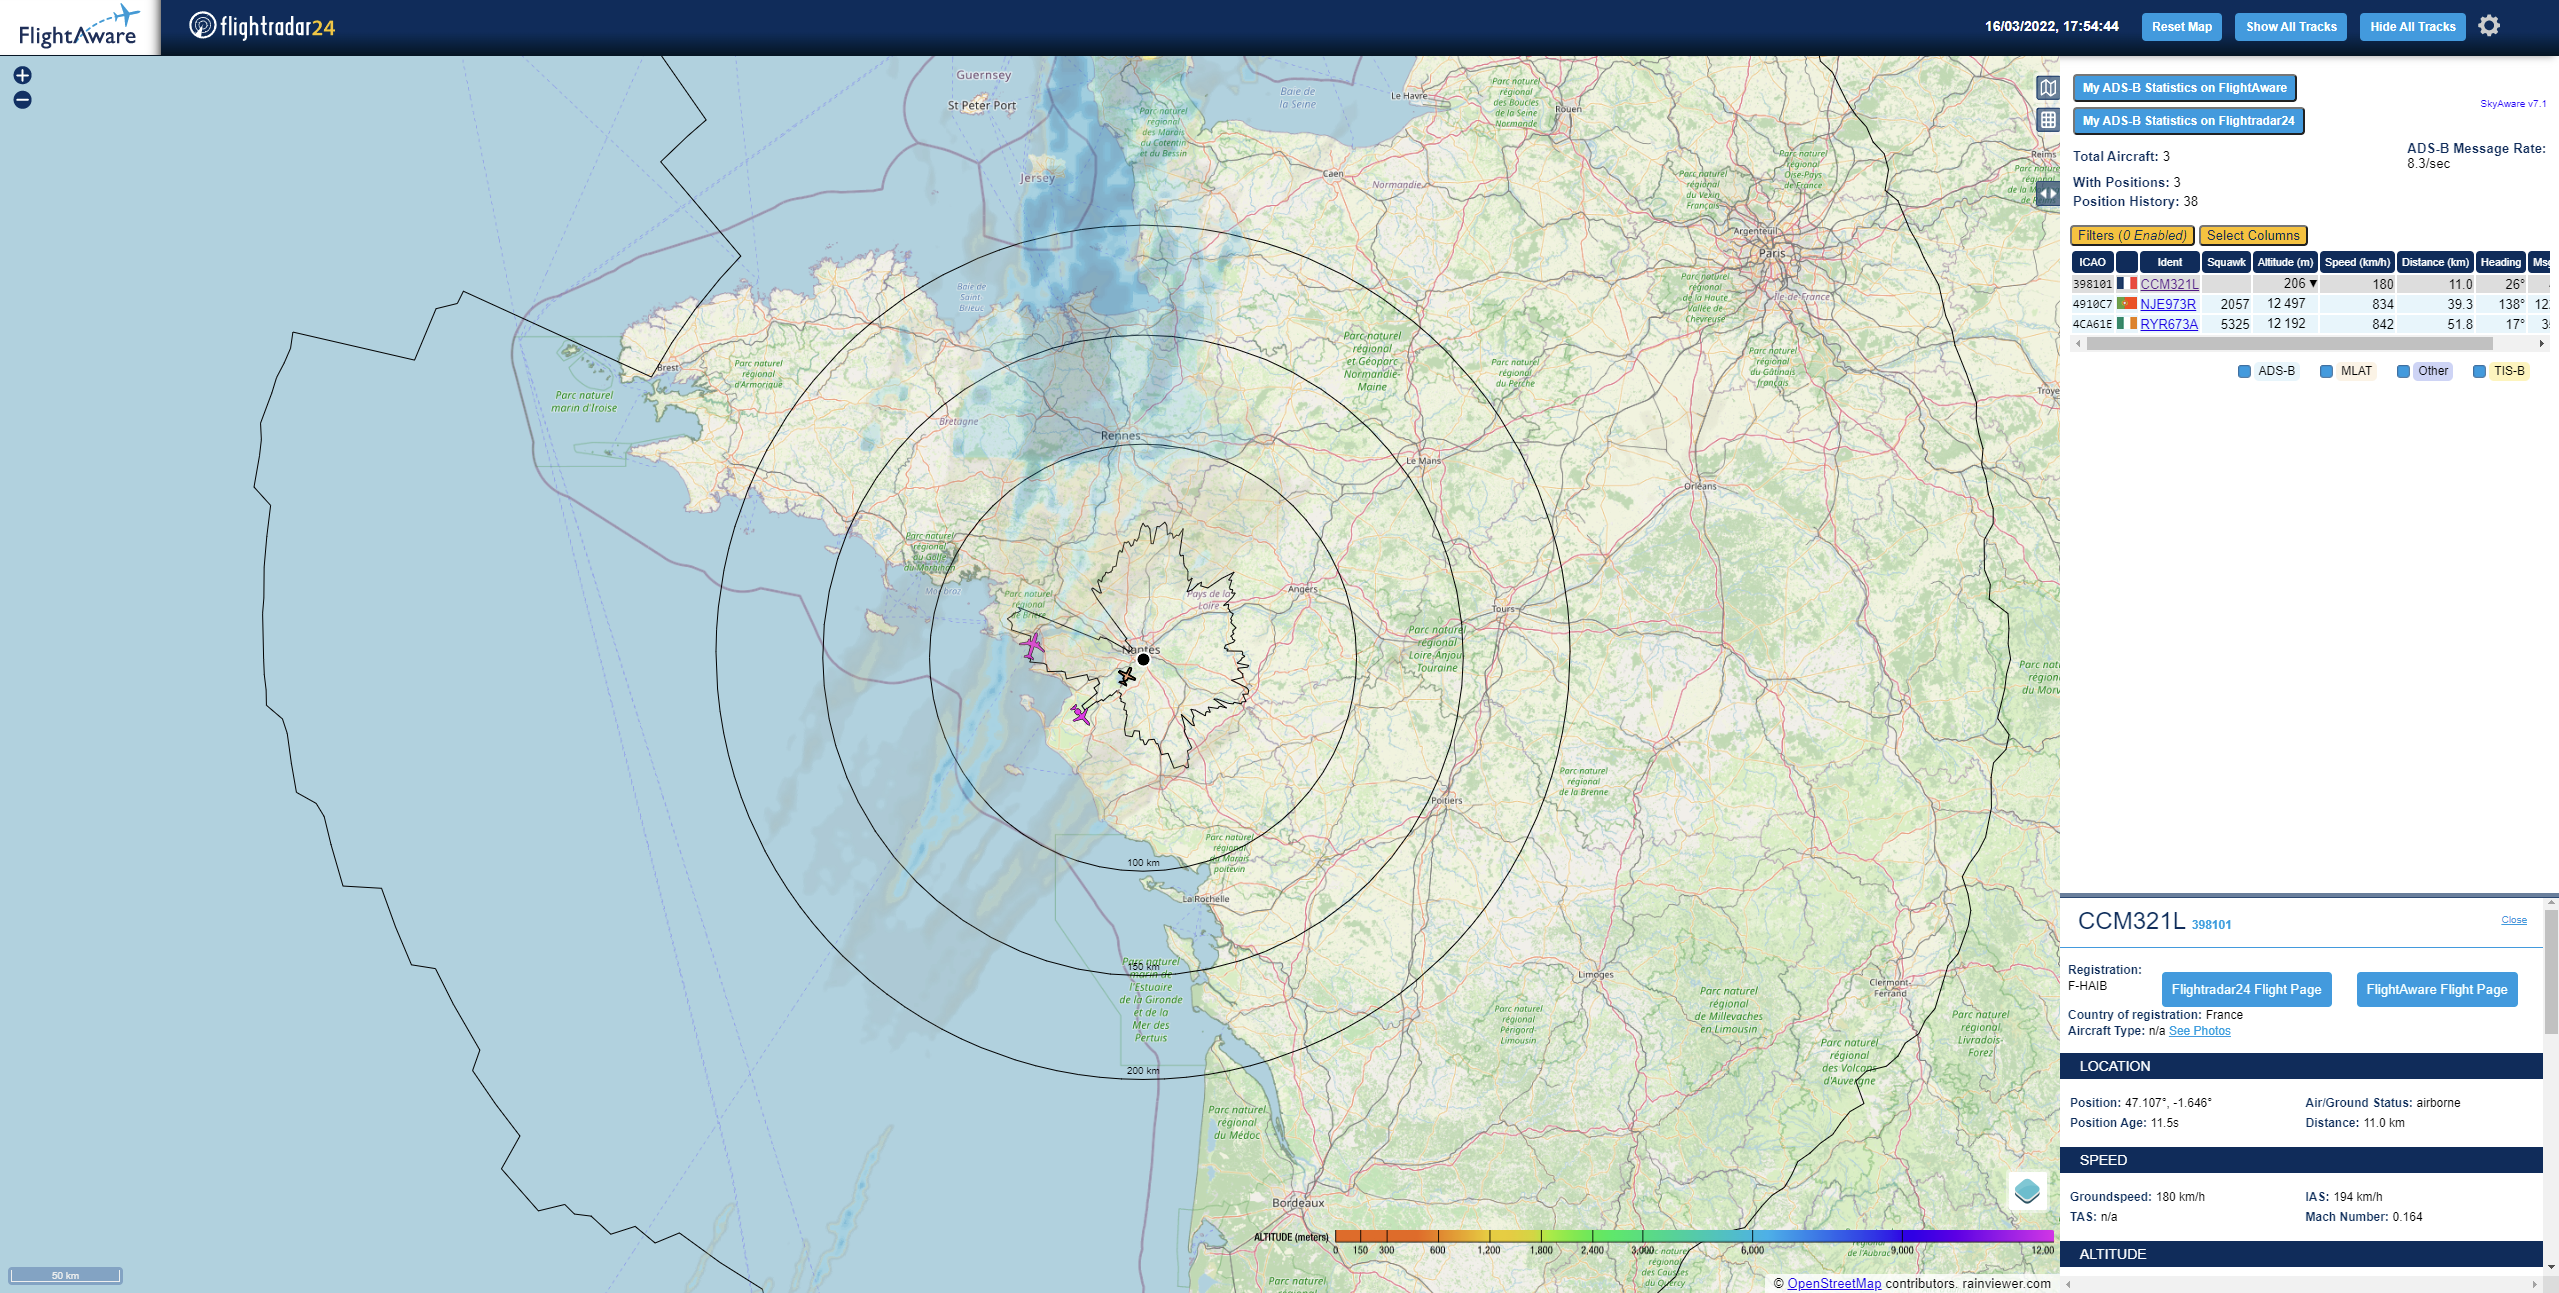
Feed FlightRadar24 and FlightAware, allow you to see the positions of aircrafts on a map.
- Docker
- RTL-SDR DVBT USB Dongle (RTL2832)
Run :
docker run -d -p 8080:8080 -p 8754:8754 \
	--device=/dev/bus/usb:/dev/bus/usb \
	-v '/etc/localtime:/etc/localtime:ro' \
	-e 'FR24FEED_FR24KEY=MY_SHARING_KEY' \
	-e 'PIAWARE_FEEDER_DASH_ID=MY_FEEDER_ID' \
	-e 'HTML_SITE_LAT=MY_SITE_LAT' \
	-e 'HTML_SITE_LON=MY_SITE_LON' \
	-e 'HTML_SITE_ALT=MY_SITE_ALT' \
	-e 'HTML_SITE_NAME=MY_SITE_NAME' \
	-e 'PANORAMA_ID=MY_PANORAMA_ID' \
	-e 'LAYERS_OWM_API_KEY=MY_OWM_API_KEY' \
	-e 'SERVICE_ENABLE_ADSBEXCHANGE=true' \
	-e 'ADSBEXCHANGE_UUID=MY_UUID' \
	-e 'ADSBEXCHANGE_STATION_NAME=MY_STATION_NAME' \
	-e 'MLAT_EXACT_LAT=MY_EXACT_SITE_LAT' \
	-e 'MLAT_EXACT_LON=MY_EXACT_SITE_LON' \
	-e 'MLAT_ALTITUDE_MSL_METERS=MY_SITE_ALT_MSL_METERS' \
	-e 'SERVICE_ENABLE_PLANEFINDER=true' \
	-e 'PLANEFINDER_SHARECODE=dslmfksdlmk' \
	-e 'SERVICE_ENABLE_OPENSKY=true' \
	-e 'OPENSKY_USERNAME=MY_OPENSKY_USERNAME' \
	-e 'OPENSKY_SERIAL=MY_OPENSKY_RECEIVER_SERIAL' \
	-e 'SERVICE_ENABLE_ADSBFI=true' \
	-e 'ADSBFI_UUID=MY_UUID' \
	-e 'ADSBFI_STATION_NAME=MY_STATION_NAME' \
	-e 'SERVICE_ENABLE_RADARBOX=true' \
	-e 'RADARBOX_SHARING_KEY=MY_RADARBOX_SHARING_KEY' \
	-e 'SERVICE_ENABLE_ADSBHUB=true' \
	-e 'ADSBHUB_CKEY=MY_ADSBHUB_SHARING_KEY' \
	--tmpfs /run:exec,size=32M \
	--tmpfs /planefinder/log:exec,size=32M \
	--tmpfs /usr/lib/fr24/public_html/data:size=32M \
	thomx/fr24feed-piaware
Go to http://dockerhost:8080 to view a map of received data. Go to http://dockerhost:8754 to view the FR24 Feeder configuration panel.
Note : remove -e 'PANORAMA_ID=MY_PANORAMA_ID' or -e 'LAYERS_OWM_API_KEY=MY_OWM_API_KEY' from the command line if you don't want to use this feature.
Note : --tmpfs is used to avoid writing data on HDD/SD Card
Note : -v "/etc/localtime:/etc/localtime:ro" is needed for MLAT, or you can have issues with time synchronization.
To disable starting a service you can add an environement variable :
| Environment Variable | Value | Description | Default value |
|---|---|---|---|
SERVICE_ENABLE_DUMP1090 |
false |
Disable dump1090 service | true |
SERVICE_ENABLE_PIAWARE |
false |
Disable piaware service | true |
SERVICE_ENABLE_FR24FEED |
false |
Disable fr24feed service | true |
SERVICE_ENABLE_HTTP |
false |
Disable http service | true |
SERVICE_ENABLE_IMPORT_OVER_NETCAT |
false |
Disable import over netcat | false |
SERVICE_ENABLE_ADSBEXCHANGE |
false |
Disable adsbexchange feed | false |
SERVICE_ENABLE_PLANEFINDER |
false |
Disable plane finder feed | false |
SERVICE_ENABLE_OPENSKY |
false |
Disable opensky feeder | false |
SERVICE_ENABLE_ADSBFI |
false |
Disable adsb.fi feeder | false |
SERVICE_ENABLE_RADARBOX |
false |
Disable radarbox feeder | false |
SERVICE_ENABLE_ADSBHUB |
false |
Disable adsbhub feeder | false |
Ex : -e 'SERVICE_ENABLE_HTTP=false'
Register on https://flightaware.com/account/join/.
Run :
docker run -it --rm \
	-e 'SERVICE_ENABLE_DUMP1090=false' \
	-e 'SERVICE_ENABLE_HTTP=false' \
	-e 'SERVICE_ENABLE_FR24FEED=false' \
	-e 'SERVICE_ENABLE_PIAWARE=false' \
	thomx/fr24feed-piaware /usr/bin/piaware -plainlog
When the container starts you should see the feeder id, note it. Wait 5 minutes and you should see a new receiver at https://fr.flightaware.com/adsb/piaware/claim (use the same IP as your docker host), claim it and exit the container.
Add the environment variable PIAWARE_FEEDER_DASH_ID with your feeder id.
| Environment Variable | Configuration property | Default value |
|---|---|---|
PIAWARE_FEEDER_DASH_ID |
feeder-id (required) |
empty |
PIAWARE_RECEIVER_DASH_TYPE |
receiver-type |
other |
PIAWARE_RECEIVER_DASH_HOST |
receiver-host |
127.0.0.1 |
PIAWARE_RECEIVER_DASH_PORT |
receiver-port |
30005 |
Ex : -e 'PIAWARE_RECEIVER_DASH_TYPE=other'
Run :
docker run -it --rm \
	-e 'SERVICE_ENABLE_DUMP1090=false' \
	-e 'SERVICE_ENABLE_HTTP=false' \
	-e 'SERVICE_ENABLE_PIAWARE=false' \
	-e 'SERVICE_ENABLE_FR24FEED=false' \
	thomx/fr24feed-piaware /bin/bash
Then : /fr24feed/fr24feed/fr24feed --signup and follow the instructions. For technical steps, your answer doesn't matter. We just need the sharing key at the end.
Finally, to see the sharing, key run cat /etc/fr24feed.ini. You can now exit the container.
Add the environment variable FR24FEED_FR24KEY with your sharing key.
| Environment Variable | Configuration property | Default value |
|---|---|---|
FR24FEED_RECEIVER |
receiver |
beast-tcp |
FR24FEED_FR24KEY |
fr24key (required) |
empty |
FR24FEED_HOST |
host |
127.0.0.1:30005 |
FR24FEED_BS |
bs |
no |
FR24FEED_RAW |
raw |
no |
FR24FEED_LOGMODE |
logmode |
1 |
FR24FEED_LOGPATH |
logpath |
/tmp |
FR24FEED_MLAT |
mlat |
no |
FR24FEED_MLAT_DASH_WITHOUT_DASH_GPS |
mlat-without-gps |
no |
SYSTEM_FR24FEED_ULIMIT_N |
Enforce ulimit like docker <=22 to prevent CPU issues (-1 means not enforced), recommended value when crash 1048576 | -1 |
Ex : -e 'FR24FEED_FR24KEY=0123456789'
Add the environment variable ADSBEXCHANGE_UUID with a UUID generated by https://www.uuidgenerator.net/.
In case of multiple receivers, please use a different UUID for each receiver.
Add the environment variable SERVICE_ENABLE_ADSBEXCHANGE and set it to true.
| Environment Variable | Description | Default value |
|---|---|---|
ADSBEXCHANGE_UUID |
uuid (required) | empty |
ADSBEXCHANGE_STATION_NAME |
station name | empty |
ADSBEXCHANGE_MLAT |
mlat | true |
Configure the MLAT coordinates so that adsbexchange MLAT can work. (see its own section below)
If you don't want to supply your exact coordinates, please set the ADSBEXCHANGE_MLAT environment variable to false. (you won't get MLAT results and won't contribute to MLAT)
Add the environment variable ADSBEXCHANGE_STATION_NAME, it will be used for the mlat map / sync status.
You can check that your MLAT is working correctly by searching for your station name here: https://map.adsbexchange.com/mlat-map/
(MLAT map marker is snapped to a 5 mile grid and then offset randomly to avoid stacking markers, the precise lat / lon for MLAT are not publicly accessible at adsbexchange)
The ADS-B Exchange Anywhere map will be available at: https://www.adsbexchange.com/api/feeders/?feed=MY_UUID
Ex : -e 'SERVICE_ENABLE_ADSBEXCHANGE=true' -e 'ADSBEXCHANGE_UUID=8398f51e-a61d-11ec-b909-0242ac120002' -e 'ADSBEXCHANGE_STATION_NAME=MyStation'
Add the environment variable ADSBFI_UUID with a UUID generated by with cat /proc/sys/kernel/random/uuid or uuidgen if you don't have /proc.
In case of multiple receivers, please use a different UUID for each receiver.
Add the environment variable SERVICE_ENABLE_ADSBFI and set it to true.
| Environment Variable | Description | Default value |
|---|---|---|
ADSBFI_UUID |
Uuid (required) | empty |
ADSBFI_STATION_NAME |
Station name | empty |
ADSBFI_MLAT |
Enable/disable MLAT | true |
Configure the MLAT coordinates so that adsbfi MLAT can work. (see its own section below)
If you don't want to supply your exact coordinates, please set the ADSBFI_MLAT environment variable to false. (you won't get MLAT results and won't contribute to MLAT)
Add the environment variable ADSBFI_STATION_NAME, it will be used for the mlat map / sync status.
You can check that your MLAT is working correctly by searching for your station name here: https://map.adsbfi.com/mlat-map/
(MLAT map marker is snapped to a 5 mile grid and then offset randomly to avoid stacking markers, the precise lat / lon for MLAT are not publicly accessible at adsbfi)
The ADS-B Exchange Anywhere map will be available at: https://www.adsbfi.com/api/feeders/?feed=MY_UUID
Ex : -e 'SERVICE_ENABLE_ADSBFI=true' -e 'ADSBFI_UUID=8398f51e-a61d-11ec-b909-0242ac120002' -e 'ADSBFI_STATION_NAME=MyStation'
Get your exact coordinates and altitude above sealevel in meters from one these websites:
It's important for MLAT accuracy that these aren't off by more than about 10 m / 30 ft.
| Environment Variable | Description | Default value |
|---|---|---|
MLAT_EXACT_LAT |
Decimal latitude | empty |
MLAT_EXACT_LON |
Decimal longitude | empty |
MLAT_ALTITUDE_MSL_METERS |
Altitude above MSL in m | empty |
First-time users should obtain a PlaneFinder Share Code.
In order to obtain a PlaneFinder Share Code, we will start a temporary container running pfclient, which will run through a configuration wizard and generate a share code.
Run :
docker run -it --rm \
	-p 30053:30053 \
	-e 'SERVICE_ENABLE_DUMP1090=false' \
	-e 'SERVICE_ENABLE_HTTP=false' \
	-e 'SERVICE_ENABLE_PIAWARE=false' \
	-e 'SERVICE_ENABLE_FR24FEED=false' \
	thomx/fr24feed-piaware /planefinder/pfclient
Once the container has started, you should see a message such as:
2020-04-11 06:45:25.823307 [-] We were unable to locate a configuration file and have entered configuration mode by default. Please visit: http://172.22.7.12:30053 to complete configuration.
At this point, open a web browser and go to http://dockerhost:30053. Replace dockerhost with the IP address of your host running Docker. You won't be able to use the URL given in the log output, as the IP address given will be the private IP of the docker container.
In your browser, go through the configuration wizard. When finished, you'll be given a PlaneFinder Share Code. Save this in safe place.
You can now kill the container by pressing CTRL-C.
Add the environment variable SERVICE_ENABLE_PLANEFINDER and set it to true.
| Environment Variable | Description | Default value |
|---|---|---|
PLANEFINDER_SHARECODE |
generated share code (required) | empty |
Ex : -e 'SERVICE_ENABLE_PLANEFINDER=true' -e 'PLANEFINDER_SHARECODE=65dsfsd56f'
First-time users should obtain a Opensky serial.
In order to obtain an Opensky serial, we will start a temporary container running minimal configuration to have opensky up and running, which will generate it.
Run :
docker run -it --rm \
	-e 'SERVICE_ENABLE_OPENSKY=true' \
	-e 'SERVICE_ENABLE_DUMP1090=false' \
	-e 'SERVICE_ENABLE_HTTP=false' \
	-e 'SERVICE_ENABLE_PIAWARE=false' \
	-e 'SERVICE_ENABLE_FR24FEED=false' \
	-e 'OPENSKY_USERNAME=OpenskyUsername' \
	-e 'HTML_SITE_LAT=45' \
	-e 'HTML_SITE_LON=9' \
	thomx/fr24feed-piaware /bin/bash
Once the container has started, you should see a message such as:
[opensky-feeder] [INFO] [SERIAL] Requesting new serial number
[opensky-feeder] [INFO] [SERIAL] Got a new serial number: -16546546532
Note the serial and add it for next run to OPENSKY_SERIAL environement variable.
You can now kill the container by pressing CTRL-D.
Add the environment variable SERVICE_ENABLE_OPENSKY and set it to true.
| Environment Variable | Default value | Description |
|---|---|---|
OPENSKY_USERNAME |
empty | Opensky username (required) |
OPENSKY_SERIAL |
empty | Generated serial (required after first run) |
OPENSKY_DEVICE_TYPE |
default |
Device type |
OPENSKY_INPUT_HOST |
127.0.0.1 |
Input host |
OPENSKY_INPUT_PORT |
30005 |
Input port |
HTML_SITE_LAT |
45.0 |
Receiver latitude |
HTML_SITE_LON |
9.0 |
Receiver longitude |
HTML_SITE_ALT |
0 |
Receiver altitude |
Ex : -e 'SERVICE_ENABLE_OPENSKY=true' -e 'OPENSKY_USERNAME=MyUserName' -e 'OPENSKY_SERIAL=-462168426854'
First-time users should obtain a sharing key.
In order to obtain a sharing key, we will start a temporary container running minimal configuration to have radarbox up and running, which will generate it.
Run :
docker run -it --rm \
	-e 'SERVICE_ENABLE_RADARBOX=true' \
	-e 'SERVICE_ENABLE_DUMP1090=false' \
	-e 'SERVICE_ENABLE_HTTP=false' \
	-e 'SERVICE_ENABLE_PIAWARE=false' \
	-e 'SERVICE_ENABLE_FR24FEED=false' \
	-e 'HTML_SITE_LAT=45' \
	-e 'HTML_SITE_LON=9' \
	-e 'HTML_SITE_ALT=0' \
	thomx/fr24feed-piaware /bin/bash
Once the container has started, you should see a message such as:
[radarbox-feeder] [2023-06-20 18:51:01]  CPU Serial empty. Use MAC address instead.
[radarbox-feeder] [2023-06-20 18:51:02]  Your new key is 35345bf2258aea6b9c7280fbe4467fcd. Please save this key for future use. You will have to know this key to link this receiver to your account in RadarBox24.com. This key is also saved in configuration file (/etc/rbfeeder.ini)
Note the serial and add it for next run to RADARBOX_SHARING_KEY environement variable.
You can now kill the container by pressing CTRL-D.
Add the environment variable SERVICE_ENABLE_RADARBOX and set it to true.
| Environment Variable | Default value | Description |
|---|---|---|
RADARBOX_SHARING_KEY |
empty | Generated sharing key (required after first run) |
RADARBOX_INPUT_HOST |
127.0.0.1 |
Input host |
RADARBOX_INPUT_PORT |
30005 |
Input port |
RADARBOX_MLAT |
false |
Enable/disable MLAT |
HTML_SITE_LAT |
45.0 |
Receiver latitude |
HTML_SITE_LON |
9.0 |
Receiver longitude |
HTML_SITE_ALT |
0 |
Receiver altitude |
Ex : -e 'SERVICE_ENABLE_RADARBOX=true' -e 'RADARBOX_SHARING_KEY=35345bf2258aea6b9c7280fbe4467fcd'
Note : You may have this error on windows [radarbox-feeder] /usr/bin/rbfeeder: line 17: 208 Segmentation fault /usr/bin/rbfeeder_armhf "$@", there is no solution to it.
Note : You may have seg fault error, see sdr-enthusiasts/docker-radarbox#9 (comment) for resolution
Note : You may have 'already claimed' error on supplied sharing key, see #145
First-time users should obtain a sharing key.
In order to obtain a sharing key, you need to register on https://www.adsbhub.org/ and create a new station under settings, setup the station as follow:
- Station mode: Client
- Feeder Type: Linux
- Data Protocol: Raw
- Station Host(IP): Your public IP
Add the environment variable ADSBHUB_CKEY and set it to to the value under "Station dynamic IP update ckey".
Add the environment variable SERVICE_ENABLE_ADSBHUB and set it to true.
| Environment Variable | Default value | Description |
|---|---|---|
ADSBHUB_CKEY |
empty | Sharing key for your station to connect to adsbhub |
Ex : -e 'SERVICE_ENABLE_ADSBHUB=true' -e 'ADSBHUB_CKEY=803BHyyxeHP(%da%DCJfM,}%ftp[9?_j%XR+NktQJUKQ9&UAwQSCWWT&#vWfPAJQW%i){p2:ih!Y&=wMr*qRDrnC{C,L.C&UgYwB_rw.YG['
Note : you can add any property to either fr24feed or piaware configuration file by adding an environment variable starting with PIAWARE_... or FR24FEED_....
Example :
| Environment Variable | Configuration property | value | Configuration file |
|---|---|---|---|
FR24FEED_TEST=value |
test |
value |
fr24feed.init |
FR24FEED_TEST_DASH_TEST=value2 |
test-test |
value2 |
fr24feed.init |
PIAWARE_TEST=value |
test |
value |
piaware.conf |
| Environment Variable | Default value | Description |
|---|---|---|
HTML_SITE_LAT |
45.0 |
Receiver latitude |
HTML_SITE_LON |
9.0 |
Receiver longitude |
HTML_SITE_ALT |
0 |
Receiver altitude |
HTML_SITE_NAME |
My Radar Site |
Receiver name |
HTML_DEFAULT_TRACKER |
FlightAware |
Which flight tracker website to use by default. Possible values are FlightAware or Flightradar24 or Adsbexchange or Planefinder or OpenskyNetwork |
HTML_RECEIVER_STATS_PAGE_FLIGHTAWARE |
empty | URL of your receiver's stats page on FlightAware. Usually https://flightaware.com/adsb/stats/user/ |
HTML_RECEIVER_STATS_PAGE_FLIGHTRADAR24 |
empty | URL of your receiver's stats page on Flightradar24. Usually https://www.flightradar24.com/account/feed-stats/?id= |
HTML_RECEIVER_STATS_PAGE_ADSBEXCHANGE |
empty | URL of your receiver's stats page on ADS-B Exchange. Usually https://www.adsbexchange.com/api/feeders/?feed= |
HTML_RECEIVER_STATS_PAGE_PLANEFINDER |
empty | URL of your receiver's stats page on PlaneFinder. Usually https://planefinder.net/coverage/receiver/ |
HTML_RECEIVER_STATS_PAGE_OPENSKY_NETWORK |
empty | URL of your receiver's stats page on Opensky Netowrk. Usually https://opensky-network.org/receiver-profile?s= |
HTML_RECEIVER_STATS_PAGE_RADARBOX |
empty | URL of your receiver's stats page on Radarbox. Usually https://www.radarbox.com/stations/ |
HTML_RECEIVER_STATS_PAGE_ADSBFI |
empty | URL of your receiver's stats page on ADSB.fi. Usually https://adsb.fi/ |
HTML_RECEIVER_STATS_PAGE_ADSBHUB |
empty | URL of your receiver's stats page on ADSBHub. Usually https://www.adsbhub.org/statistic.php |
HTML_FR24_FEEDER_STATUS_PAGE |
empty | URL of your local FR24 Feeder Status page. Usually http://:8754/ (depends on the port you indicated when starting the container) |
DUMP1090_ADDITIONAL_ARGS |
empty | Additial arguments for dump1090 e.g.: --json-location-accuracy 2 |
SYSTEM_HTTP_ULIMIT_N |
-1 | Enforce ulimit like docker <=22 to prevent OOM issues (-1 means not enforced), recommended value when crash 1048576 |
Ex : -e 'HTML_SITE_NAME=My site'
| Environment Variable | Default value | Description |
|---|---|---|
SERVICE_ENABLE_IMPORT_OVER_NETCAT |
false |
Enable netcat forwarding the beast-output of a remote dump1090 server to the local dump1090 beast-input |
DUMP1090_LOCAL_PORT |
empty | Must be the same port as specified as --net-bi-port in DUMP1090_ADDITIONAL_ARGS |
DUMP1090_REMOTE_HOST |
empty | IP of remote dump1090 server |
DUMP1090_REMOTE_PORT |
empty | Port of remote dump190 server specified as argument --net-bo-port on remote system |
WARNING: This kind of forwarding is using a lot of bandwidth and could be unstable in WiFi environments.
| Environment Variable | Default value | Description |
|---|---|---|
RTL_TCP_OVER_NETCAT |
false |
Use dump1090 in combination with netcat to feed data from rtl_tcp server. (Requires appox. 35-40Mbit/s). Example RTL_TCP command: ./rtl_tcp -a 0.0.0.0 -f 1090000000 -s 2400000 -p 30005 -P 28 -g -10 |
RTL_TCP_REMOTE_HOST |
empty | IP of rtl_tcp server |
RTL_TCP_REMOTE_PORT |
empty | Port of rtl_tcp server |
If you don't need this feature ignore this.
Create a panorama for your receiver location on http://www.heywhatsthat.com.
| Environment Variable | Default value | Description |
|---|---|---|
PANORAMA_ID |
empty | Panorama id |
PANORAMA_ALTS |
1000,10000 |
Comma seperated list of altitudes in meter |
Note : the panorama id value correspond to the URL at the top of the panorama http://www.heywhatsthat.com/?view=XXXX, altitudes are in meters, you can specify a list of altitudes.
Ex : -e 'PANORAMA_ID=FRUXK2G7'
If you don't want to download the limit every time you bring up the container you can download http://www.heywhatsthat.com/api/upintheair.json?id=${PANORAMA_ID}&refraction=0.25&alts=${PANORAMA_ALTS} as upintheair.json and mount it in /usr/lib/fr24/public_html/upintheair.json.
If you don't need this feature ignore this.
If you provide an API key OWM layers will be available.
Create an account and get an API key on https://home.openweathermap.org/users/sign_up.
Be aware that OWM provides a free trier for its API, after some time you will have to pay.
See: https://openweathermap.org/price
| Environment Variable | Default value | Description |
|---|---|---|
LAYERS_OWM_API_KEY |
empty | Open Weather Map API Key |
Ex : -e 'LAYERS_OWM_API_KEY=dsf1ds65f4d2f65g'
Clone this repo.
docker build .