Installation
- Install Python 3.6+ and FPGA vendor's development tools and/or Verilator.
- Install Migen/LiteX and the LiteX's cores:
$ wget https://raw.githubusercontent.com/enjoy-digital/litex/master/litex_setup.py
$ chmod +x litex_setup.py
$ ./litex_setup.py --init --install --user (--user to install to user directory)
Later, if you need to update all repositories:
$ ./litex_setup.py --updateRelease tag can also be specified to update/install specific release of LiteX, ex:
$ ./litex_setup.py --tag=2022.04 --updateNote: On MacOS, make sure you have HomeBrew installed. Then do,
brew install wget.
Note: On Windows, make sure you have
makeand/orGnuWininstalled and it's possible you'll have to setSHELLenvironment variable toSHELL=cmd.exe.
- Install a RISC-V toolchain (Only if you want to test/create a SoC with a CPU):
$ pip3 install meson
$ ./litex_setup.py --gcc=riscv- Build the target of your board...:
Go to litex-boards/litex_boards/targets and execute the target you want to build.
- ... and/or install Verilator and test LiteX directly on your computer without any FPGA board:
On Linux (Ubuntu):
$ sudo apt install libevent-dev libjson-c-dev verilator
$ litex_sim --cpu-type=vexriscv
On MacOS:
$ brew install json-c verilator libevent
$ brew cask install tuntap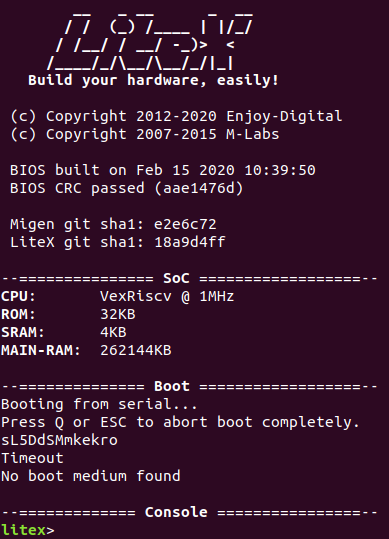
$ litex_sim --cpu-type=vexriscv- Run a terminal program on the board's serial port at 115200 8-N-1.
You should get the BIOS prompt like the one below.