This is the public repo for the Destined for X website. It launched in April 2020 as an initiative to move away from alternative website providers and have more creative control over functionality as we grow. We're always looking for people who are interested in helping us grow. Check out our ongoing Projects and reach out to us if you'd like to contribute!
Our mission is to empower underreprented students to confidently craft a fulfilling future.
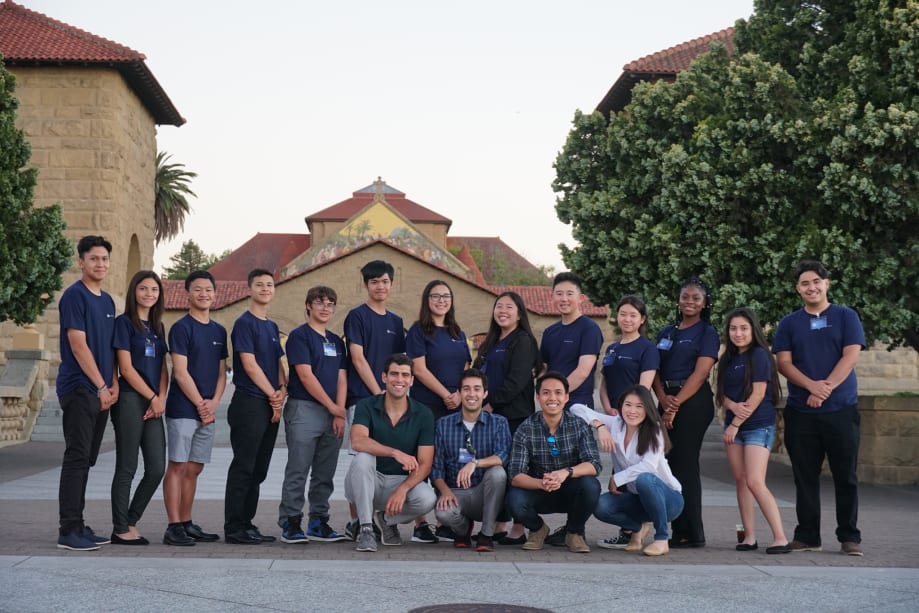
We were founded in 2017 here in the San Francisco, Bay Area by a few motivated early career professionals who were looking to give back to students and teach them the tools that are necessary for personal success. What started off as a fun, immersive, week-long program every summer has turned into a movement and year-round community of motivated individuals looking to improve their lives through experiential learning and mentorship.
Install dependencies
npm install
Install the Netlify CLI
npm install netlify-cli -g
Run the development server
netlify dev
Run prettier
yarn prettier
When the above command completes you'll be able to view your website at http://localhost:8888
Note: You can run just the front-end with npm run start, but netlify dev also handles running your API endpoints (located in the /api directory).
This project uses the following libraries and services:
- Framework - Create React App with React Router
- Styling - Bootstrap with custom SASS styles
- Authentication - Firebase Auth (WIP)
- Newsletter - Mailchimp (WIP)
- Analytics - Google Analytics (WIP)
- Hosting - Netlify
Styles
You can edit Bootstrap SASS variables in the global stylesheet located at src/styles/global.scss. Variables allow you to control global styles (like colors and fonts), as well as element specific styles (like button padding). Before overriding Bootstrap elements with custom style check the Bootstrap docs to see if you can do what need by tweaking a SASS variable.
Custom styles are located in their related component's directory. For example, if any custom style is applied to the Navbar component you'll find it in src/components/Navbar.scss. We ensure custom styles are scoped to their component by prepending the classname with the component name (such as .Navbar__brand). This ensures styles never affect elements in other components. If styles need to be re-used in multiple components consider creating a new component that encapsulates that style and structure and using that component in multiple places.
Routing
This project uses React Router and includes a convenient useRouter hook (located in src/util/router.js) that wraps React Router and gives all the route methods and data you need.
import { Link, useRouter } from './../util/router.js';

function MyComponent(){
// Get the router object
const router = useRouter();

  // Get value from query string (?postId=123) or route param (/:postId)
  console.log(router.query.postId);

  // Get current pathname
  console.log(router.pathname)

  // Navigate with the <Link> component or with router.push()
  return (
    <div>
      <Link to="/about">About</Link>
      <button onClick={(e) => router.push('/about')}>About</button>
    </div>
  );

}
Authentication
This project uses Firebase Auth and includes a convenient useAuth hook (located in src/util/auth.js) that wraps Firebase and gives you common authentication methods. Depending on your needs you may want to edit this file and expose more Firebase functionality.
import { useAuth } from './../util/auth.js';

function MyComponent(){
  // Get the auth object in any component
  const auth = useAuth();

  // Depending on auth state show signin or signout button
  // auth.user will either be an object, null when loading, or false if signed out
  return (
    <div>
      {auth.user ? (
        <button onClick={(e) => auth.signout()}>Signout</button>
      ) : (
        <button onClick={(e) => auth.signin('hello@divjoy.com', 'yolo')}>Signin</button>
      )}
    </div>
  );
}
Deployment
Build for production
npm run build
Install the Netlify CLI
npm install netlify-cli -g
Then run this command in your project directory to deploy to Netlify
netlify deploy
See the Netlify docs for more details.
Other
The Create React App documention covers many other topics. This project was initially created using Divjoy, a React codebase generator.