c-SPOT is a Web Collaboration Application designed to help (small) churches plan their Sunday and Midweek services as well as other events.
c-SPOT helps to manage all event information and processes - the Order of Service, staff, resources, worship song lists for worship leaders, musicians and every other person involved in the service or event.
It allows all participants to use, add or modify their relevant information - using any platform or device of their choice!
It allows the management of song lyrics, music scores, guitar chords, event resources and teams in a user-friendly web application.
- Front-end with Responsive design - runs on any device with an up-to-date browser with JavaScript!
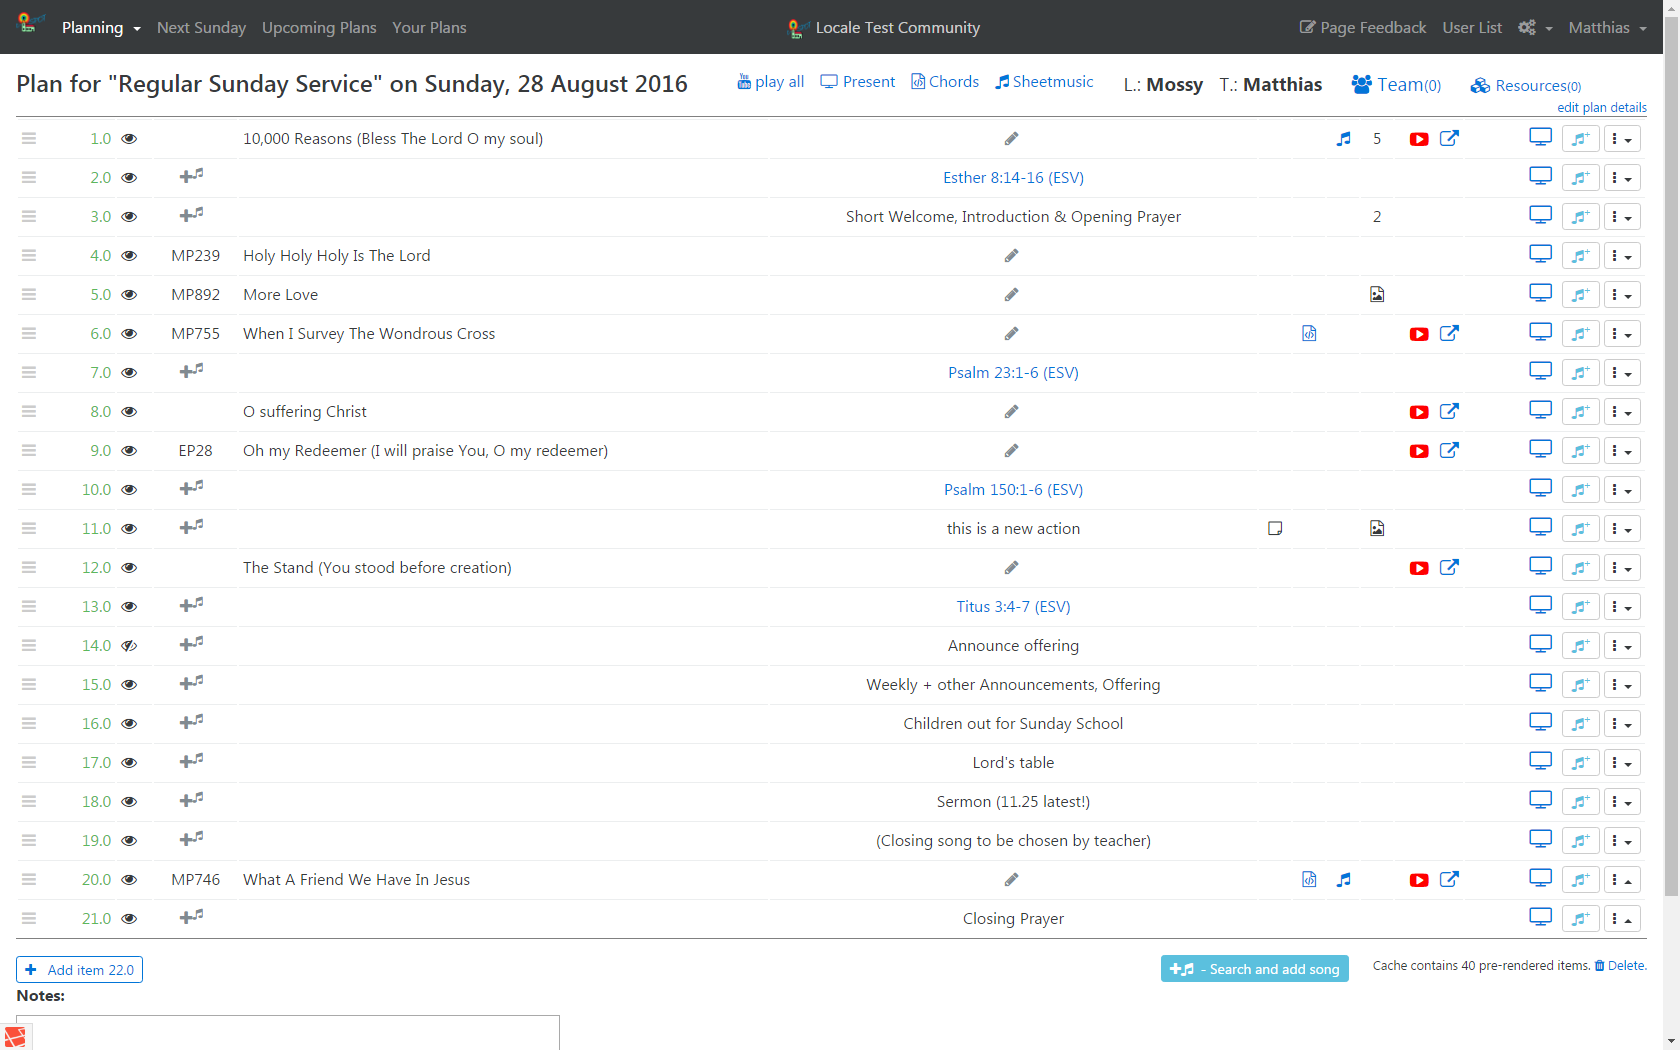
- Create the Order of Service with all relevant data (team (leaders, musicians, other functions), resources, songs, free slides, embedded videoclips etc)
- Can be customized for your church with your own logos and external links
- Manage your team (staff) with individual roles; also manage the resources needed for an event (rooms, devices etc.)
- Present your songs and other items like a slideshow via a projector
- The slideshow can be presented off-line with all slides downloaded (cached) to the local computer
- Control the slideshow from any device using a casting device (like Chromecast) attached to your projector
- Alternatively, control the presentation from a small device (e.g. smartphone) that syncs with the main device attached to the projector!
- Provides chords, lyrics and sheetmusic for musicians on all kinds of devices using the popular OnSong format
- Allows extensive collaboration and input from all users, but with full rights management, specified for each user type (role)
- Allows for a synchronised presentation of lyrics, chords or sheet music accross all designated devices! (currently only on Apache Servers!)
- Exchange emails and/or internal messages between users
- Allows ad-hoc insertion of songs and other items during the ongoing presentation
- Helps and tracks reporting of song usage to CCLI and integrates with SongSelect (via links)
As a free and open source project, you can download ('clone') the sources, modify (customize) them and run the tool from your own web site hoster. NOTE: Basic Laravel knowledge is required for development!
Developers, please feel free to contribute and make pull requests! Testers, please send your bug reports and enhancement suggestions!
Check the Installation instructions
In order to ease the familiarisation of users with the tool, a number of instructional videos will be recorded and published on YouTube on various topics:
- Generic User Interface and Login
- Event Planning and Leading and part 2
- Musicians
- Presenting Events
- Authors and Admins
Many people don’t understand the complexities of making church services happen. If you just turn up, it probably looks pretty straightforward. However, a lot goes on behind the scenes before the event! This tool tries to help with that.
Before, we used easyslides as the presentation tool, however, the developer has abandoned the project which unfortunately also was closed-source.
In our church, this was first done by the leader of the service, when he handed out his paper-based list of songs to the musicians on a Sunday morning. As things progressed, this was no longer viable, as musicians needed more time to practice the songs and the slides for the projection needed to be prepared. So we switched to sending emails around - but quite often, things were changed after the email went out and then not everyone was up-to-date.
That's when the development of the predecessor of c-SPOT was started. It was my first trial of a project in PHP, mySQL, HTML and Javascript and therefore, while user-friendly, not very developer-friendly... Additionally, it was never designed to be used on mobile devices. After recently learning a lot about Laravel and Bootstrap, I finally decided to re-write this tool from the ground up, using the popular PHP framwork Laravel and with the mobile-first approach in mind. Due to time constraints, however, it has not yet a full "single page application (SPA)" design!
Out came an online tool, designed for mobile devices and desktop devices, fully responsive to all sizes of screens with the ability to still access and/or modify all the relevant data. Tables are adaptive so that more and more columns with less important information are hidden or their content displayed in a more compact way the smaller a device gets.
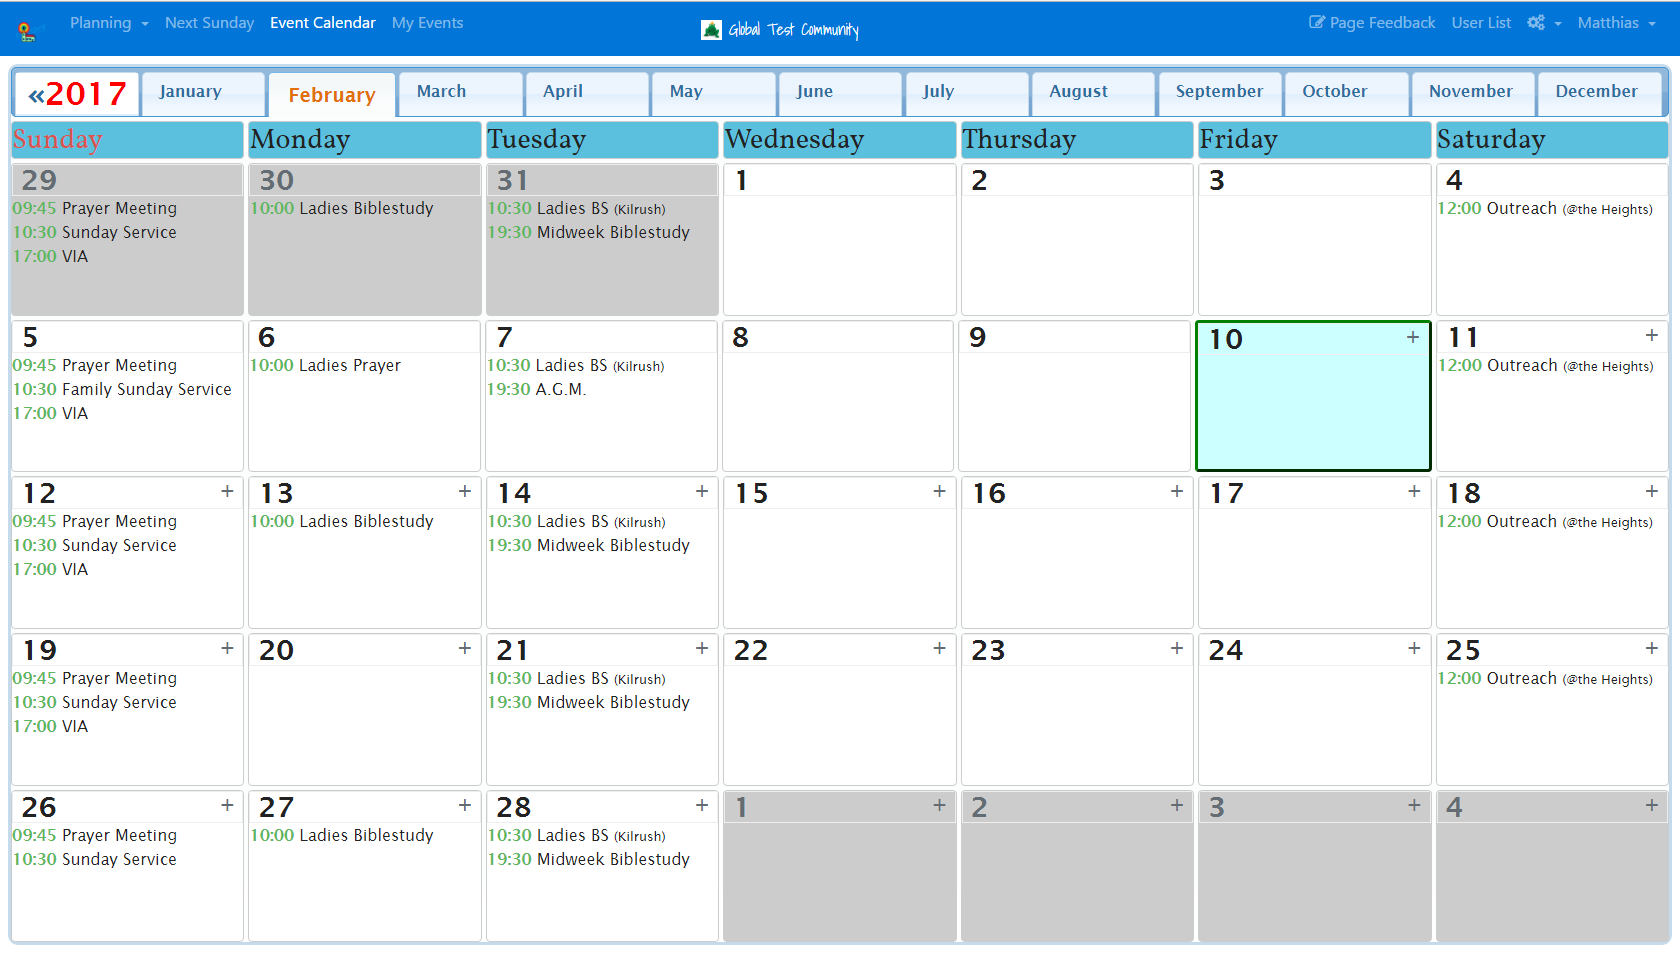
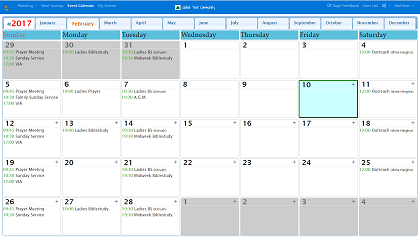 full size
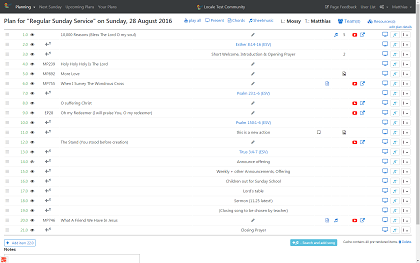 full size
 full size
c-SPOT provides event information and worship song lists to worship leaders, musicians and every other person involved in the service and allows them to add or modify information accordingly =- within the limits of their assigned role(s):
The ability to contribute to c-SPOT is based on distinct roles given to each user, so that only authorized people can make modifications or even see certain details.
By default, c-SPOT is designed to allow for 'self-registration'. Very basic rights are given to a self-registered user. Any further rights must be assigned by a user with an "Administrator" role (see below).
Users just need an email address to register with c-SPOT (which will be verified by a link sent to that email address) or they can allow their existing registration with one of the "big" service providers (like Google, Facebook, Twitter etc.) to be used for this verification.
If a user chooses to allow provider verification, they need to "authorize" c-SPOT once to access their basic account information on those accounts. From then on, no further login is required anymore as long as they are logged in to those providers in the same browser program.
Note: After the installation of this tool, the first user to register will be be getting non-revokable Administrator rights! (In technical terms, this is the user with id number '1'. Of course, like everything else, this can be manipulated in the 'users' table of the database.)
User details and all information is stored in a (mySQL) database in various tables. The major data tables are for users, songs, service plans and service plan items. Auxilliary information is stored in tables for user roles, service plan types and standard items for service plans.
Users can see and/or modify all or various parts of the information depending on their roles they have been given by an administrator. Based on those roles, users can be assigned as 'leader' or 'teacher' of a plan and as such are able to modify, add and delete plan items on those respective plans.
Currently, the following user rights are assigned to roles:
| Role | Rights |
|---|---|
| retired | used only to show historical plans with former teachers or leaders |
| user | Can see (read) plans, items and user names and their roles. Can add notes to plans. |
| leader | same as user, can edit items on plans to which they are assigned |
| teacher | same as leader |
| author | same as leader plus can create new plans |
| editor | same as author plus can modify all plans and items, can modify default items, an edits songs |
| administrator | same as editor plus management of all users and their roles |
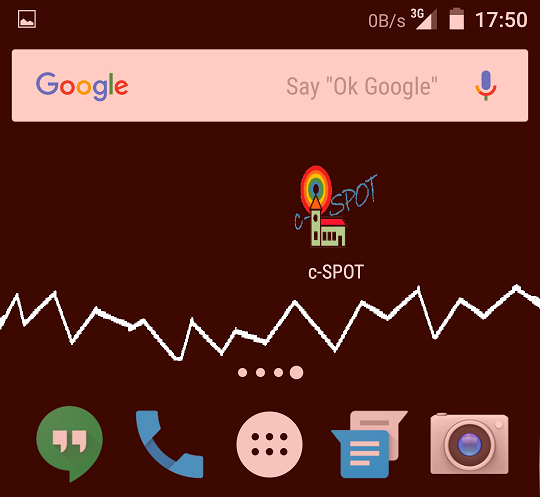
Although this is a web-based application, with the frontend running in a browser, a user can run it like an app using Chrome's feature called "Add to homescreen",
which is available on all major mobile platforms. Once opened in the Chrome browser app on your mobile device, select this function in
Chrome's menu and a new icon will appear on your homescreen:
This PHP project is based on the Laravel framework with the Socialite and LaravelCollective extensions.
The design is intended to be fully responsive with a mobile-first approach and uses the Bootstrap framework in version 4. (Which is still in alpha but hopefully will be fully released before this project is out of beta!)
For the requirements, check Laravel's website. Mainly, you need to have console access to your web server and need to have Composer and Git installed.
Composer handles the various dependencies for the Laravel framework. Git is being used to clone the project from the Git hub and also to keep it updated afterwards. Insofar Git is optional and not needed to actually run the project.
Out of the box, c-SPOT uses a mySQL database to save all the data. However, Laravel provides for various other database tools, so you can actually modify this requirement.
- In the root of your web server's http or html directory (depending on Apache or Nginx), run the command
git clone https://github.com/matthiku/cSpot.gitto download c-SPOT and install it into the folder 'cspot'. (The folder can be renamed to your liking) - In the root folder of the project, copy the file .env.example to .env and customize it for your environment. Mainly, configure your database name, db user name and db password for c-SPOT and enter the connectivity details for your mail server in order to be able to send confirmation emails to users. Important: Also update the domain name!
- Run
composer installto install all the dependencies - Run
php artisan key:generateto initialize they key for the Laravel framework - Create a new (empty) database on your mySQL server with the aforementioned parameters (db name, user name and password etc.).
- Run
php artisan migrateto initialize your c-SPOT database - Edit the file .env and replace all values enclosed in <...> with their proper values!
- In order for c-SPOT to be able to send emails, it is mandatory to fill in the "MAIL_..." values in the .enf file!
- In order for the social logins to work, you need to register your own c-SPOT app with some 'service providers' like Google or Faceook and enter the relevant details also into your private .env file.
- Add your songs to the songs list
- Add more users and assign roles to them
- Modify the list of pre-defined service plan types according to your needs
- Add 'default items' for each service plan type
- Start creating new plans and add items accordingly
- Modify the predefined list of user roles according to your needs
In order to develop (program) c-SPOT, you need to have learned some Laravel development basics. Node.js and NPM need to be installed, then run "NPM install" to have all the assets available. Check https://laravel.com/docs/5.3/elixir for further information.
You can instead do an easy, quick installation of cSpot in an isolated Docker container. Docker allows you to run multiple, preconfigured, isolated application environments which don't require any set up, and won't conflict with each other or your host machine operating system. This is terrific for running a development environment requiring a specific set of dependenciees, packages and libraries, or allowing an application such as cSpot to be portable on many kinds of production servers without reconfiguration.
You will need Docker installed in your host machine (available for Linux, OSX and Windows), and to ensure that the Docker service/daemon is running. For help installing and starting Docker, vist https://docs.docker.com/get-docker/. Then, to start a cSpot Docker container, simply run the following in your command line/terminal (you may have to prefix the command with sudo in Linux):
docker run -i -t -d -p 8080:80 --rm -e admin_email=<your-email-here> chris24walsh\cspot-ubuntu
This command will download a ready-made default image from https://hub.docker.com with cSpot fully installed, start a new docker container, configure your supplied email as the adminstrator email in cSpot and start cSpot itself along with apache2 and mysql. You can then access your local cSpot app in your browser by visiting http://localhost:8080/login, and gain access by resetting your administrator user password, sent to the email you provided. Everything you need to begin using and testing cSpot for yourself in one command!
Warning: This pre-built image uses the default settings for mysql details e.g. database, user/password, and any other required parameters. Don't use this image and expose your server to the internet - build your own image with the commmands below after you have set unique values for the required parameters in the configuration files in the projects docker/ directory.
You can remove the -d flag from the command if you want to stay attached to the (psuedo)terminal in the container, and see the output from the apache log files - useful for testing a connection. If you remove the -e admin_email=<your-email-here> parameter, the container will use the default admin email admin@example.com as configured in the Dockerfile.
To build a new image, including any modifications you have made to your local project directory, and run it, run the following commands:
-
docker build -t <your-image-name-here> . -
docker run -itdp 8080:80 --rm <your-image-name-here>
The first command builds a new local image, with the name tag . The command must be run in the same directory as the Dockerfile, in the root of the project.
The second command runs the image in a new container, and, using the -p flag, exposes the containers port 80 to the host machines port 8080. The -d flag in the command launches the container in detached mode, so it will run in the background. The -i and -t flags allow the container to be attached to later, with a terminal to run commands.
Before the above commands are run, you should change the default values in the docker/* files as appropriate, and the default administrator email address in line 77 in the Dockerfile.
To see your running containers, you can run:
docker ps
Note the id for the cspot-ubuntu container, and stop it by running:
docker stop <id>
You can start it again using:
docker start <id>
You can connect to a detached container using:
docker exec -it <id> /bin/bash
You can detach from a container, but leave it running, by pressing the key sequence CTRL+p, CTRL+q.
For more information about using docker, type docker help, or visit 'https://docs.docker.com/get-started/'
- Pre-populate the songs database with popular public domain lyrics
- Program the frontend as a Single Page App using AngularJS or better Vue.js and the backend as a RESTful API
- Enable user to programmatically select Bible references (done)
- Add feature to send lyrics and Bible verses to a projector (done)