a "helper" to work with raymarching in THREE.js.
- basic demo
- interactive demo (mouse controls)
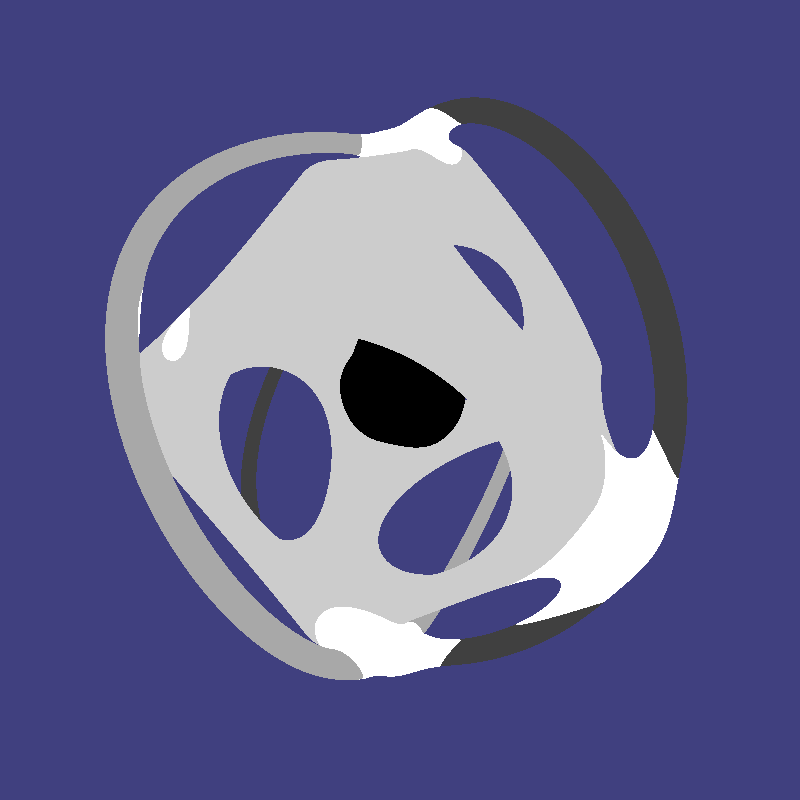
- color segmentation
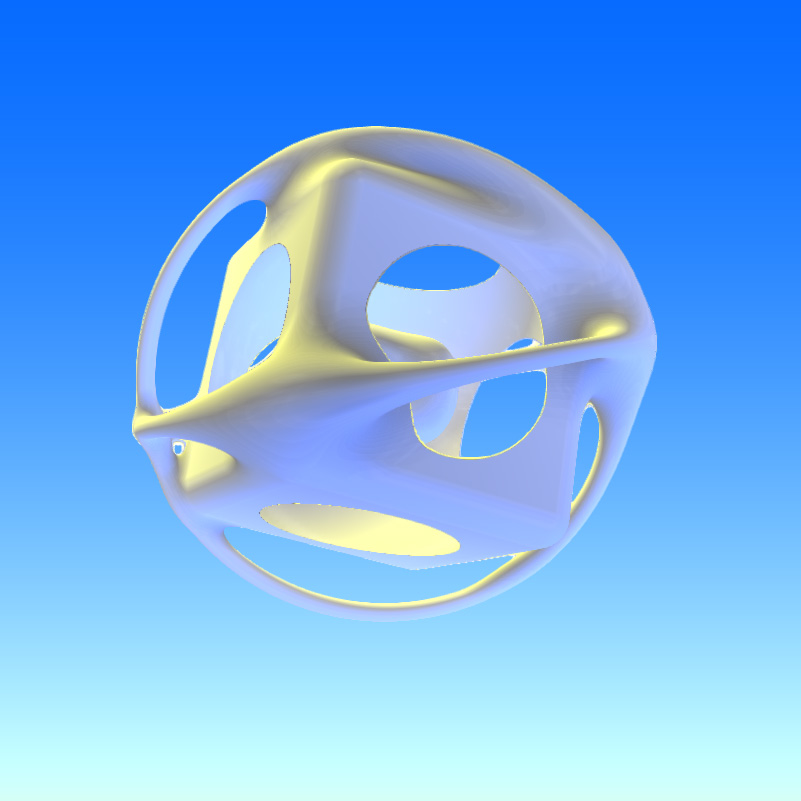
- halibut
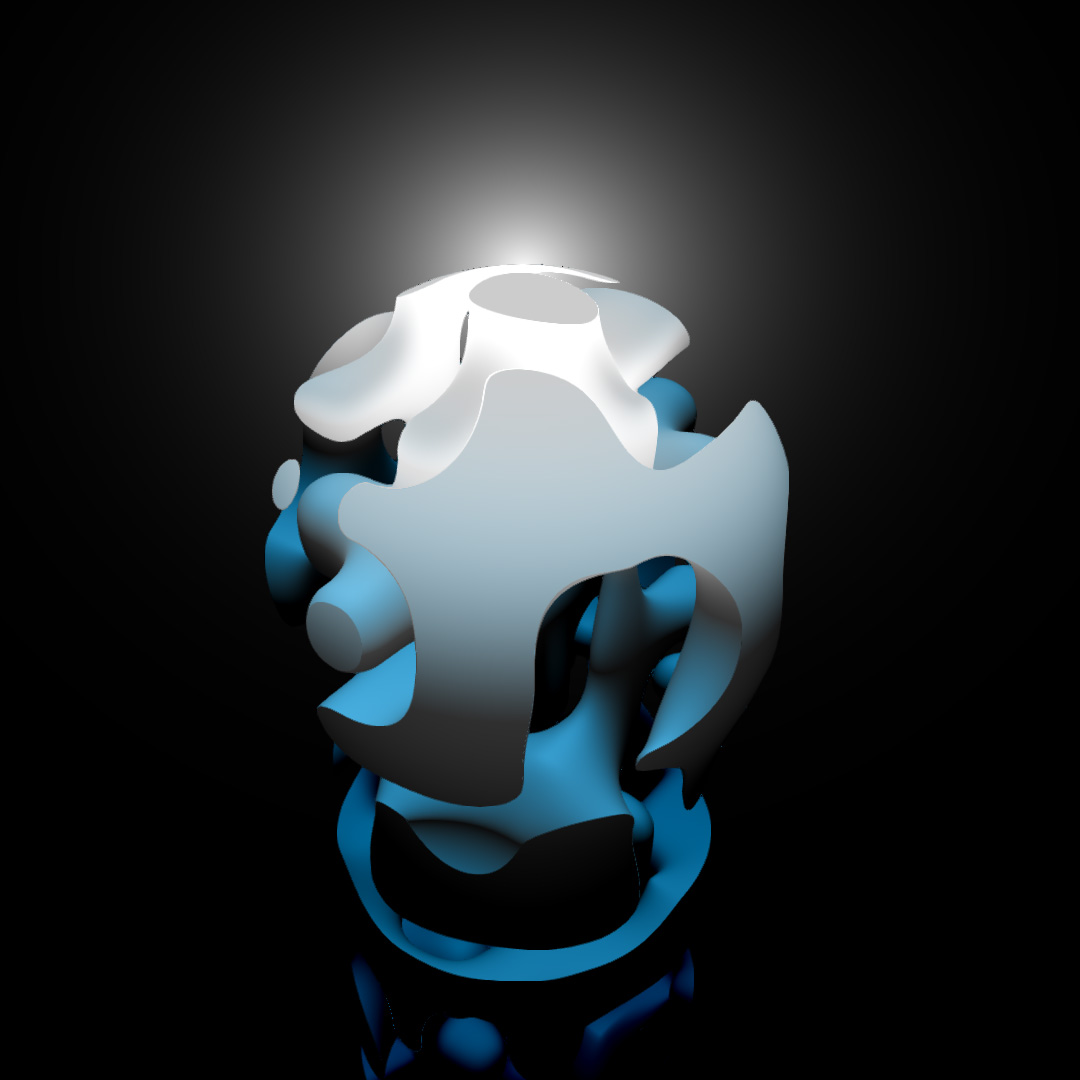
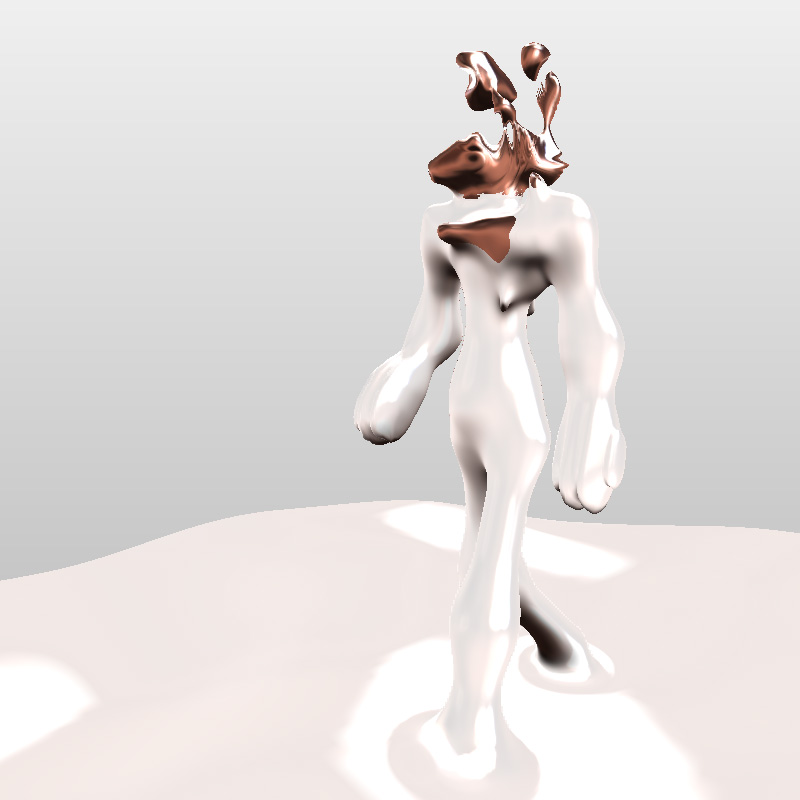
- hulkbuster
- 2D cells (not raymarched)
it is heavily based on http://stack.gl/ core modules & scripts
THREE.js is a popular WebGL library, Raymarching Distance Fields is trendy nowadays, this is a way to bring them together. most of (all!) the work is done by the fragment shader, do not expect anything even remotely complex on the javascript side :)
THREE makes it easy to upload various data to the shader (cameras, lights, textures for instance), another benefit is to be able to use THREE's post-processing ecosystem ; in the example above, I used a FXAA Pass to smooth the result.
I've just left a small subset of the post processing & shaders folder for the sake of testing but there 's a lot more on THREE's repo.
I've left the links to the resources I used in the fragment file, most of the changes should be done in the "field()" method after the HAMMER TIME!
<script src="three.min.js"></script>
<script src="raymarcher.js"></script>
<script>
    var rm;
    function init() {

        var w = window.innerWidth;
        var h = window.innerHeight;

        rm = new RayMarcher([optional distance : 50], [optional precision : 0.01] )
            .setSize( w,h )
            .loadFragmentShader( "glsl/noise_bulb.glsl", animate );
        document.body.appendChild( rm.domElement );

    }

    function animate() {

        requestAnimationFrame( animate );
        //update uniforms
        rm.update();
        //render
        rm.render();

    }
    init();
</script>
should give you something like this:
noise bulb demo
the loadFragmentShader method, takes the url of the fragment shader (can be plain text), loads it and call the callback method if it was specified
loadFragmentShader( url, callback );
passing the animate loop as a callback is a good idea but is not necessary.
the 2 most important values for the raymarching are the maximum distance and the precision (the minimum step distance under which the raymarching loop bails out). by default, their values are 50 and 0.01 respectively. you can set them directly like:
rm.distance = X
rm.precision = Y

//then call an update to update the uniforms
rm.update();
a 'good' value for raymarchMaximumDistance is twice the length of the camera's position ; it gives enough depth to render most of the things
rm.distance = this.camera.position.length() * 2;
the default raymarchPrecision is 0.01 which is fairly high (= coarse):
if you need more accurate renders, increase the rm.distance and lower the rm.precision
also, the raymarching 'steps' count has to be set directly in the shader like here increasing it will give much more precise results at the cost of more intensive computations.
for the sake of exhibiting the beauty of Raymarching, the above shape is produced by this distance estimator:
vec2 field( vec3 position ){

    //create a 5 units radius sphere
    vec2 sph = sphere( position, 5. );

    //create a 10 units high, 4 units radius cylinder and positions it at Y = -12.5 units
    vec2 cyl = cylinder( position, 10.,4., vec3( 0.,-12.5,0.) );

    //stores a copy of the position being evaluated
    vec3 nPos = position * .45;

    //adds some delta
    nPos.y -= time * .05;

    //creates a transform (time-based rotation about the Y axis)
    vec4 quat = vec4( 0., 1., 0., -time * .1 );

    //evaluates a noise field using the transform above (the noise field "rotates")
    vec2 noi = vec2( max( -.5, .5-abs( perlin( nPos, quat ) ) ), 0. );

    //combines the shapes:
    // 1 - blend the sphere and the cylinder: smin( sph, cyl, .99 )
    // 2 - return the intersection of the blended shapes with the noise field
    return intersectionAB( smin( sph, cyl, .99 ), noi );

}
then some colors are being computed with the result of this evaluation.
//shape composition
float blend = .5 + sin( time * .5 ) * .5;
vec2 _out = unionAB( sce, smin( to0, smin( to1, subtract( sre, box  ), blend ), blend ) );

//color attribution

//the Y value of the return value will be used to apply a different shading
// _out.y = 1. is the default value, here, it will be attributed to blended areas

//we can retrieve the elements by depth
//we use the raymarch precision as a threshold
float d = raymarchPrecision;

//then an object is found like:

if( _out.x > box.x - d )_out.y = 0.80;
if( _out.x > to1.x - d )_out.y = 0.66;
if( _out.x > to0.x - d )_out.y = 0.25;
if( _out.x > sce.x - d )_out.y = 0.;

return _out;
an alternative to remove the conditional branching would be to write it as :
_out.y = 1.;
_out.y -= step( box.x - d, _out.x ) * .2
    + 	 step( to0.x - d, _out.x ) * .35
    + 	 step( to1.x - d, _out.x ) * .75
    + 	 step( sce.x - d, _out.x ) * 1.0;
this approach is supposed to be faster, the downside is that it is less legible.
check out the live demo for the color selection
see the source shader for the code.
<!-- import three and the raymarcher /-->
<script src="vendor/three.min.js"></script>
<script src="raymarcher.js"></script>

<!-- import the postprocessing / shaders you need /-->
<script src="vendor/postprocessing/EffectComposer.js"></script>
<script src="vendor/postprocessing/RenderPass.js"></script>
<script src="vendor/postprocessing/ShaderPass.js"></script>
<script src="vendor/postprocessing/MaskPass.js"></script>
<script src="vendor/shaders/CopyShader.js"></script>
<script src="vendor/shaders/FXAAShader.js"></script>

<!-- alter the composer class to perform what you want /-->
<script src="composer.js"></script>

<script>

    var rm;
    var composer;
    function init() {

        [instantiate raymarcher as above]

        //pass the raymarcher to the Composer
        composer = new Composer( rm );
        composer.setSize( w,h );

    }

    function animate() {

        [ call rm.render() ]

        if( rm.loaded )composer.render();

    }

    init();

</script>
the composer contains whatever filters you can think of and is called after the RayMarcher' render
cheap depth (in the main() function) :
float depth = ( 1./ log( collision.x ) );
repeat a shape at a given interval (described by a vec3 r ):
vec3 repeat( vec3 p, vec3 r ) { return mod( p, r ) - .5 * r; }

//& in the field() function
vec3 p = repeat( position, r );

//p is a repeated position, use it to place evenly spaced objects
spherical uvs: (Spherical Environment Mapping)
texture2D( map, nor.xy / 2. + .5 );
you can lookat the camera to always face it
#examples
halibut demo
hulkbuster demo
walker demo

#helpful links:
WebGL quick reference for types, functions, statements etc.
Jaume Sanchez Elias's Shader Editor chrome extension mandatory tool to work with shaders
Íñgo Quílez distance functions and his live example / refernce for basically everything
POUET's thread on primitives, noise, AO, SSS & more
Kevin Roast's homepage is full of examples, rendering tricks, shapes and more
very interesting series of articles about distance estimators & fractals:
- Distance Estimated 3D Fractals (Part I)
- Distance Estimated 3D Fractals (II): Lighting and Coloring
- Distance Estimated 3D Fractals (III): Folding Space
- Distance Estimated 3D Fractals (IV): The Holy Grail
- Distance Estimated 3D Fractals (V): The Mandelbulb & Different DE Approximations
- Distance Estimated 3D Fractals (VI): The Mandelbox
- Distance Estimated 3D Fractals (VII): Dual Numbers
- Distance Estimated 3D Fractals (Part VIII): Epilogue
which incidentally reminded me of subblue's beautiful works
a reminder of how the blinn-phong shading works