Build Instructions
These instructions are not intended to be an exhaustive step by step, but instead documentation of the less obvious parts of the build. It is expected that a builder can make intelligent guesses about the overall build but may need help with some of the specifics.
You should have a working knowledge of electronics, including safely hooking up high voltage / AC current, working with CNC controllers and stepper motors, basic wiring, GCode and working with the Smoothie motion controller. It will help if you have previously built a 3D printer, CNC router, laser cutter or other similar machine.
This build is not for the faint of heart or inexperienced builder. It was originally developed piecemeal and the design shows that. You will have to be inventive and creative to have a complete, and working machine.
If this build sounds complex, or it seems like the instructions are not very good... you are correct! I suggest waiting for the next revision which will be far easier to build.
See the OpenPnP Home Page for information about staying in touch. The IRC channel is the best bet for live help and the mailing list is the second best. Be prepared to show photos of what you are having trouble with.
If you decide to build this machine, please give back by adding to this documentation. If you find things that are outdated, incorrect or could be explained better, just hit that Edit button up there and do it. This is a Wiki and the best way for it to grow is for people to lend a hand.
- 3D Printer for printing the plastic parts. The original build uses ABS and that is what is recommended.
- Phillips and slotted screwdrivers.
- Hex wrenches in metric and imperial sizes.
- Wire cutters, strippers and crimpers for Dupont connectors.
- Heat shrink tubing in many sizes.
- 22 gauge hookup wire in a variety of colors.
- Basic multi meter with continuity testing.
- Needle nose and channel lock pliers.
- Tweezers.
- All of the zip ties. In the world.
Photos of the build, along with diagrams are scattered throughout this documentation. You can find the full resolution versions all in once place, at https://github.com/openpnp/openpnp-openbuilds/tree/develop/Images
https://docs.google.com/spreadsheets/d/1Jt3jb6zsk9aa-5eUBTdAOFm7u1YypV3FqZMti7bdn9s/edit?usp=sharing
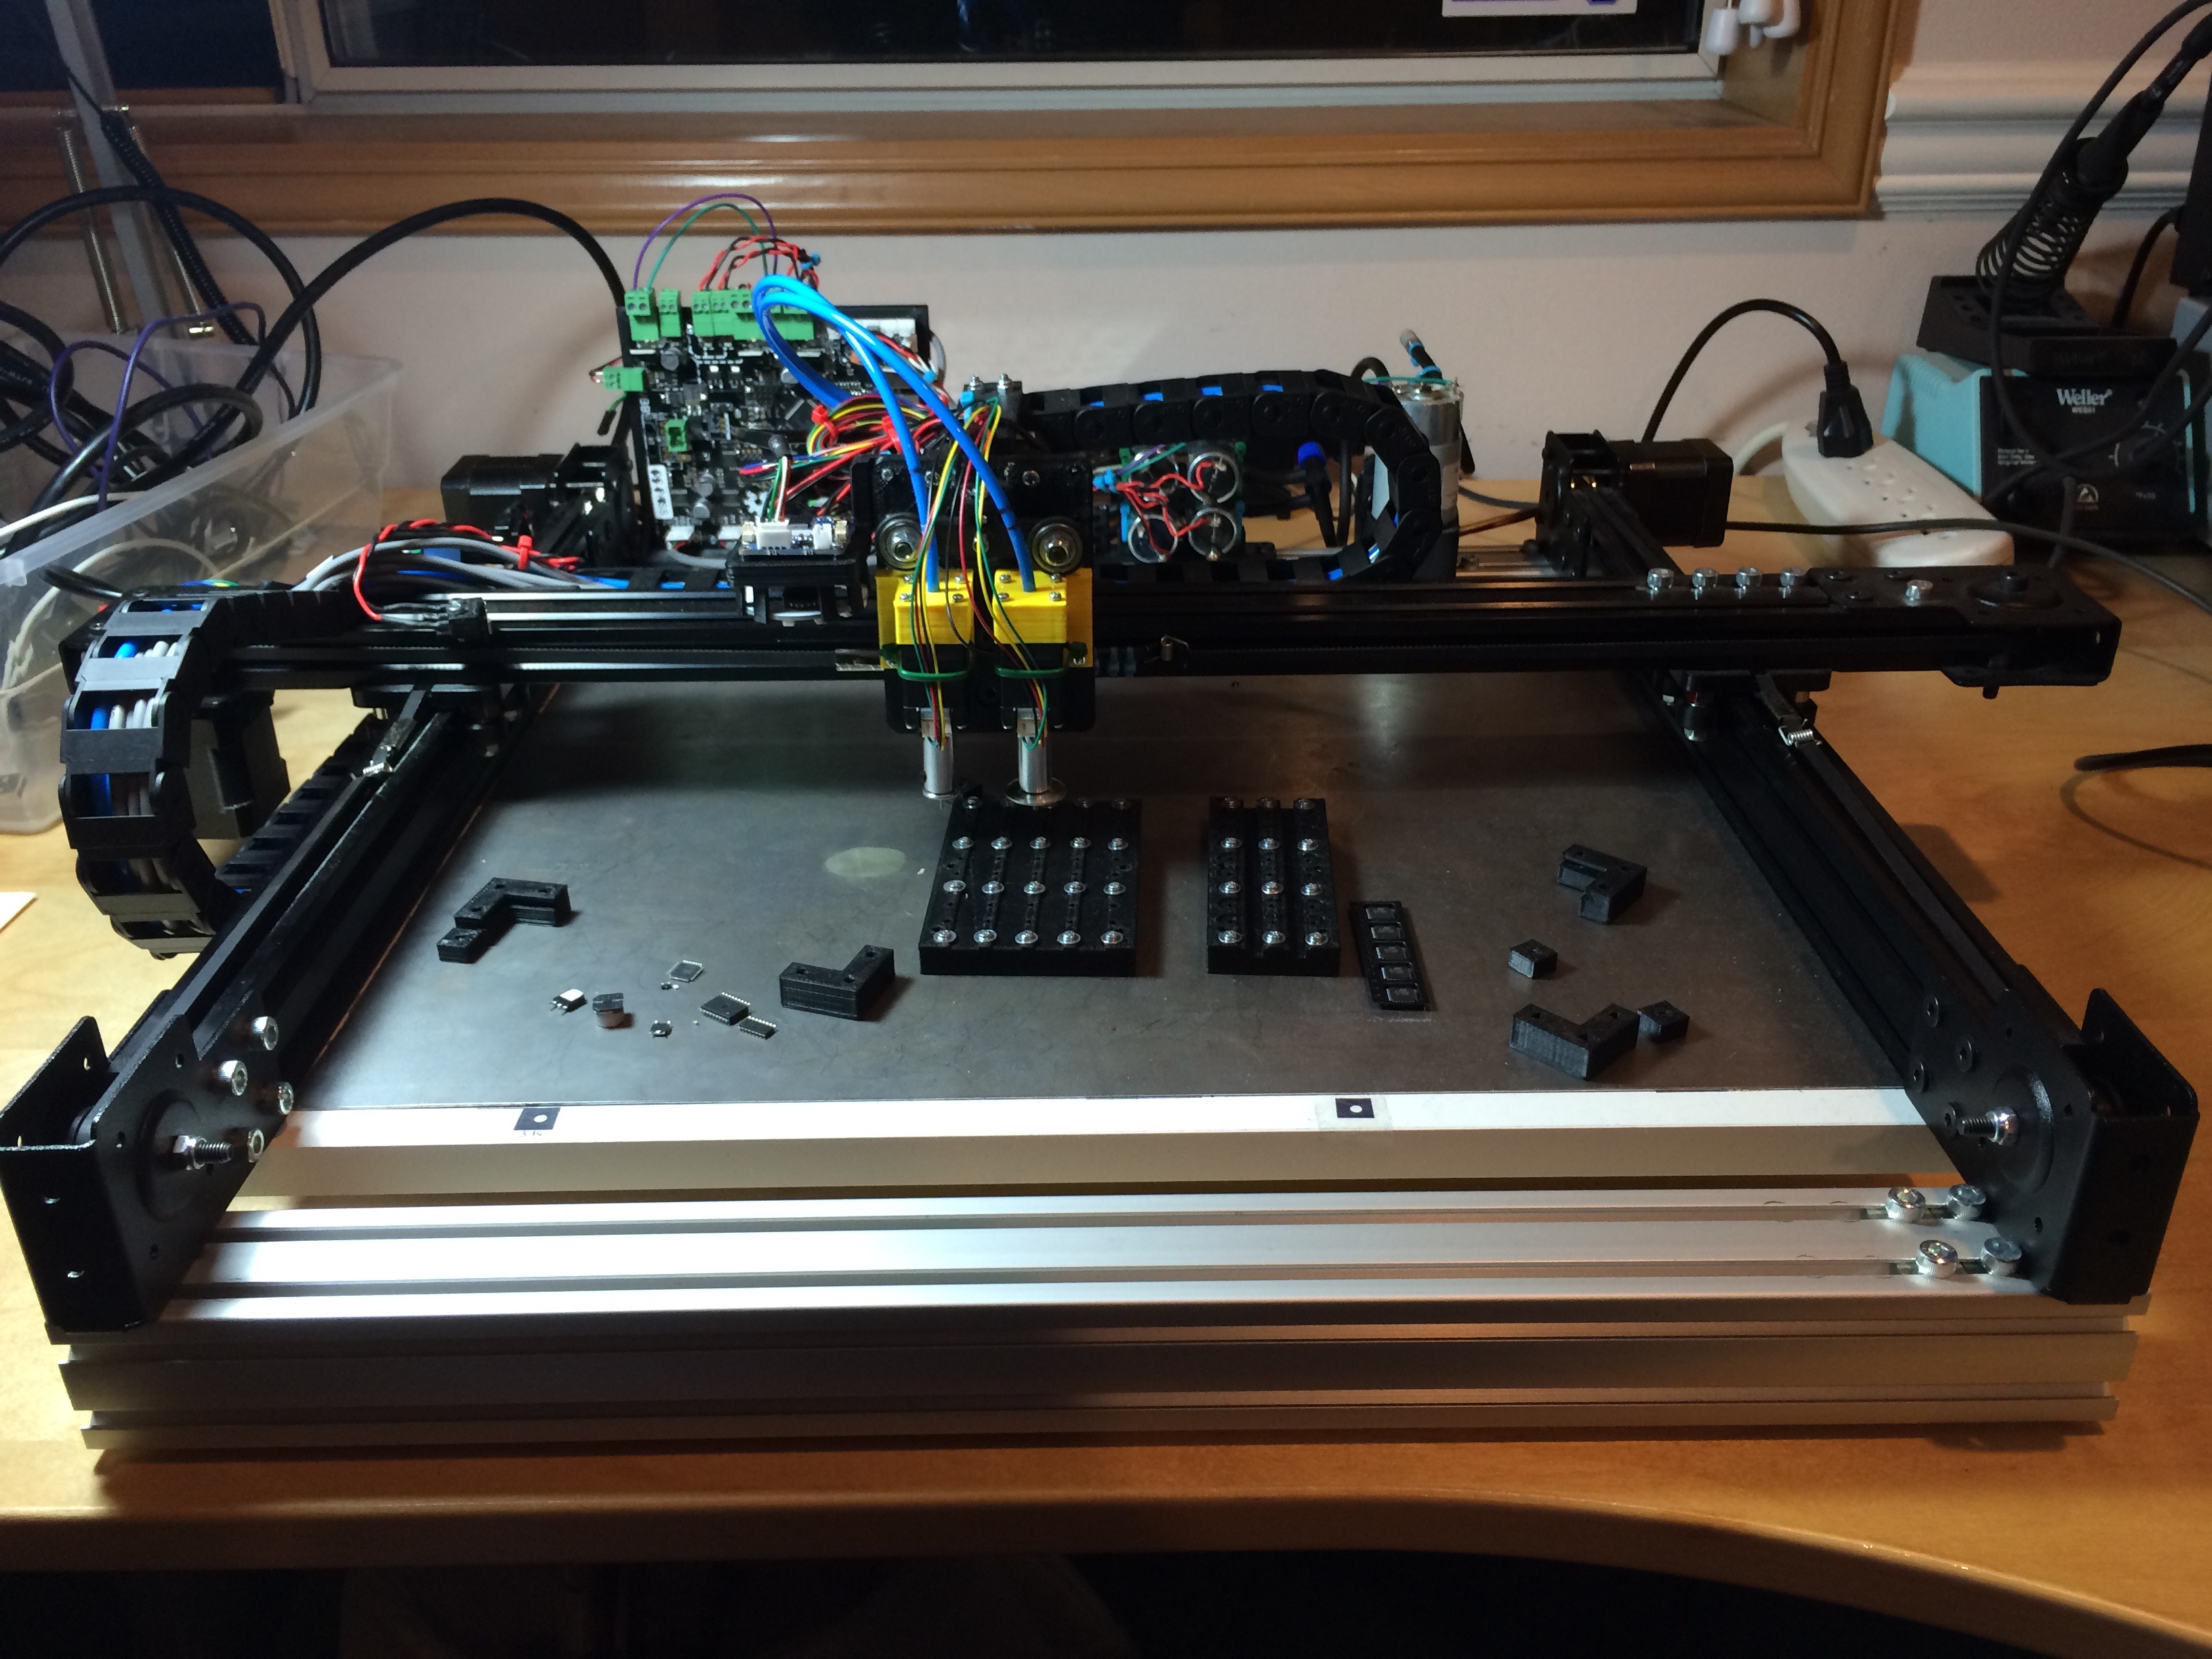
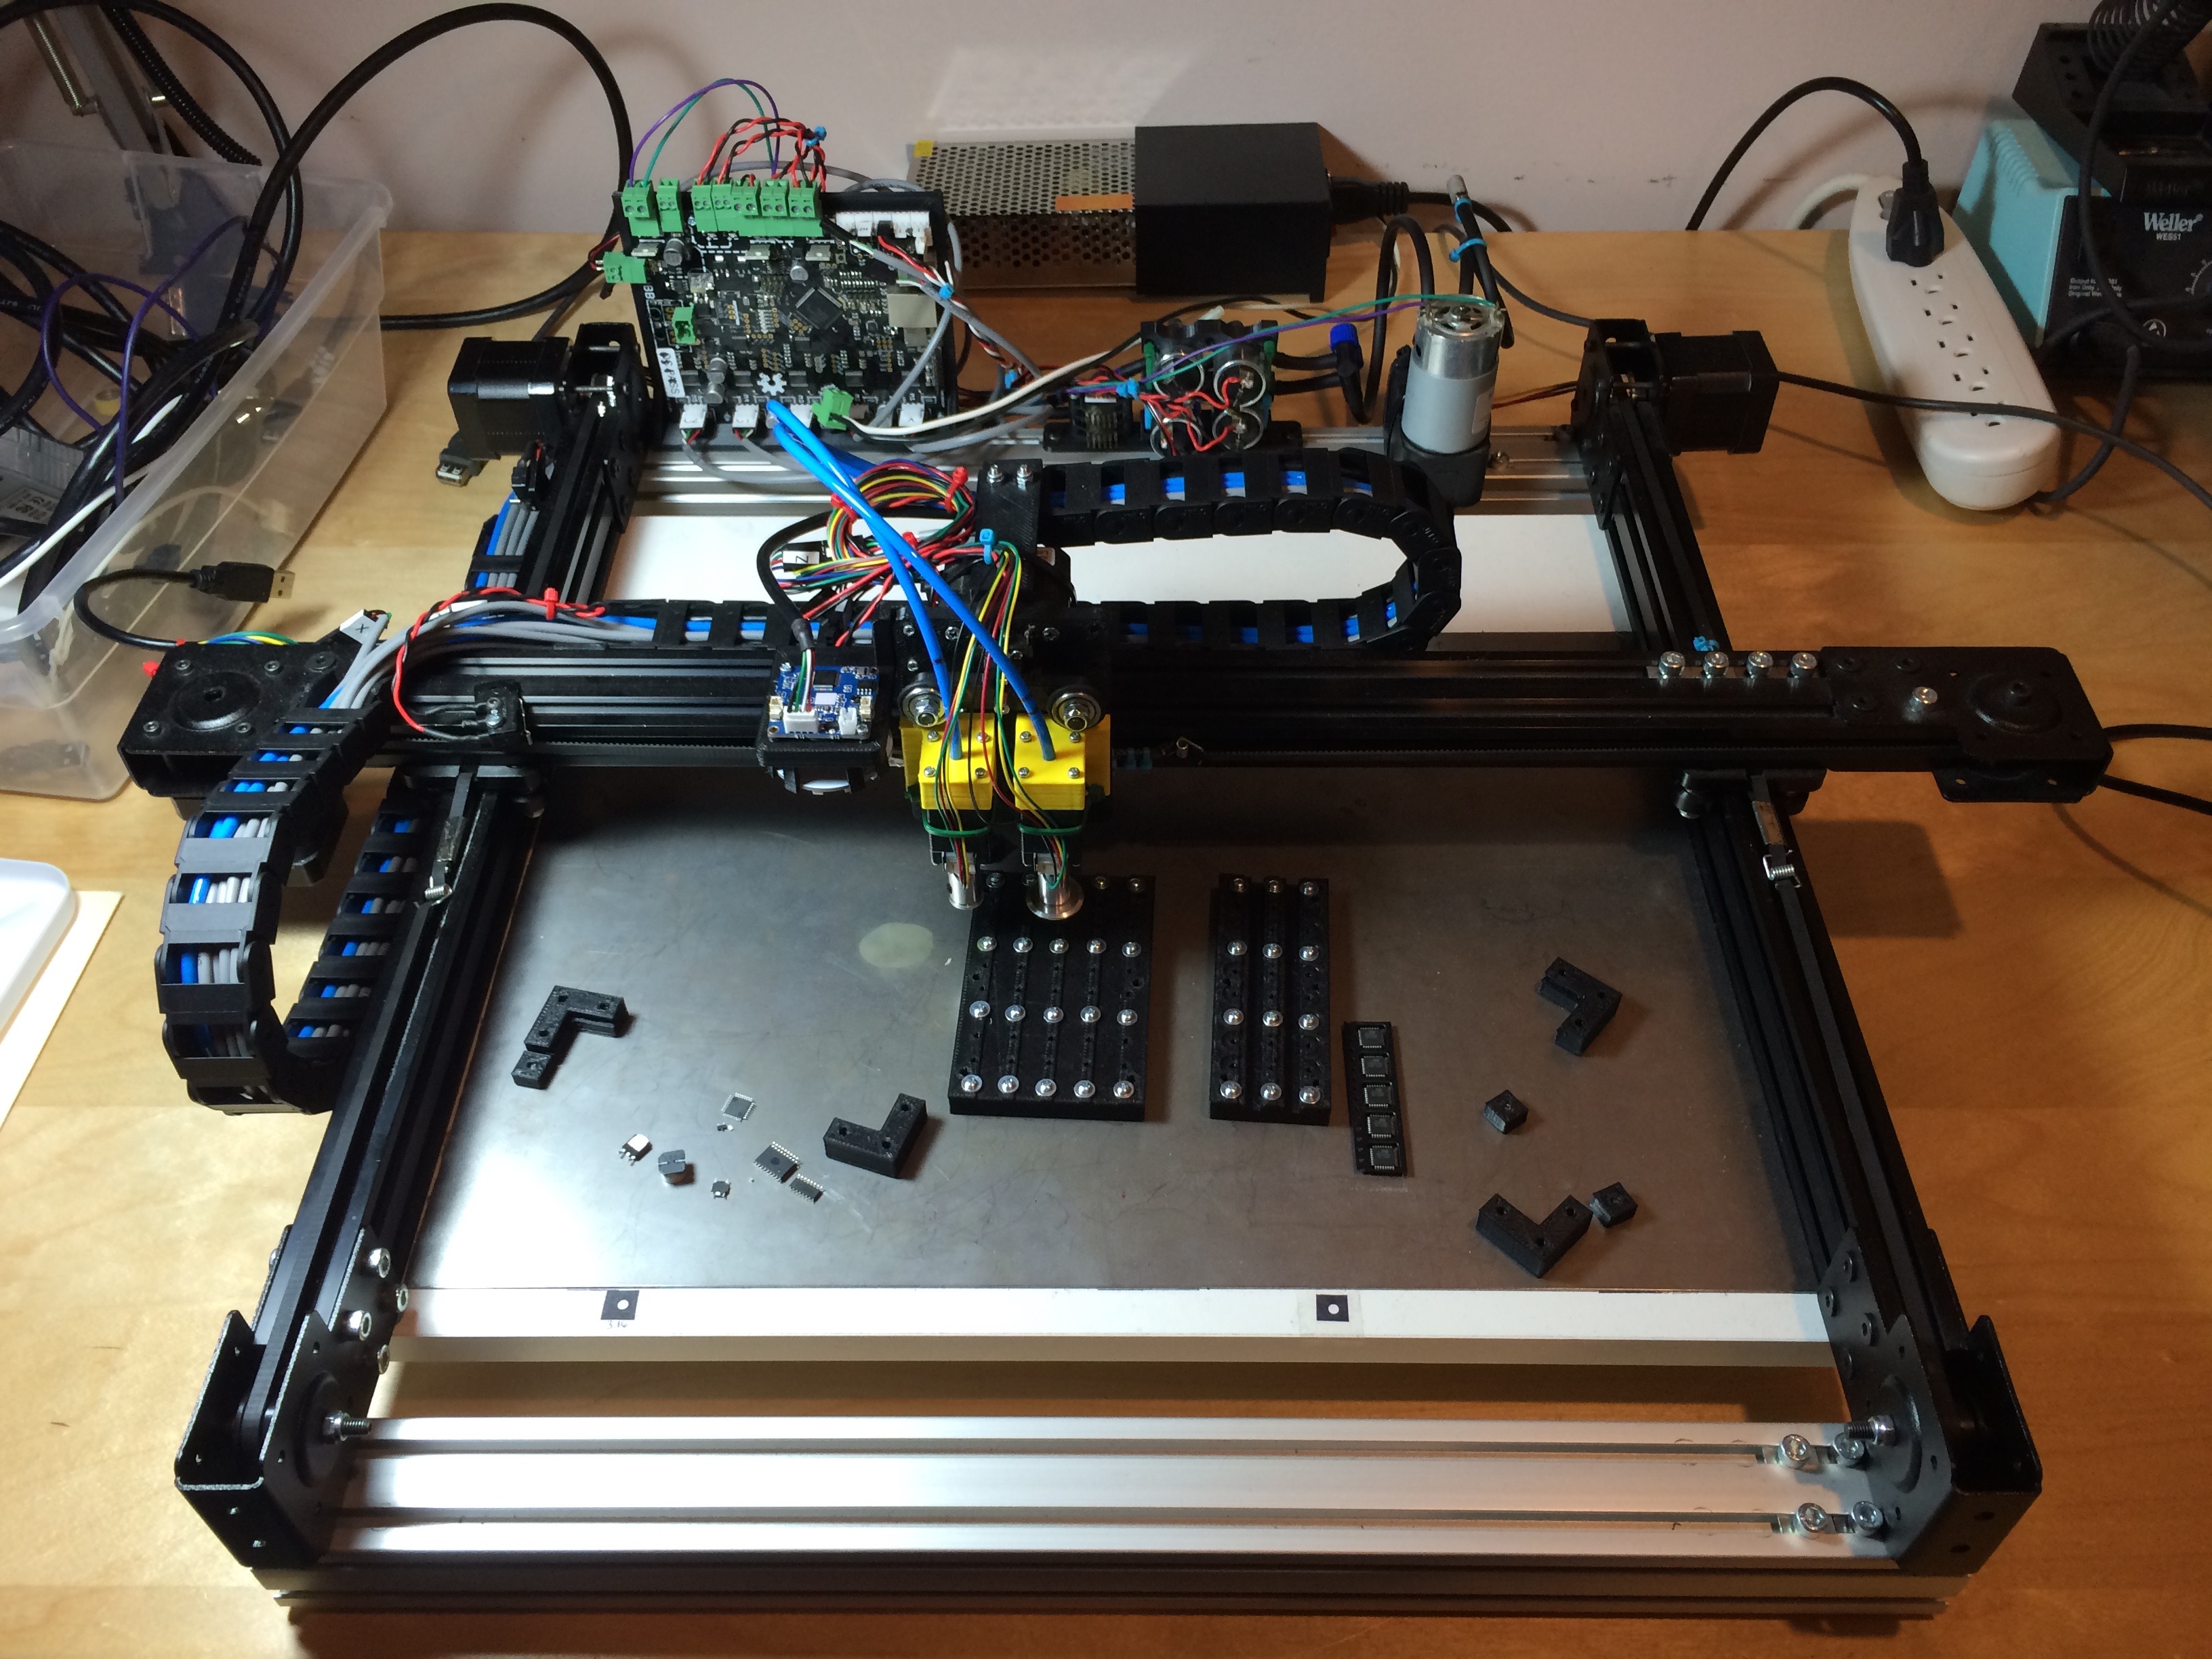
The machine is a dual nozzle, cartesian, belt driven pick and place. It has a Y axis that extends away from the operator, an X axis that moves left and right in front of the operator, two Z axes that move up and down and two C axes that rotate the parts. The Z axes are pushed down by a cam on a stepper motor and each has a spring to return it to the top. The C axes are hollow shaft NEMA 8 stepper motors.
All parts on the original build are printed from ABS using Cura on a Lulzbot Mini using the "Medium" quality profile. The Cura profile is available at http://download.lulzbot.com/Mini/1.0/software/cura/profiles/PLA_medium_mini.ini
You will need to print the following parts:
| Part | Quantity | Notes |
|---|---|---|
| Air Equipment Holder | 1 | Mounts on the rear of the frame and provides a base for the solenoids to sit on. |
| Cable Carrier Bracket 10x20 L | 4 | Mounts to X and Y axes to support the cable carrier. |
| Cable Carrier Bracket 10x20 Straight | 1 | Mounted to the top of the Z stepper with a zip tie to connect the cable carrier. |
| LED-Ring-Mount-40mm.stl | 1 | |
| OpenPnP-OpenBuilds-C-Mount-Right.stl | 1 | |
| OpenPnP-OpenBuilds-C-Mount.stl | 1 | |
| OpenPnP-OpenBuilds-Camera-Mount.stl | 1 | |
| OpenPnP-OpenBuilds-Z-Cam.stl | 1 | |
| OpenPnP-OpenBuilds-Z-Plate.stl | 1 | The base plate for the head. |
| RYD-120-12-Cover-A.stl | 1 | A cover for the RYD-120-12 power supply with a slot for a switch / fuse / socket combo. |
| Smoothieboard X5 90 Degree Mount.stl | 1 | |
| Valves and Sensors Middle.stl | 2 | Sits on top of the lower solenoids and forms a base for the upper solenoids. Second print sits on top the upper solenoids. |
Aside from the required parts above, you should explore https://github.com/openpnp/openpnp-openbuilds/tree/develop/Mechanical/3D%20Printed/STL for things such as PCB mounts, feeders and other accessories.
The frame is made up of OpenBuilds v-slot extrusions. OpenBuilds has many documents and videos showing how to build their machines, so it is not duplicated here. See the photos for the general idea or look at the CAD drawings.
The bed is made up of 5/8" thick melamine coated MDF with a thin sheet of steel bound to the top. The steel is used to provide a ferrous surface for magnetic accessories to attach to. The melamine is probably not needed - I used it before I decided to use the steel. Regular MDF should work fine.
Once you have measured and cut the MDF and steel you can bind the steel to the MDF with Gorilla Glue. After spritzing with water (see Gorilla Glue instructions) and spreading the glue in a thin layer, apply the sheet steel and then place another piece of MDF on top to keep it flat. Then find lots of heavy things to go on top of that for clamping force and let it sit overnight.
Make sure you don't get too much glue leaking out the edges or you will bind the two pieces of MDF together.
- The Y axis has two OpenBuilds carriages that mount to the bottom of the X axis gantry. The threads for the mounting holes in the Y carriages must be drilled out to allow an M5 screw to slip through.
- The Y axis has two stepper motors that must be wired together for one driver. The motors must turn in opposite directions, so swap the coil pairs when you join them.
- See photos, nothing tricky here.
- There are two Z axes. Each uses a 50mm length of rail. If you bought the rails in the BOM you should have rails that are 100mm long. Use a Dremel cutoff disk to cut one into two 50mm parts.
- Be VERY careful when installing the carriages into the rails. If you notice that it's difficult to slide them on and you force it it's likely that the little ball bearings will fly out. They can be snapped back in with a pair of tweezers. If your carriages came on little plastic blocks, DO NOT REMOVE THEM. Place the plastic block against the metal rail end to end and slide the carriage from one to the other. Always do this if you can.
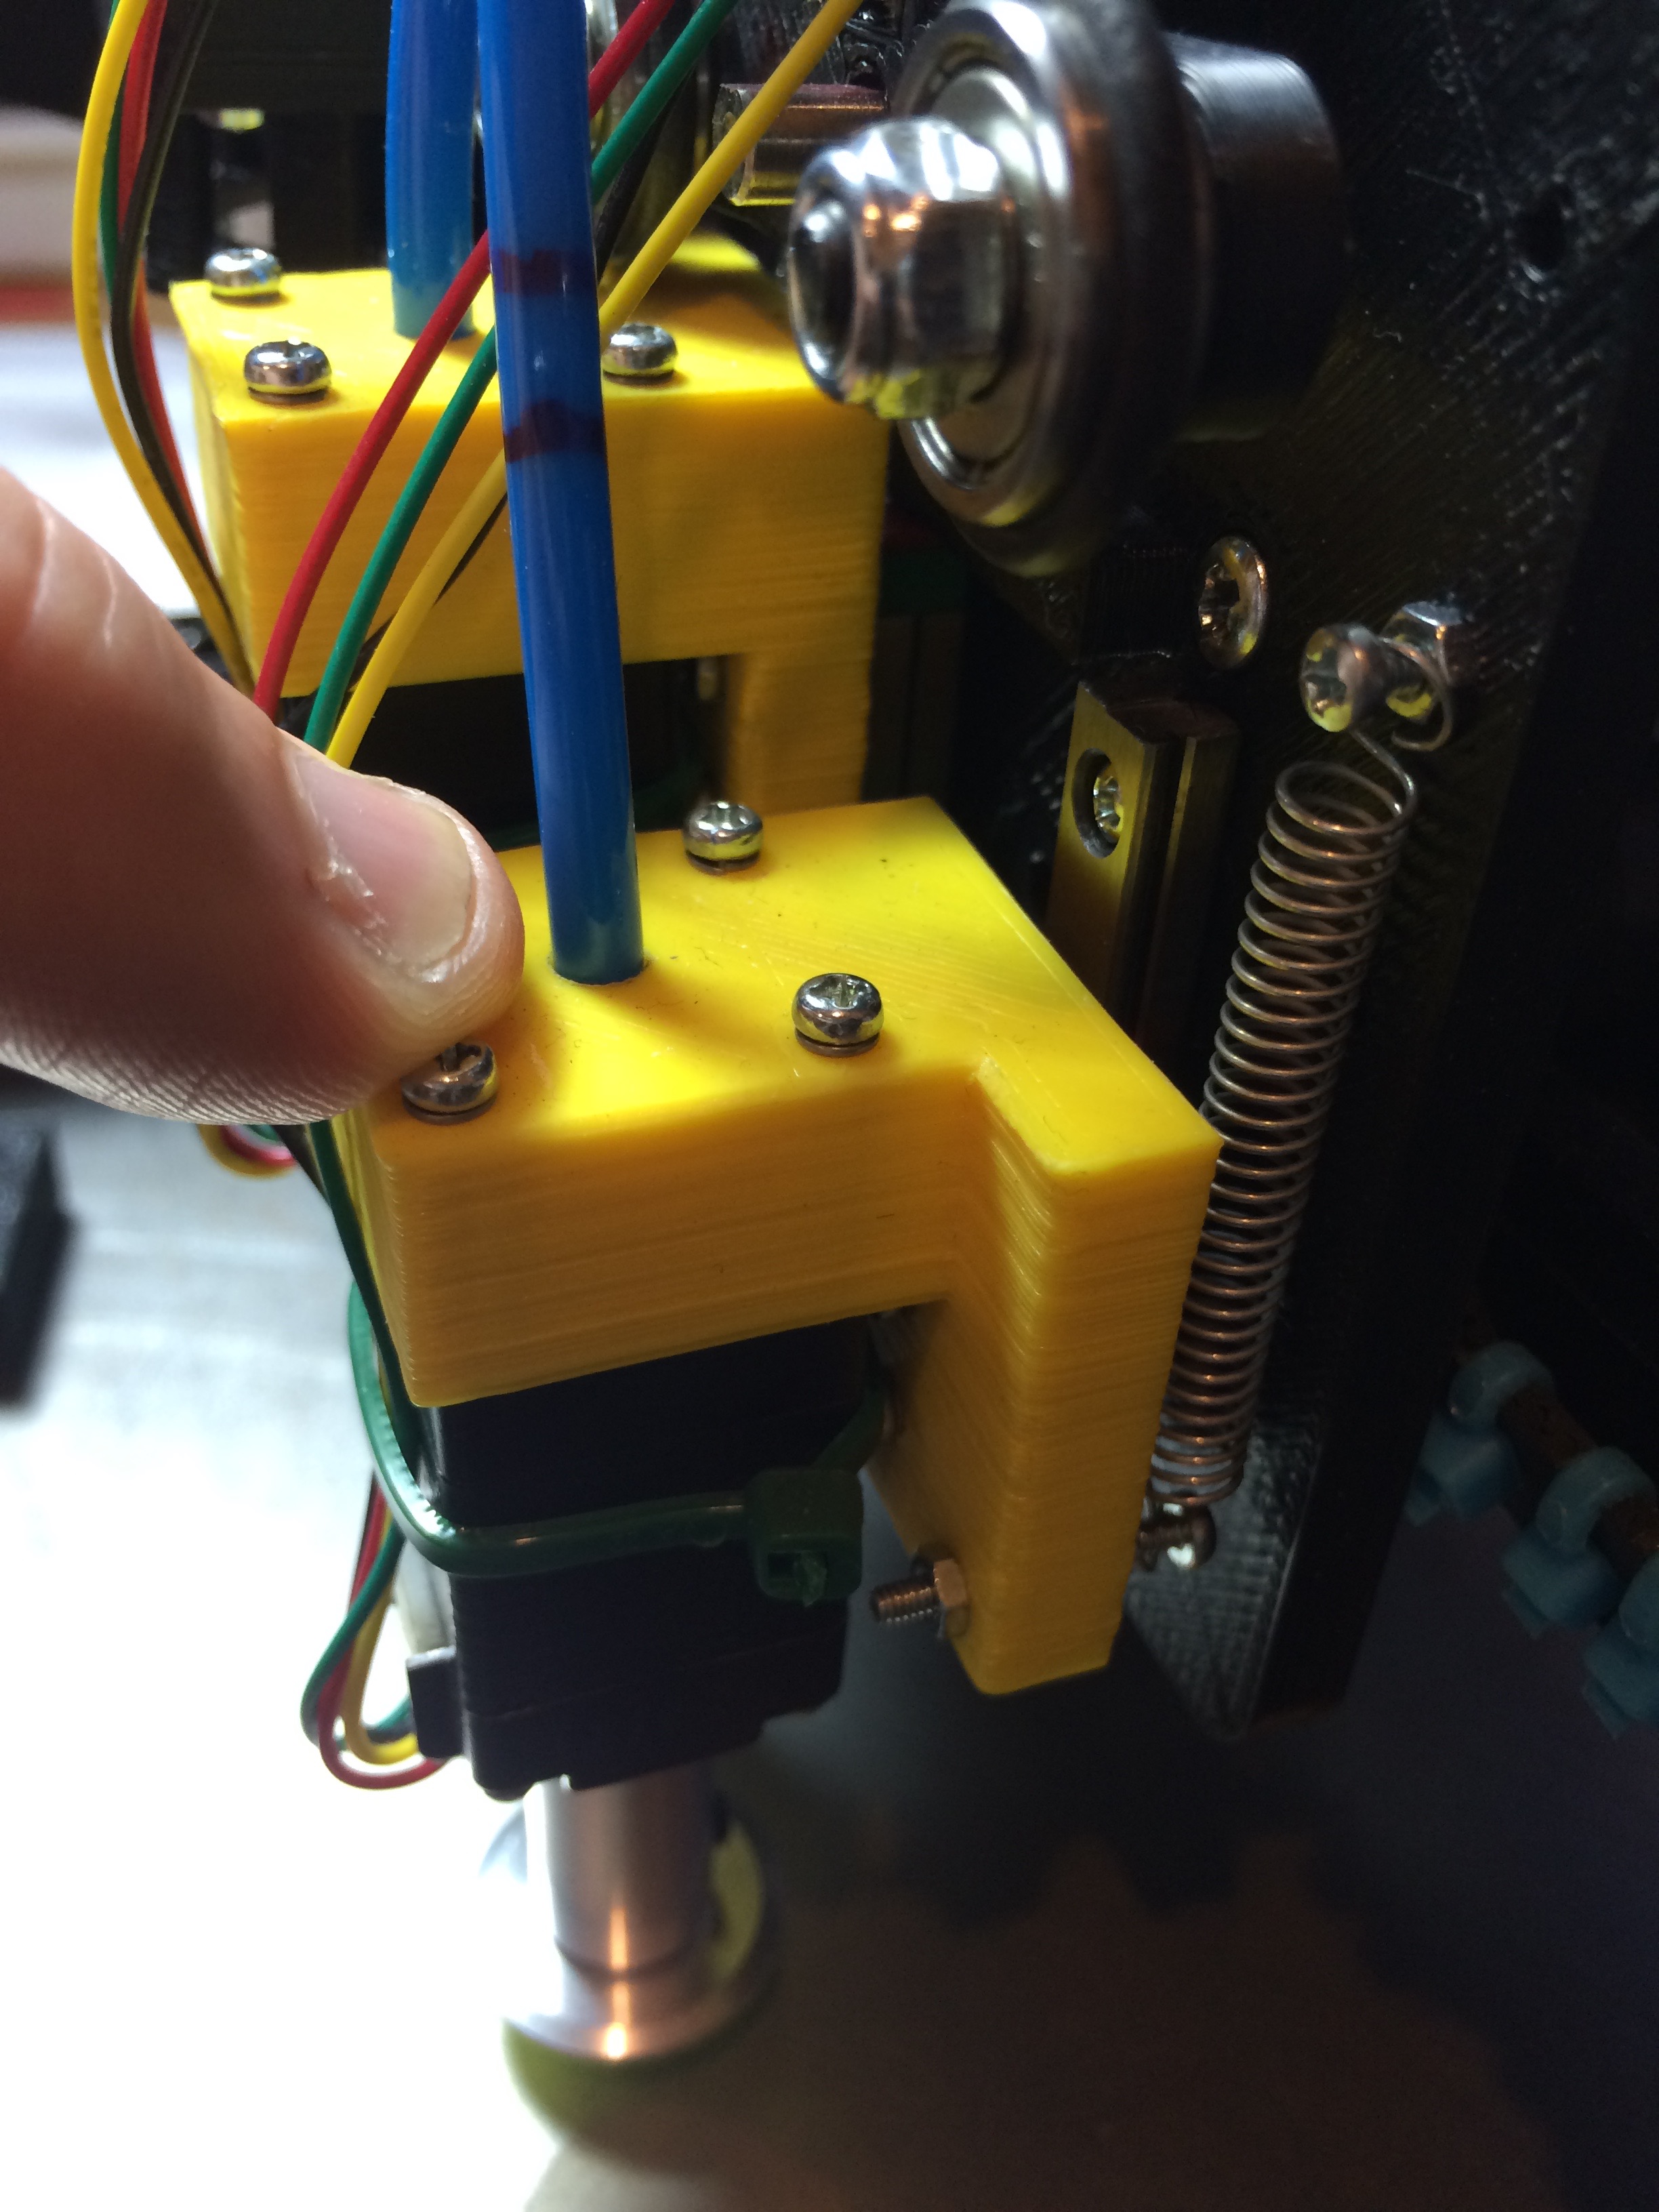
- Use a screwdriver to lift the contact lever of the Z home switch before sliding the Z cam onto the stepper shaft.
- Pretty simple. See the photos.
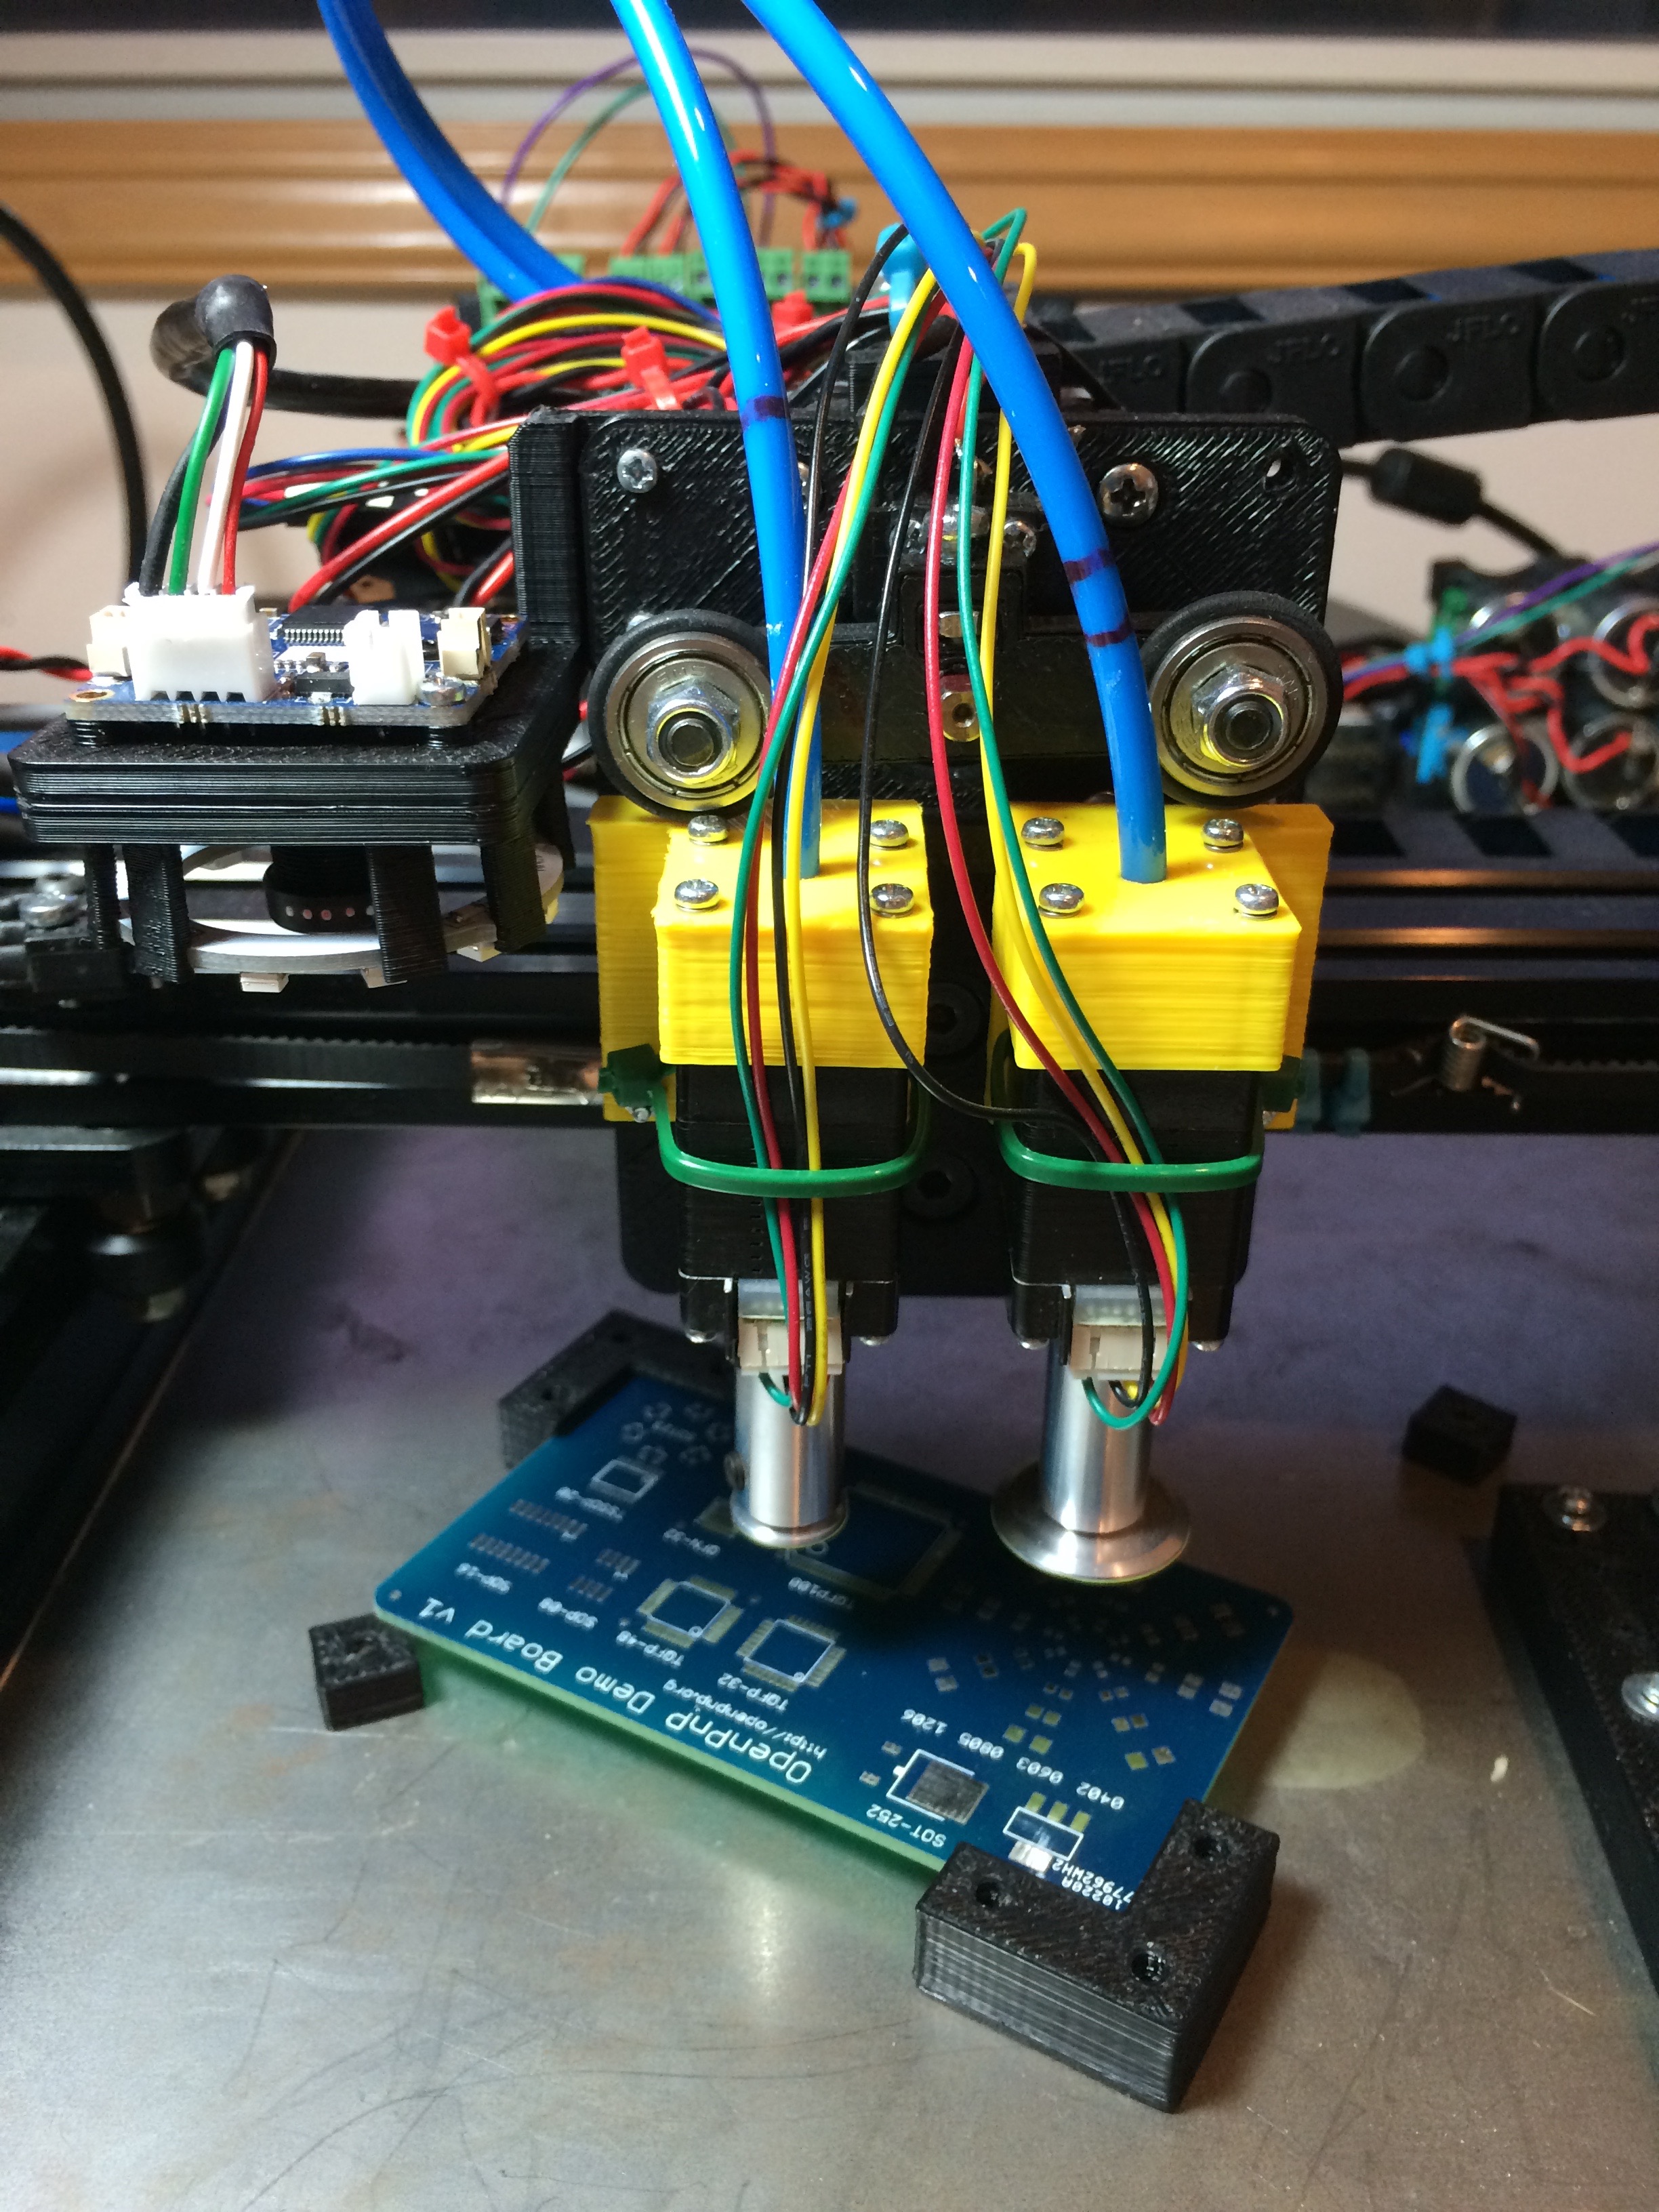
- Don't forget the small o-ring that goes around the shaft of each C axis motor before screwing it into the C mount.
- A drop of a teflon or silicone based lubricant on the shaft o-ring helps keeps the motion smooth. Just rub it around the o-ring.
- The Fuji CP-6 nozzles have a small locking pin that must be removed. Removing it without deforming the shaft body is difficult. Use a twisting motion while you pull on the pin to help things along.
- It doesn't take much pressure from the set screws to deform the nozzle shafts. Just use enough to lock them in. They are under no serious load, so they don't need much.
- See photos for mounting positions of home switches. You will need to experiment a bit to find what works for your machine.
- Home switches can be Normally Closed (NC) or Normally Open (NO). I used NC on X and Y and NO on Z, only because my Z switch had a broken contact on NC. Whatever you use, just make sure to set them up properly in the Smoothie config.
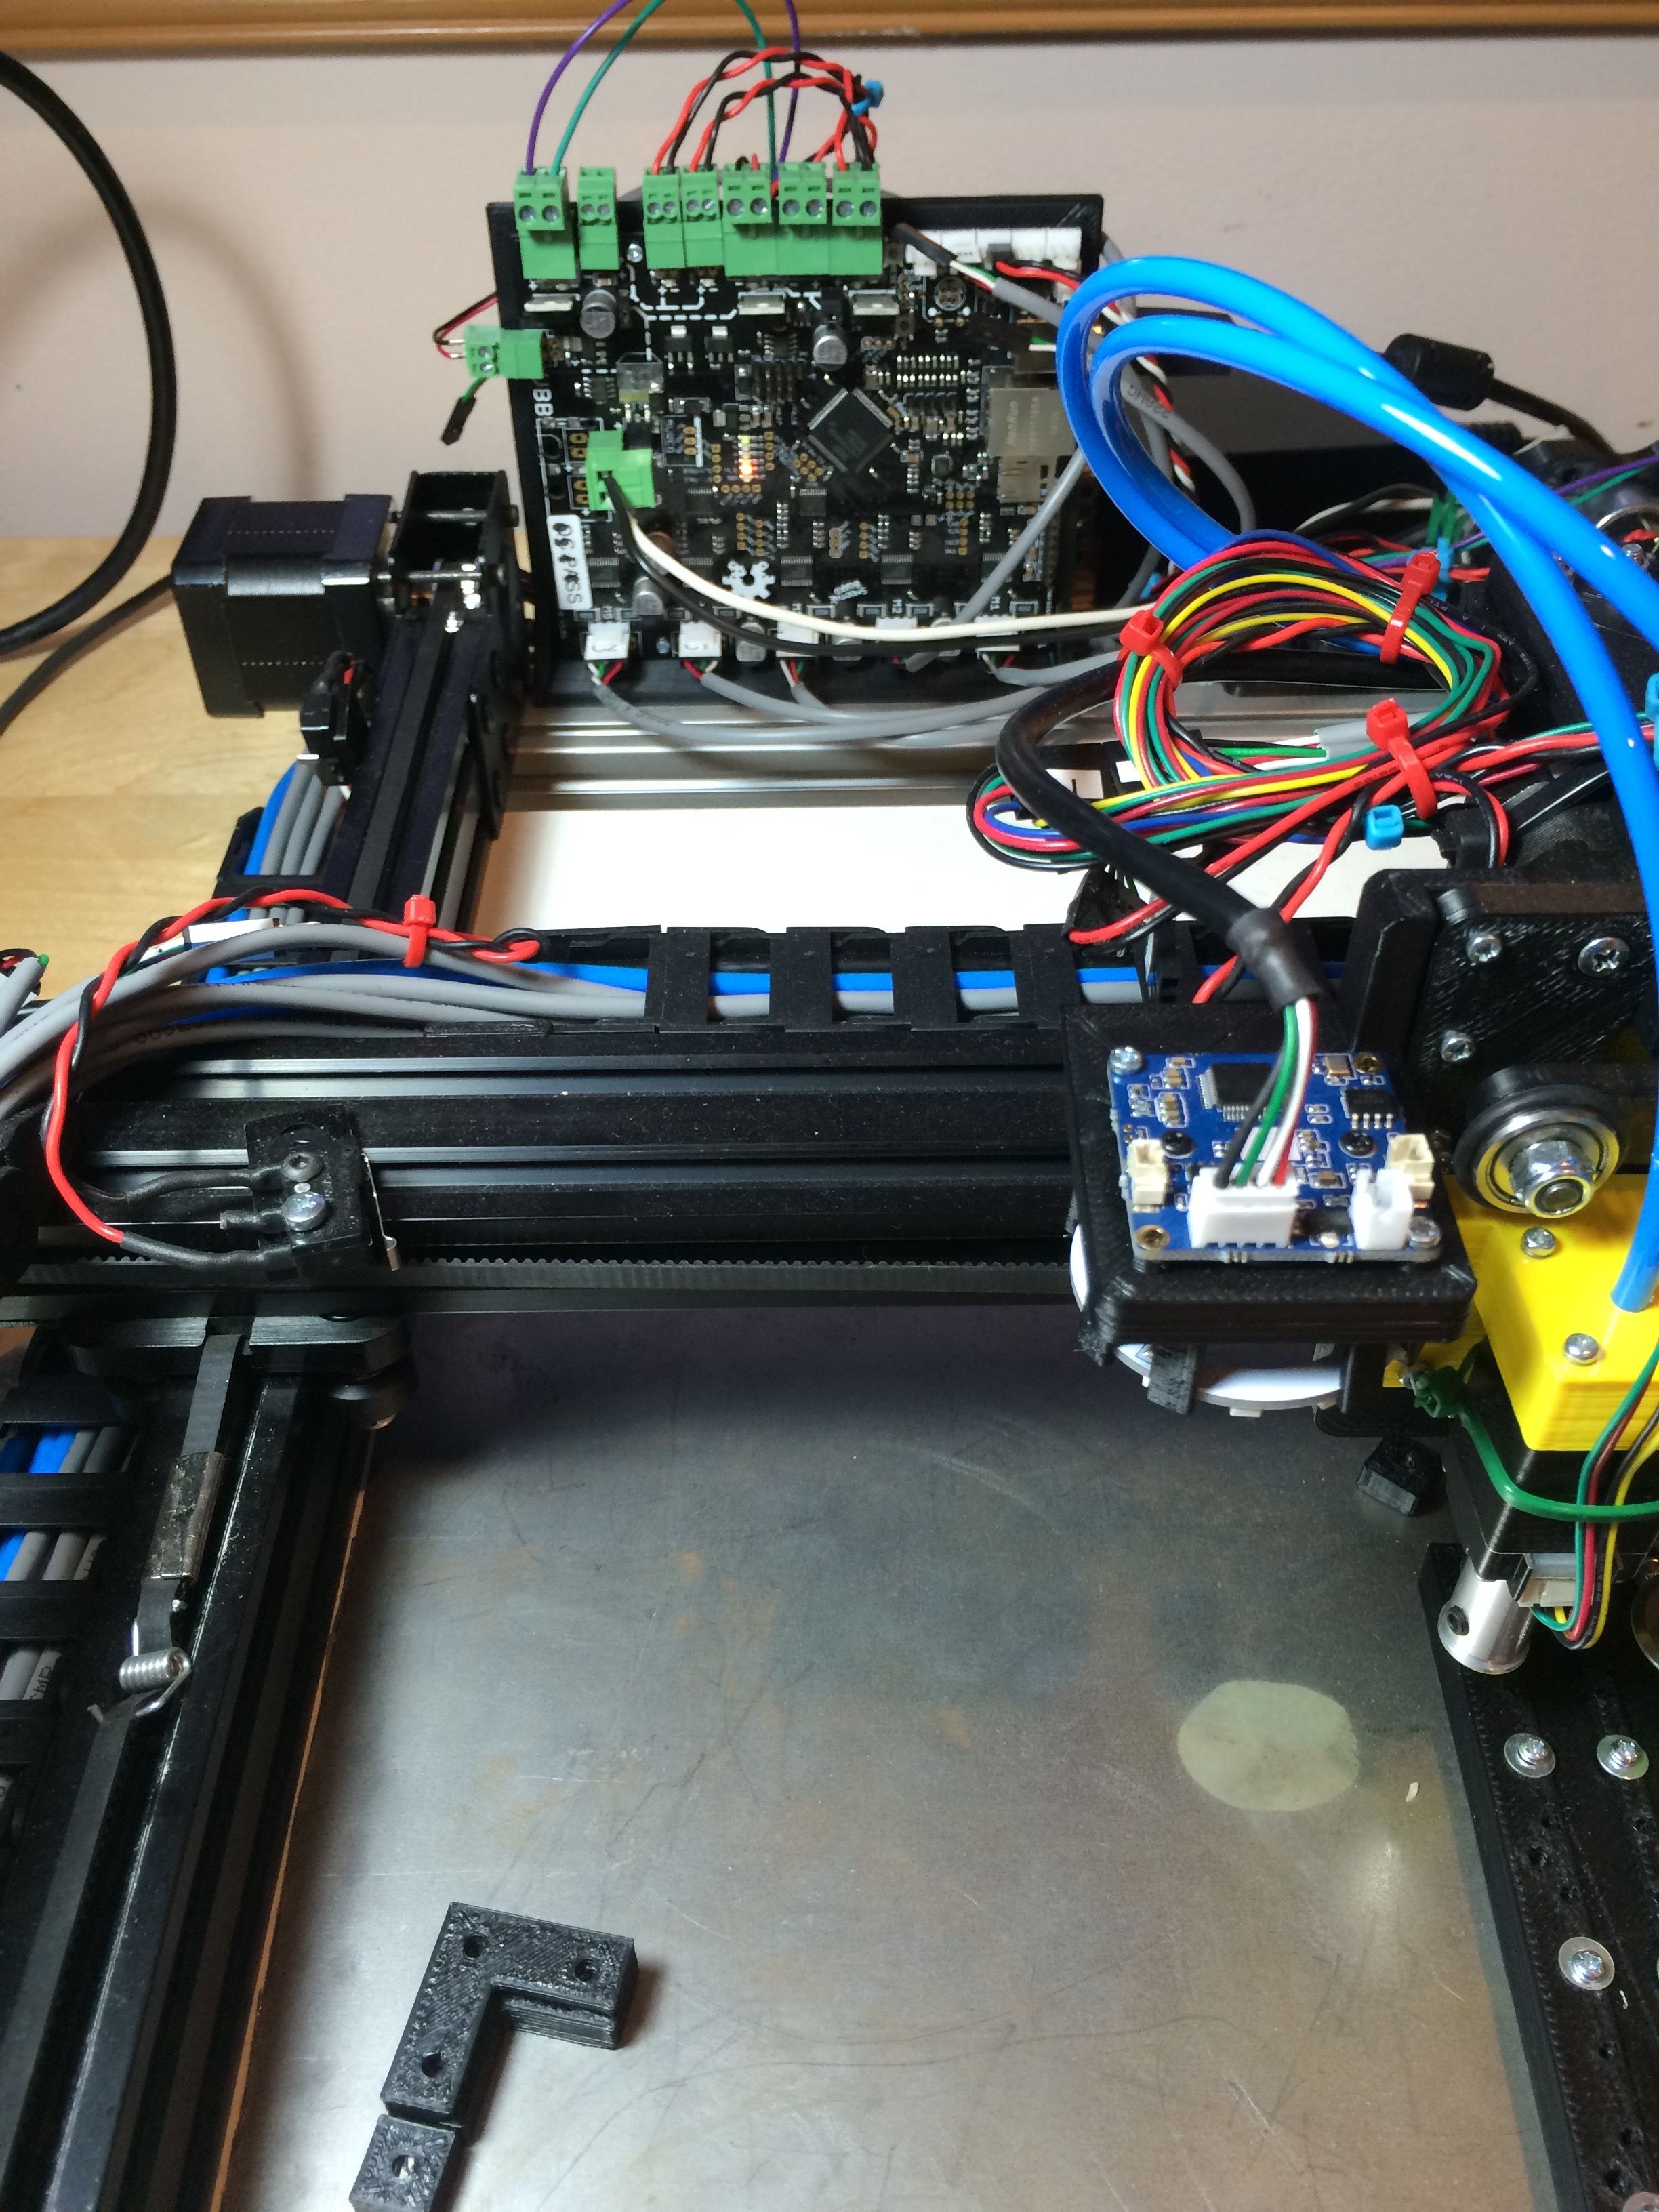
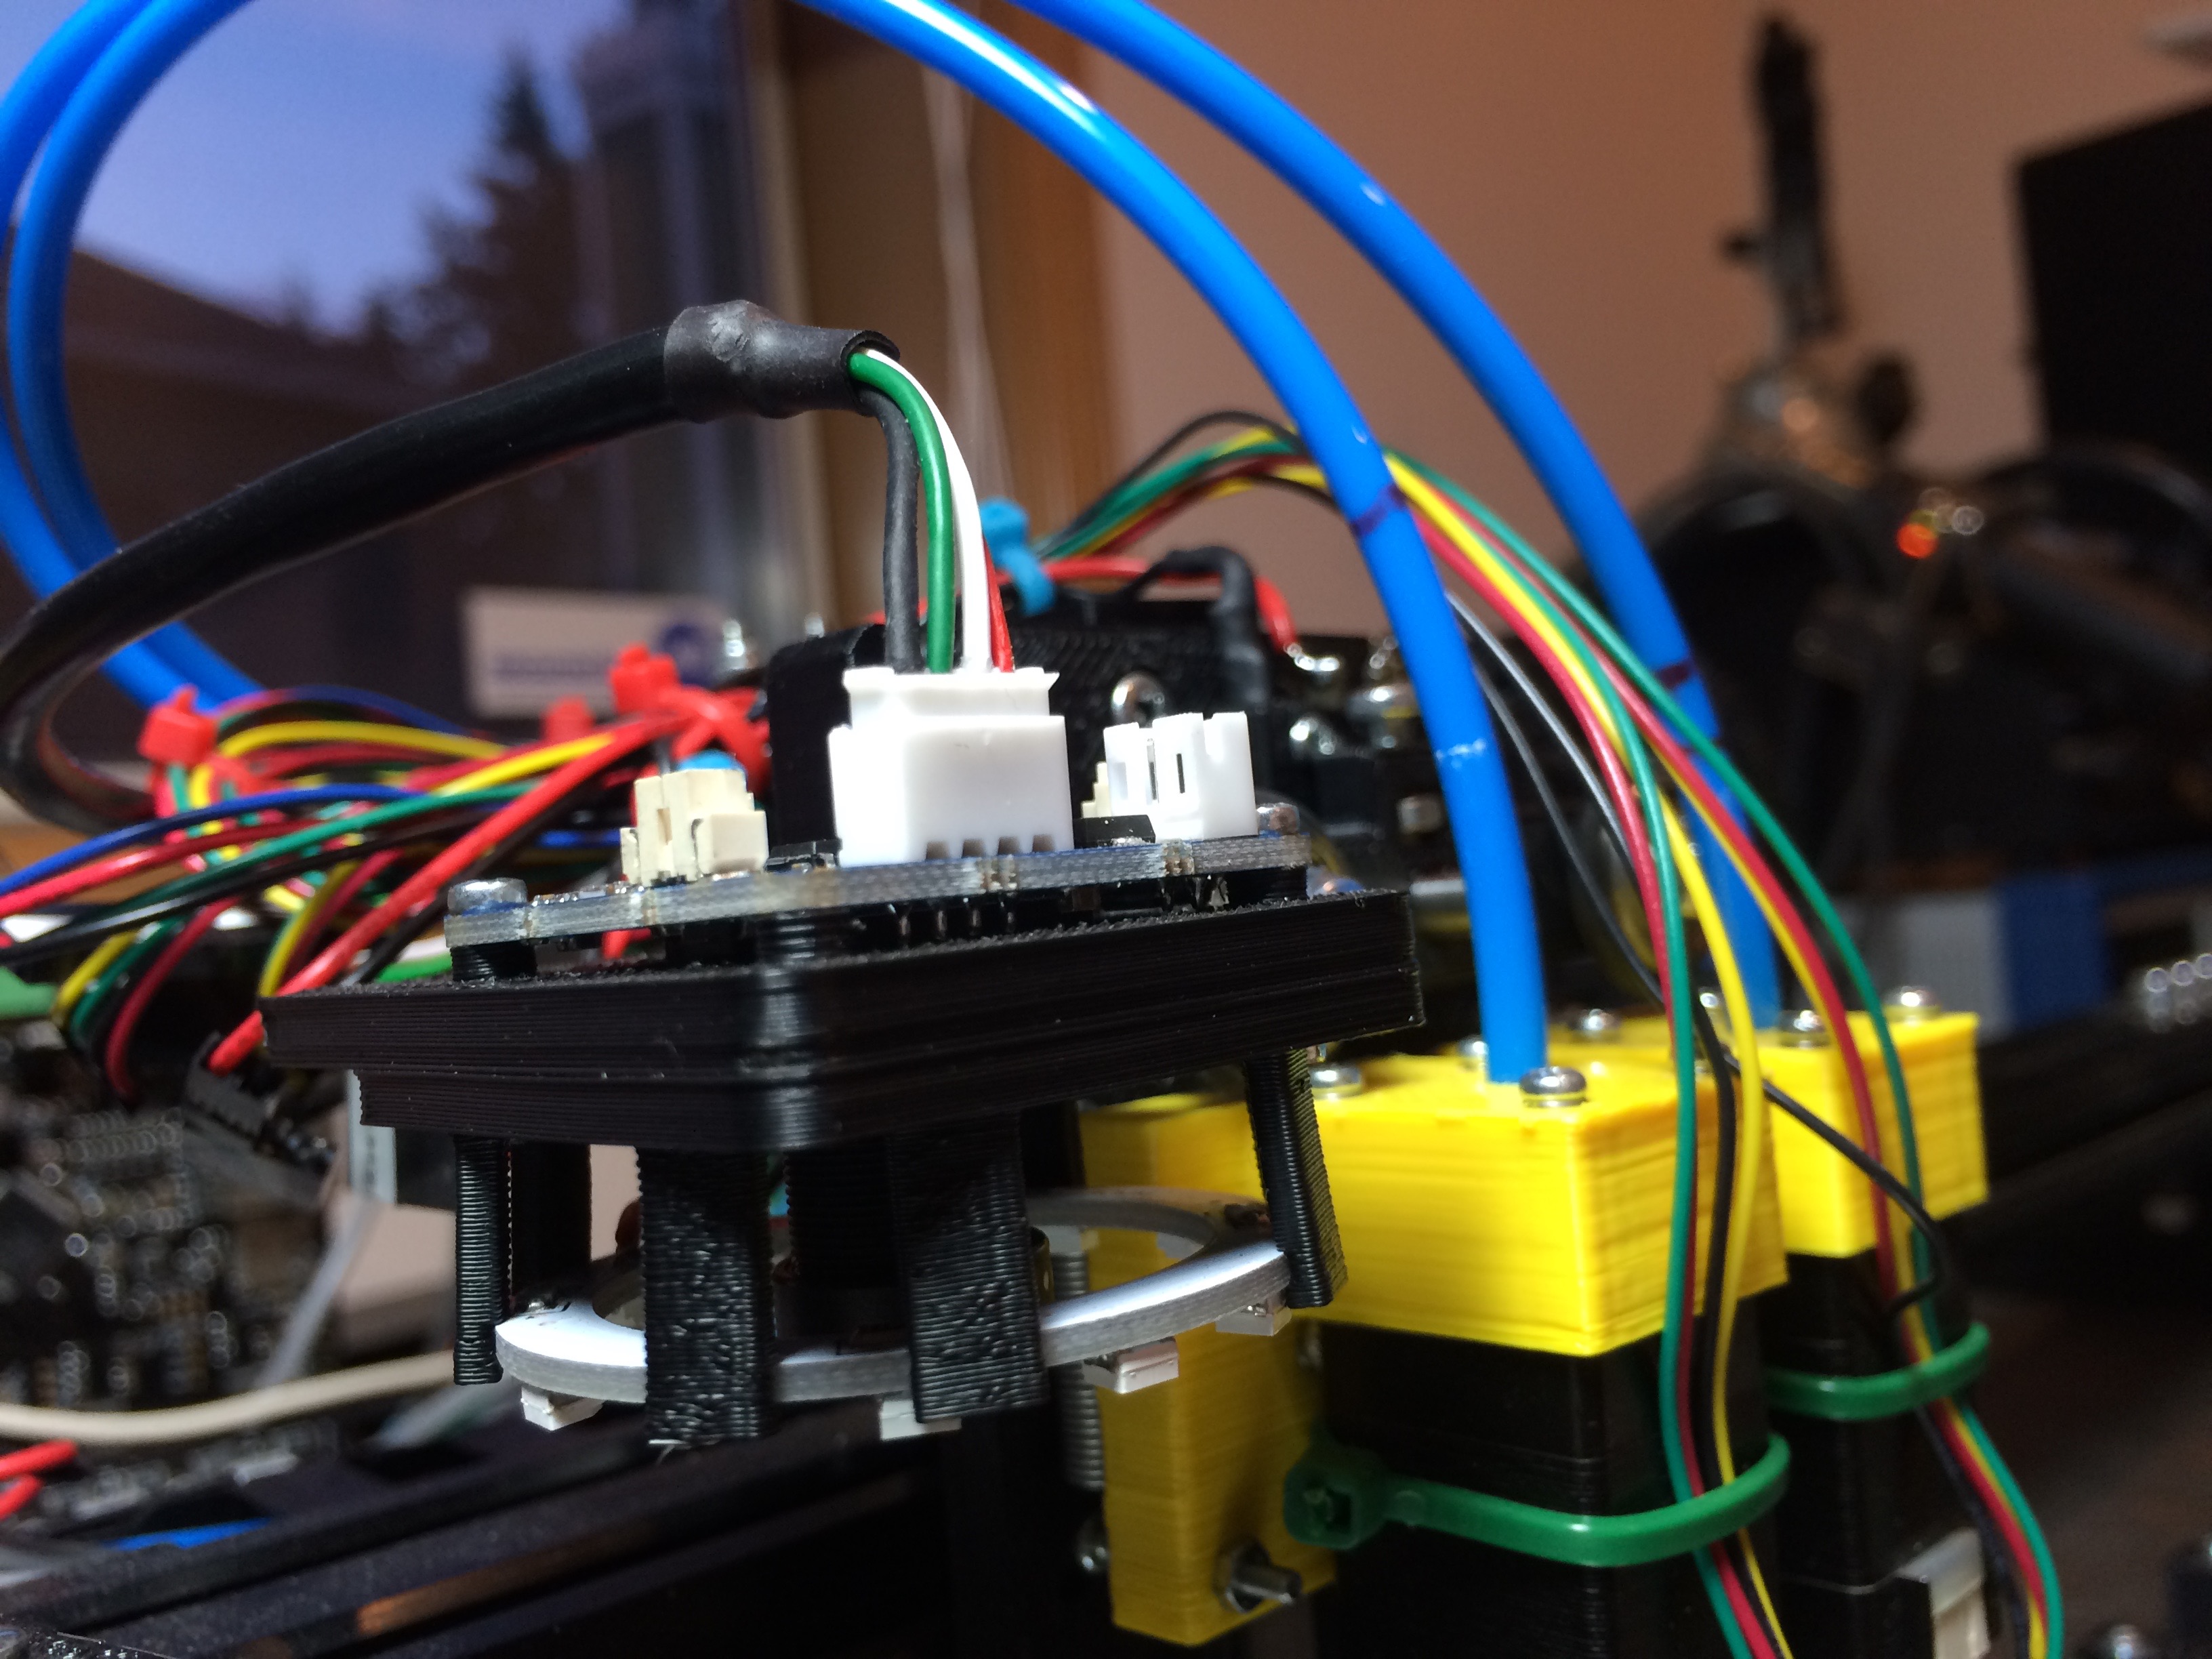
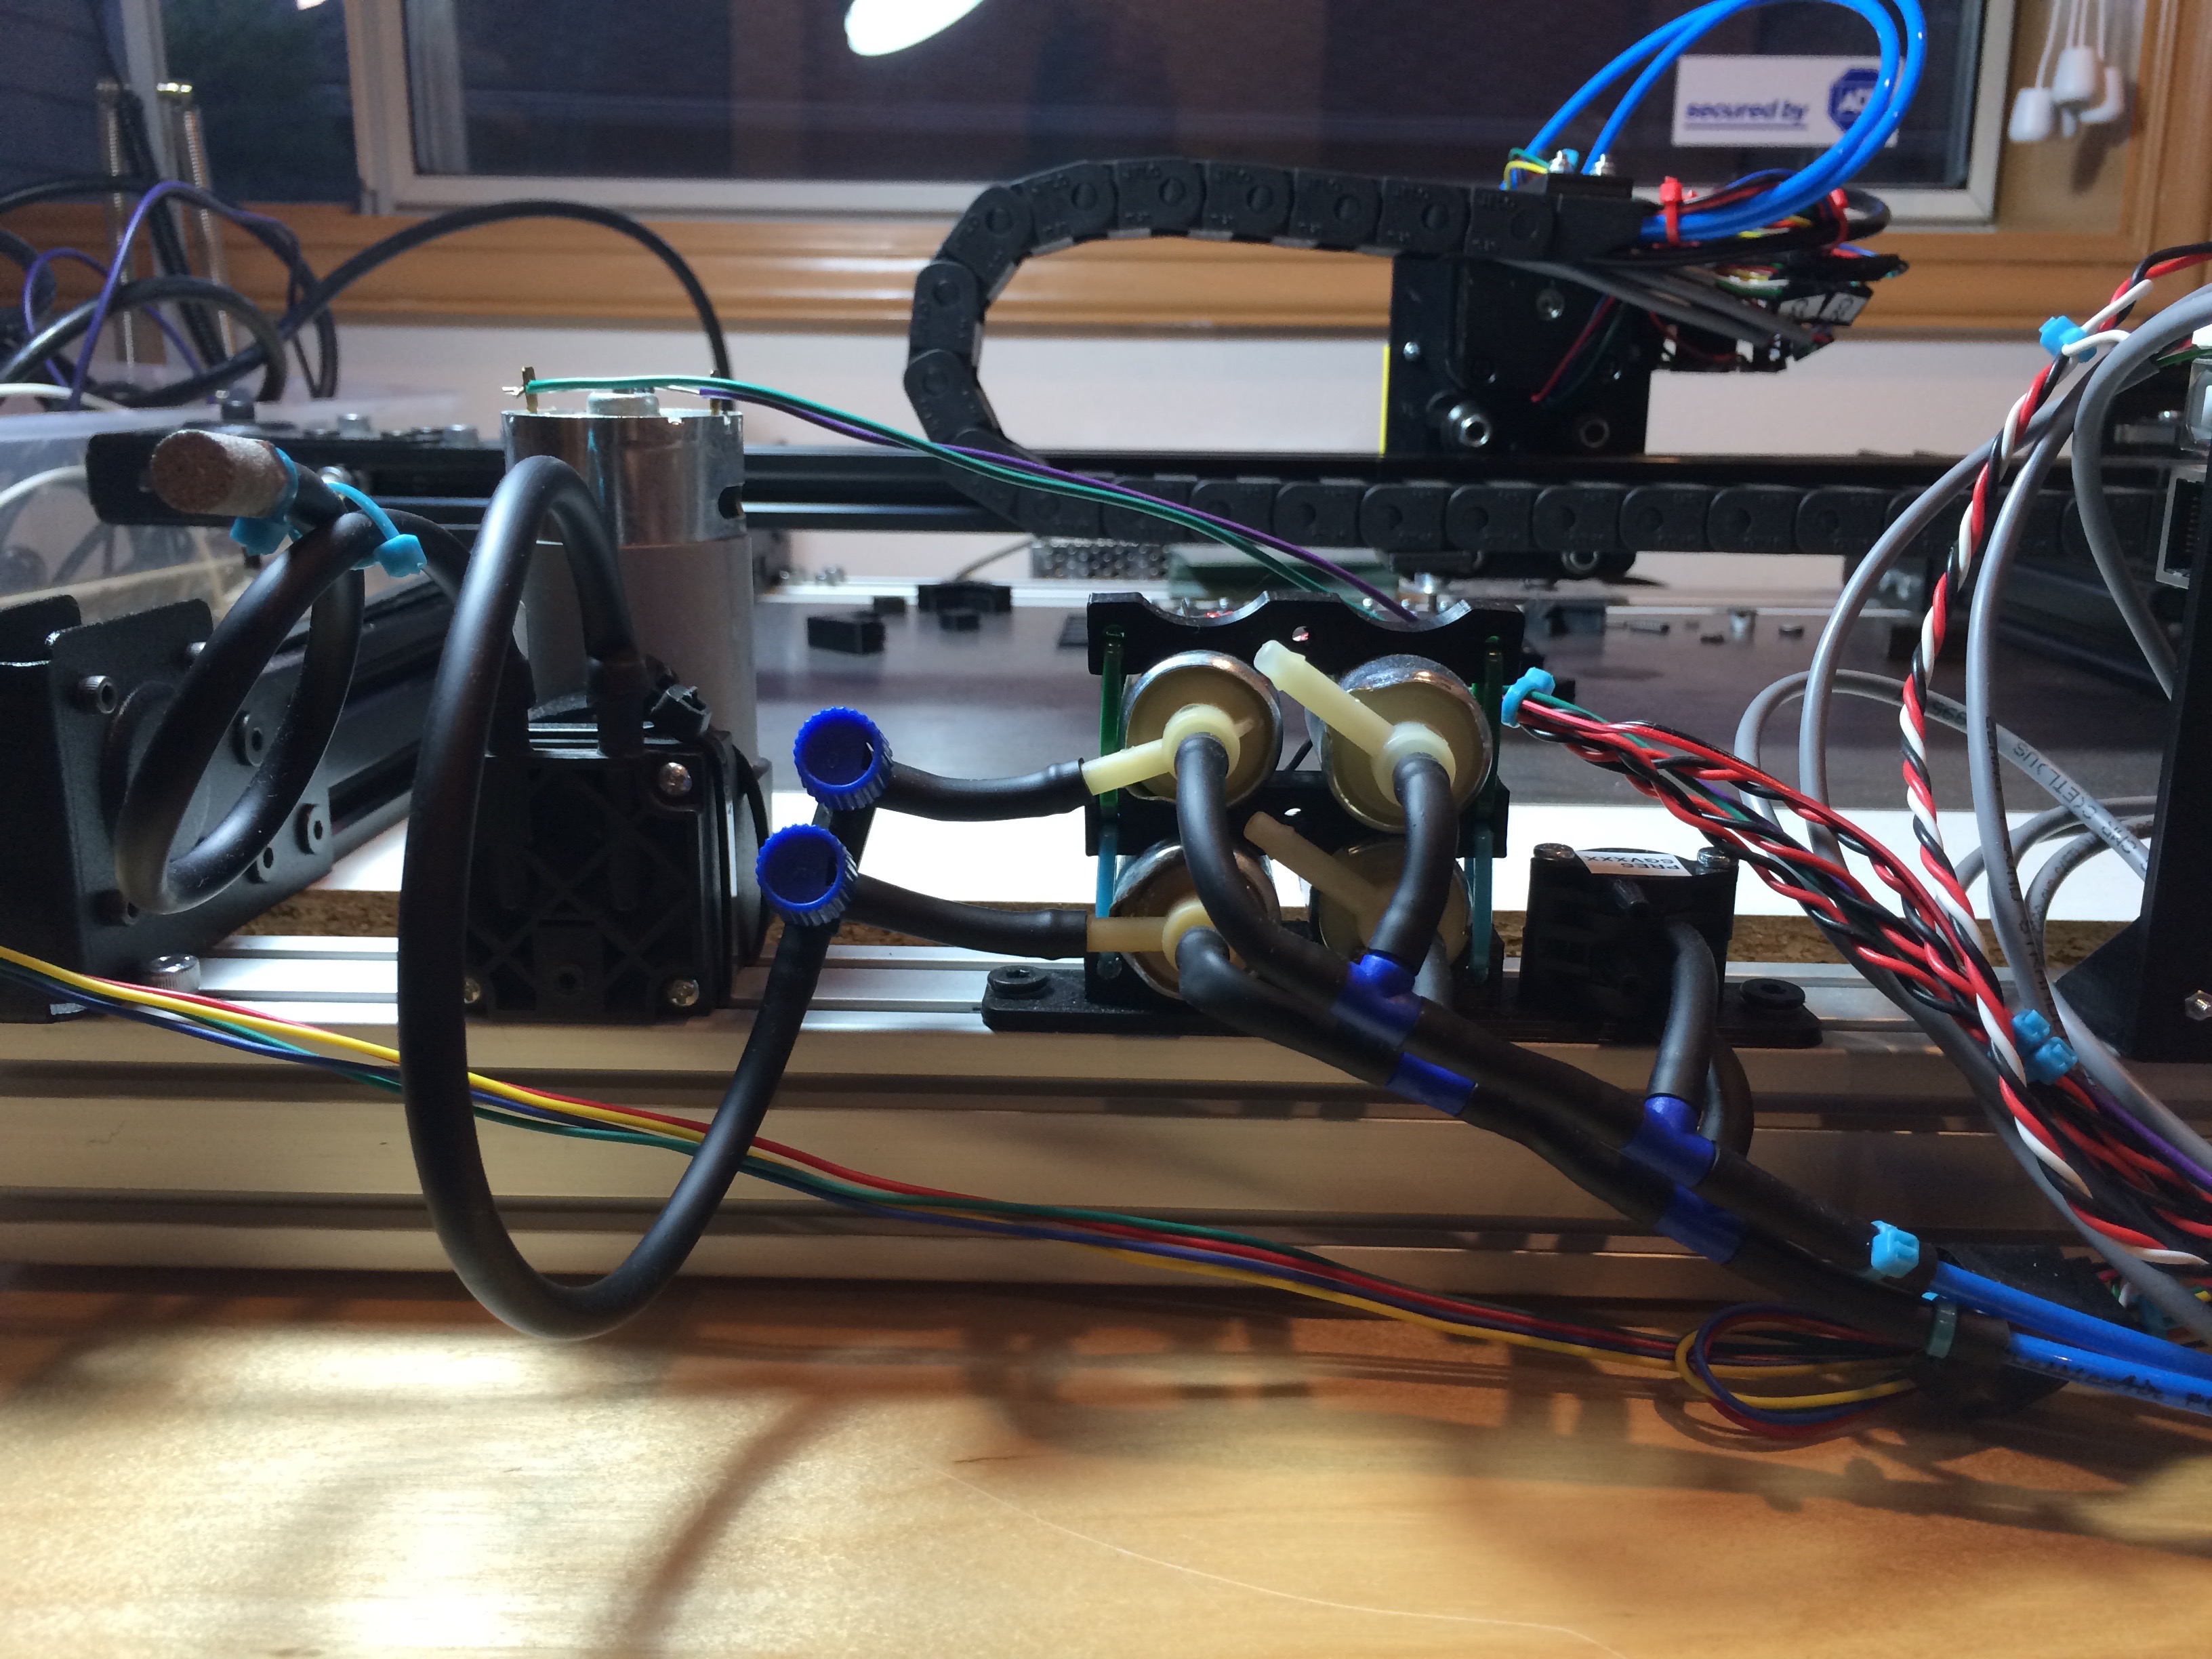
The electronics are pretty basic, especially if you've built any type of CNC machine previously. See the Electronics and Plumbing Diagram for the layout. Pay very careful attention to polarities when hooking things up and when you aren't sure, ask for help before applying power.
Note in the diagram below that the MOSFET polarities are not all in the same direction. Check your connections against the diagrams three times before applying power. Don't say I didn't warn you.
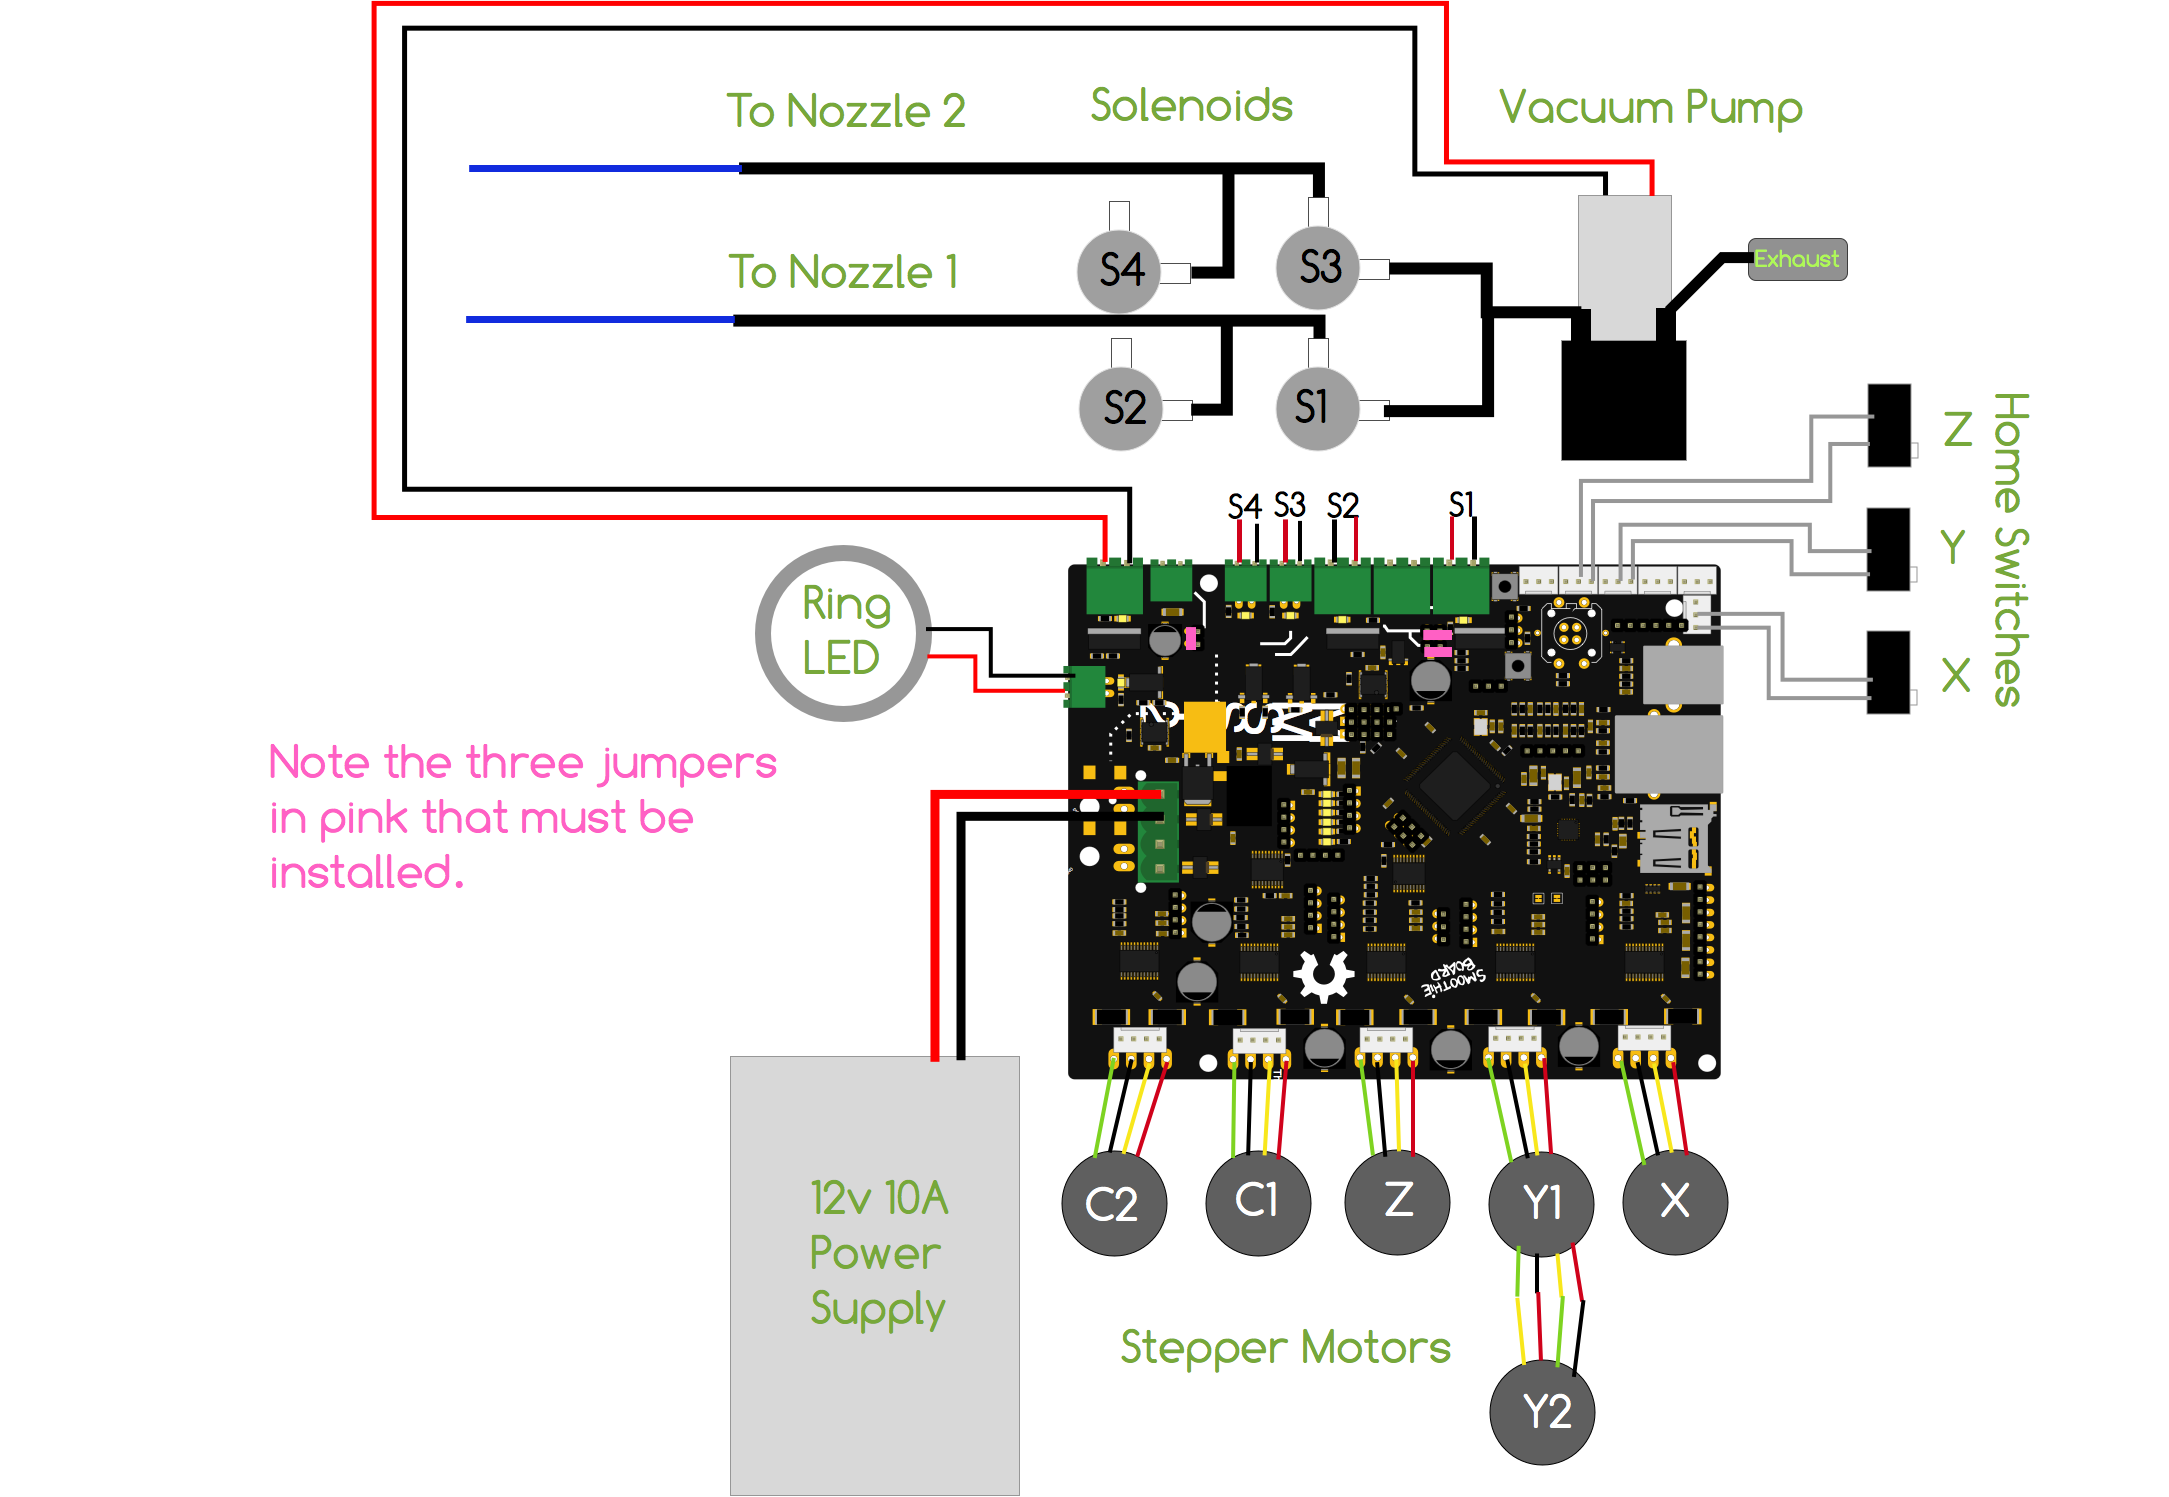
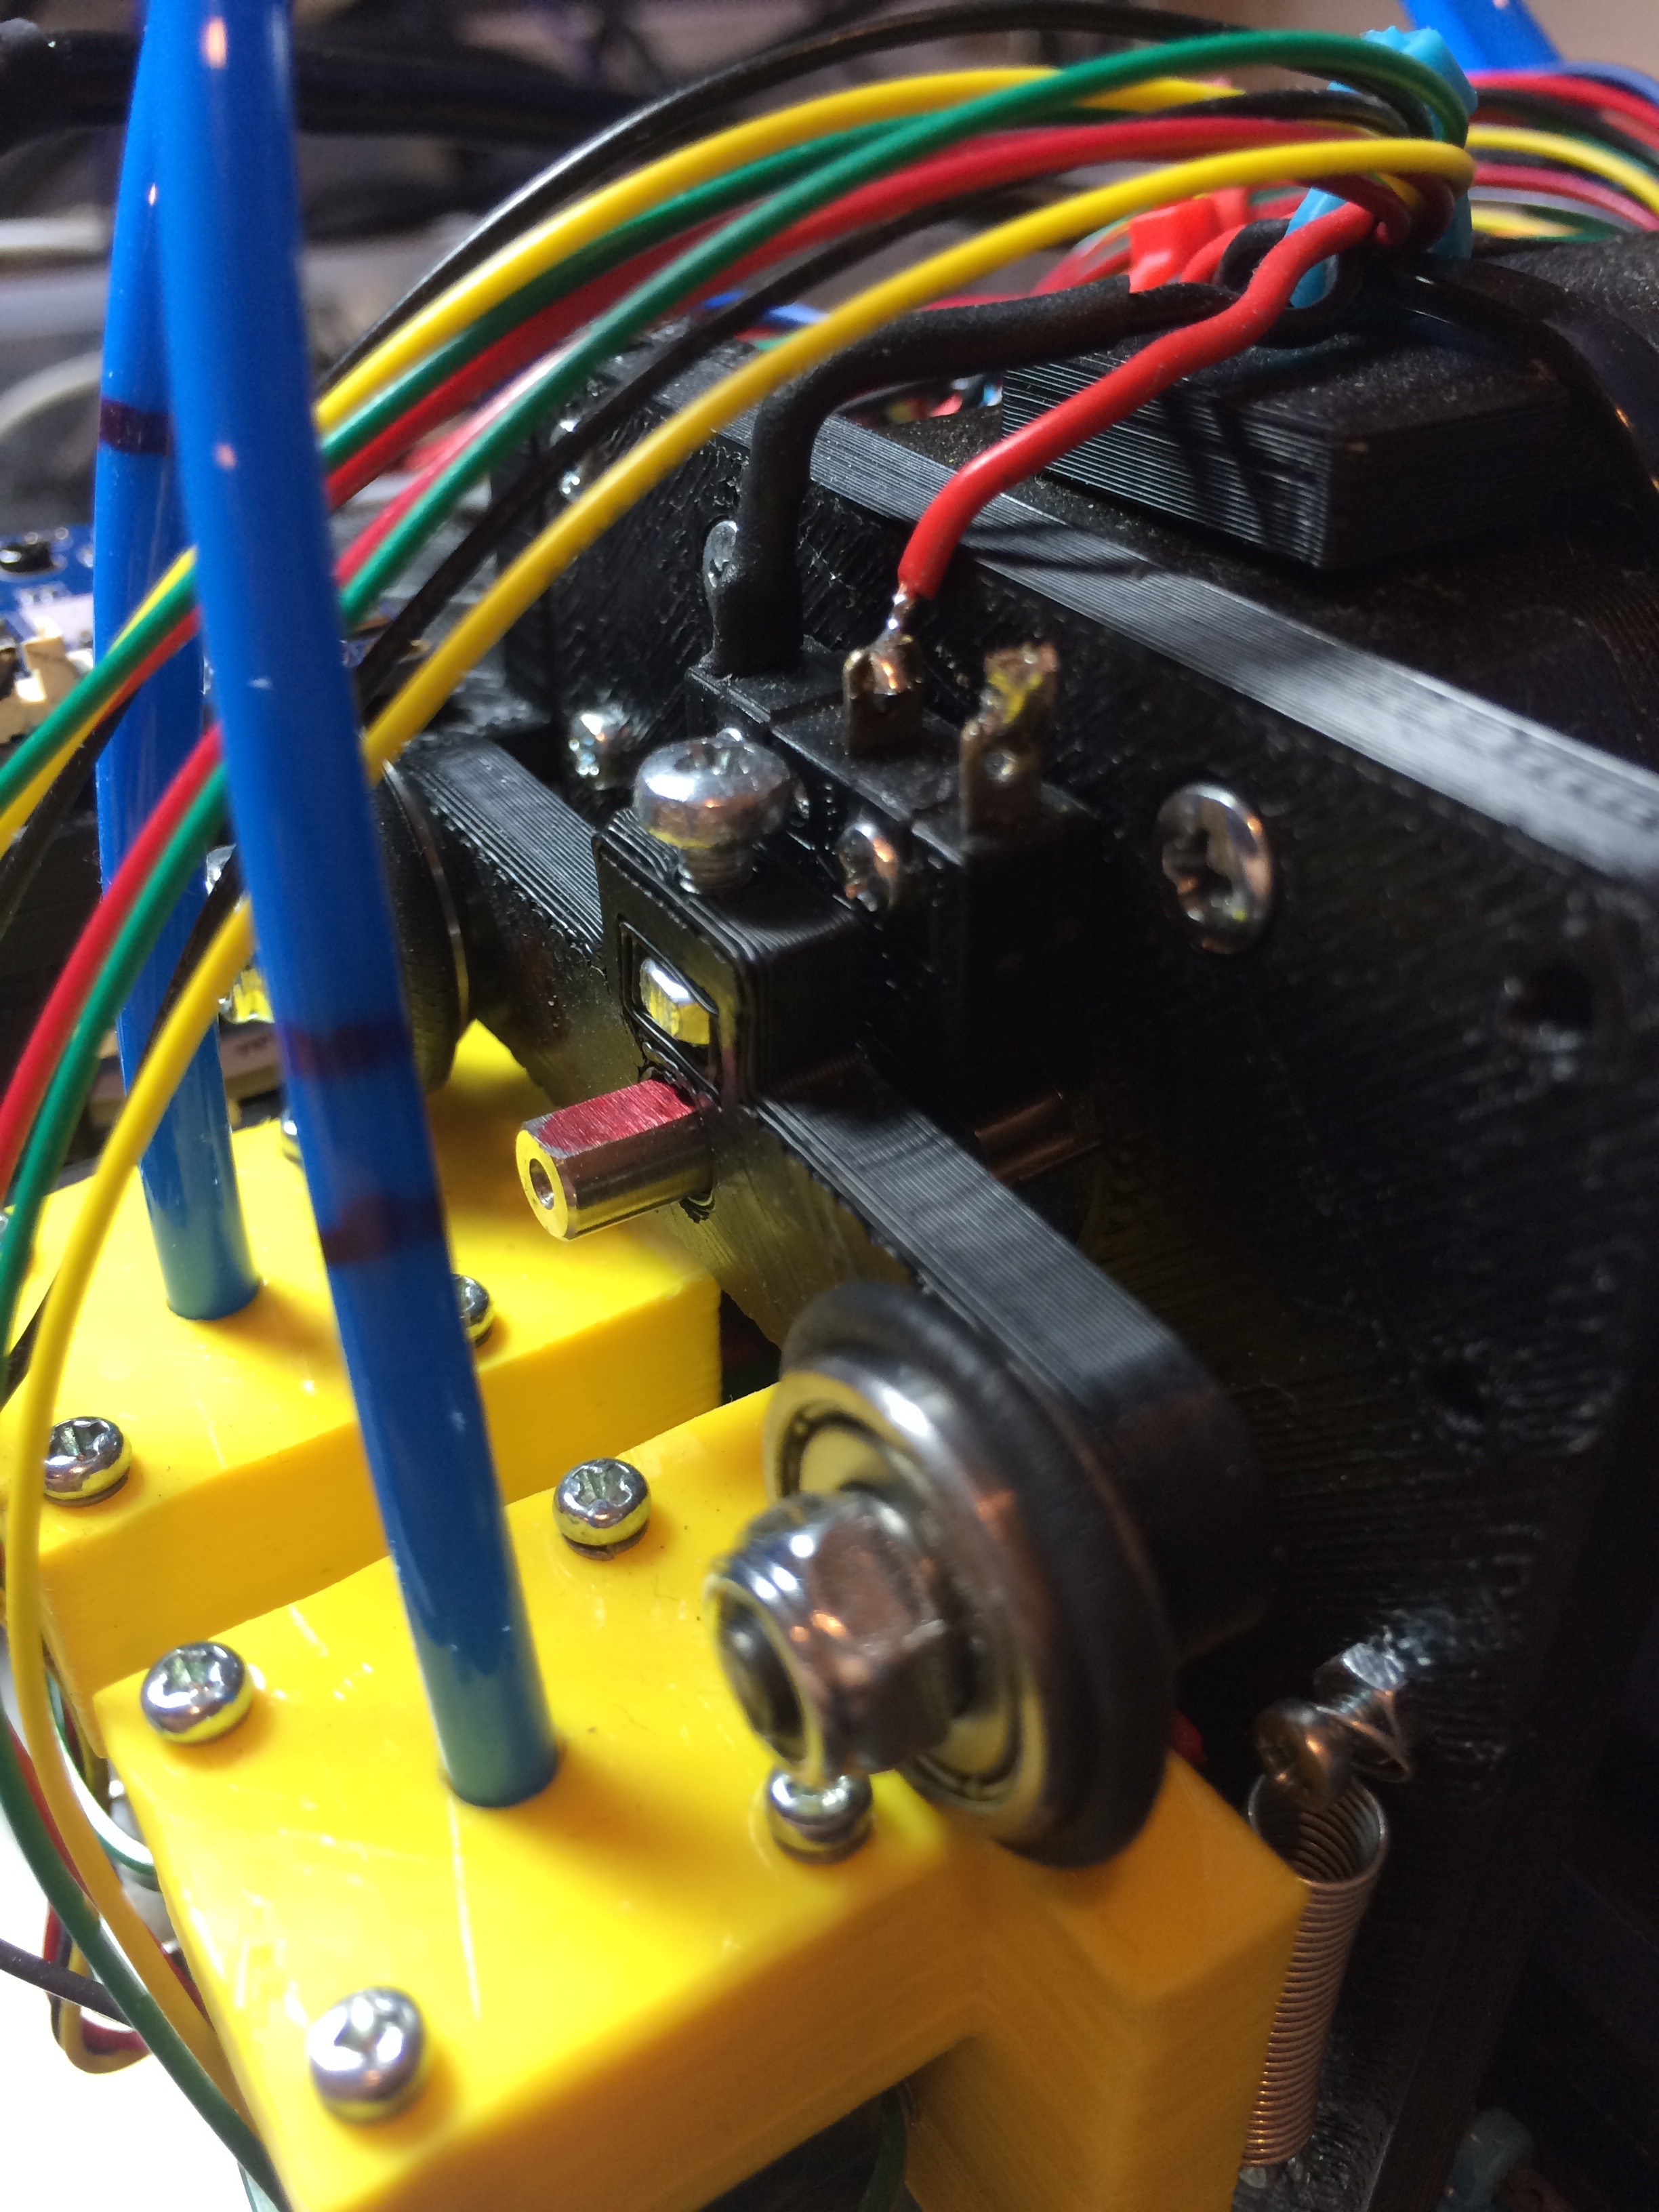
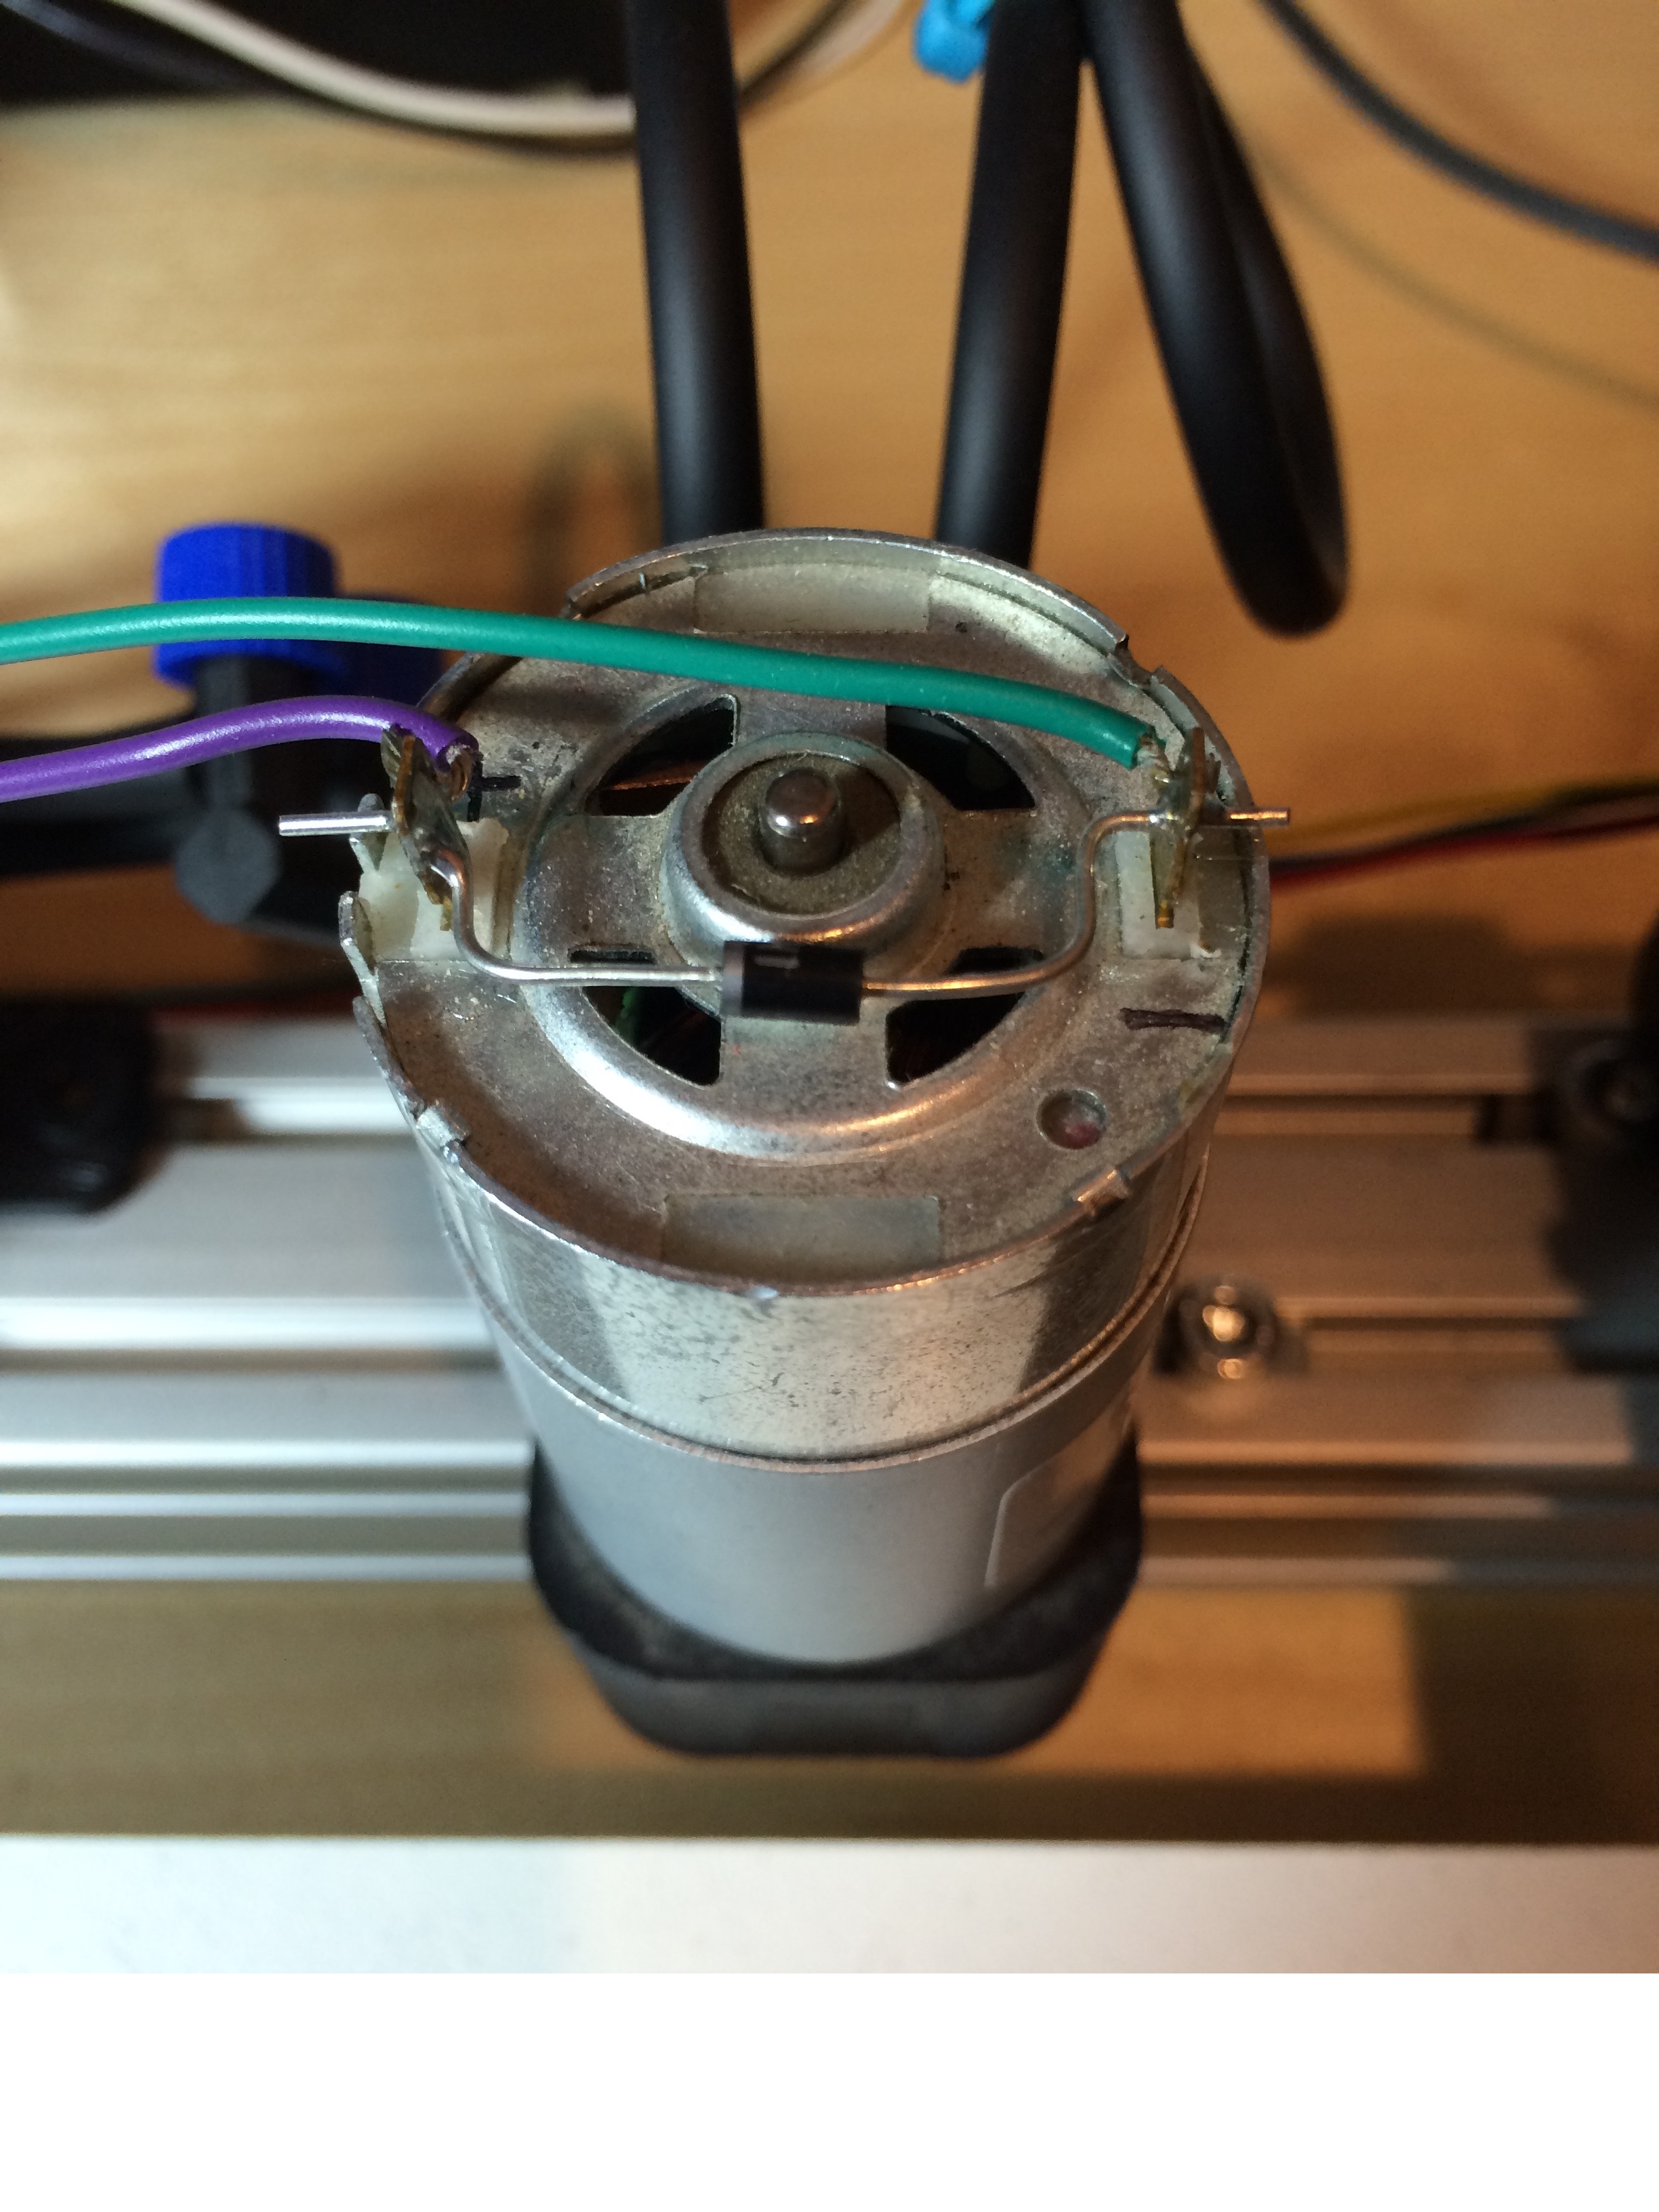
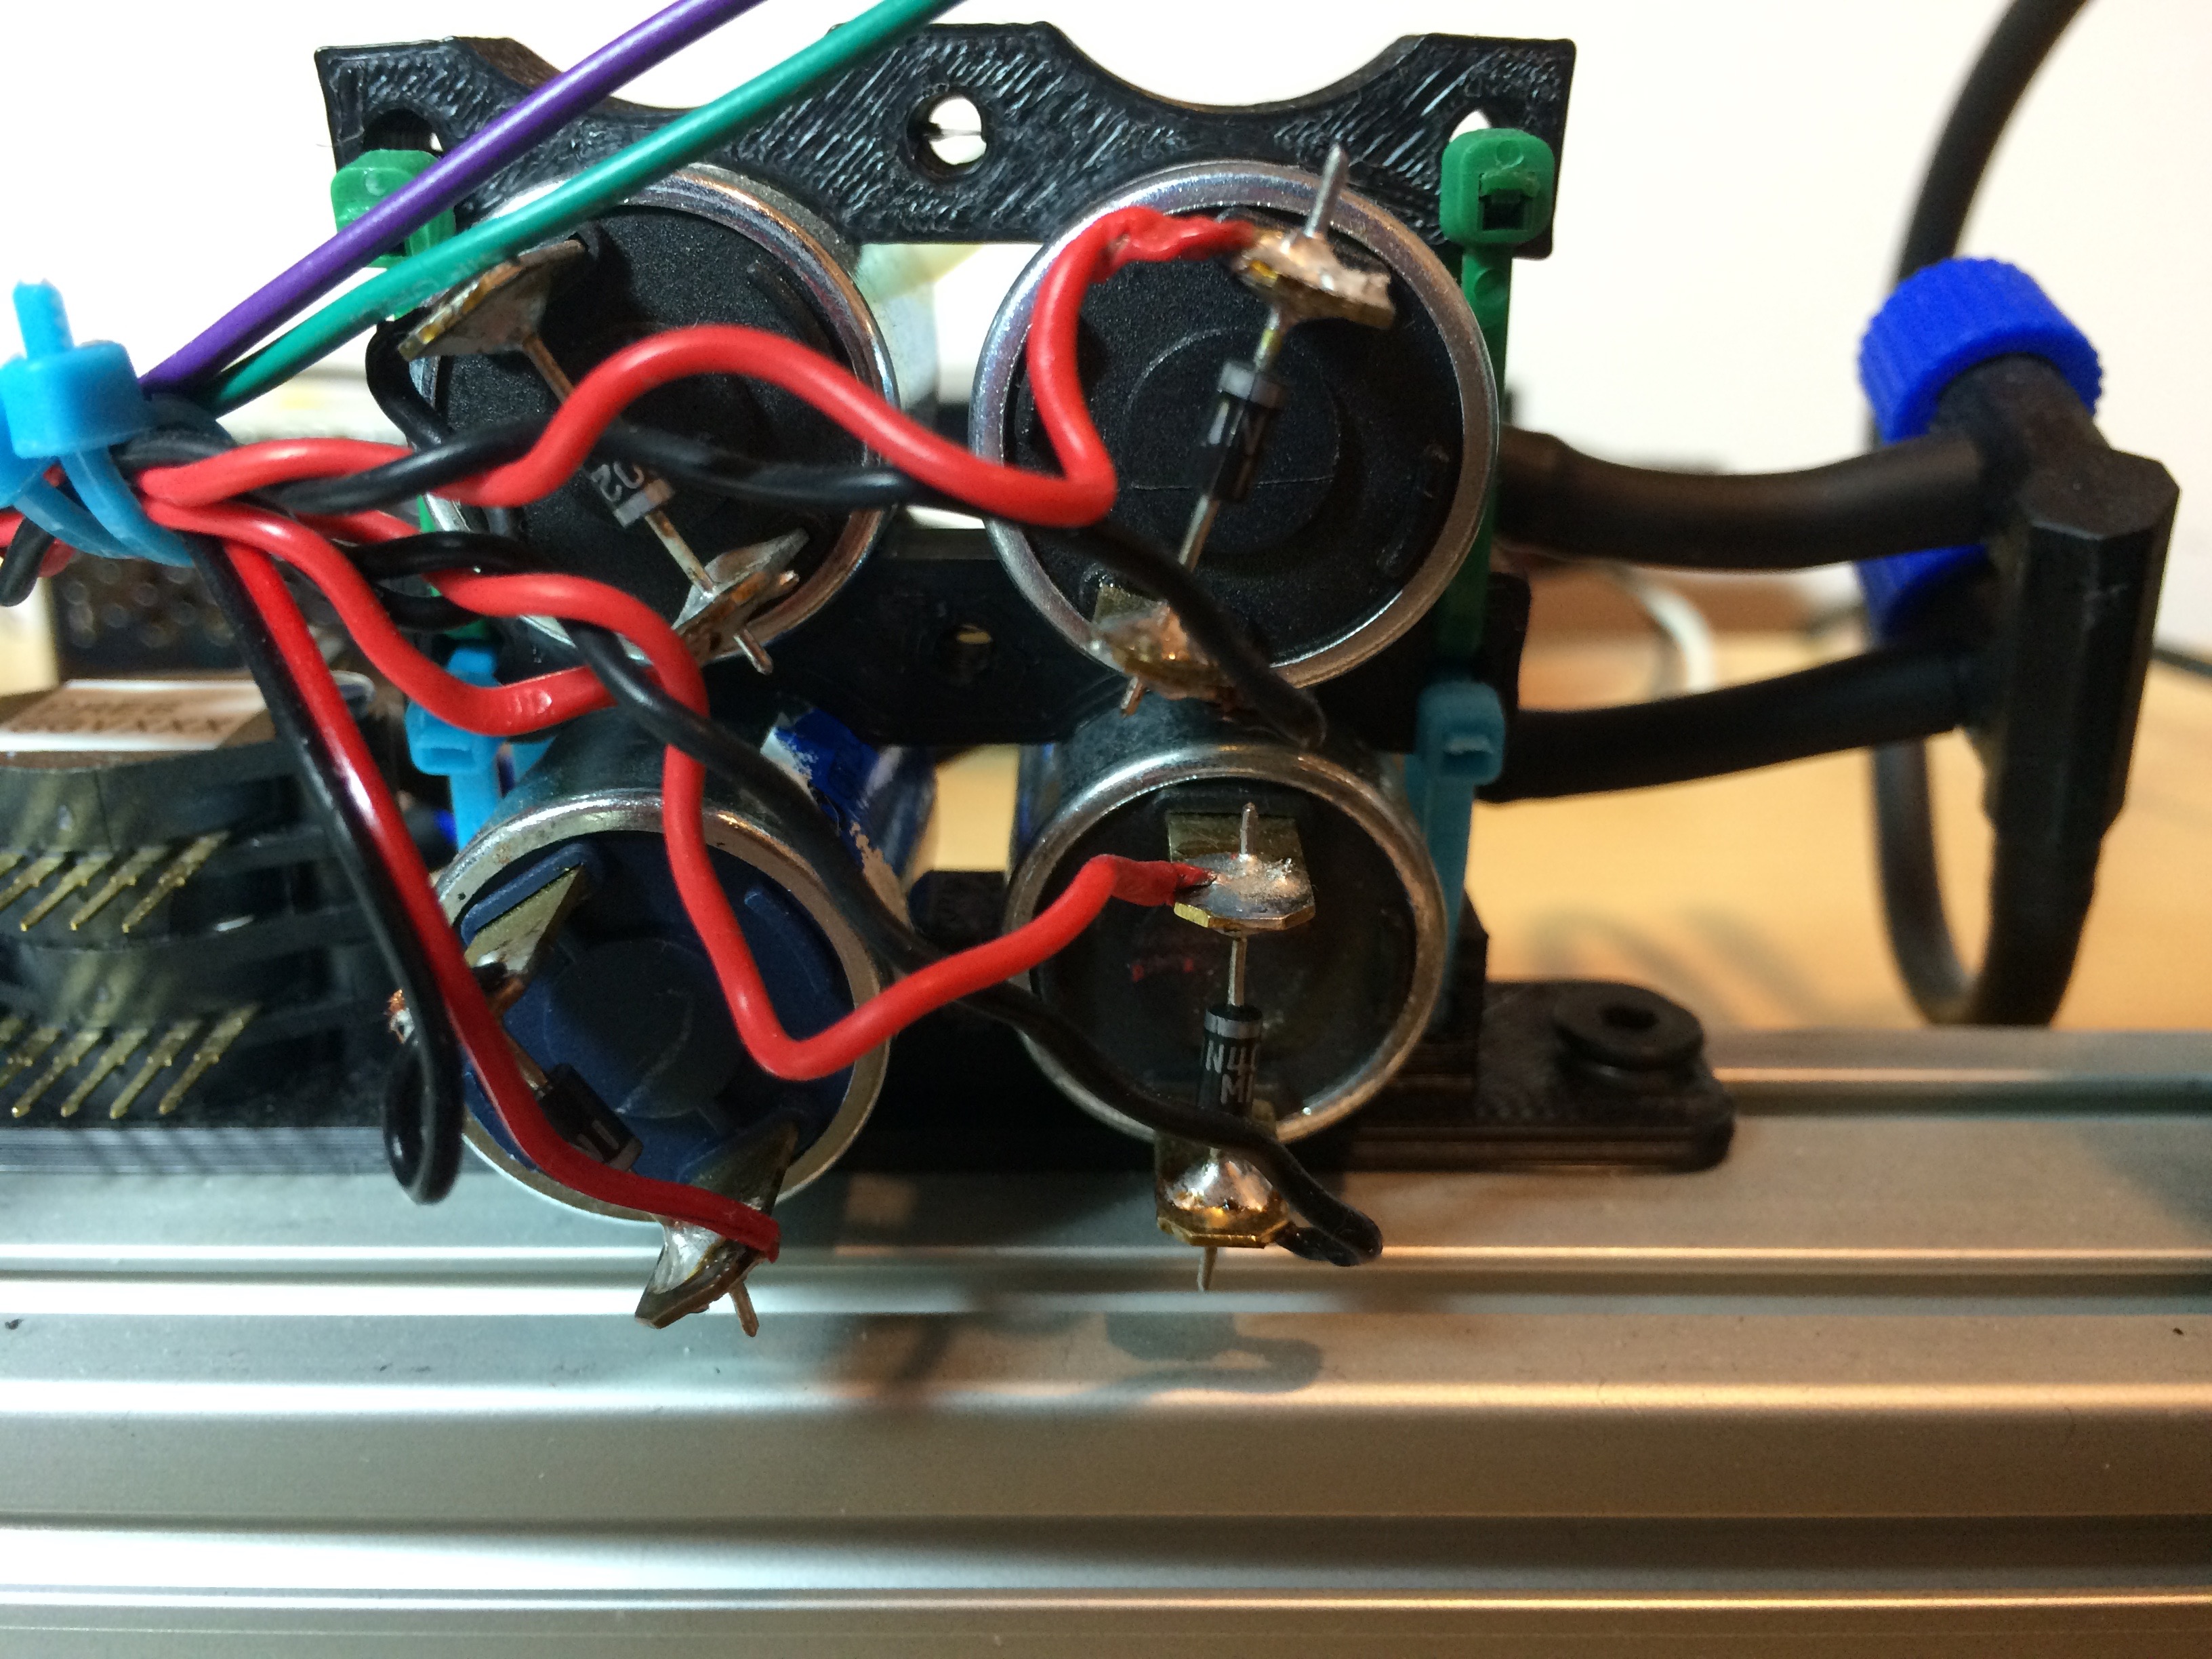
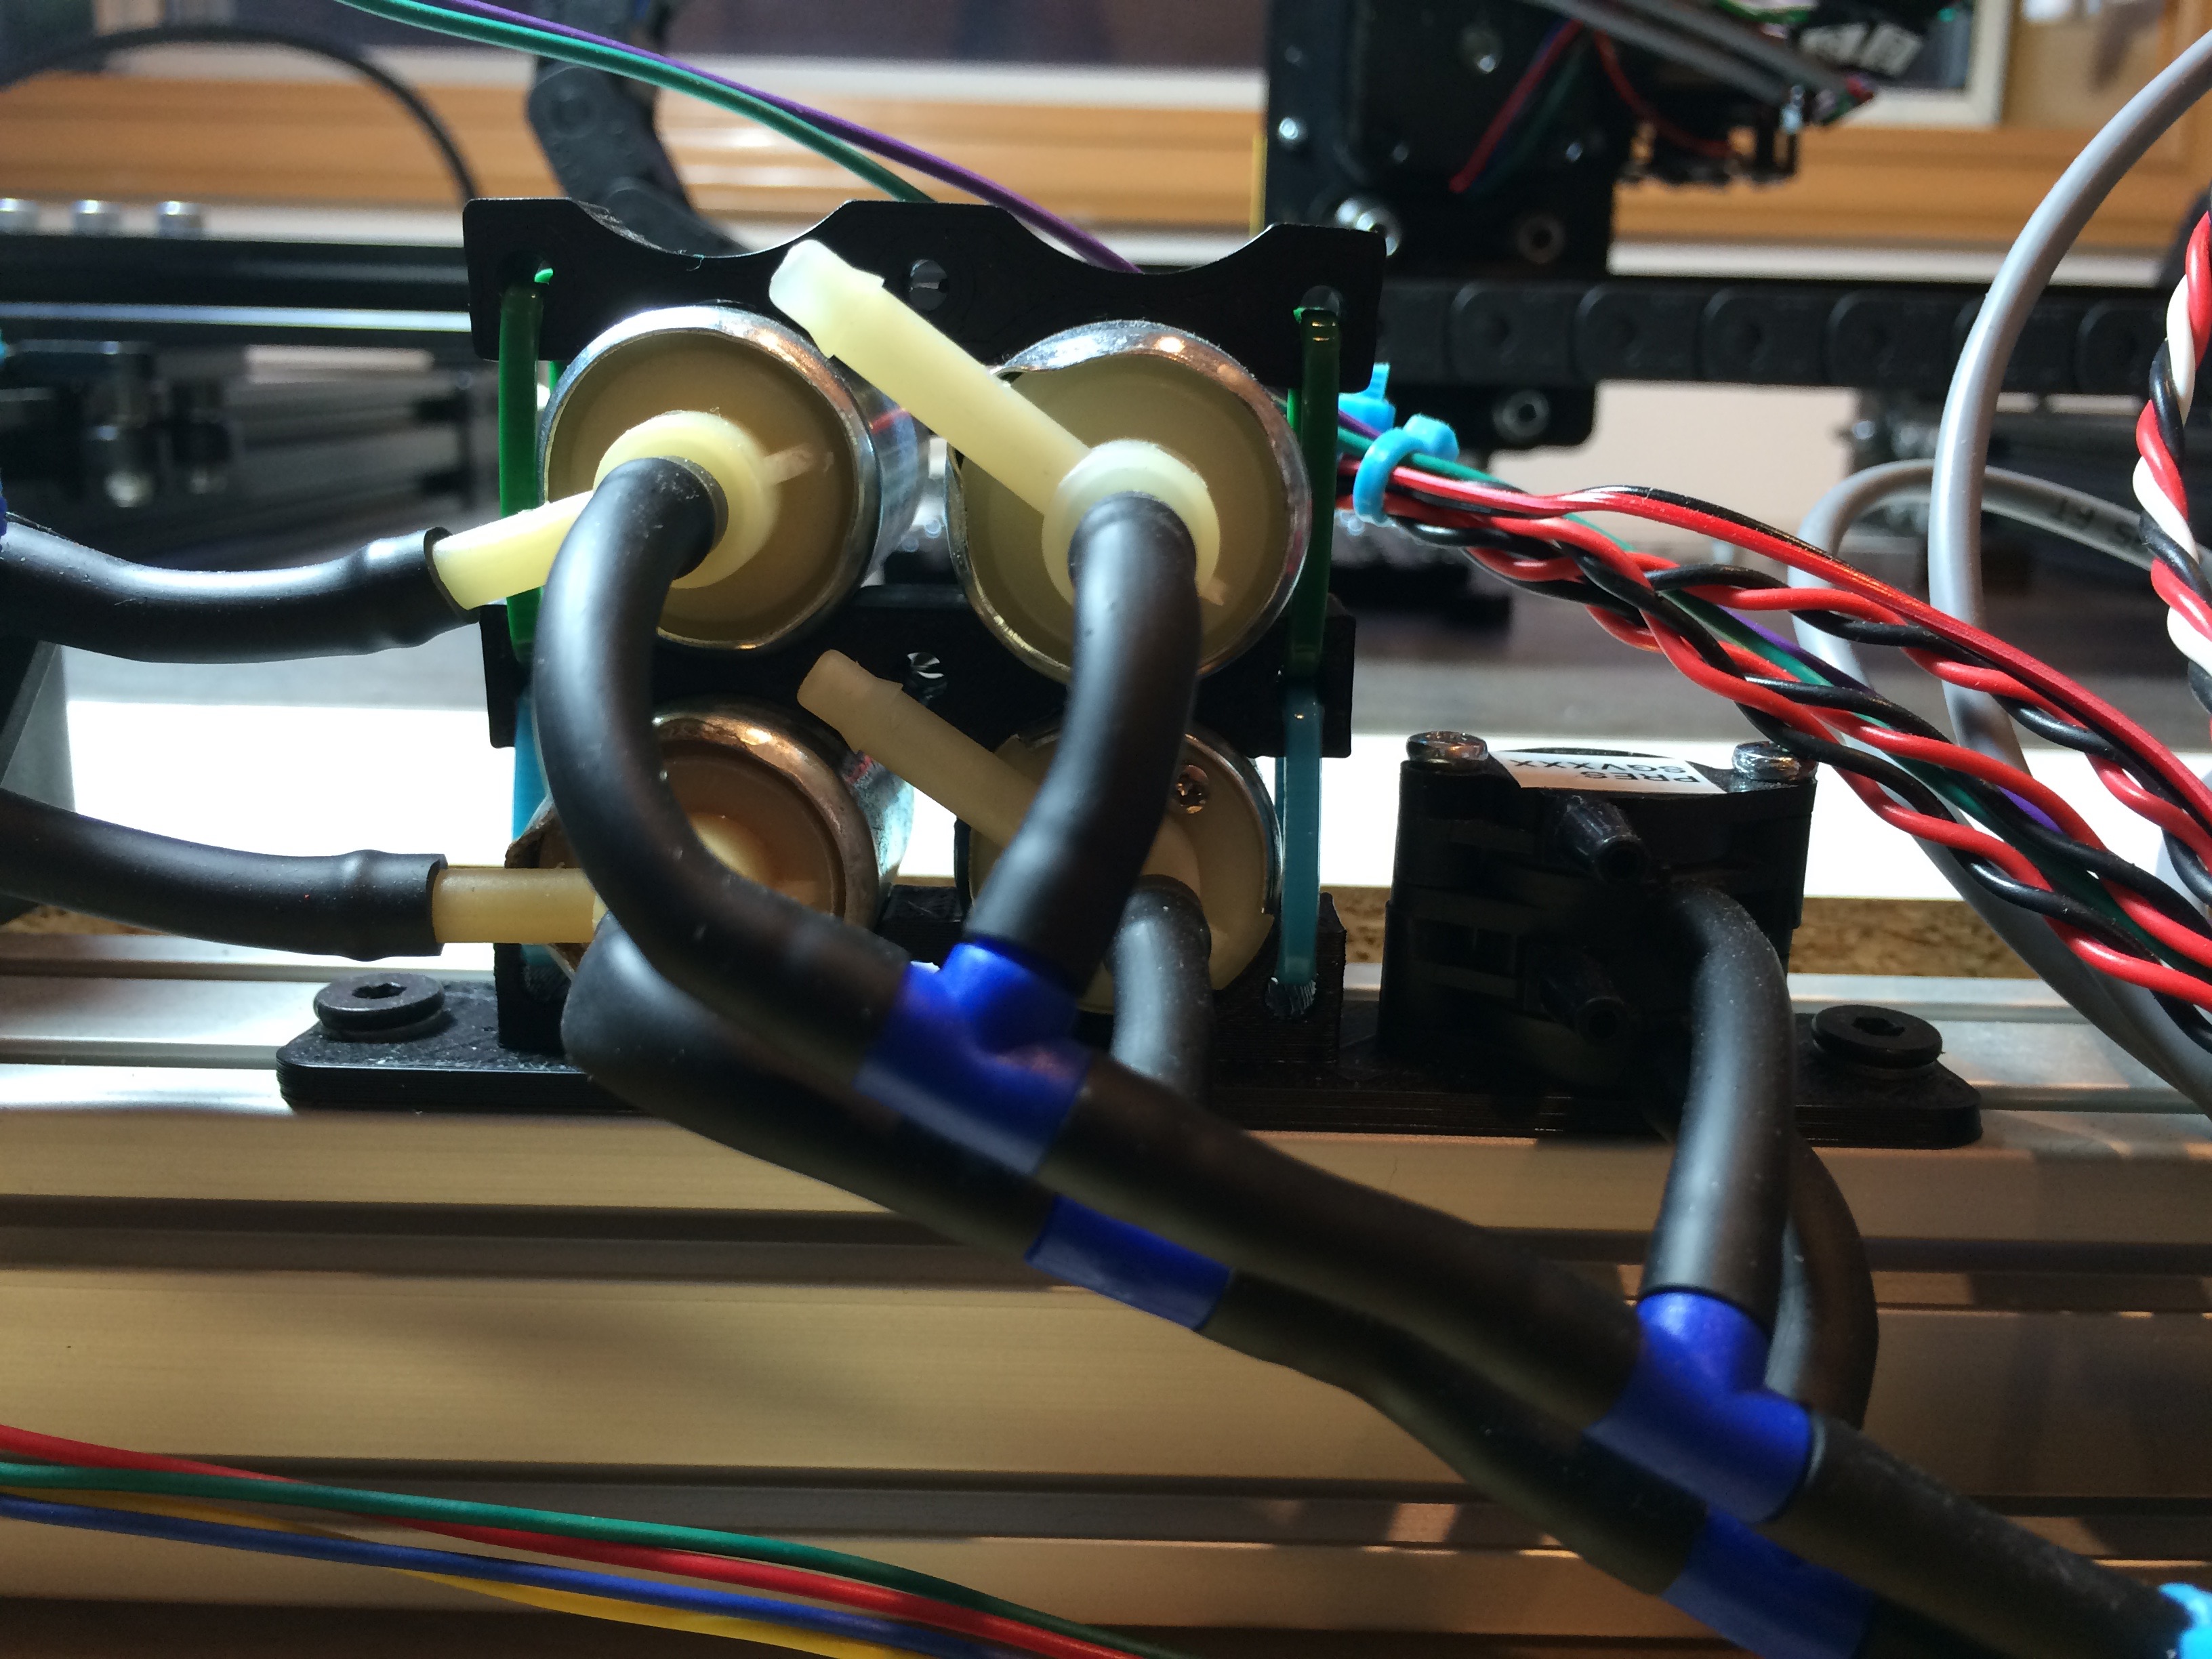
- Make sure to install flyback diodes on the vacuum pump and the four solenoids. You can use any basic power diode such as a 1N4001. The diodes should be installed so that the cathode (line) connects to the positive connection and the anode to the negative. See the photos for an example.
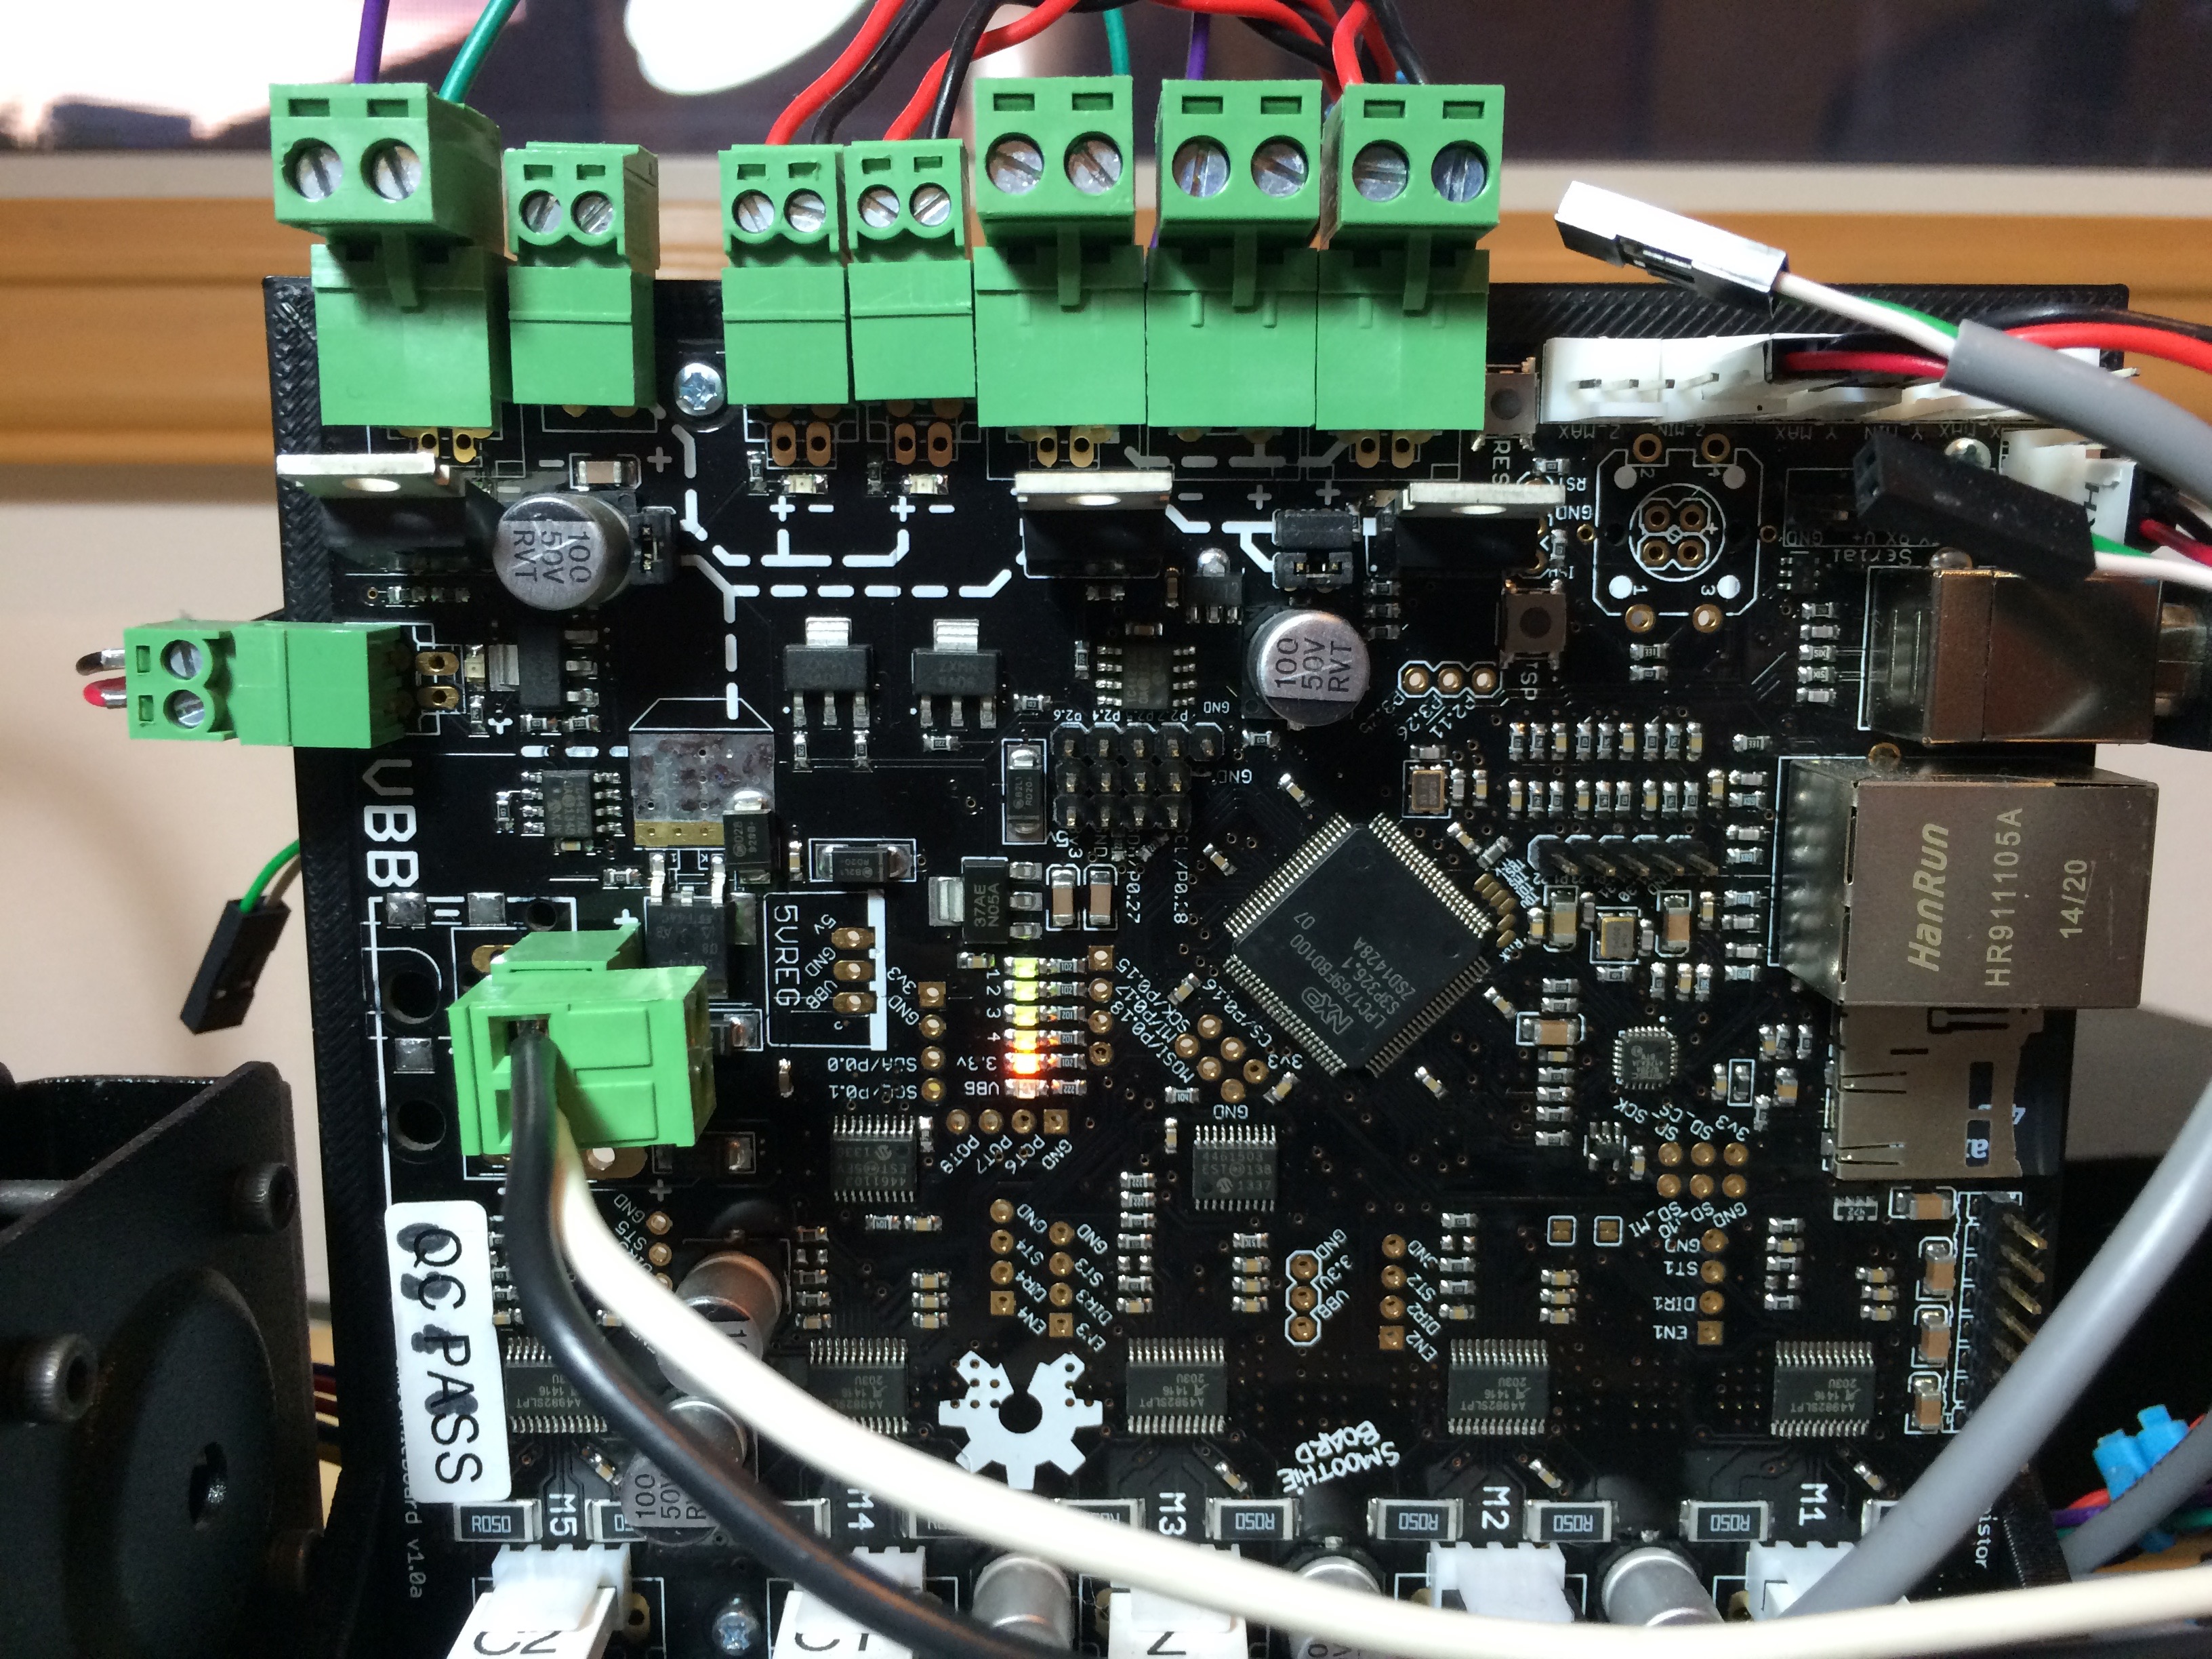
- You'll need to solder and install 3 jumpers on the Smoothieboard. See the Electronics and Plumbing Diagram for the location of the jumpers and the photos for a detailed look at them installed.
- When setting up the power for the Smoothieboard pay very, VERY close attention to polarity. The Smoothieboard is labeled in a very confusing way.
- See the Electronics and Plumbing Diagram for an overview.
- Zip ties can be used to join the large aquarium tubing to the smaller hard tubing. Just slide a few inches of the smaller tubing inside the larger and clamp it down with a small zip tie.
- You can also use zip ties to mount the exhaust to a short jumper of tubing.
- Gently heat the end of the large tubing to fit it over the vacuum pump ports. Make sure you don't get it too close to a flame or it will deform.
- The hard tubing terminates at the nozzles. On my prints of the C mount I was able to just cut the tubing at a little angle and then shove it into the C mount holes. If yours is loose just add a little hot glue to make a good seal.
- Note that the photos show pressure sensors. These are not currently used and should be left out.
- Install OpenPnP: https://github.com/openpnp/openpnp/wiki/User-Manual#installation
- Start OpenPnP at least once so that your configuration is created.
- Then copy https://raw.githubusercontent.com/openpnp/openpnp-openbuilds/develop/OpenPnP/machine.xml to your OpenPnP configuration directory.
- Edit the machine.xml file and change the serial port in the driver section to the correct port for your machine.
- Start OpenPnP and it will load the new config.
- Copy the Smoothie config file located at https://raw.githubusercontent.com/openpnp/openpnp-openbuilds/develop/Smoothie/config to your Smoothie's SD card.
- Make any changes specific to your machine. I suggest reviewing each line and make sure you understand why it's there before using the machine.
The board holders and feeders are adhered to the bed with magnets. Use a pair of channel locks to push the magnets into the accessories, then use a second magnet to push the former in so that it's perfectly flush or even a little under the surface. This will keep the accessory from teetering on the magnet surfaces.