In this tutorial we deploy the chatbot I created in this tutorial with Flask and JavaScript.
This gives 2 deployment options:
- Deploy within Flask app with jinja2 template
- Serve only the Flask prediction API. The used html and javascript files can be included in any Frontend application (with only a slight modification) and can run completely separate from the Flask App then.
This repo currently contains the starter files.
Clone repo and create a virtual environment
$ git clone https://github.com/python-engineer/chatbot-deployment.git
$ cd chatbot-deployment
$ python3 -m venv venv
$ . venv/bin/activate
Install dependencies
$ (venv) pip install Flask torch torchvision nltk
Install nltk package
$ (venv) python
>>> import nltk
>>> nltk.download('punkt')
Modify intents.json with different intents and responses for your Chatbot
Run
$ (venv) python train.py
This will dump data.pth file. And then run the following command to test it in the console.
$ (venv) python chat.py
Now for deployment follow my tutorial to implement app.py and app.js.
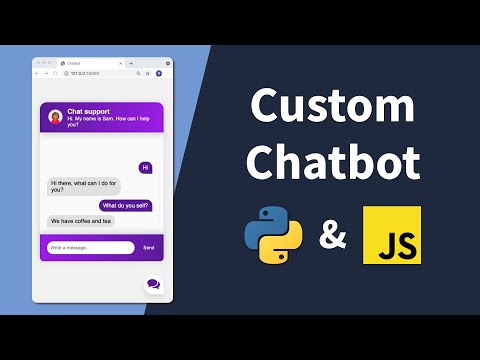
In the video we implement the first approach using jinja2 templates within our Flask app. Only slight modifications are needed to run the frontend separately. I put the final frontend code for a standalone frontend application in the standalone-frontend folder.
This repo was used for the frontend code: https://github.com/hitchcliff/front-end-chatjs