Documents in other languages: 中文文档
FlyDav is an lightweight and open source webdav server that offers some core features to meet the needs of both individual users and organizations.
With its tiny file size, FlyDav is the ideal solution for users who require a fast and efficient webdav server. It offers basic authentication, supports multiple users and allows each user to have a different root directory and path prefix which are extremely well isolated. In addition, FlyDav provides logging rotation and password security, making it the perfect choice for users who require a secure and reliable webdav solution.
The goal of FlyDav is to keep things easy and simple, with users able to deploy the service in no time. Therefore any extraneous features are not added, thus avoiding bloat.
WARN Only tested for AMD64 Linux with systemd. Enhancement PR is welcomed.
Run:
curl -sL "https://raw.githubusercontent.com/pluveto/flydav/main/scripts/installer.sh" -o /tmp/flydav-installer.sh
sudo chmod +x /tmp/flydav-installer.sh
sudo bash /tmp/flydav-installer.sh
And interactive to configure the service.
Finally remove tmp file.
sudo rm -f /tmp/flydav-installer.sh- Start by downloading FlyDav from their website at release page.
- Run
./flydav -H 0.0.0.0to start the server. Then you'll input the password for the default userflydav. - Open
http://YOUR_IP:7086/webdavin your webdav client such as RaiDrive.
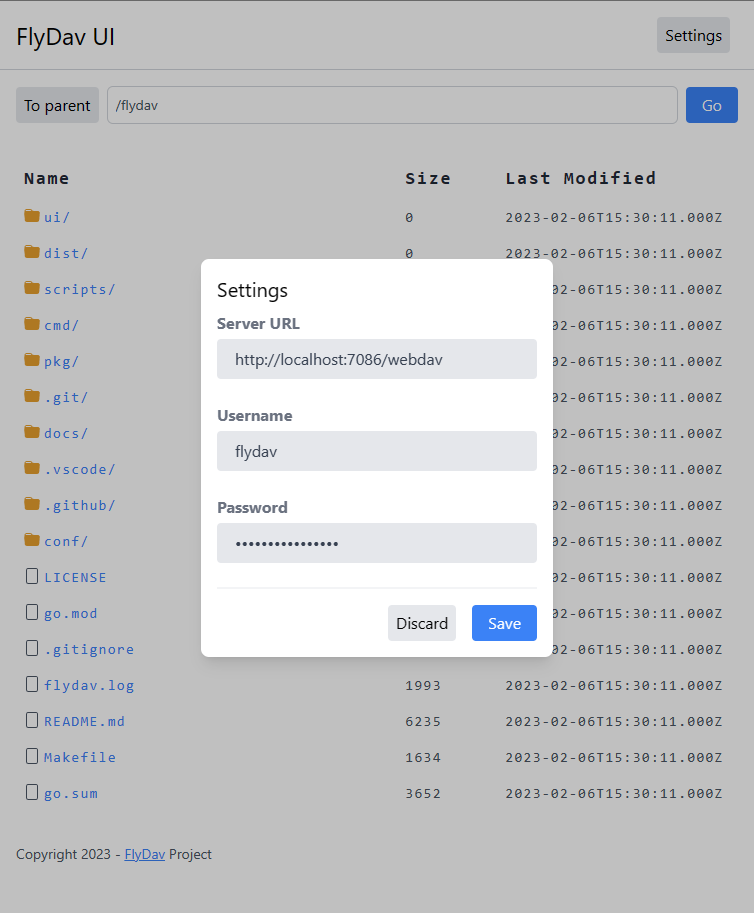
We provided a simple web page client, which supports browsing and downloading files.
$ flydav -h
--------------------------------------------------------------------------------
Usage: flydav [--host HOST] [--port PORT] [--user USER] [--verbose] [--config CONFIG] [--with-ui] [--help] [--version]

Options:
  --host HOST, -H HOST   host address
  --port PORT, -p PORT   port
  --user USER, -u USER   username
  --verbose, -v          verbose output
  --with-ui              enable web ui
  --config CONFIG, -c CONFIG
                         config file
  --help, -h             display this help and exit
If you have a config file, you can ignore the command line options. Run flydav -c /path/to/config.toml to start the server.
If you want to quickly start the server with host, port, username and a one-time password, you can run flydav -H IP -p PORT -u USERNAME to start the server. Then you'll input the password for the user. And the server will serve at http://IP:PORT/.
- Start by downloading FlyDav from their website at release page.
- Now that you have the software, you need to create a configuration file for it. Start by creating a new file called
flydav.toml. - Inside the configuration file, you will need to add the following information:
[server]: This section will define the host, port, and path of the webdav server.host: The IP address of the host. This should be set to “0.0.0.0” if you want to make the server accessible from any IP address.port: The port number to use for the webdav server.path: The path of the webdav server.fs_dir: The directory on the server where the webdav files will be stored.[auth]: This section will define the authentication settings for the webdav server.[[auth.user]]: This subsection will define the username and credentials for each user that has access to the webdav server.username: The username of the user.sub_fs_dir: The subdirectory of the fs_dir to which the user will have access.sub_path: The path that the user will access the webdav server from.password_hash: The hashed password of the user.password_crypt: The type of hashing algorithm used to hash the password. This should be set to “bcrypt” or “sha256”.
[log]: This section will define the logging settings for the webdav server.level: The log level of the server. This can be set to “debug”, “info”, “warn”, “error”, or “fatal”.[[log.file]]: This subsection will define the settings for the log file. Ignore this subsection if you do not want to log to a file.format: The format of the log file. This can be set to “json” or “text”.path: The path of the log file.max_size: The maximum size of the log file in megabytes.max_age: The maximum age of the log file in days.
[[log.stdout]]: This subsection will define the settings for the log output to the console. Ignore this subsection if you do not want to log to the console.format: The format of the log output. This can be set to “json” or “text”.output: The output stream for the log output. This can be set to “stdout” or “stderr”.
- Save the configuration file and run the FlyDav server. You should now be able to access the webdav server with the configured settings.
To get a example configuration file, go to conf dir.
- Create a new file called
flydav.servicein/etc/systemd/system/and add the following information:
File /etc/systemd/system/flydav.service
[Unit]
Description = Flydav Server
After = network.target syslog.target
Wants = network.target

[Service]
Type = simple
# !!! Change the binary location and config path to your own !!!
ExecStart = /usr/local/bin/flydav -c /etc/flydav/flydav.toml

[Install]
WantedBy = multi-user.target
2 Run systemctl daemon-reload to reload the systemd daemon.
3 Run systemctl enable flydav to enable the service.
4 Run systemctl start flydav to start the service.
- Run
systemctl status flydavto check the status of the service. - Run
systemctl stop flydavto stop the service.
- Basic authentication
- Multiple users
- Different root directory for each user
- Different path prefix for each user
- Logging
- SSL
- Work in progress
- You can use a reverse proxy like Nginx to enable SSL.
Simply add a new location as follow:

This project is licensed under the MIT License - see the LICENSE file for details