Petroglyph is a Python-based static blog generator. (Tested on 2.7.6).
Petroglyph is now a pip package! You can install petroglyph by simply doing:
$ sudo pip install petroglyphIf you don't have pip, first install pip using your package manager.
$ sudo apt-get install python-pip #Ubuntu, etc.
$ sudo yum install python-pip #Fedora, etc.
If installing from pip doesn't work for you, please file an issue and then use the old installation instructions below instead.
To install, first install mistune, pyyaml and docutils.
$ pip install mistune pyyaml docutilsIf you don't have pip, first install pip using your package manager.
$ sudo apt-get install python-pip #Ubuntu, etc.
$ sudo yum install python-pip #Fedora, etc.
If pip fails to install pyyaml (check for the line Successfully installed pyyaml in the output), then you can use your package manager to install pyyaml.
$ sudo apt-get install python-yaml #Ubuntu, etc.
$ sudo yum install PyYAML #Fedora, etc.
Next, install petroglyph. Petroglyph is currently not available as a pip package, so you'll have to install it manually.
You can download a stable release from GitHub or clone from master.
There is a script named petroglyph in the folder, this is the script you will use to set up your blog. Consider putting this in your PATH for ease of use.
On Linux, if using bash, you can add a line to your .bashrc to do this.
$ echo 'export PATH="/path/to/petroglyph:$PATH"' >> ~/.bashrc
$ source ~/.bashrc
Depending on your setup, this could be a different file, such as ~/.profile or ~/.bash_profile.
- Create a new directory for your blog.
$ mkdir awesomeblog- Inside this new directory, run
petroglyph initand fill in the details.
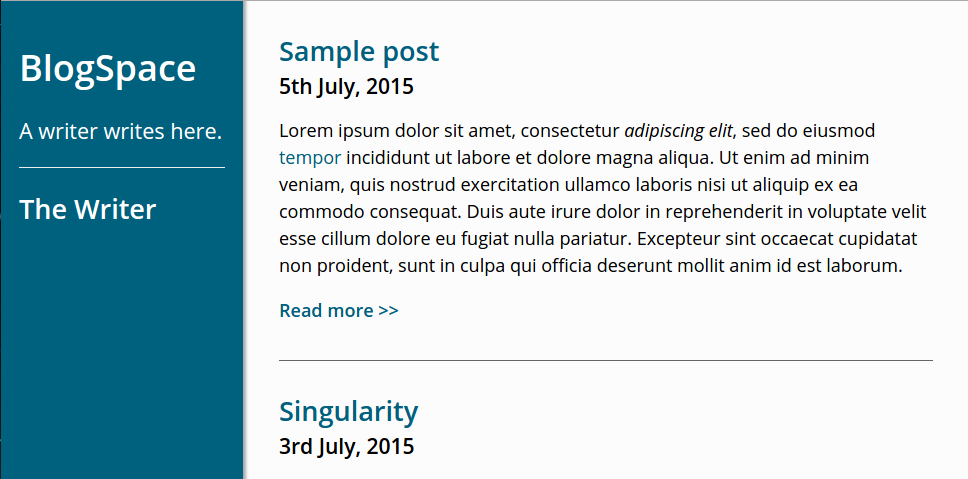
The default theme is monoblue. There used to be other skins, but they're no longer there. Hopefully, I'll add them in the future. Until then, you can always edit the CSS yourself amd make a custom skin!
$ cd awesomeblog
$ petroglyph init
Copying skin 'monoblue'...
Creating posts directory...
Configuring settings...
Blog title: Awesome Blog
Blog author: John Doe
Blog description: The awesome blog!
Saved configuration in config.yaml.
Petroglyph initialized.
At any point if you want to replace your skin or change the configuration, run petroglyph init again.
- Write a new post in the
/postsdirectory with a.mdextension. (reStructuredText is also supported, give the file an.rstextension.) Each post's filename will be used as the post's slug when the blog is generated. Markdown support is provided using Mistune. Include post metadata by writing posts as follows:
---
title: The Post's Title
tags: some-tag, another-tag
---
Hello, world! **Bold**, _italics_ and `code`.

This part will be before the 'Read more'.

<!--more-->This part will come after the read more.
A post title is required.
Petroglyph uses the last modified time of a file when deciding the post publish date. If you'd like to use a custom date, add it to the metadata in the
YYYY-MM-DDformat.
date: 2015-06-07
- Dry run petroglyph to see if everything works fine.
$ petroglyph --dry-run
Found 1 post.
1 new post.- Run petroglyph!
$ petroglyph
Found 1 post.
1 new post.
Generated 1 new post.
Done.
If you ever want to regenerate all your pages (because of a theme change, for example), run
petroglyph --regenerate.
- Your blog is ready to be served in the
blog/directory.