
Live Demo: https://symfony-hackathon-starter.herokuapp.com/
A boilerplate for Symfony web applications.
If you have attended any hackathons in the past, then you know how much time it takes to get a project started: decide on what to build, pick a programming language, pick a web framework, pick a CSS framework. A while later, you might have an initial project up on GitHub and only then can other team members start contributing. Or how about doing something as simple as Sign in with Facebook authentication? You can spend hours on it if you are not familiar with how OAuth 2.0 works.
The aim and usage of this project goes beyond hackathon purposes only, Symfony Hackathon starter will definitely save any developer hours or even days of development time and can serve as a learning guide for web developers in general.
Symfony is an open-source PHP framework with an elegant structure and a reputation for being a suitable framework to kick-start any project irrespective of its size. As a set of reusable components, its flexibility, architecture, and high performance make it a top choice for building a highly complex enterprise application.
Symfony Hackathon Starter is a boilerplate application developed with Symfony 7 to keep you ahead in hackathons.

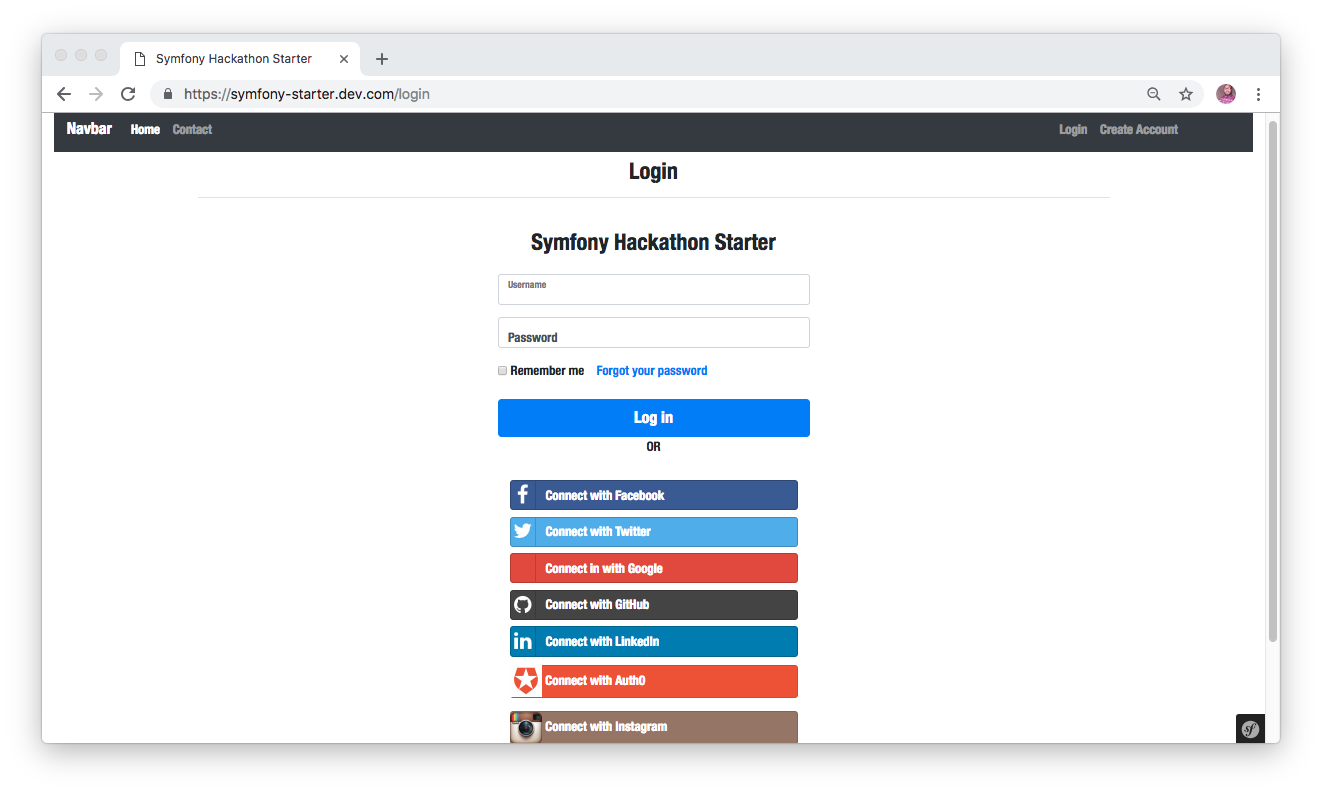

Table of Contents
- Features
- Prerequisites
- Getting Started
- Obtaining API Keys
- Project Structure
- List of Packages
- Useful Tools and Resources
- Recommended Design Resources
- Recommended Symfony Libraries
- Pro Tips
- FAQ
- How It Works
- Symfony Best Practises
- Deployment
- Changelog
- Contributing
- License
Features
- Local Authentication using Email and Password
- OAuth 1.0a Authentication via Twitter
- OAuth 2.0 Authentication via Facebook, Google, GitHub, GitLab, LinkedIn, Auth0, Instagram
- Flash notifications
- MVC Project Structure
- Bootstrap 4
- Contact Form (powered by Gmail, Mailgun)
- Account Management
- Profile Details
- Change Password
- Forgot Password
- Reset Password
- Delete Account
- CSRF protection
Prerequisites
- [Mysql or Postgresql](https://www.mysql.com/ or http://www.postgresql.org/)
- PHP 7.1.3+
- Command Line Tools
Mac OS X: Xcode (or OS X 10.9+:
xcode-select --install)Windows: Visual Studio
Ubuntu /
Linux Mint:
sudo apt-get install build-essentialFedora:
sudo dnf groupinstall "Development Tools"OpenSUSE:
sudo zypper install --type pattern devel_basis
Note: If you are new to Symfony 4, I recommend to watch
Learn Symfony 4, the official screencast for Symfony by Ryan Weaver and the SymfonyCasts crew. Alternatively,
here is another great tutorial for building a project time tracker app for beginners/intermediate developers - Let’s Build a Project Time Tracker with Symfony and VueJS.
Getting Started
The easiest way to get started is to clone the repository:
# Get the project
git clone https://github.com/yemiwebby/symfony-hackathon-starter.gitcd symfony-hackathon-startercp .env.dist .env
Open .env file and locate the database URL, then add your database credentials as shown here:
DATABASE_URL=mysql://db_user:db_password@127.0.0.1:3306/db_name
- Change db_user to YOUR_DATABASE_USERNAME
- Change db_password to YOUR_DATABASE_PASSWORD
- db_name to YOUR_DATABASE_NAME
- The database host by default is 127.0.0.1 and with a database port of 3306. You can leave this values as it is.
$ composer install
$ php bin/console doctrine:database:create $ php bin/console doctrine:schema:update --forcephp bin/console server:run
This starter pack includes the following APIs. You will need to obtain appropriate credentials like Client ID, Client secret, API key, or Username & Password by going through each provider and generate new credentials.
- GitHub
- Auth0
Obtaining API Keys
- Visit Google Cloud Console
- Click on the Create Project button
- Enter Project Name, then click on Create button
- Then click on APIs & auth in the sidebar and select API tab
- Click on Google+ API under Social APIs, then click Enable API
- Next, under APIs & auth in the sidebar click on Credentials tab
- Click on Create new Client ID button
- Select Web Application and click on Configure Consent Screen
- Fill out the required fields then click on Save
- In the Create Client ID modal dialog:
- Application Type: Web Application
- Authorized Javascript origins: http://localhost:8000
- Authorized redirect URI: http://localhost:8000/secured/login_google
- Click on Create Client ID button
- Copy and paste Client ID and Client secret keys into
.env
Note: When you ready to deploy to production don't forget to
add your new url to Authorized Javascript origins and Authorized redirect URI,
e.g. http://my-awesome-app.herokuapp.com and
http://my-awesome-app.herokuapp.com/secured/login_google respectively.
The same goes for other providers.
- Go to Account Settings
- Select Applications from the sidebar
- Then inside Developer applications click on Register new application
- Enter Application Name and Homepage URL
- For Authorization Callback URL: http://localhost:8000/secured/login_github
- Click Register application
- Now copy and paste Client ID and Client Secret keys into
.envfile
- Sign in at https://apps.twitter.com/
- Click Create a new application
- Enter your application name, website and description
- For Callback URL: http://127.0.0.1:8000/secured/login_twitter
- Go to Settings tab
- Under Application Type select Read and Write access
- Check the box Allow this application to be used to Sign in with Twitter
- Click Update this Twitter's applications settings
- Copy and paste Consumer Key and Consumer Secret keys into
.envfile
- Sign in at LinkedIn Developer Network
- From the account name dropdown menu select API Keys
- It may ask you to sign in once again
- Click + Add New Application button
- Fill out all the required fields
- OAuth 2.0 Redirect URLs: http://localhost:8000/secured/login_linkedin
- JavaScript API Domains: http://localhost:3000
- For Default Application Permissions make sure at least the following is checked:
r_basicprofile- Finish by clicking Add Application button
- Copy and paste API Key and Secret Key keys into
.envfile - API Key is your clientID
- Secret Key is your clientSecret

- Go to http://www.mailgun.com
- Sign up and add your Domain Name
- From the domain overview, copy and paste the default SMTP Login and Password into
.envfile
| Name | Description |
|---|---|
| config/config/fos_user.yaml | Configuration for FOS User Bundle |
| config/config/hwi_oauth.yaml | Configuration for HWIOAuthBundle |
| config/config/security.yaml | Configuration for Symfony security's system |
| config/config/routes/routes.yaml | Configuration file for routing |
| config/config/services.yaml | This file is the entry point to configure your own services |
| controllers/src/Controller/AccountController.php | Controller for Account management |
| controllers/src/Controller/ContactController.php | Controller for Contact page |
| controllers/src/Controller/HomeController.php | Controller for rendering all pages |
| controllers/user.js | Controller for user account management. |
| Entity/src/Entity/User.php | User's Entity. |
| Repository/src/Repository/UserRepository.php | User Repository. |
| Provider/src/Security/MyFOSUBProvider.php | Friends of Symfony User bundle provider. |
| Provider/src/Auth0ResourceOwner.php | Provider for Auth0. |
| public/ | Static assets (fonts, css, js, img). |
| public/css/style.css | Main stylesheet for your app. |
| templates/bundles/FOSUserBundle/ | This folder contains templates to override the default templates of FOSUserBundle for login, password reset, signup, profile. |
| templates/default/index.html.twig/ | Templates for the homepage. |
| templates/emails/contact.html.twig/ | Templates file for contact page form. |
| templates/includes/footer.html.twig/ | Footer partial template. |
| templates/includes/header.html.twig/ | Header partial template. |
| templates/user/account.html.twig/ | Templates for the account page. |
| templates/base.html.twig/ | Base template. |
| templates/contact.html.twig/ | Templates for the contact page. |
| Procfile | Configuration file to set the web root on Heroku |
| .env.dist | Your API keys, tokens, passwords and database URI. |
| composer.json | File for loading all php packages. |
| package.json | File for loading all necessary node modules. |
| Package | Description |
|---|---|
| FOSUserBundle | Providers user management for Symfony project |
| HWIOAuthBundle | OAuth client integration for Symfony. Supports both OAuth1.0a and OAuth2. |
| phpunit | PHP testing library |
| guzzlehttp | Simplified HTTP Request library |
- Symfony Blog - Official Symfony blog
- Cloudways Blog - Symfony, PHP and other tutorials.
- SymfonyCasts - Video tutorials for Symfony
- Code Guide - Standards for developing flexible, durable, and sustainable HTML and CSS.
- Bootsnipp - Code snippets for Bootstrap.
- UIBox - Curated HTML, CSS, JS, UI components.
- Bootstrap Zero - Free Bootstrap templates themes.
- Google Bootstrap - Google-styled theme for Bootstrap.
- Colors - A nicer color palette for the web.
- Creative Button Styles - awesome button styles.
- Creative Link Effects - Beautiful link effects in CSS.
- Medium Scroll Effect - Fade in/out header background image as you scroll.
- GeoPattern - SVG background pattern generator.
- Trianglify - SVG low-poly background pattern generator.
This section is intended for giving you a detailed explanation about how a particular functionality works. Maybe you are just curious about how it works, or maybe you are lost and confused while reading the code.
I hope it provides some guidance to you.
Flash messages allow you to display a message at the end of the request and access it on next request and only next request. For instance, on a failed login attempt, you would display an alert with some error message, but as soon as you refresh that page or visit a different page and come back to the login page, that error message will be gone. It is only displayed once.
Go through the following guide in order to successfully create a new page. Check here.
Alternatively, you can also leverage the Symfony maker bundle to generate a controller. Once you do this, it will also automatically create a new templates file that can easily be rendered by the newly generated controller.
To begin, run the following command to have it installed via composer:
$ composer require symfony/maker-bundle --devIf you are using Symfony hackathon starter project, you don't need to install the maker-bundle again. Next, proceed to your terminal and run:
$ php bin/console make:controller SampleControllerThe preceding command will create two new file:
- src/Controller/SampleController.php - the new controller
- templates/sample/index.html.twig -
SampleControllertemplates file
To view the new page, ensure that your application is running (php bin/console server:run) and
navigate to https://localhost:8000/sample.
Deployment
Once you are ready to deploy your app, you will need to create an account with a cloud platform to host it. These are not the only choices, but they are my top
picks. From my experience, Heroku is the easiest to get started with, deployments and custom domain support on free accounts.
Note: To install Heroku add-ons your account must be verified.
- And you are done!
This tutorial will guide you on how to successfully deploy a Symfony 4 Application on Digital Ocean
Thank you for considering contributing to Symfony Hackathon Starter. The contribution guide can be found in the Contribution File
If you discover a security vulnerability within Symfony Hackathon Starter, please send an e-mail to Olususi Oluyemi at yemiwebby@gmail.com. All security vulnerabilities will be promptly addressed.
- Prosper Otemuyiwa - Larathon
- Sahat Yalkabov - Awesome
Why not star the github repo? I'd love the attention! Why not share the link for this repository on Twitter or HackerNews? Spread the word!
Don't forget to follow me on twitter!
Thanks!
Olususi Oluyemi.
The MIT License (MIT). Please see License File for more information.