一个自定义程度极高的遮罩引导页。
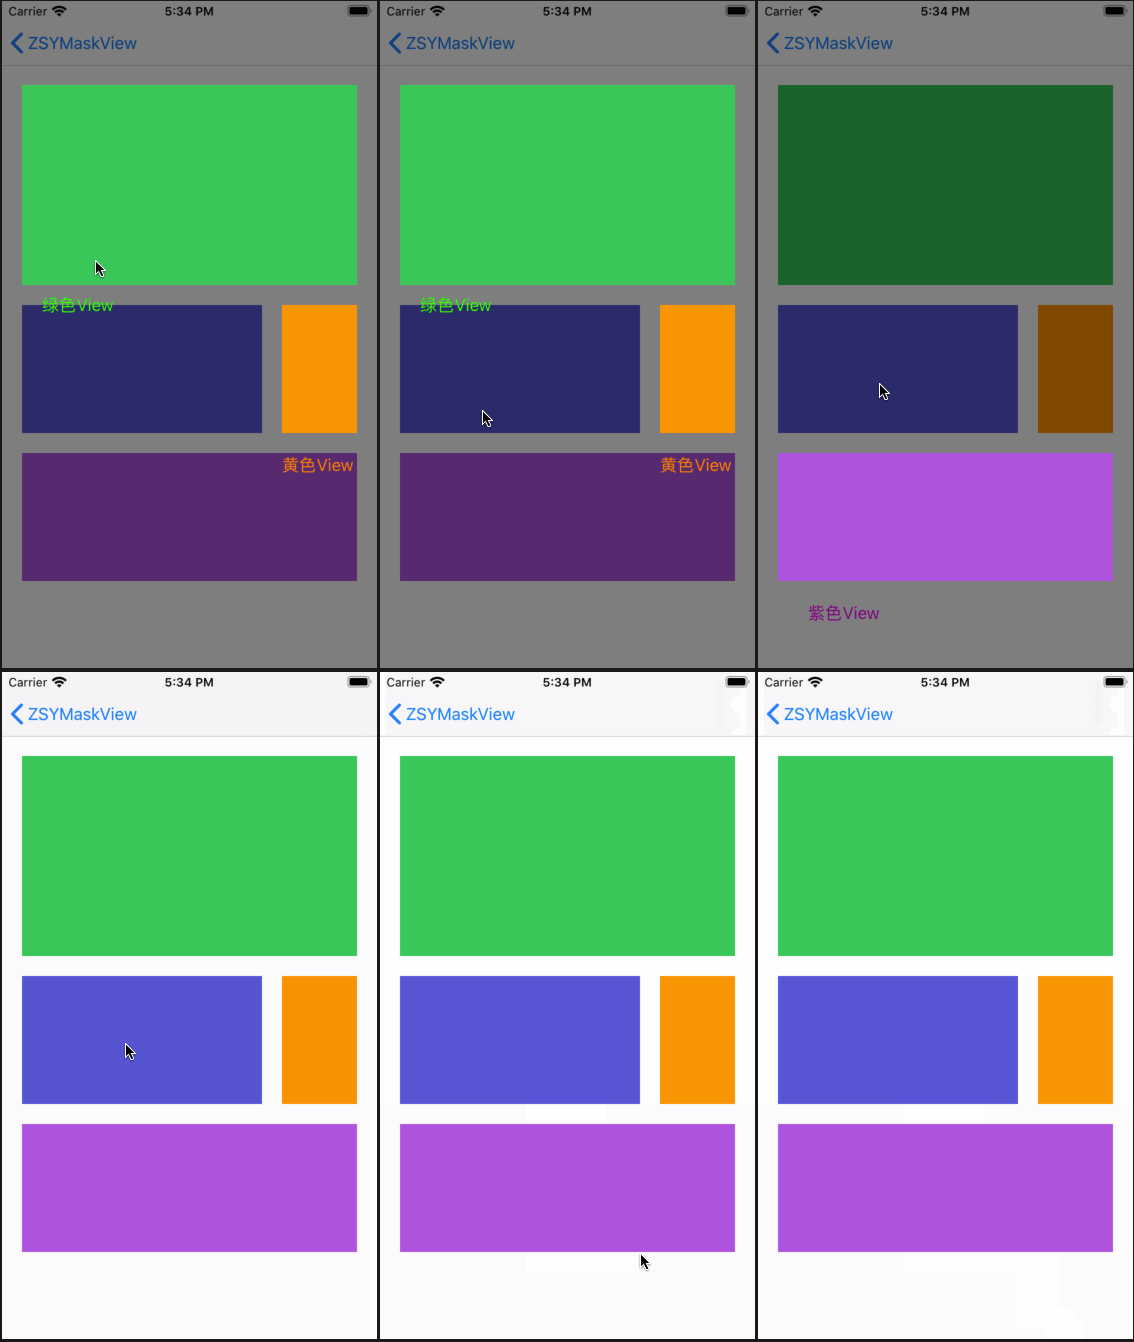
静态页面如何使用,传View即可
import UIKit

class ZSYStaticViewController: UIViewController {
    @IBOutlet weak var greenView: UIView!
    @IBOutlet weak var blueView: UIView!
    @IBOutlet weak var orangeView: UIView!
    @IBOutlet weak var purpleView: UIView!

    override func viewDidLoad() {
        super.viewDidLoad()

        let vc = MaskForStaticViewController()
        vc.maskView = [0: [greenView, orangeView], 1: [purpleView]]
        present(vc, animated: true, completion: nil)
    }
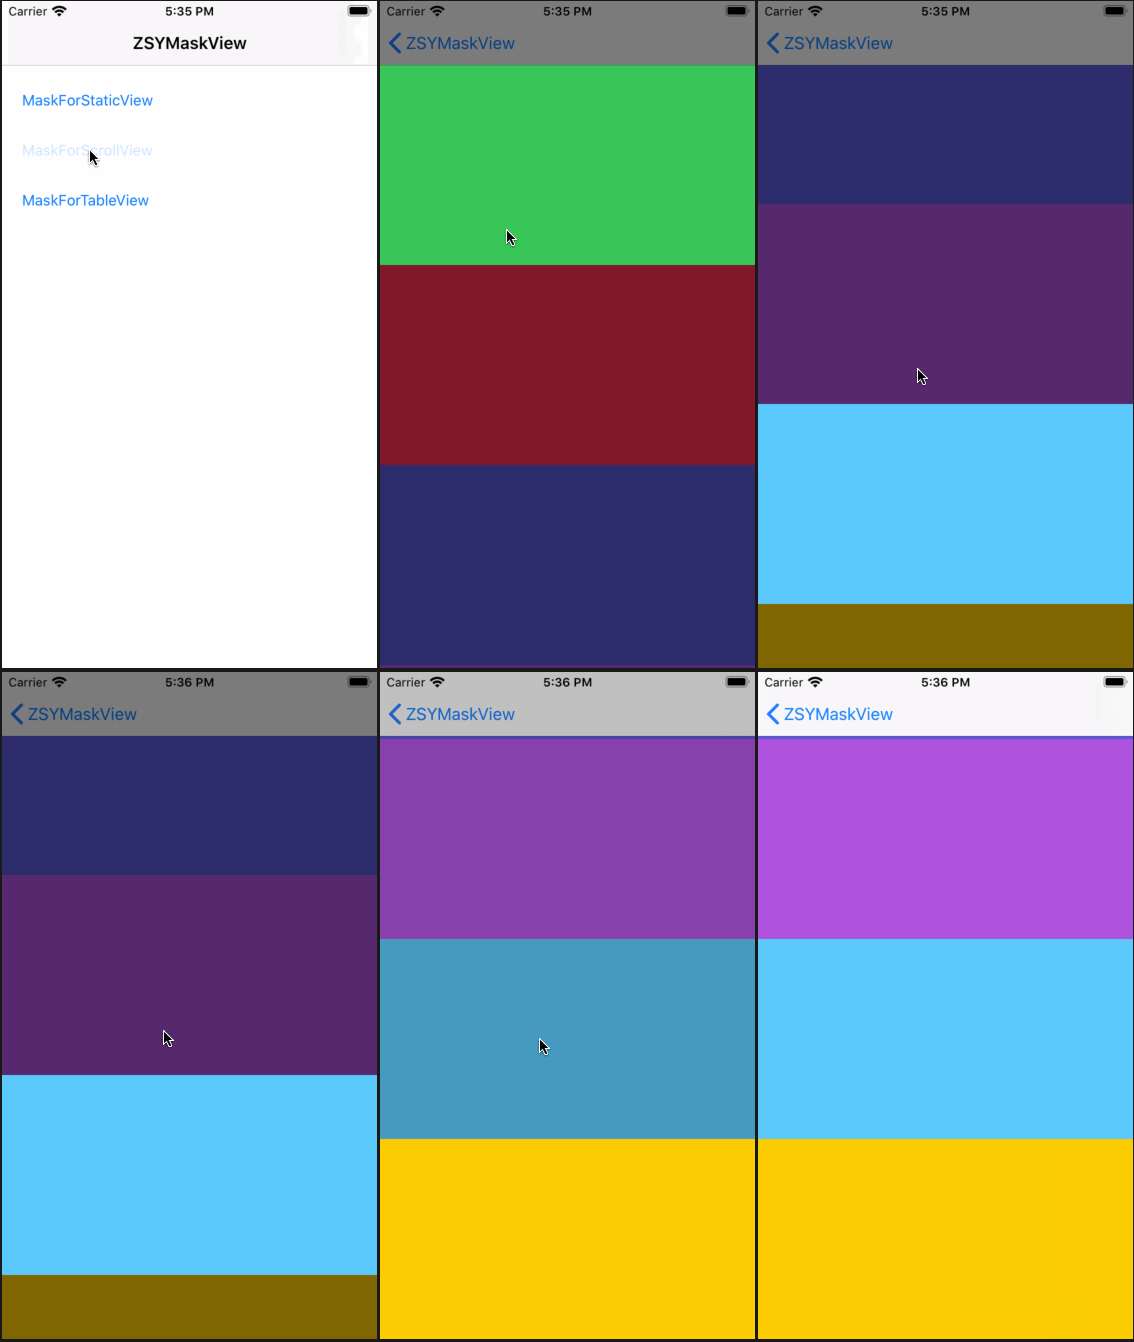
}ScrollView如何使用,传View的同时,把ScrollView也传过去。这样如果需要遮罩的View在屏幕以外也不用担心啦,因为库已经帮你做好啦
import UIKit
import ZSYMaskView

class ZSYScrollViewController: UIViewController {

    @IBOutlet weak var scrollView: UIScrollView!
    @IBOutlet weak var greenView: UIView!
    @IBOutlet weak var yellowView: UIView!
    @IBOutlet weak var blueView: UIView!

    override func viewDidLoad() {
        super.viewDidLoad()

        let vc = ZSYMaskViewController()
        vc.maskView = [0: [greenView], 1: [blueView], 2: [yellowView]]
        vc.scrollView = scrollView
        present(vc, animated: true, completion: nil)
    }
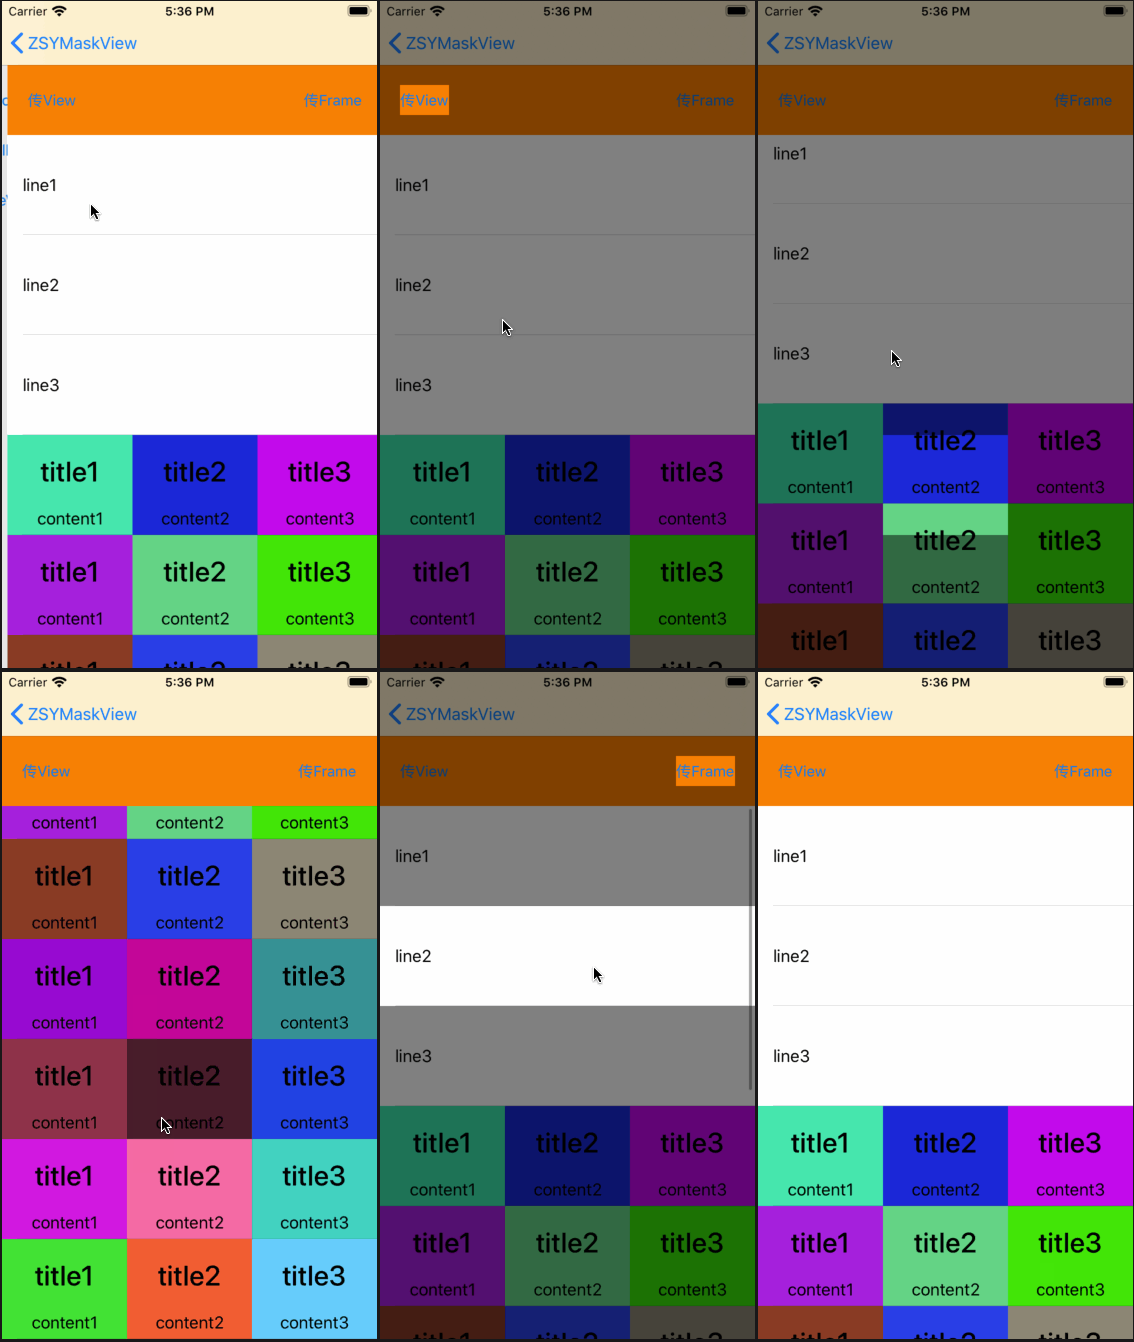
}TableView如何使用,传View的同时,还需要传TableView、invisibleIndexPath(不可见的IndexPath,即还未渲染出来,你还不能拿到的Cell的IndexPath),
let vc = ZSYMaskViewController()
if let cellView = tableView.cellForRow(at: IndexPath(row: 3, section: 0)) as? CustomTableViewCell {
    vc.maskView = [0: [sender], 1: [tableView.cellForRow(at: IndexPath(row: 1, section: 0))!], 2: [cellView.cellView2]]
    vc.invisibleIndexPath = [3: IndexPath(row: 7, section: 0)]
    vc.tableView = tableView
    vc.maskInsets = [3: [UIEdgeInsets(top: 0, left: 100, bottom: 0, right: 100)]]
    present(vc, animated: true, completion: nil)
}To run the example project, clone the repo, and run pod install from the Example directory first.
自定义遮罩层VC,继承于ZSYMaskViewController,重写reloadViews(index: Int),来刷新遮罩层,根据传入的index来判断当前进行到遮罩第几步。
import ZSYMaskView

class MaskForStaticViewController: ZSYMaskViewController {

    override func viewDidLoad() {
        super.viewDidLoad()

        // Do any additional setup after loading the view.
    }
    /*
     自定义遮罩层VC,根据自己传入的maskFrame来约束布局,
     放心,如果传的是maskView,库会帮你转成maskFrame,所以此处用maskFrame即可
     */
    override func reloadViews(index: Int) {
        let frame = maskFrame[index]
        if index == 0 {
            frame?.enumerated().forEach({ itemIndex, item in
                if itemIndex == 0 {
                    let label = UILabel(frame: CGRect(x: item.origin.x + 20, y: item.origin.y + 210, width: 100, height: 20))
                    label.text = "绿色View"
                    label.textColor = UIColor.green
                    view.addSubview(label)
                }
                if itemIndex == 1 {
                    let label = UILabel(frame: CGRect(x: item.origin.x, y: item.origin.y + 150, width: 100, height: 20))
                    label.text = "黄色View"
                    label.textColor = UIColor.orange
                    view.addSubview(label)
                }
            })
        }

        if index == 1 {
            view.subviews.forEach { item in
                item.removeFromSuperview()
            }
            frame?.enumerated().forEach({ itemIndex, item in
                if itemIndex == 0 {
                    let label = UILabel(frame: CGRect(x: item.origin.x + 30, y: item.origin.y + 150, width: 100, height: 20))
                    label.text = "紫色View"
                    label.textColor = UIColor.purple
                    view.addSubview(label)
                }
            })
        }
    }
}
This library requires iOS 8.0+
ZSYMaskView is available through CocoaPods. To install it, simply add the following line to your Podfile:
pod 'ZSYMaskView'ZSYMaskView is available under the MIT license. See the LICENSE file for more info.


