Creating a document with images on GitHub
The repository to which this wiki is attached is a template for creating documents in the environment of GitHub. This side of the wiki explains especially how to upload and link images into your document. Use the template repository for creating your own documents and repositories.
For further information about GitHub visit: ASKnet GitHub Guidance
-
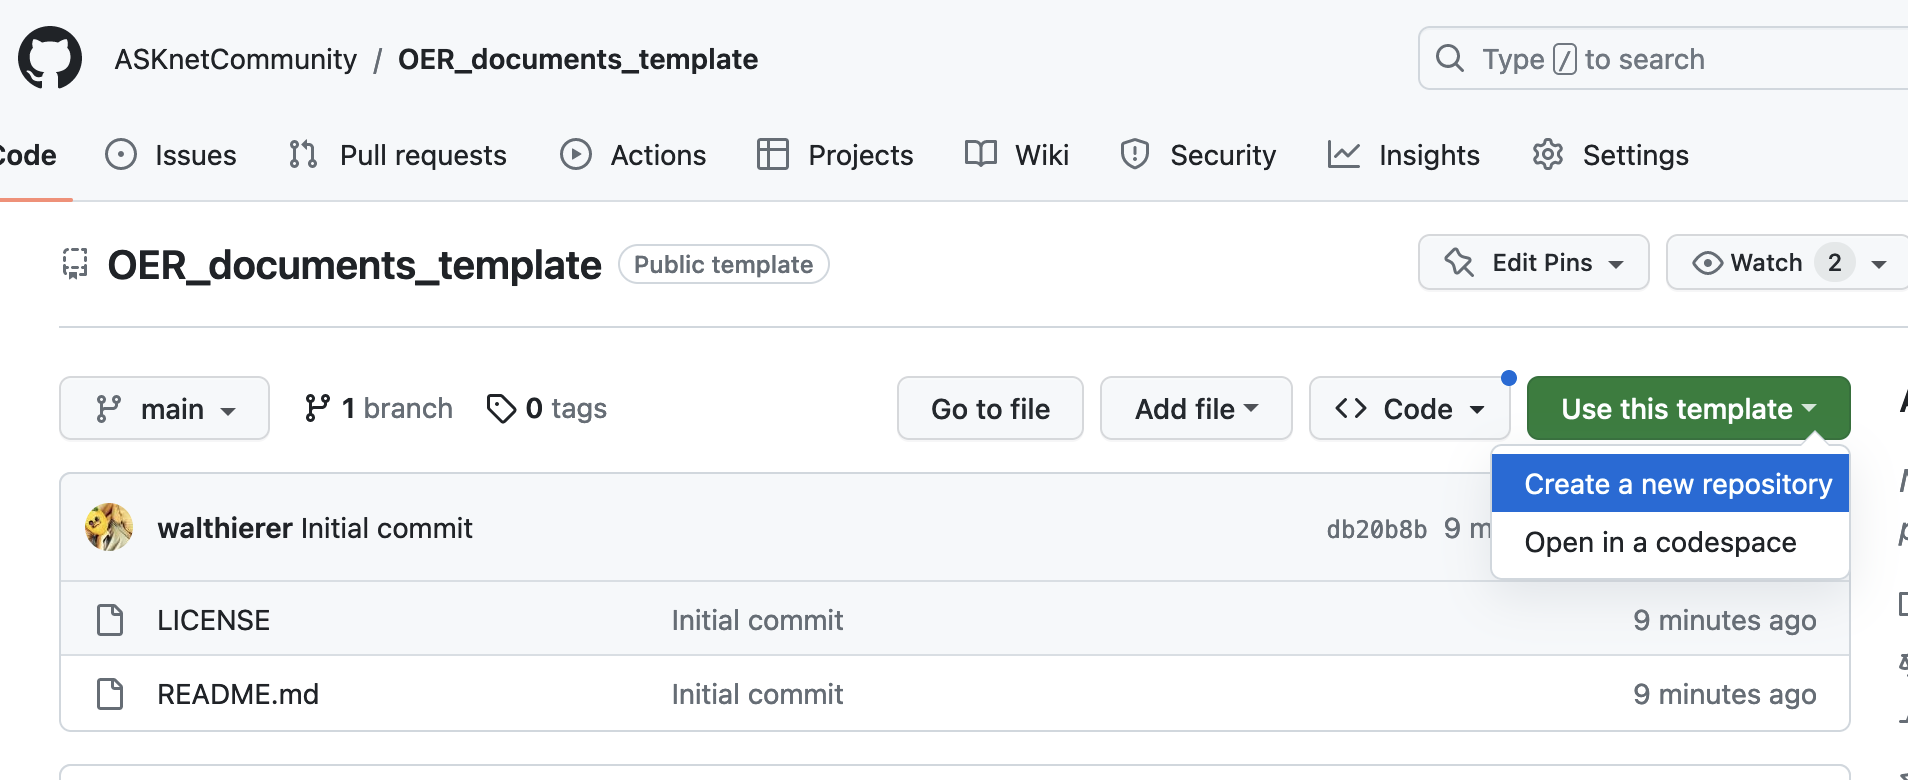
Navigate to the template repository
OER_documents_template -
Click on
Use this template -
Choose `Create a new repository
-
Give your repository a meaningful name
-
Choose
Public -
Click on
Create repository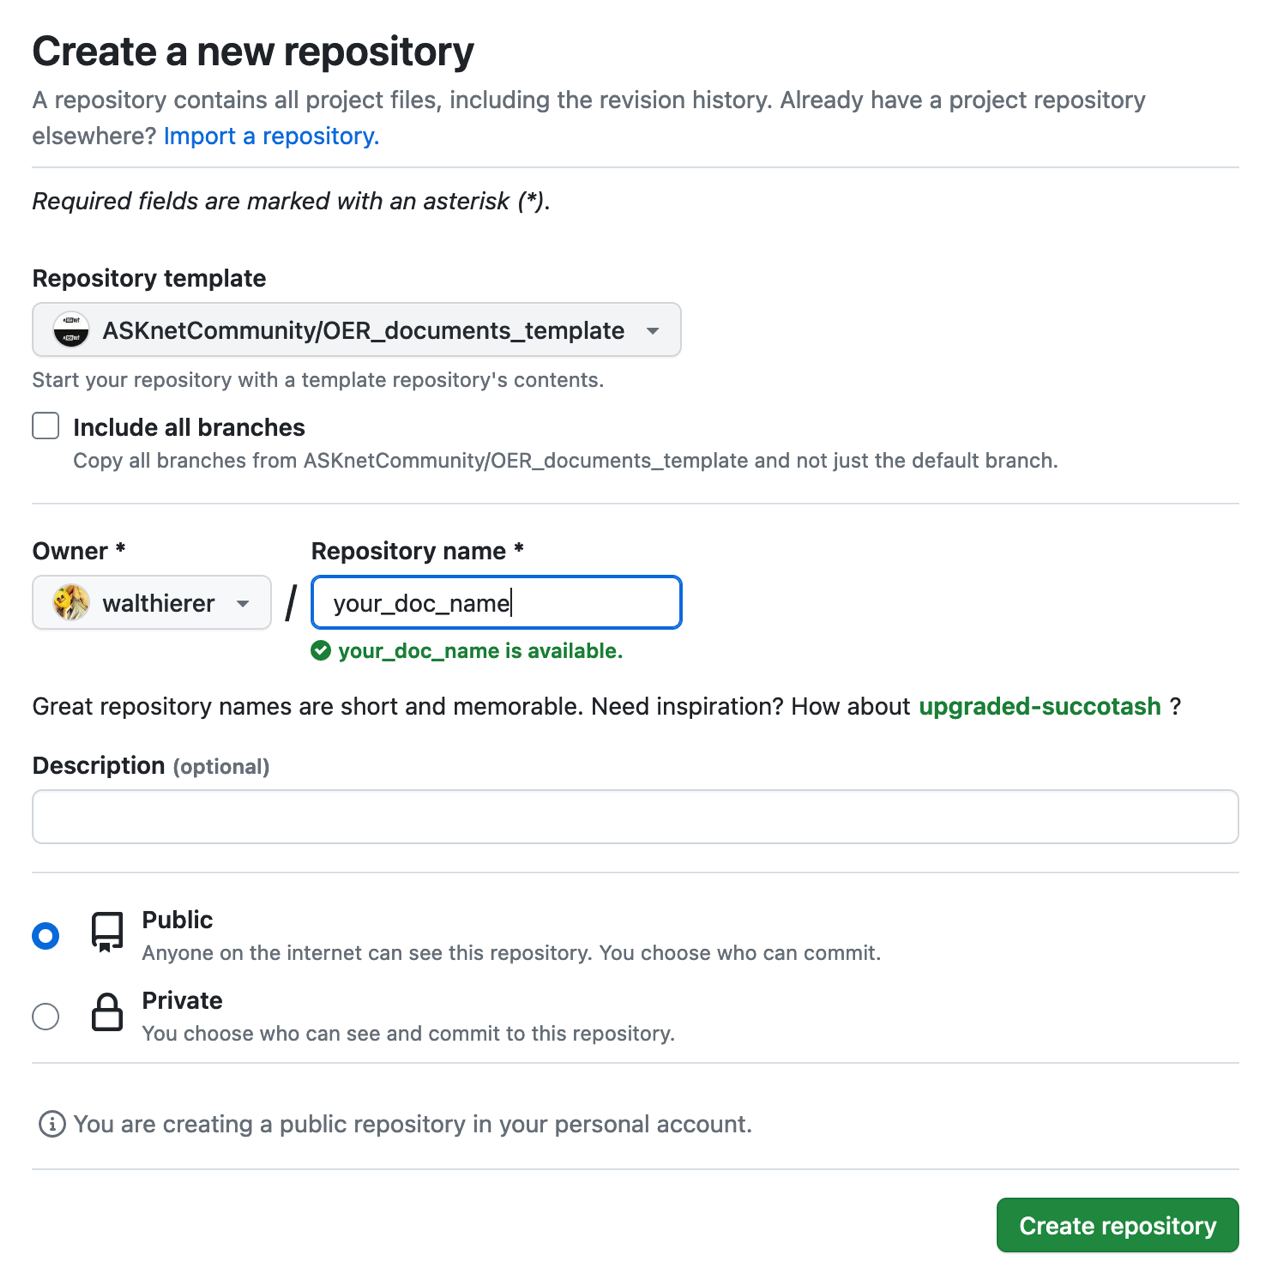
-
Give your document a meaningful name (following image, first row, pink highlighted)
-
Write your document (by using markdown syntax) inside here and delete the rest of this text
-
Save your document by clicking on the green
Commit changes...- button (following image, first row, right hand) -
It is advisable to briefly describe in the text field for the
Commit message(especially if you work in a collaborative environment) what you did -
Click the green
Commit changes- button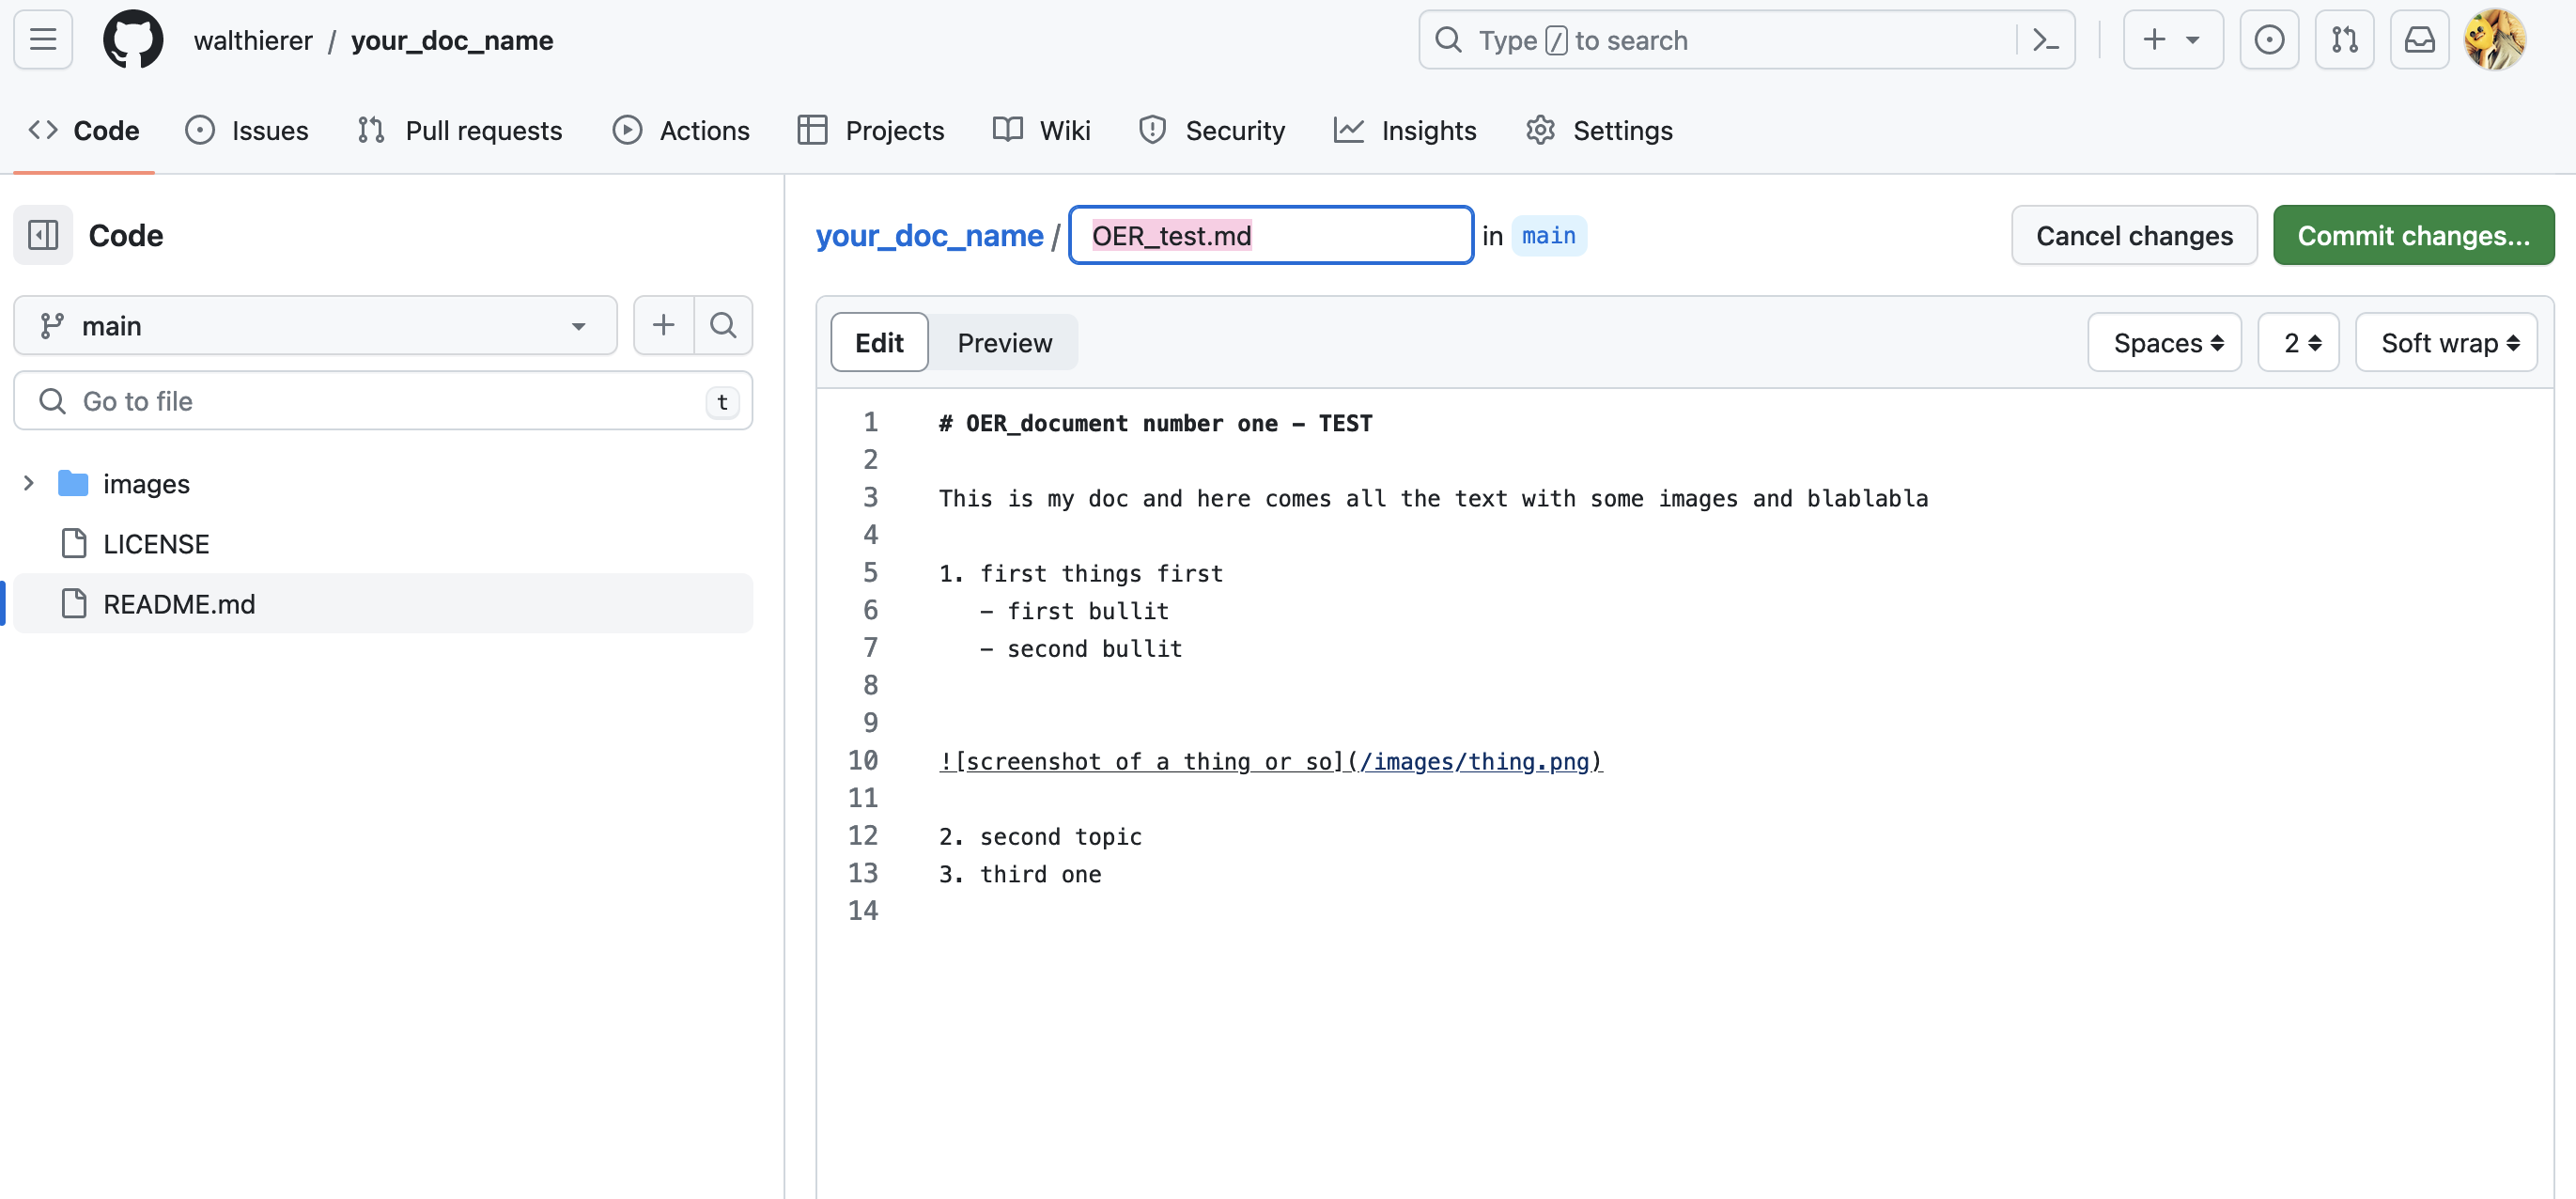
-
Navigate to the
images-folder -
Click on
Add file- dropdown -
Choose
Upload files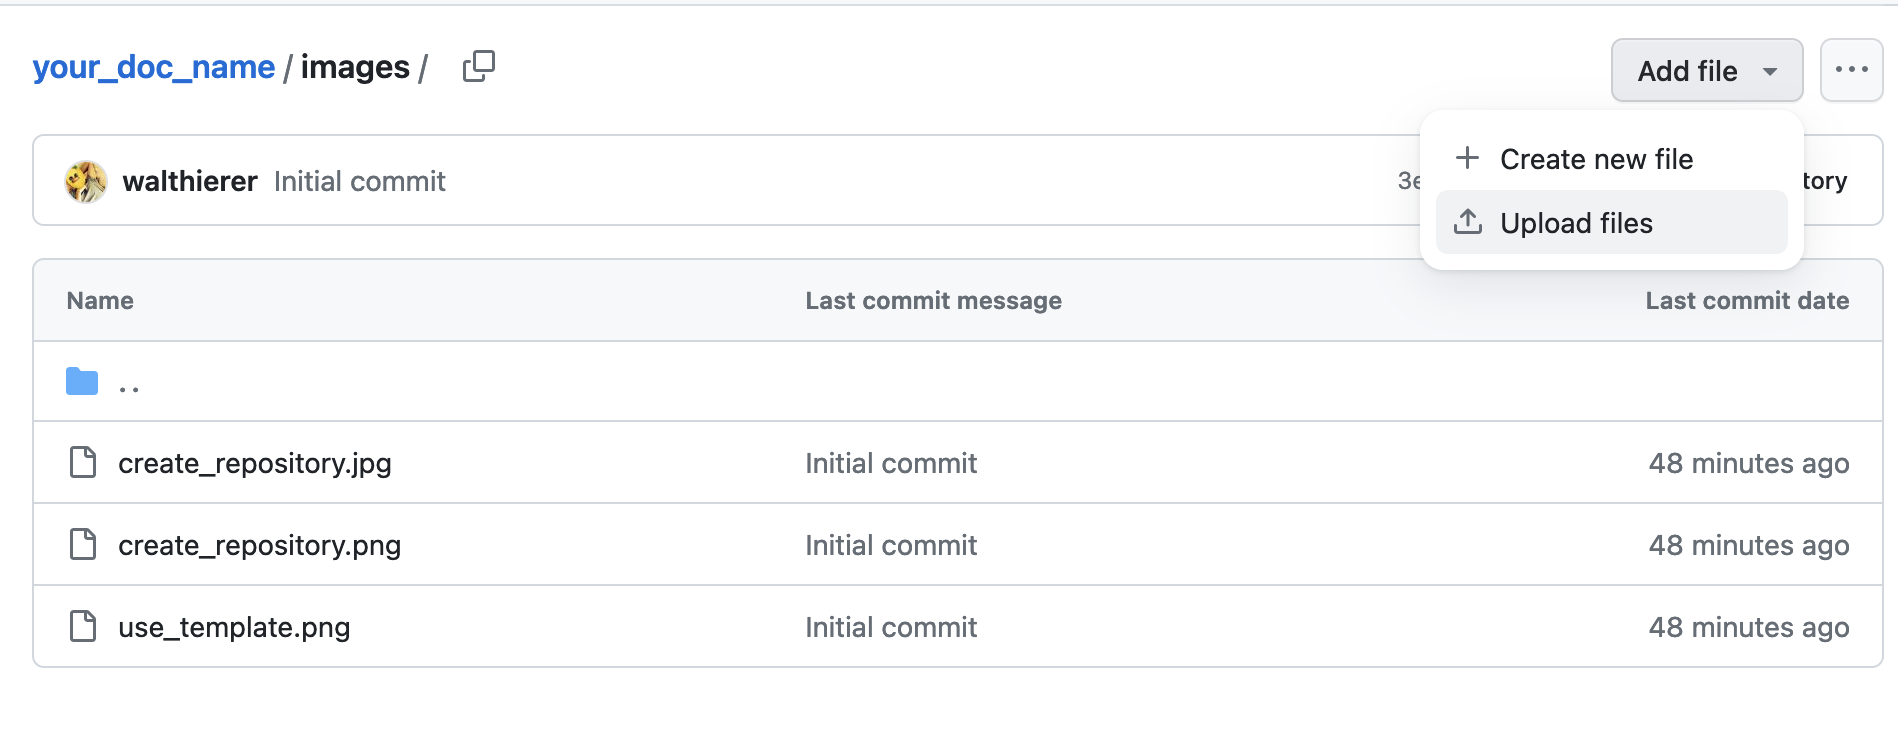
-
Drag and drop your images on the intended area
-
the files for the upload will be displayed underneath that area
-
click the green
Commit changes- button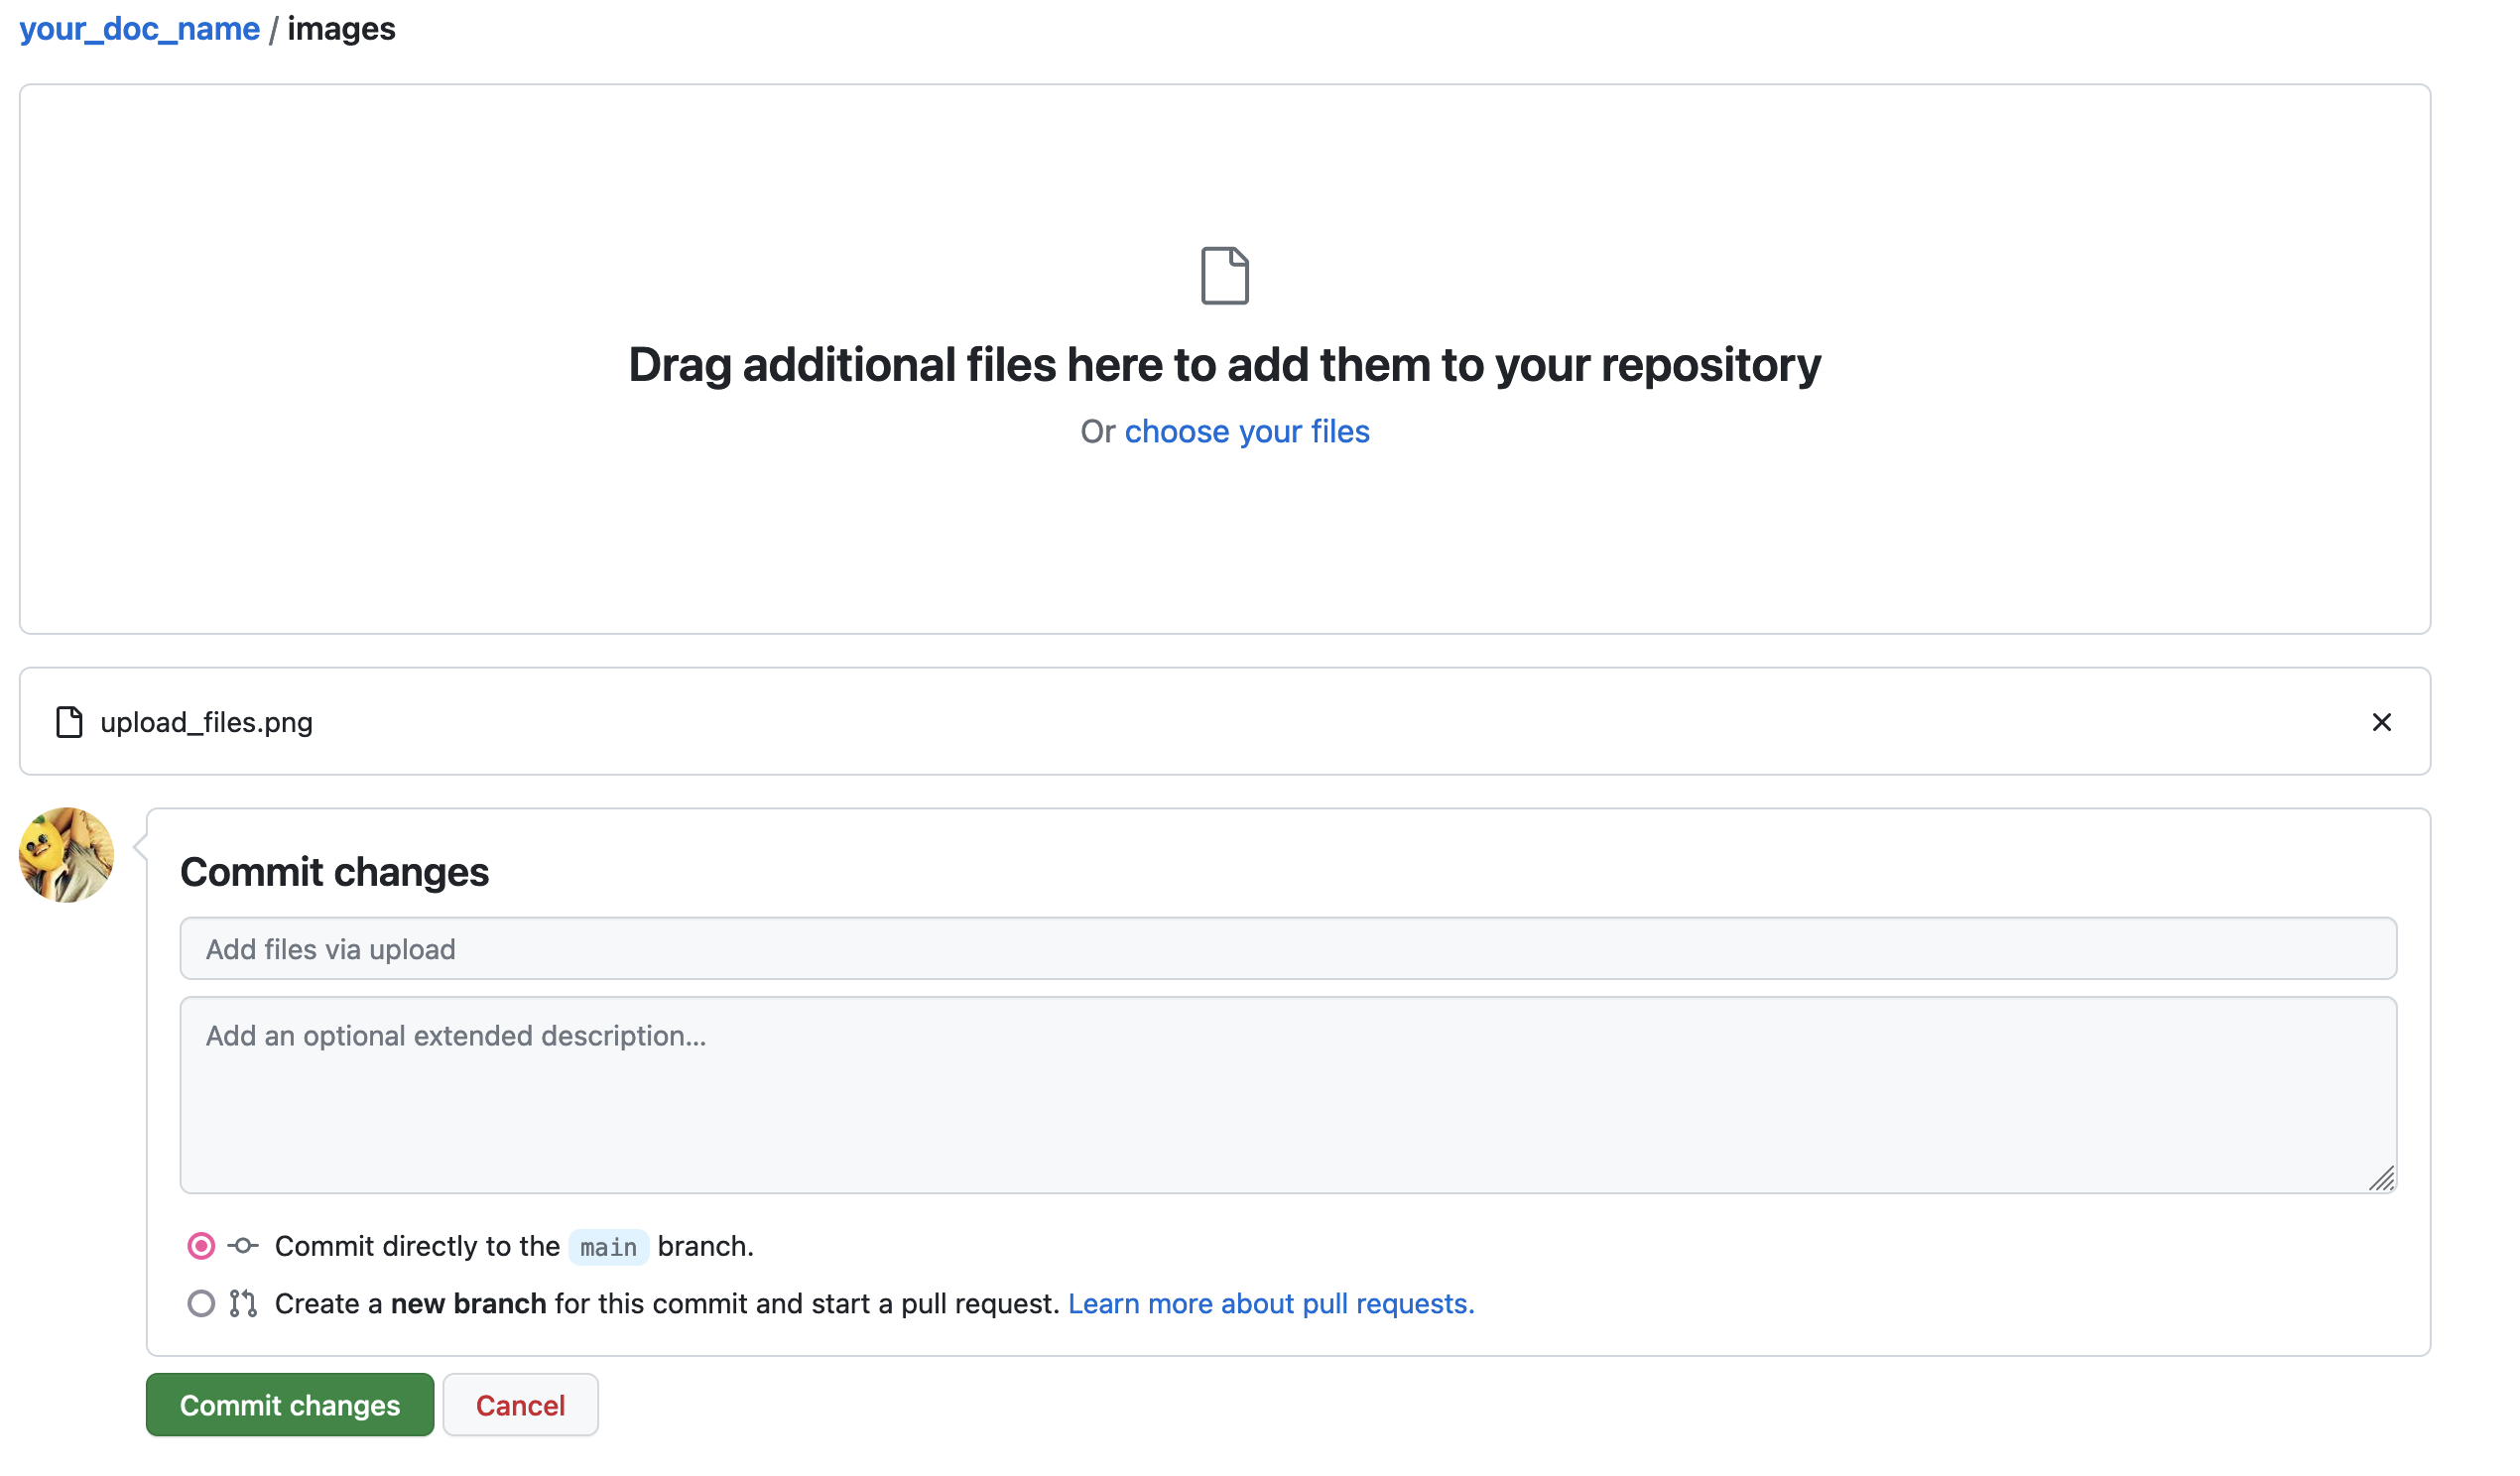
-
Navigate back to your document
-
Navigate to the part of your text where the image should appear
-
Copy and paste the following line of code:
- This code gives your image a descirbing alternative short text, or name (important in case the image cant be pictured)
- provides the path to where the image is saved (in the
images-folder) - tells which one to choose (in case there are more than one images in the folder).
- Don't forget to choose the right file type behind the
.(png, jpg, etc.)
Note: Please use images with less file sizes, they should not go beyond 500 KB (= 0.5 MB). 👍
You can use Gimp, Inkscape or online tools like resizepixel to crop images and reduce the file size.
Another way to integrated images in a markdown document is by using the HTML-image tag. The HTML tag has the advantage of setting a specific width.
<img width="800" alt="description" src="image.jpg">
Note: Never use a space character in your file name! Use - or _ to spereate words in your file.
"Markdown is a lightweight markup language for creating formatted text using a plain-text editor. John Gruber created Markdown in 2004 as a markup language that is appealing to human readers in its source code form. Markdown is widely used in blogging, instant messaging, online forums, collaborative software, documentation pages, and readme files." (cited from Wikipedia)
# First level Headline
## Second level headline
### Third level headline
Please use different hierarchy levels of headlines to structure your document!
**This is bold text**- This is bold text
_This text is italicized_- This text is italicized
For more informations about basic writing and formatting syntax please visit GitHub: formatting syntax
For further information about GitHub visit: ASKnet GitHub Guidance (this is how you embed links)