The Agents United Open Platform allows you to build a system of multiple virtual embodied conversational agents. This repository contains a demonstrator af several coaching agents for different health domains. The Agents United platform and this demonstrator are the outcome of the Council of Coaches european research project
Note: This documentation is to help you download and install the various components of Agents United required for running a basic pre-configured demo. However, if you plan to create a custom interaction you need to install and configure several more components. Follow our series of tutorials to get started.
Each of the different modules that compose the Agents United platform has its own repository. Some modules are hosted and maintained here in Agents United while others are external, developed and hosted in 3rd party repositories.
Modules hosted in Agents United:
- DAF: The Dialogue and Argumentation Framework modules
- Intent-Planner: The Conversational Intent Planner modules
- UnityProject: Unity3D scenes for the agents user interface
- Demonstrator: This repository, which also contains a collection of executable scripts
- Topic-Selection-Engine: The Topic Selection Engine module
- universAAL: Modules for connecting to the universAAL IoT platform
Other modules hosted elsewhere:
- Greta: Socio-emotional virtual characters for agents by ISIR - University of Sorbonne
- HMI Build: Multi-platform build system by HMI - University of Twente
- WOOL Web Service: Knowledge base and dialogue management web service of the WOOL Platform
- Holistic Behaviour Analysis Framework: Scripts that analize mobile data to detect user behaiour changes, by BSS - University of Twente
If you are interested in figuring out how the entire Agents United platform works you can check out the architecture documentation and diagrams in the Architecture repository
The modules hosted in Agents United are licensed under the GNU Lesser General Public License v3.0 (LGPL 3.0) except when otherwise is stated. External modules linked here have their own licenses.
The following instructions will guide you through setting up and running the demonstrator. You can find a list of the latest hotfixes and solutions for possible problems you may come across at the end of this Readme.
- Windows 10 TTS Voices (Instructions here are only for Windows 10 Pro)
- You will need the default US voices for Text-To-Speech: Mark, David, and Zira. These can be installed from Settings, Text-to-Speech. Check this wiki for further instructions and troubleshooting: https://github.com/hmi-utwente/HmiASAPWiki/wiki/MS-API-Voices
- Unity3D (version 2017.4.24f1. Other 2017.x versions might work, versions 2018.x or later do NOT).
- In the installer, include the Android, iOS, tvOS, macOS build supports
- Docker (Should work with any current version of Docker, including Community for Windows)
- Select Linux containers during installation
- Java 8 JDK (Update 211)
- Make sure you add the Java bin folder to your PATH environment variable.
- Make sure you set the JAVA_HOME environment variable.
- Ant build system (Latest version)
- Make sure you add the Ant bin folder to your PATH environment variable.
- Make sure you set the ANT_HOME environment variable.
- Visual C++ Redistributable for Visual Studio (versions 2013 and/or 2015)
- This is recommended for Unity, although your Windows installation may already have this
- Approximately 10GB of disk space and at least 8GB RAM (recommended)
Clone this repository
- Note that on Windows the longpaths parameter needs to be set, using
git config --system core.longpaths true - clone the repository:
git clone https://github.com/AgentsUnited/demonstrator.git(we will refer to its folder as{demonstrator})
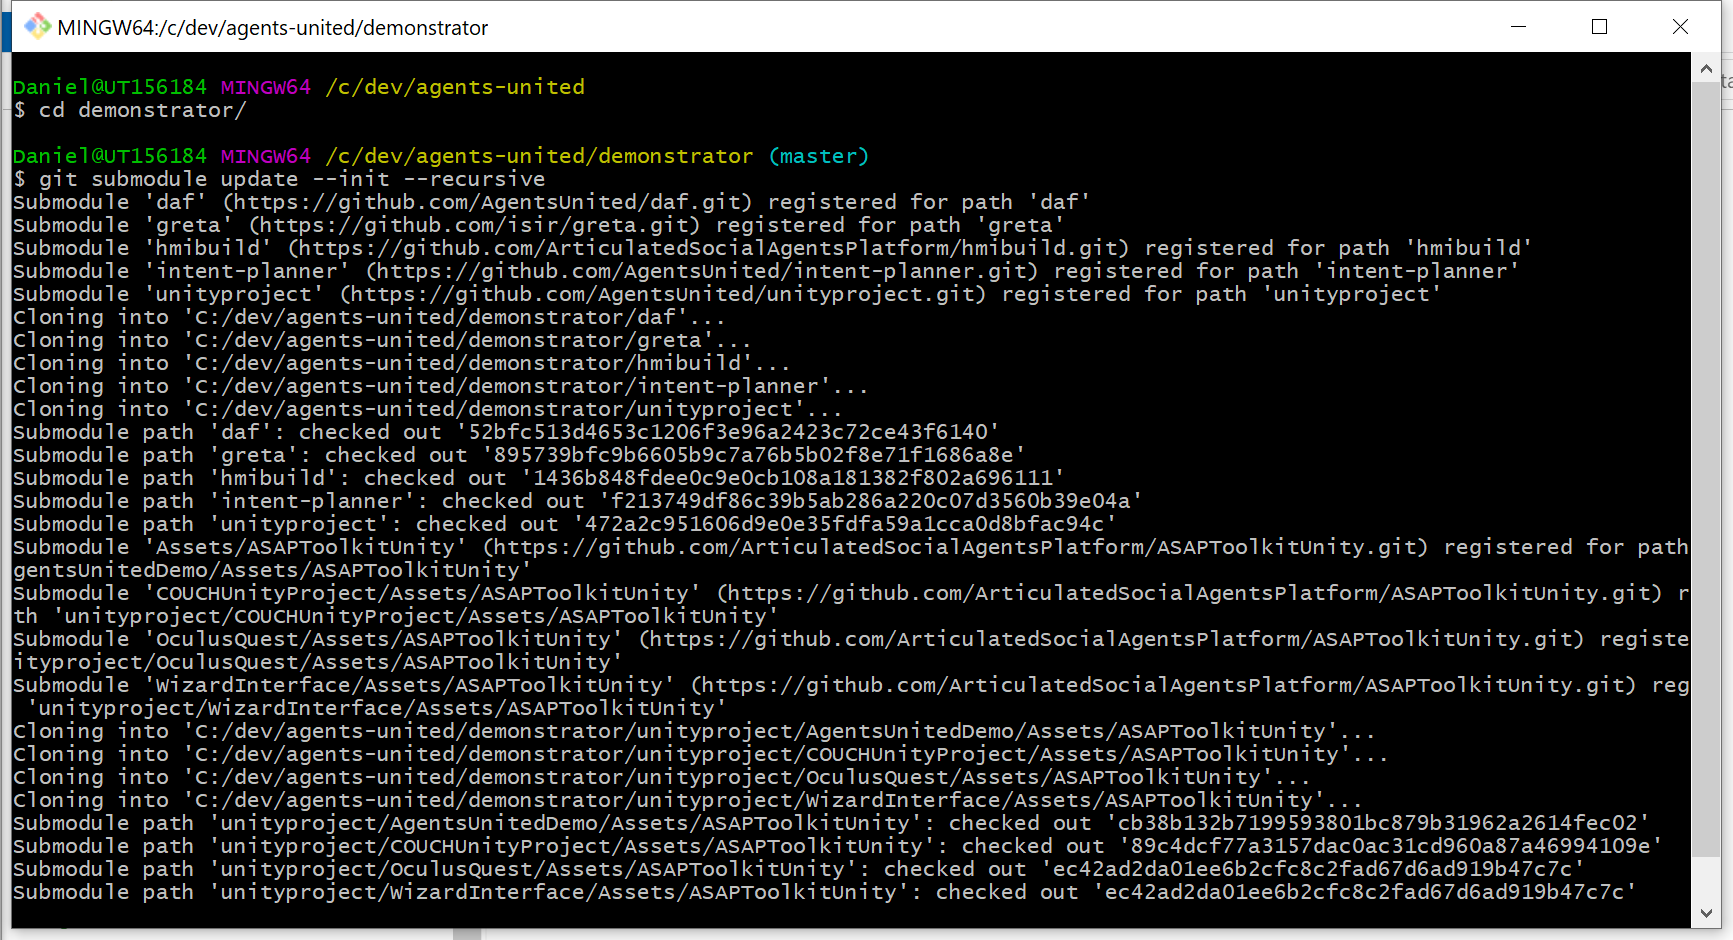
- Init and get the linked submodules with
git submodule update --init --recursive
- Instead of using Git, you can manually download the code. If you do so, download and place the submodules as well.

Setup the Dialogue and Argumentation Framework (DAF)
- Start Docker. Right click the tray icon and go to Settings. Go to Shared Drives and share the main drive. Go to Advanced and set Memory to 4GB (Recommended).
- Open a command line shell, go to
{demonstrator}\dafand type the commanddocker-compose pull - Then type the command
docker-compose buildto build the various containers. When finished it should look similar to this:

Setup ASAP and the Intent Planner
- Open a command line shell, go to
{demonstrator}\intent-plannerand execute the following commands: ant cleanant resolve- this downloads all dependencies for this project (including libs native to your operating system, 32/64 bit). This process may take a while. When finished it should stateBUILD SUCCESSFULwithout any errors.
ant compile- this compiles all java source files.


Install Mary TTS
- Download Mary TTS from http://mary.dfki.de/download/index.html, Runtime Package, and unpack the contents in any folder you want. We will refer to this folder as
{marytts}from now on. - Go to
{marytts}/binand runmaryttscomponent-installer.bat. From that tool, install the following languages:enUS/cmu-slten-US/cmu-bdlfr/enst-camillefr/enst-camille-hsmm
Setup Greta agents
- Open a command line shell, go to
{demonstrator}\gretaand execute the commandant build - Go to
{demonstrator}\greta\binand edit the filesvib.iniandModular.xmlto replace./Environments/Empty.xmlwith./Environments/Projects/Council of Coaches/TechnicalDemonstrator.xml. - Also in
vib.ini, replace<MARY_SERVER_DIRECTORY>with{marytts}\bin.
Setup the Unity scene
- Start Unity. Select Open project, and then select the folder
{demonstrator}\unityprojet\AgentsUnitedDemo. (You may get a warning dialog depending on your exact version of Unity. Ignore it and Continue). - In the Project assets panel (usually bottom-left), navigate to
\Assets\AgentsUnited\Scenesand double-click the sceneMainScene.unity. Unity will now import and set up all assets for your system (this may take a while). When finished your scene in the editor should look similar to this:

Run OpenMary TTS
Open a command line shell, go to {marytts}\bin and execute marytts-server.bat. Wait until it is up and running on port 59125
Run the Dialogue and Argumentation Framework (DAF)
- Start Docker
2. Open a command line shell, go to {demonstrator}\daf and type the command docker-compose up.
- On Windows: double click the
{demonstrator}\daf\run-demo.batfrom your File Explorer. Wait until it is up and running. The console should printDialogue and Argumentation Framework readyand look similar to this: If you prefer to use the Docker dashboard, it should look similar to this:


Run ASAP Agent Manager
On Windows: double click the {demonstrator}\Launchers\ASAP_Superior_Couch_Start_NoAndroid.bat from your File Explorer. This opens a command line shell. Wait until you see the message Waiting for AgentSpec….

Run Greta
Open a command line shell, go to {demonstrator}\greta\bin and type the command java –jar Modular.jar. The Greta user interface window will open. From its menus, select File > Open and go to {demonstrator}\greta\bin\Configurations\GretaUnity\Projects\Council of Coaches, and select Council of Coaches - TechnicalDemonstrator.xml. This will open 14 smaller screens (with titles ending in #1 for agent 1 and #2 for agent two).
Set the ports as follows:
| Port | Value to set |
|---|---|
| Thrift Command Receiver #1 | 9912 |
| Thrift Audio Sender #1 | 9007 |
| Thrift FAP Sender #1 | 9700 |
| Thrift BAP Sender #1 | 9070 |
| Thrift Command Receiver #2 | 8912 |
| Thrift Audio Sender #2 | 8007 |
| Thrift FAP Sender #2 | 8700 |
| Thrift BAP Sender #2 | 8070 |
(All statusses should state 'Connected' once the Unity scene has been started.)
Run the Unity scene
Open the AgentsUnitedDemo project in Unity and open the MainScene scene. Press the Play button (usually at the top). You may be asked for firewall access.
The agents briefly appear overlapping in the center of the table.

ASAP and Unity will now automatically create a connection and exchange details about the embodiment of the agents, as shown in the ASAP console window.

The agents in the Unity scene will reposition behind the table on the chairs. Note that the agents are now still standing and are overlapping with the chairs, this is normal.

Run the Intent Planner
On Windows: double click the {demonstrator}\Launchers\Flipper_Superior_Couch_Start.bat from your File Explorer.
A small login window opens. The default username and password should work for connecting to the default Wool Web Service used in the demonstrator. If you are hosting your own service you will need to enter different login information.

Run the demo
Click the Login button. You are now logged in to the Wool Web Service, and your authentication key is automatically shared with the Topic Selection Engine and the Dialogue and Argumentation Framework modules.
After logging in, the demonstrator dialogue is automatically initiated. The coaches in Unity will start by saying "Hi", and will sit down on their chair. An overlay in the Unity scene will display the moves available to the user, from which you can choose how to proceed.

The DAF console will now output information about the ongoing state of the dialogue.

To restart the dialog, you need to restart only the Conversational Intent Planner (press ctrl+c in the console window, then y to confirm, then run the Flipper_Superior_Couch_Start.bat file again).
- Unity: press the Play button again (and close the Unity editor).
- Command line windows: press
ctrl+cand thenyto confirm. - DAF: In addition to ctrl+c in its command line window, wait for Docker containers to quit, then type the command
docker-compose down. (you can now also stop Docker).
To change the demo between 'auto play', where the agents perform their own conversation without user input, or user input, where the user can play the role of patient (i.e. activate the UI):
- In the Flipper template file:
{demonstrator}\intent-planner\resource\couchtemplates\DialogueLoader.xml - Change in the information state the variable "uidefaults" and update the identifier to set the agent that should be controlled through the interface
"uidefaults": {"actors": [{ "identifier":"User", "controlledBy": ["unityTest", "tablet"] }]} - Restart Conversational Intent Planner
The role of the user can be changed. The user takes the role of one of the characters in the dialogue. Currently it is set up as the patient. To change the role of the user (i.e. the moves of the agent that the UI will show):
- Open the file:
{demonstrator}\intent-planner\resource\couchtemplates\DialogueLoader.xml - Alter the
dialogueActorsvariable to change roles assigned to any of the agents or the user
"dialogueActors" : [
		{ "bml_name":"COUCH_CAMILLE", "engine":"greta", "role":"Camille",    "identifier":"COUCH_CAMILLE", "dialogueActorClass":"UIControllableActor", "priority": 0.5 },
		{ "bml_name":"COUCH_M_1", "engine":"ASAP", "role":"Marc",    "identifier":"COUCH_M_1", "dialogueActorClass":"UIControllableActor", "priority": 0.0 },
		{ "bml_name":"COUCH_M_2", "engine":"ASAP", "role":"Ben",     "identifier":"COUCH_M_2", "dialogueActorClass":"UIControllableActor", "priority": 0.5 },
		{ "bml_name":"COUCH_F_1", "engine":"ASAP", "role":"Sarah",     "identifier":"COUCH_F_1", "dialogueActorClass":"UIControllableActor", "priority": 0.5 },
		{ "bml_name":"COUCH_M_Android_1", "engine":"ASAP", "role":"Gordon",     "identifier":"COUCH_M_Android_1", "dialogueActorClass":"UIControllableActor", "priority": 0.5 },
		{ "bml_name":"",		  "engine":"ASAP", "role":"User",    "identifier":"User",		"dialogueActorClass":"UIControllableActor", "priority": 1.0 }
	]
- Restart Intent Planner
- By default the Demonstrator requires Windows TTS US voices: Mark, David, Zira. install them from Windows TTS Settings and check out how to set them up with this wiki. If you do not have a particular voice installed, the agents should use the default selected voice in "Windows Settings -> Time & Language -> Speech -> Voices" settings instead.
- To test the Windows voices: What you can try is run
ASAP_Superior_Couch_Start_NoAndroid.batfrom the Launchers folder and the Unity scene (do not run Conversational Intent Planner!). Once these are connected you runBmlWindow_ASAP_Start.batwhich opens a window where you can input BML and send it to ASAP. If all is well the agent should talk. If not, try a couple more times and check the console windows for any errors or warnings. For example, the following BML will make one of the agents speak "Hello there!":
<bml id="sp1"  xmlns="http://www.bml-initiative.org/bml/bml-1.0" characterId="COUCH_M_1">
              <speech start="0"  id = "speech1">
                <text>Hello there!</text>
              </speech>
</bml>
- If you had installed the DAF module before and are having problems with empty moves, you may have to clear the Move cache with:
docker exec -it mongodb mongo couch_content --eval “db.move_cache.remove({})” - If you want to completely delete and rebuild your DAF docker volumes and containers from scratch (this will take a while):
- docker-compose down --volumes
- docker system prune --volumes
- docker-compose build --no-cache
- docker-compose up