Now includes revision preview support! See instructions below ⬇️
This blog uses Next.js to create a Universal React blog. It connects to the Cosmic API via GraphQL. Manage your content from your Cosmic Bucket Dashboard. Simple.
git clone https://github.com/cosmicjs/simple-react-blog
cd simple-react-blog
npm i
Get your Bucket slug and read key after logging in to Cosmic and going to Bucket > Settings > API Keys.
COSMIC_BUCKET=your-bucket-slug COSMIC_READ_KEY=your-bucket-read-key yarn run dev
COSMIC_BUCKET=your-bucket-slug COSMIC_READ_KEY=your-bucket-read-key yarn start
Open http://localhost:3000.
You can easily manage the content in your Simple React Blog website on Cosmic. Cosmic makes a great React CMS. Follow these steps:
- Log in to Cosmic.
- Create a Bucket.
- Install the Simple React Blog.
- Run locally to preview content edits, or deploy to your favorite hosting provider. Options below.
A popular choice for the Next.js framework web deployment is Now. Follow the steps below from the root directiory.
npm i -g now
now
Follow these steps to add revision preview to your Bucket:
- Log in to Cosmic.
- Go to Your Simple Blog Bucket > Posts > Settings
- Scroll down to the Preview Link section and add the following link:
http://localhost:3000/[object_slug]?revision=[revision_id]
- For production, replace
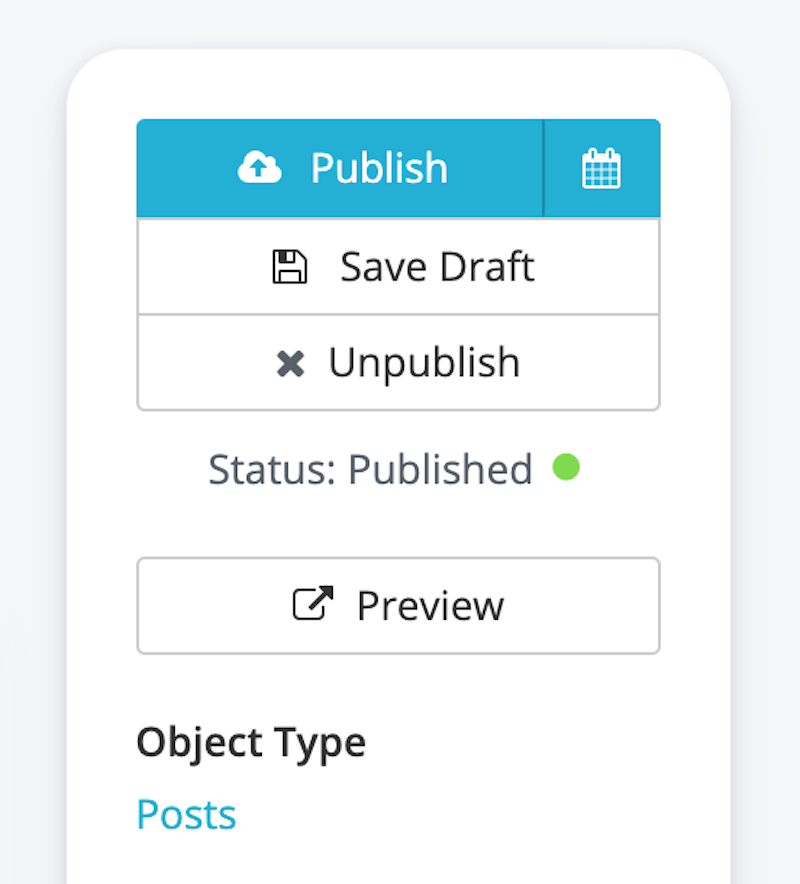
http://localhost:3000with your URL. Now when you "Save as Draft" on any Post, you can preview your changes by clicking the "Preview" link.

