Managed Inference
During the "Scaling responsible MLOps with Azure Machine Learning" breakout you saw and endpoint created that created heroic marketing copy in the style of Homer (not Simpsons). If you want to skip the model training and want to get straight to deploying this new model then this is the right place!
There are comprehensive docs on setting up the
Azure CLI.
Once installed, we need to add the az ml CLI extension
(see docs). Most of the commands assume
you the pre-configuration of defaults as outlined in the docs:
az configure --defaults group=$GROUP workspace=$WORKSPACE location=$LOCATION
In my case:

This is described in depth over in the Setup section of the docs. In this exercise, the workspace was set up with the following:
./provision.ps1 -name grippity -location westus2
The first step is to have the right environment. To do this, run the following command:
az ml environment create --name hf-transformers-inference --version 1 --conda-file conda_inference.yml --image mcr.microsoft.com/azureml/openmpi4.1.0-cuda11.0.3-cudnn8-ubuntu18.04
You will see something like this:
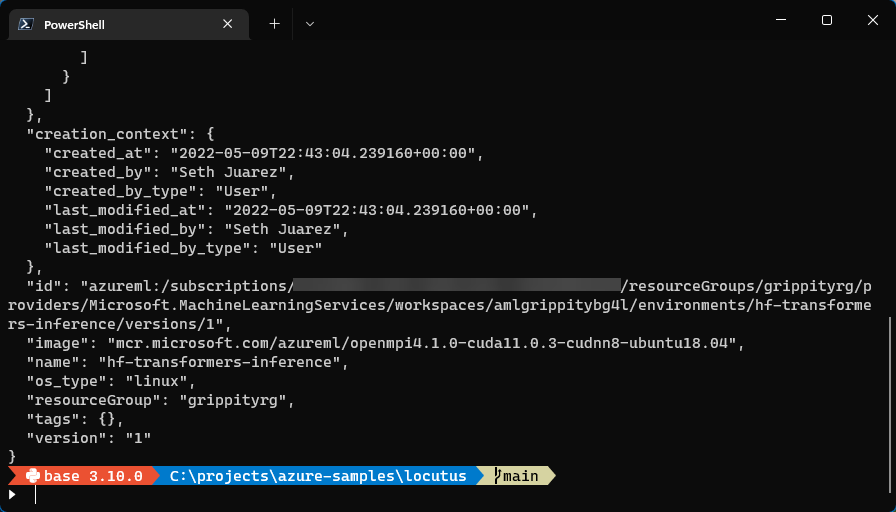
This will kick start the build of the actual environment. You can view the progress of that in the AML Portal (this can sometimes take a bit of time):
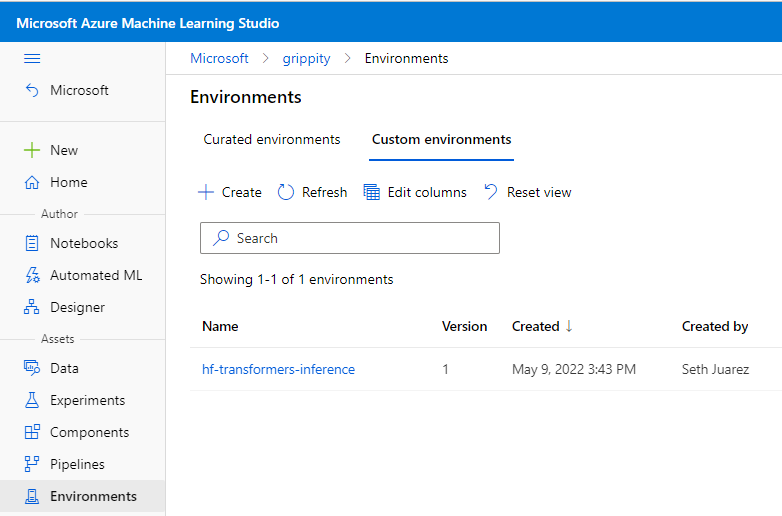
If you click into the environment you can view the build log as the environment is created.
Since this part of the exercise is to deploy our fine-tuned model (and not train), we need to download and register the model ourselves.
To download the model run the following:
./download_model.ps1
This will download a zip file and extract the model files
to thr ./model directory.
The next step is to register the model:
az ml model create --name model-gpt2 --version 1 --local-path ./model
You should see something like this:
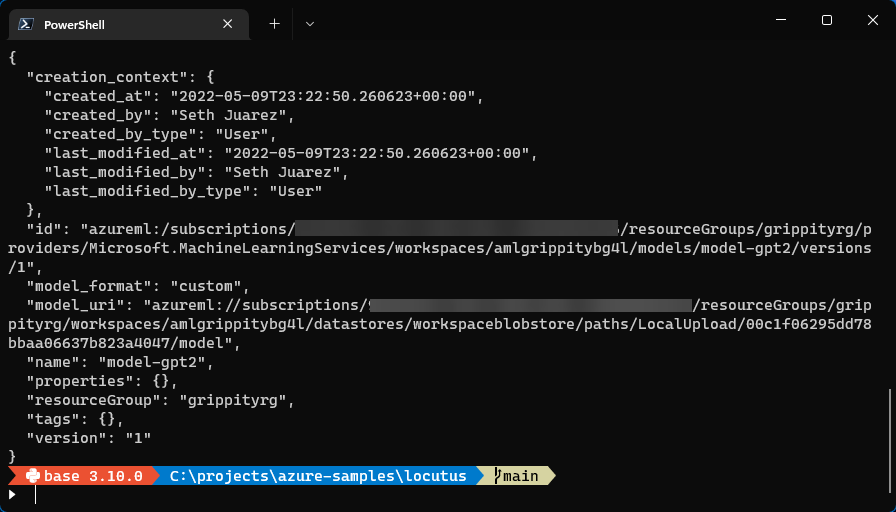
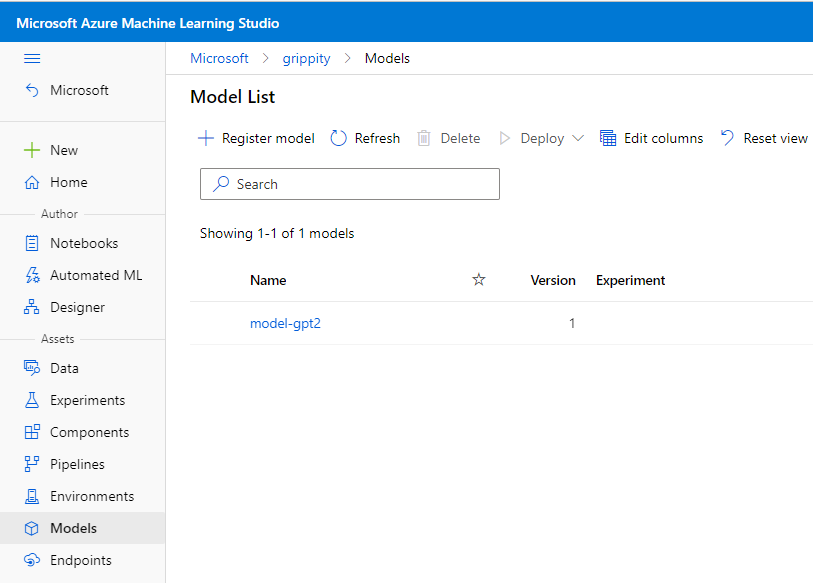
This model should now also be available in your registry:
The first step is to create the endpoint. This can be done using the following command:
az ml online-endpoint create --name <YOUR_UNIQUE_NAME> --auth-mode key
Here's what I used:
az ml online-endpoint create --name grippityep --auth-mode key
Here's what my output looks like:
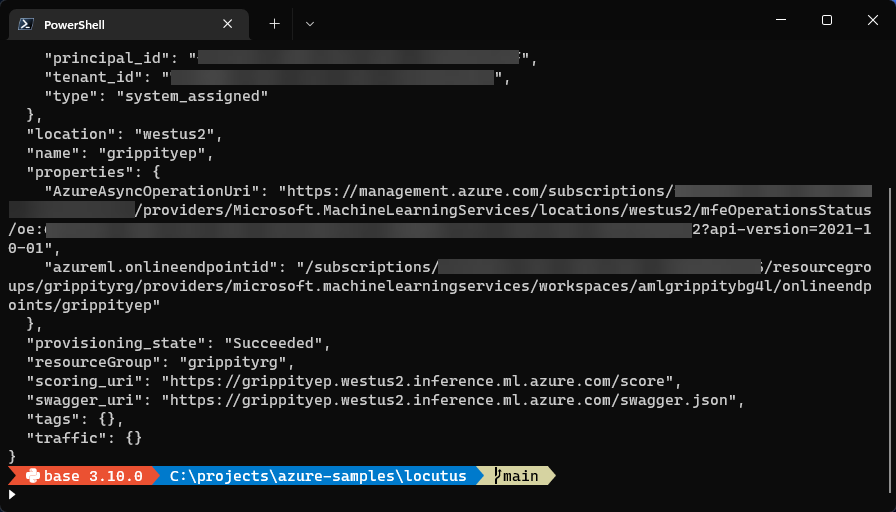
Endpoints in AzureML may contain many deployments. These
deployments can also have different percentages of the
traffic directed to each of them. In order to match
what you have in your workspace, a couple of changes
need to be made to the deployment.yml file.
The first is the model: azureml:XXXX:1. This
should be changed to the registered model name and version
produced above (likely model: azureml:model-gpt2:1).
This is also true for the environment: azureml:XXXXXX:1:
as long as the environment matches the environment created
earlier this will all work (it is likely environment: azureml:hf-transformers-inference:1). Finally, we need
to change the endpoint_name to match what you named it
above (I named mine grippityep).
After making those changes, the following commands create an endpoint and a deployment in that endpoint:
az ml online-deployment create -f cloud/deployment.yml --all-traffic
You will see something like:
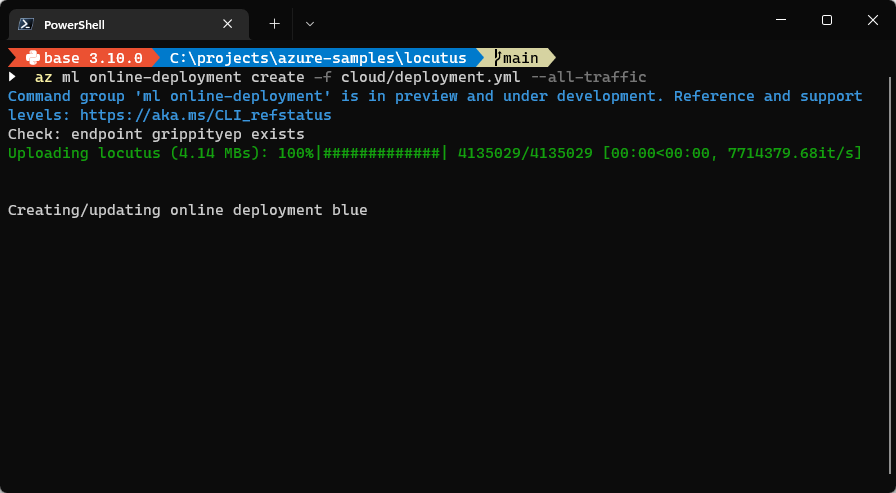
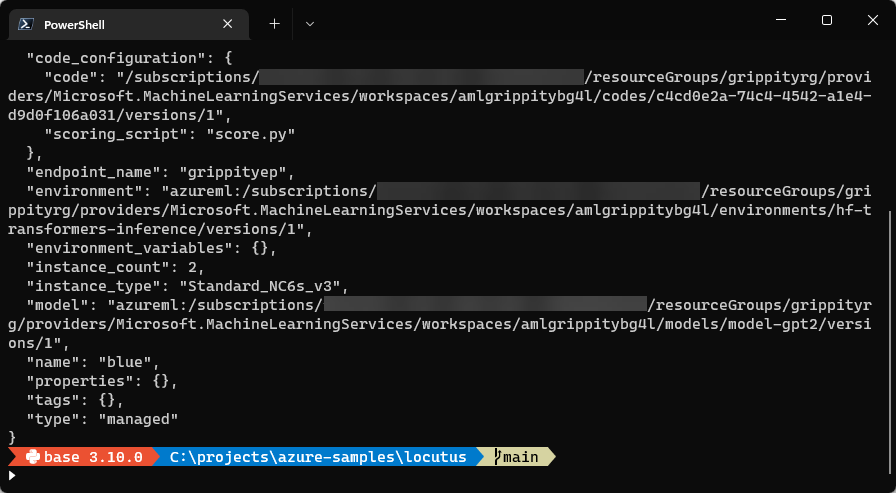
This process takes about 10-12m in total and should produce the following output:
If you navigate over to your new endpoint you should see something like this:

If you click on the Test tab, you can test out the endpoint.
(NOTE: If you increase the length and/or increase the count,
you could exceed the capacity of the compute type. If this
is something you want to do, feel free to up the compute
in the deployment.yml file.)
You can copy and paste the following into the input data box:
{
    "prompt": "This heroic conference will",
    "length": 15,
    "count": 4
}
When complete, you should see something like this:
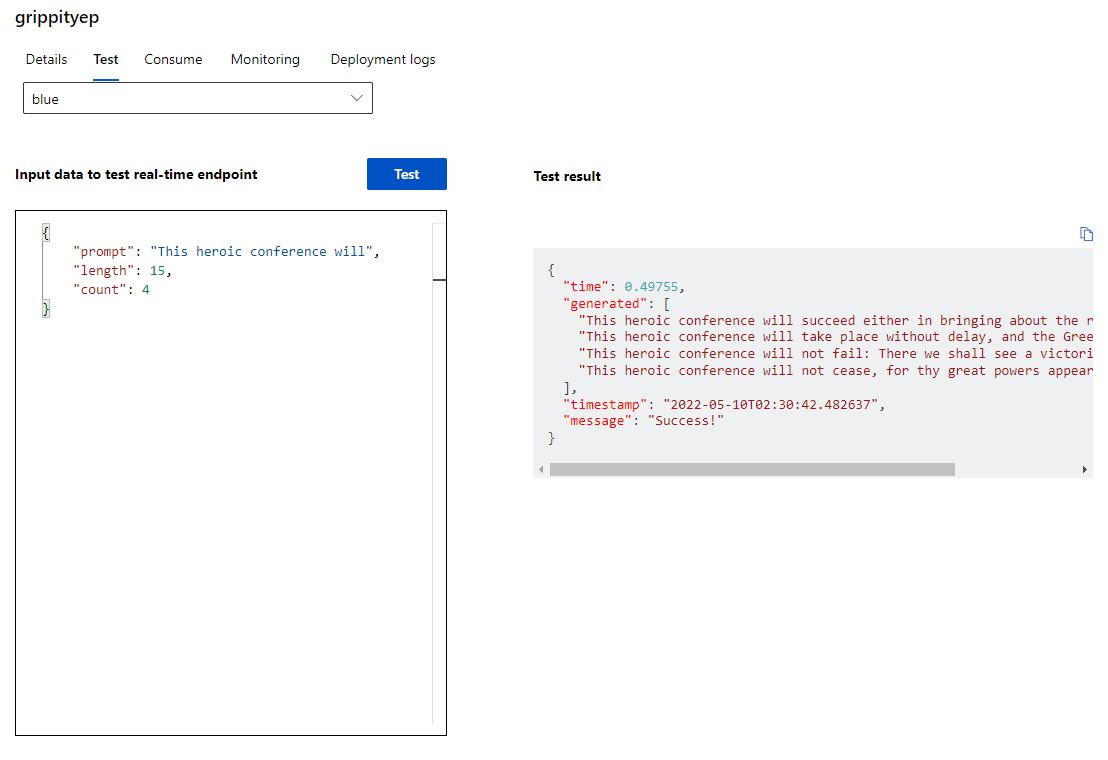
It works!!!!
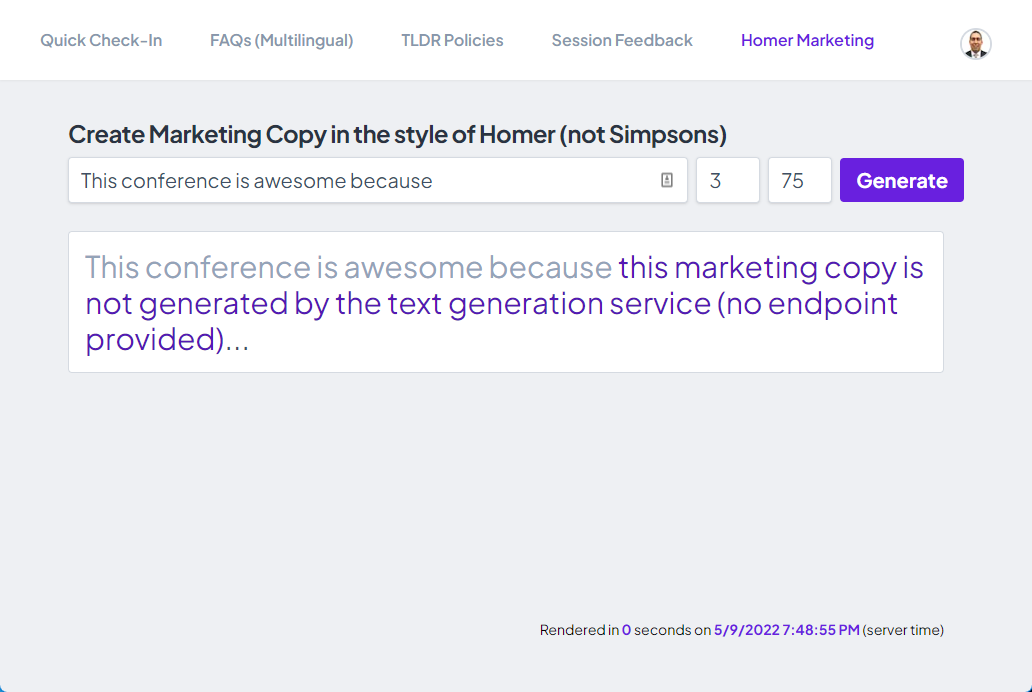
If you've arrived seeking to add this new endpoint to the conference app, there are just a few more steps needed to hook this brand new endpoint into the last tab.
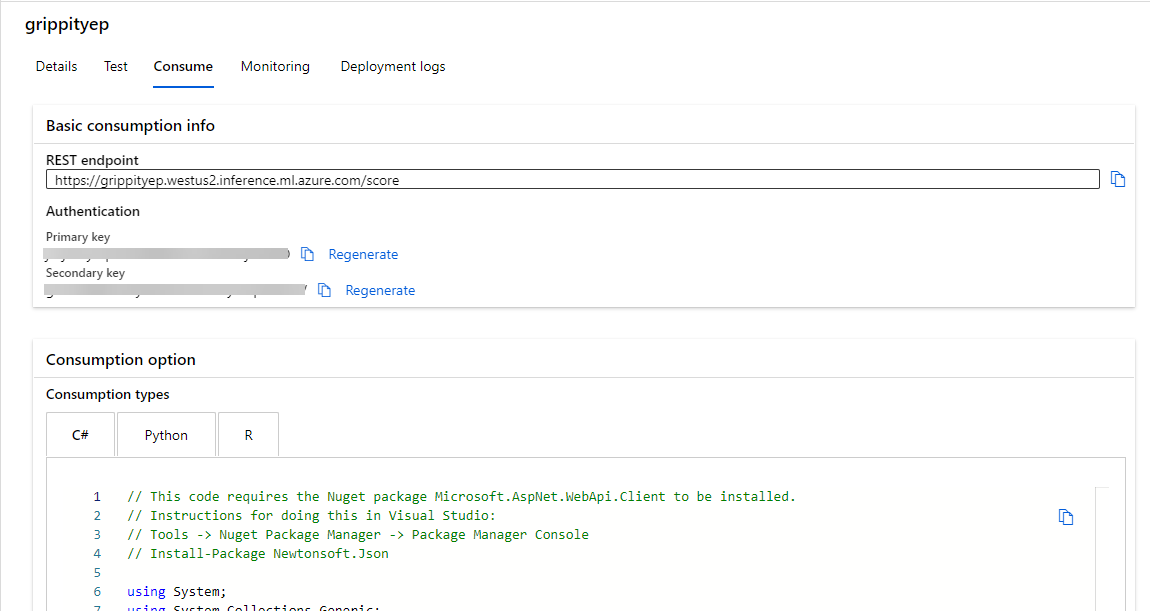
The first step is to retrieve this new endpoint and
its associated key. These can be found by navigating
to the newly created endpoint and clicking on the
Consume tab:
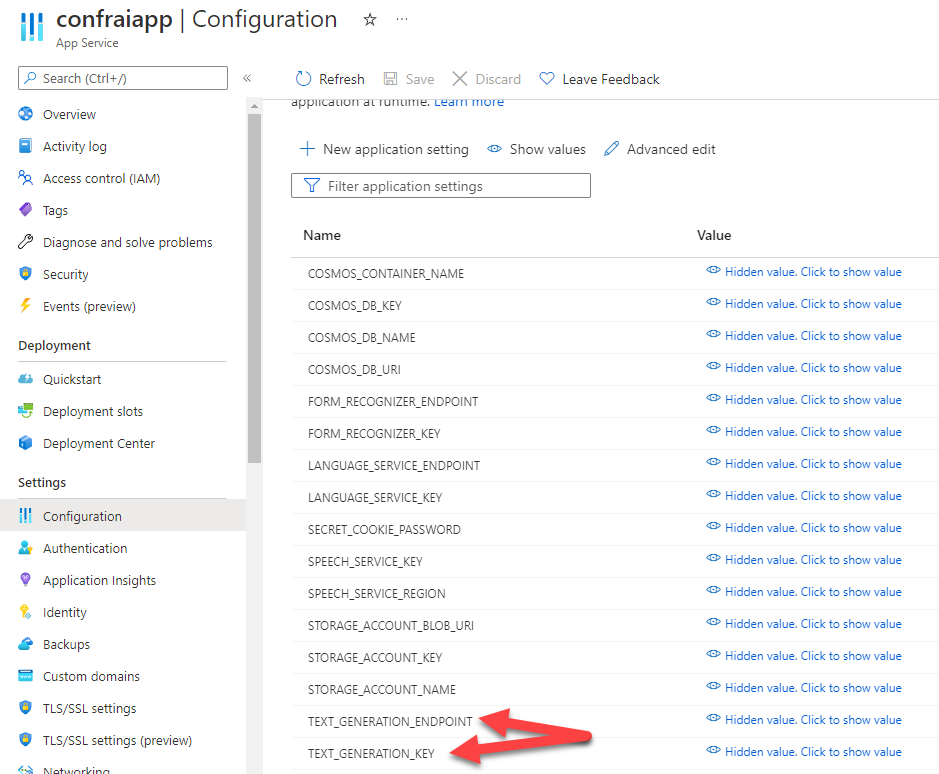
These 2 values need to be added to the Application Settings
of the web app deployed over in the other
example.
Replace the TEXT_GENERATION_ENDPOINT with the
endpoint value and the TEXT_GENERATION_KEY with
the corresponding key.
Make sure to save the settings (the application should restart). After a few minutes your application is now connected to this custom heroic marketing text generator:
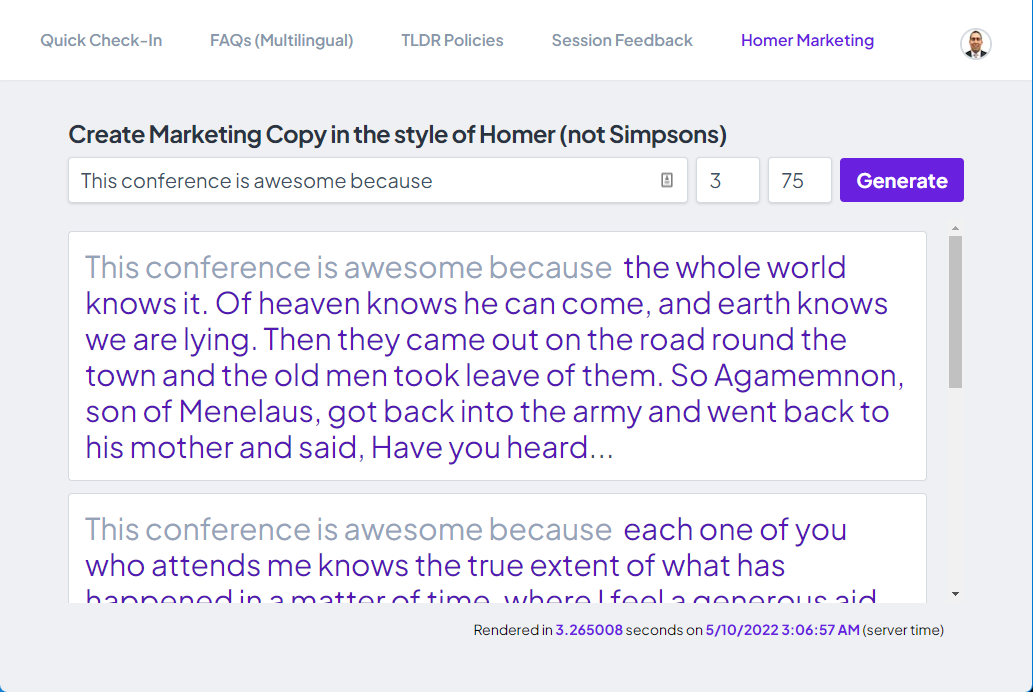
It works!!