This tutorial will show you how to setup a c9.io workspace for your first lab in CS 235. You will use the same process to setup the rest of the labs for the class. We will be using a lot of in-class learning activities and will be using c9 for all of these. You should set up an account and follow this tutorial even if you are planning to complete your labs using another development environment.
- Creating an account You should have received an email message telling you that you have been invited to c9.io . If you did not receive an email message, send email to Dr. Clement to receive an invitation.
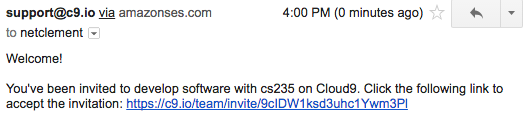
- Open a tab in your web browser with the link in the email invitation to create the account. You should select "Create new account" if you do not already have a c9.io account.

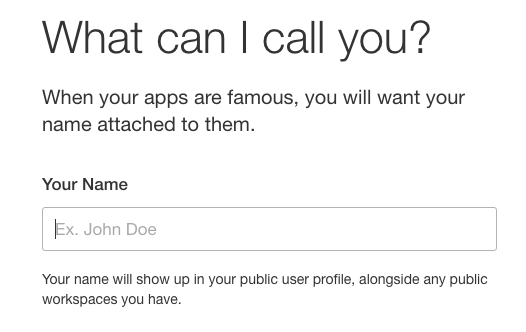
- Enter your name so the TAs can find you and so you can collaborate with other students on learning activities and select the "Next" button.
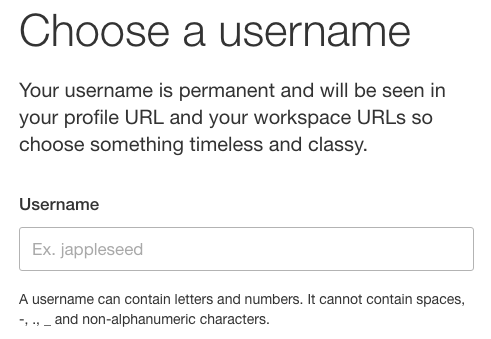
- Now create a username. You will use this to login and it will become the URL that you see when working on your projects. Select the "Next" button.
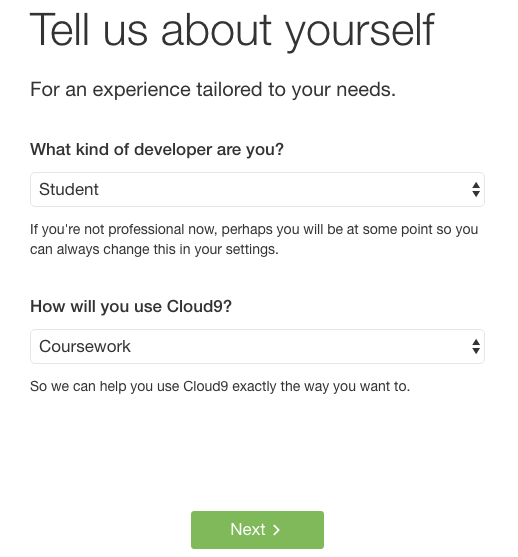
- Select "Student" and "Coursework" for your usage and select "Next". On the next screen confirm your details and prove you are not a robot. Then select "Create an Account".
- Now select "Join Team" to become part of the CS235 class.
You will be taken to a "Workspaces" screen that you will use every time you create a new workspace.

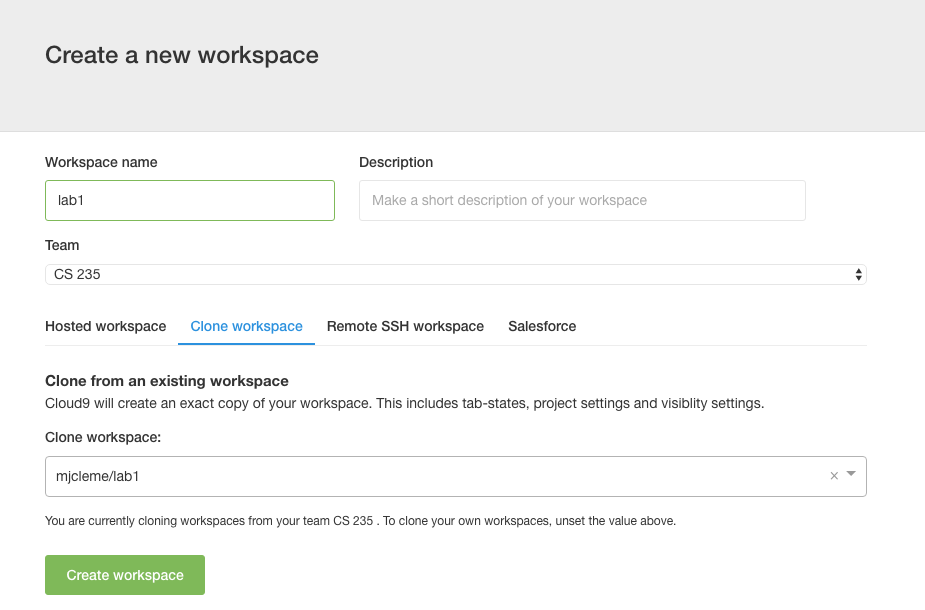
- Notice the "CS 235" link under "Your Team Subscriptions". Now you can create a workspace for the first lab. Select the "+" for "Create a New Workspace". Give your workspace the name "lab1" and select "clone workspace". Then type in "mjcleme" into the "Clone Workspace" box and it will show you all of the workspace templates for the instructor. Select mjcleme/lab1.
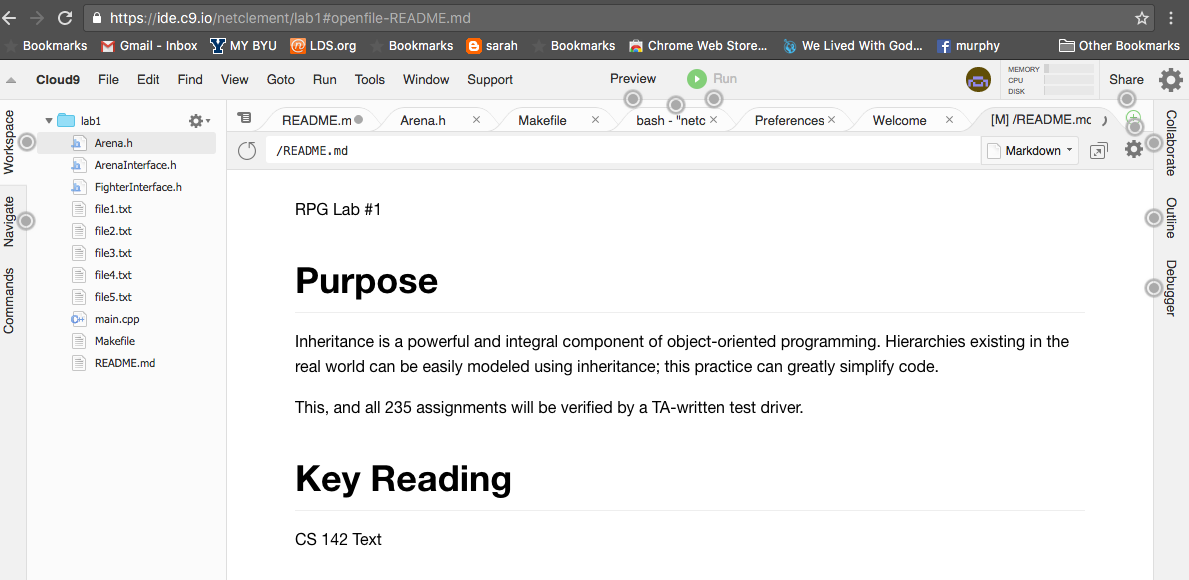
- The system will take a few minutes to clone the workspace and to set up a virtual computer for you. This will act just like a real linux computer and will give you access to an Integrated Development Environment (IDE) and a Command Line interface for the computer.
-
We will go over the important features in class and you should look at the documentation for c9.io to become familiar with all of the features.
-
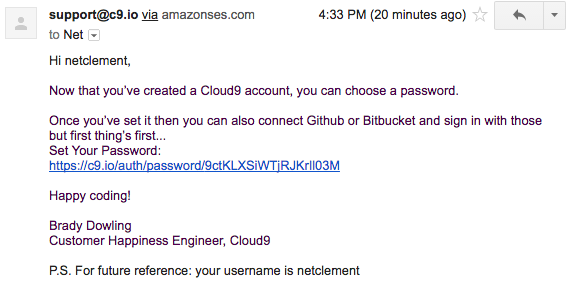
During the account creation process, c9 should have sent you an email asking you to change your password. Follow the link in the email to change your password, so you will be able to log in once the c9 tab is closed.
- Now make the workspace private. Go back to your dashboard, select the workspace you just created (dont open it) and select the gear button riht next to the "Clone" button on the right. Then click the "private" button.

- If you have trouble with setting up the c9 system, you can look at the code for the first lab in this repository.