The simplest way to get started with Backendless is by using a Project Template for iOS:
- Register for your free account at https://develop.backendless.com
- Login to Backendless Console and create a new app
- Click the Download Project Template button:
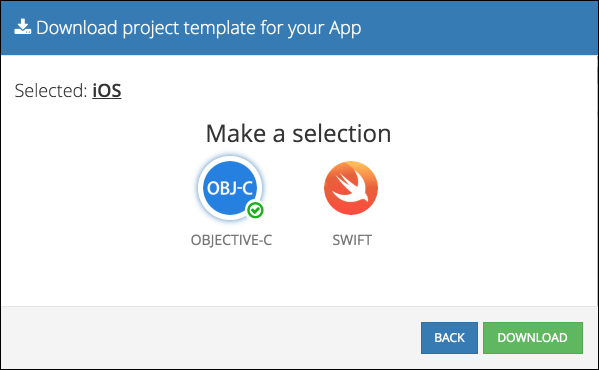
- Double click the iOS icon, then select Objective-C or Swift:
- Click the Download button to download a template generated for your Backendless app
- Unzip the downloaded file into a directory, let's call it the
Project Directory - Open a Terminal window and change the currect directory to the
Project Directory - Run the
pod installorpod updatecommand. Once all of the pod data is downloaded/updated, the Xcode project workspace file will be created - Open the .xcworkspace file to launch your project.
To create a new project with CocoaPods, follow the instructions below:
- Create a new project in Xcode as you would normally, then close the project
- Open a Terminal window, and change the currect directory to the project's directory
- Create a Podfile by running the
pod initcommand - Open your Podfile with a text editor, and add the following:
pod 'BackendlessSwift'
- Save Podfile, return to Terminal window and run the
pod installorpod updatecommand. Once all of the pod data is downloaded/updated, the Xcode project workspace file will be created - Open the .xcworkspace file to launch your project
Please follow the Apple guide or add the project as a dependency to your Package.swift:
// swift-tools-version:5.2

import PackageDescription

let package = Package(
    name: "SwiftSDK-test",
    products: [
        .executable(name: "SwiftSDK-test", targets: ["YourTargetName"])
    ],
    dependencies: [
        .package(name: "SwiftSDK", url: "https://github.com/Backendless/Swift-SDK", from: "6.4.1")
    ],
    targets: [
        .target(name: "YourTargetName", dependencies: ["SwiftSDK"], path: "./Path/To/Your/Sources")
    ]
)


