A library that allows you to use a fragment shader to add post processing filters to any p5.js sketch (including non-WEBGL sketches). Please note that this does use WEBGL behind the scenes.
This library is mostly for convinence and wraps some functionality that I was frequently using in my own sketches.
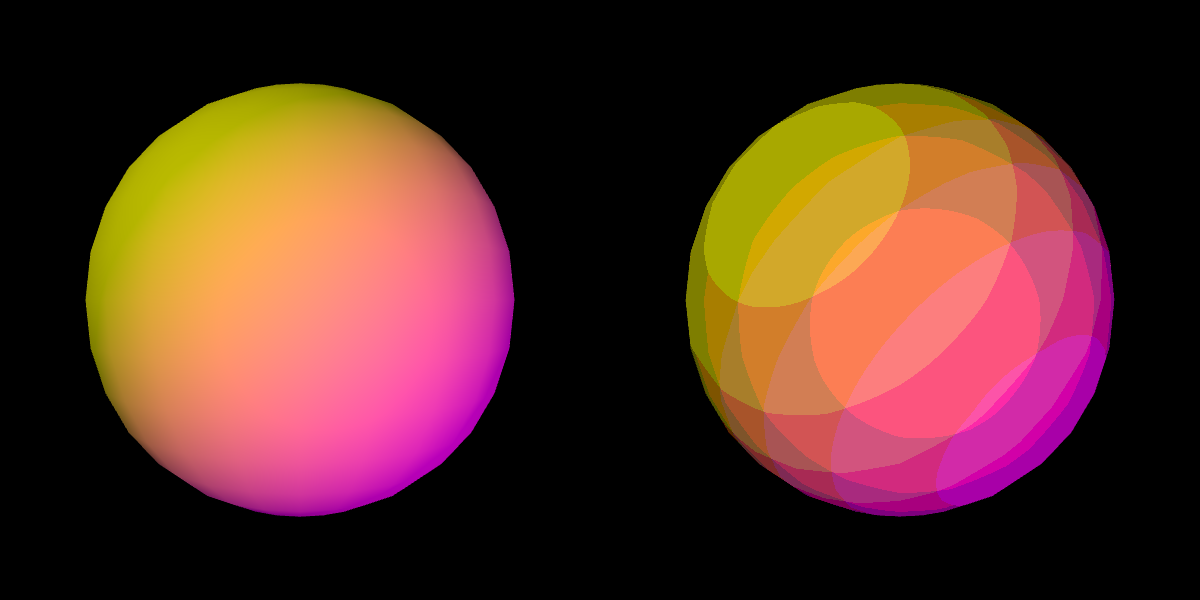
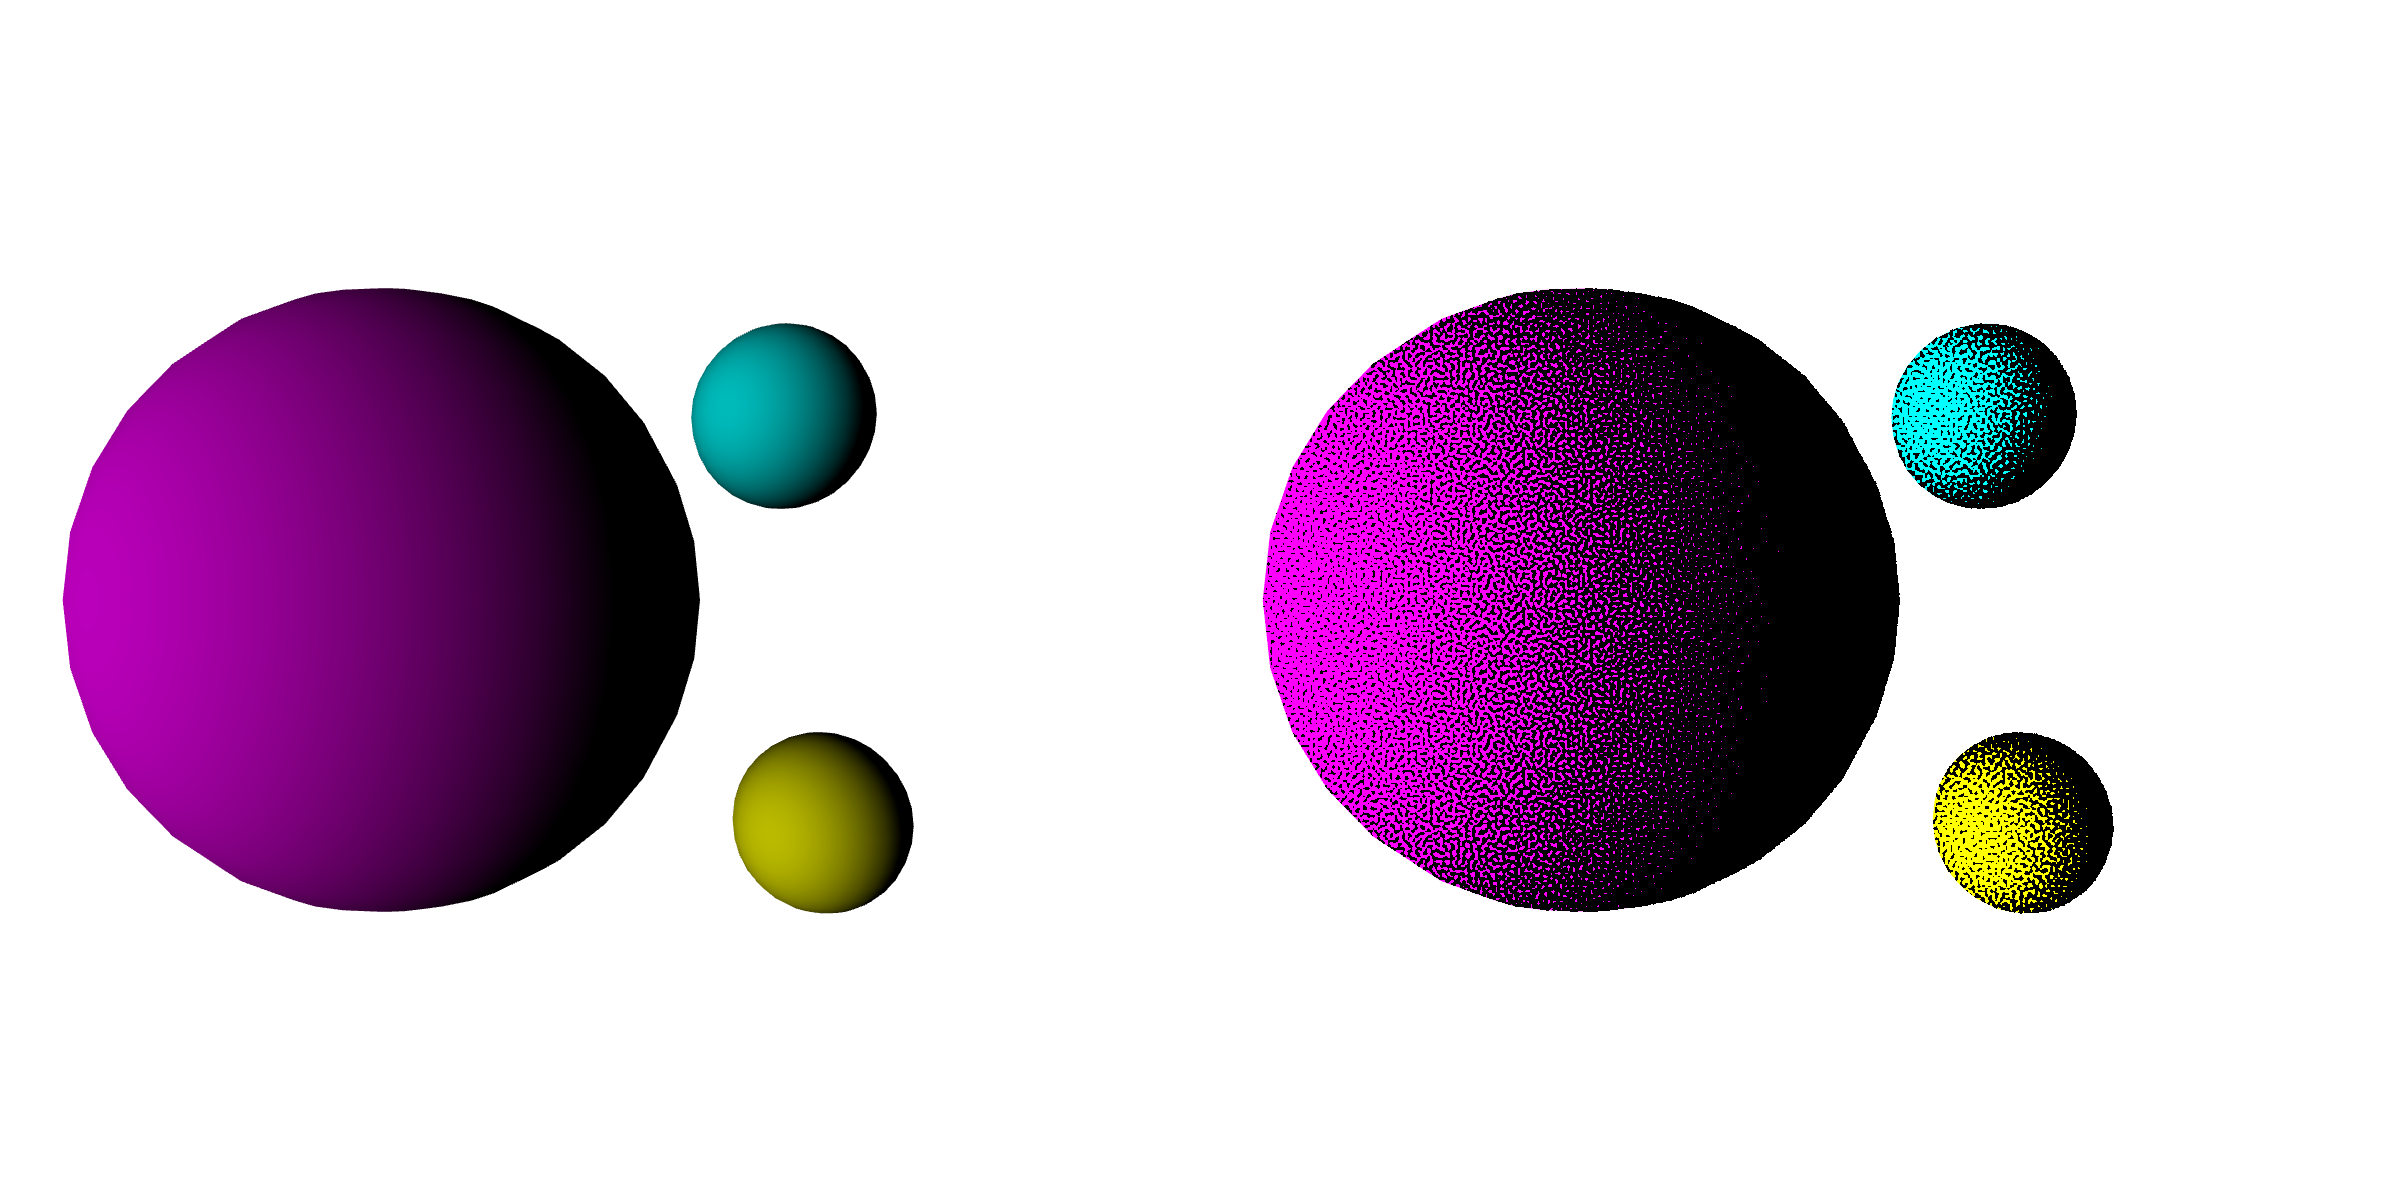
Above: a screenshot of the posterise shader example
The library must be added to your sketch after the p5.js library has been included but before you include your own sketch files.
The library is available via the following CDN:
https://cdn.jsdelivr.net/gh/BarneyWhiteman/p5.filterShader@0.0.3/p5.filterShader.min.js
You can include the following in your index.html after including the p5.js library:
<script src="https://cdn.jsdelivr.net/gh/BarneyWhiteman/p5.filterShader@0.0.3/p5.filterShader.min.js"></script>Download the minified or unminified source code from the releases tab, then add it to your HTML:
<script type="text/javascript" src="p5.filterShader.min.js"></script>To use p5.filterShader, simply load in the shader you want in the preload function.
You can then call filterShader and pass in your shader object to apply the shader. This is often done after you've drawn the rest of the frame to add a post processing effect, however it can be called whenever suits your needs.
let myFilterShader;

function preload() {
  myFilterShader = loadShader("filter.vert", "filter.frag");
}

function setup() {
  createCanvas(400, 400);
}

function draw() {
  background(255);

  /*
  ... your drawing stuff here ...
  */

  // apply the shader as a filter
  filterShader(myFilterShader);
}
There are examples available on the online p5.js editor.
When used inside filterShader, the shader object is passed two uniform values.
By adding the following lines of code to your fragment shader, you can access these values:
uniform sampler2D filter_background;
uniform vec2 filter_res;
filter_background is the image the filter is being applied to.
filter_res holds the resolution of the image in pixels.
Below is an example of a vertex and fragment shader which will turn the image into greyscale.
// Generic Vertex Shader
attribute vec3 aPosition;
attribute vec2 aTexCoord;

varying vec2 pos;

void main() {
  pos = aTexCoord;
  // flip the y axis
  pos.y = 1.0 - pos.y;

  vec4 positionVec4 = vec4(aPosition, 1.0);
  positionVec4.xy = positionVec4.xy * 2.0 - 1.0;

  gl_Position = positionVec4;
} |
#ifdef GL_ES
precision mediump float;
#endif

varying vec2 pos;

uniform sampler2D filter_background;
uniform vec2 filter_res;

void main() {
  vec4 col = texture2D(filter_background, pos);

  float avg = (col.r + col.g + col.b)/3.;

  gl_FragColor = vec4(avg, avg, avg, col.a);
} |
Look at the greyscale filter example to see a more complete version of using filterShader.
If you want to set additional uniforms in your shader, you can do so as normal before calling filterShader.
myFilterShader.setUniform("mouse_pos", [mouseX, mouseY]);
filterShader(myFilterShader);
Look at the posterise filter example to see a more complete version of using setUniform.
filterShader can be called globally on the main canvas, or it can be called on a seperate graphics instance.
...

// Multiple drawing surfaces
let canvas = createCanvas(400, 400);
let graphics = createGraphics(400, 400);

...

// Calling filterShader on the drawing surfaces
filterShader(myFilterShader);
canvas.filterShader(myFilterShader);
graphics.filterShader(myFilterShader);
Look at the posterise filter example to see a more complete version of using filterShader on an seperate graphics instance.
You can find all of the filterShader example sketches in this collection on the online p5.js editor.
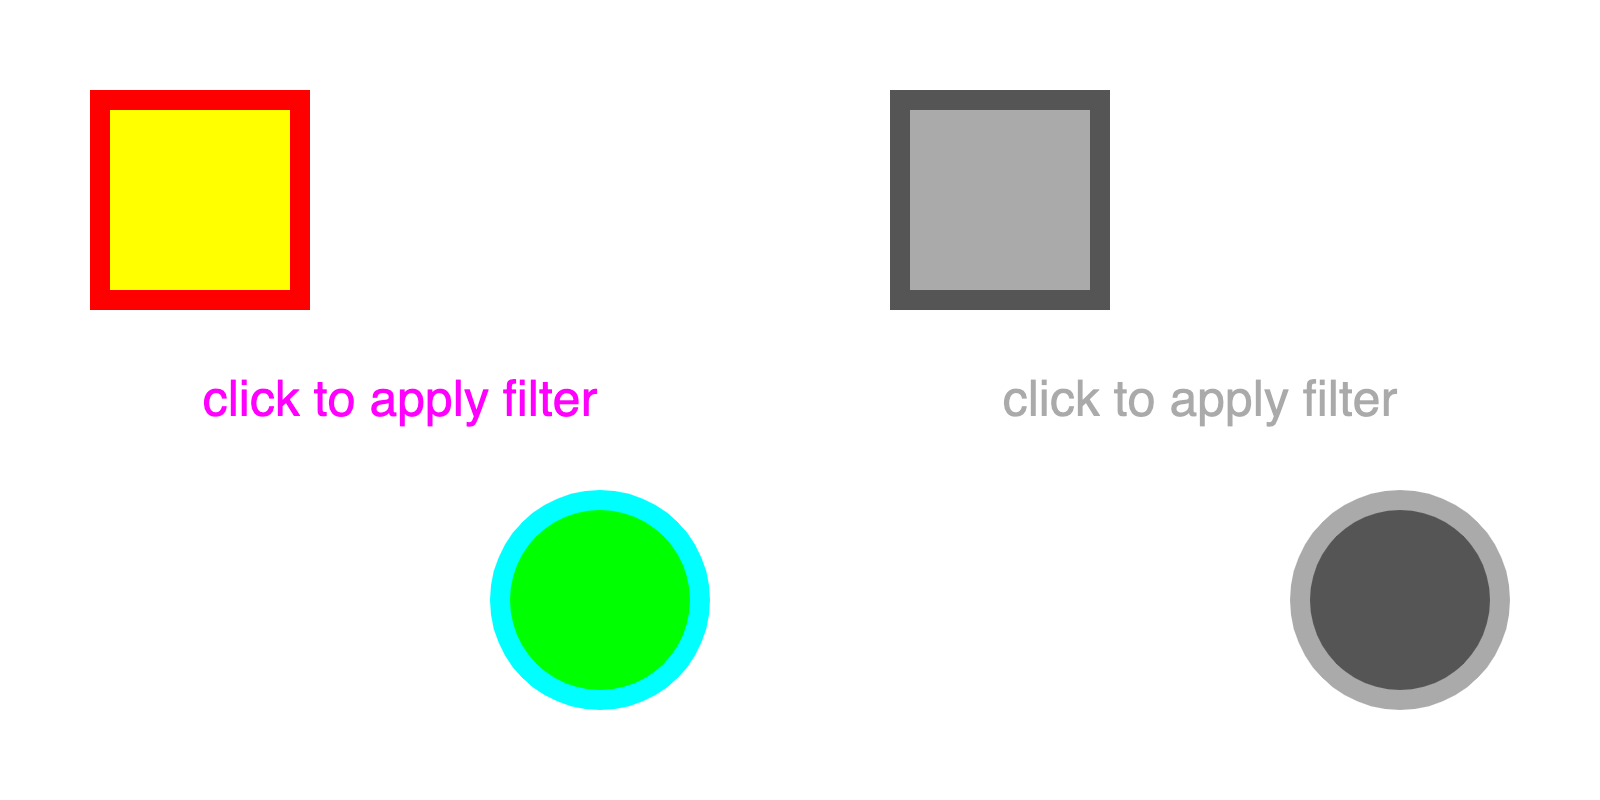
A basic sketch using a greyscale filter on the main canvas.
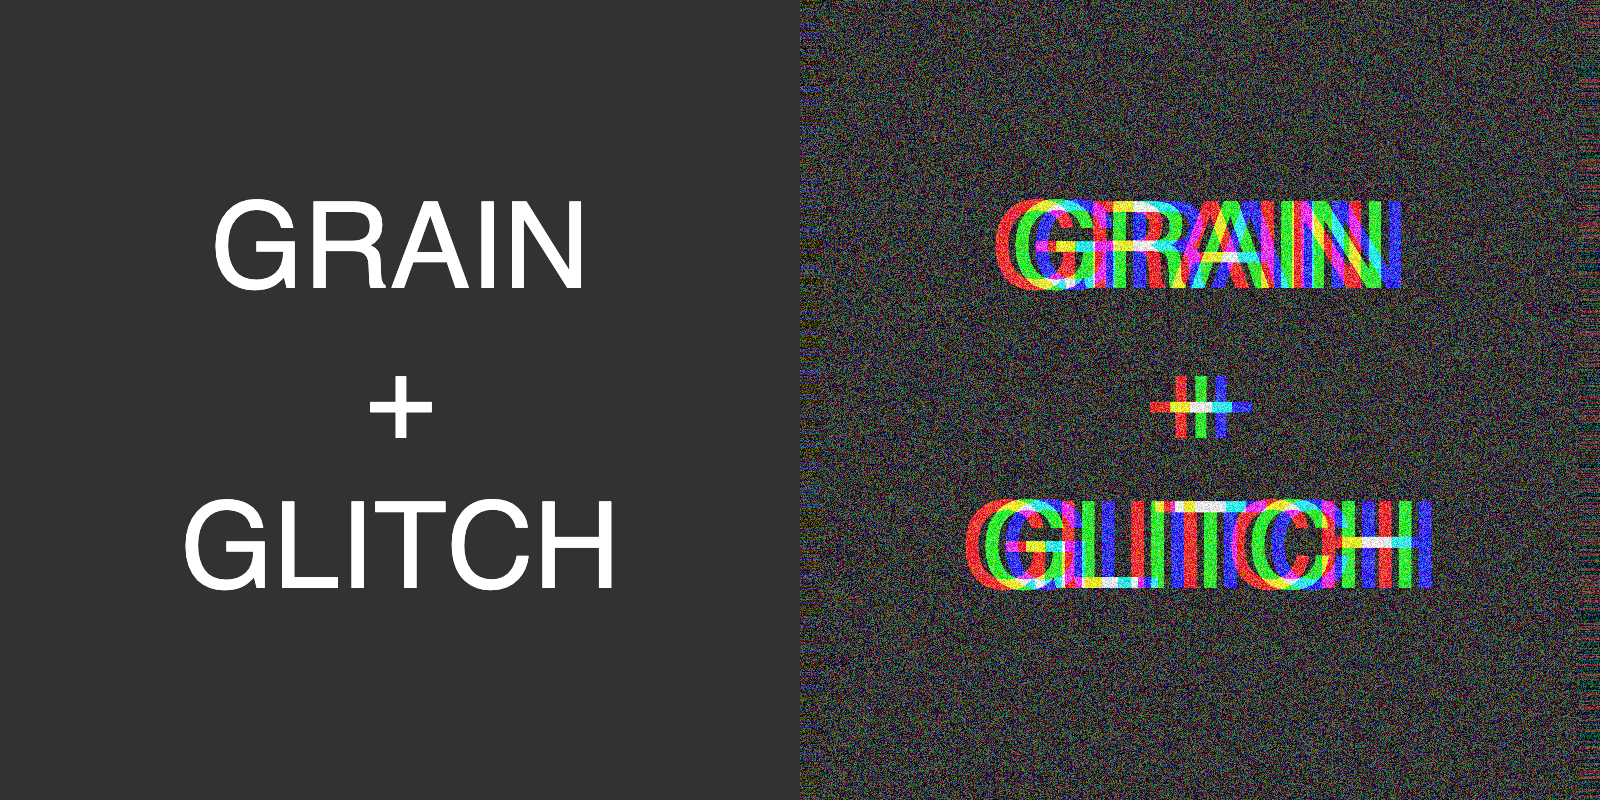
This sketch combines two filters. The first is a noise shader that adds random noise to the canvas, the second is a glitch shader from one of my videos.
This more advanced example shows how to use the filterShader function on an off screen canvas.
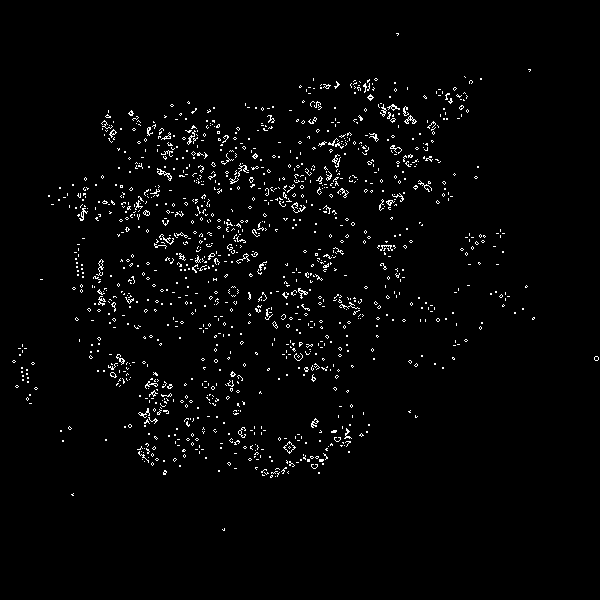
By not clearing the canvas between filterShader calls, its possible to use the output from the last shader pass as the input for the next. This shader also comes from one of my videos. The GPU is very efficient at cellular automata and using filterShader makes this very simple.
This example uses a blue noise texture to create a dithered shading effect.