Sebastian Ascoli
Jonathan Basom
Minh Bui
Steven Iovine
Main Menu Music
Winning/Losing Sound Effects
Shooting/Explosion Sound Effects
Home Button Image
Main Menu Logo
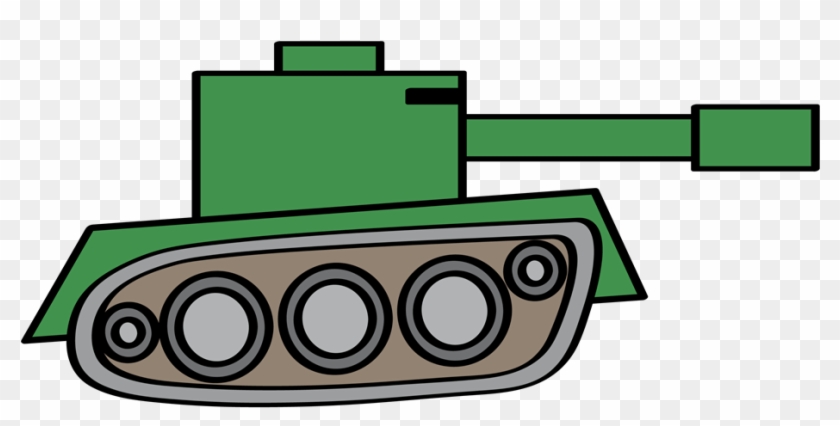
Player Tank Sprite
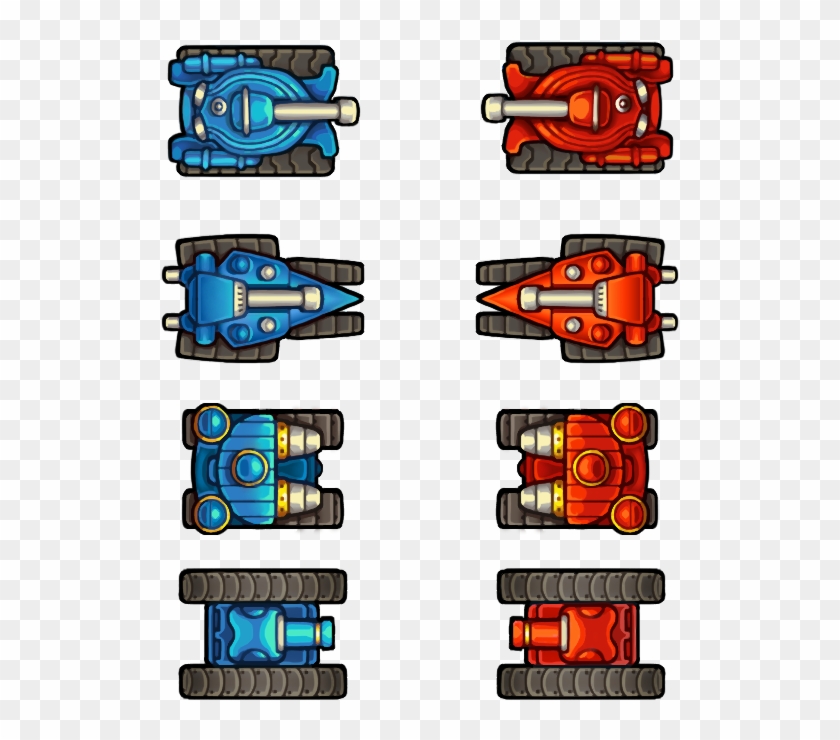
Various Colored Tanks
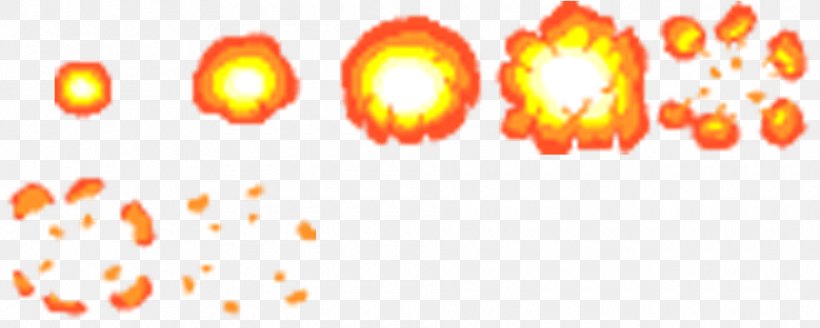
Explosion Sprite Sheet
Bullet Fire Sprite Sheet
Shield Power-Up Icon
Wall Materials 1
Wall Materials 2
Pause Icon
Winning Scene Image
Slick 2D API
Jamepad Open Source Library
Java - Getting the mouse cursor location (current mouse position)
Controlling PC Cursor with Joystick in Java
Quickly Create Jar Artifact for Application
Tool to Generate Proper .jar File
Tanks 2D is an interactive video game where the user controls a tank and attempts to shoot other tanks without being shot first in order to win the game. The game consists of two different game modes: single player and two player. In the single player mode, the user has to beat 10 different levels in order to beat the game; These 10 levels increase in difficulty as the game progresses. In each level, the user battles against computer controlled tanks. In the two player mode, two users control tanks that fight against each other, and the player who dies first loses. If the 2 player controlled tanks collide, or for some reason, they die at the same time, then the game ends in a tie.
When the application starts, the theGame menu appears with background music and four buttons that the user can select: single player game, two player game, settings menu, or instructions menu. If the single player game is selected, the campaign mode begins with the maze for level 1 out of 10. The player must navigate through the maze and try to shoot and destroy the various enemy tanks before advancing to the next level. If the player tank dies, then the player loses a life, and the current level restarts if the player still has lives remaining. The number of lives as well the number of kills throughout the single player campaign will be displayed on the top of the screen. The top of the screen will also contain the current level number. Each level has its own unique maze where tanks cannot move or shoot through the walls. The moving enemy tanks will navigate through the mazes on their own, while the static tanks will wait for the player controlled tank to approach. Both types of enemies will fire as soon as they have a clear path to the player. Therefore, players may find it advantageous to hide behind walls and try to bounce the bullets off the walls at the enemies. If the player completes all 10 levels, then the player is notified that they won the game, and they can go back to the theGame menu on their command.
After selecting the two player game mode from the theGame menu, a new maze loads on the screen and allows a simple, local two player game. There are no computerized enemy tanks, but now there are two user controlled tanks. Each player tries to destroy the other and be the last tank standing. The player that dies first loses, and the other player wins. If both players die simultaneously, or if both tanks run into each other, then the game ends in a tie. If at any point during a single or two player game a player wishes to pause the game, they may choose to do so.
If the settings menu is selected from the theGame menu, the user has three different settings that may be adjusted. First, the difficulty of a single player game can be changed by selecting one of three options: easy, medium, or hard. These options determine how fast enemy tanks can move and rotate and how many bullets an enemy can shoot at once. The next setting allows the user to change the display size of the application so that the game properly fits his/her computer’s screen or personal preferences. There are three display sizes available: small (500 x 500), medium (1000 x 1000) and large (1500 x 1500). The third settings option allows the user to toggle between whether or not the FPS (frames per second) should be displayed on the screen during a game (both single and two player). The final settings otption allows the player to choose whether he/she wants to play the single player mode with shields (a power up that appears on some levels of the game and gives a temporary shield to the player).
The last option on the theGame menu takes the user to the instructions scene, which contains all of the different possible controls for the game. Players can choose between using keyboard controls or video game controllers. Controllers that are supported include Xbox One, Xbox 360, and PS4. Note: Mac users may have to install third party software in order for certain video game controllers to be compatible.
| Action | Keyboard Player 1 | Keyboard Player 2 (2 Player Mode Only) |
Xbox Controller | Playstation Controller |
|---|---|---|---|---|
| Move Forwards | Up Arrow | W | Left Joystick Up | Left Joystick Up |
| Move Backwards | Down Arrow | S | Left Joystick Down | Left Joystick Down |
| Rotate Right | Right Arrow | D | Left or Right Joystick Right | Left or Right Joystick Right |
| Rotate Left | Left Arrow | A | Left or Right Joystick Left | Left or Right Joystick Left |
| Shoot | Space Bar | 1 | Right Trigger | Right Trigger |
| Pause / Unpause | P | P | Start Button | Options Button |
| Go to Main Menu | Esc or Click Home Icon | Esc or Click Home Icon | Hold Back and Start | Hold Share and Options |
The source code for this project is located within the /src directory. Within that folder, there are five subdirectories: gamePieces, interfaces, theGame, scenes, and utilities. The gamePieces directory has all of the important classes needed to create a basic game. There is the bullet subdirectory, which contains the Bullet class, the mazes subdirectory, which contains the Maze class and all of the other classes needed to construct a maze, the shield subdirectory, which contains the Shield class, and there is the tanks subdirectory, which contains all of the different types of Tank classes such as PlayerTank, EnemyTank (abstract), MovingEnemyTank, and SimpleStaticEnemy.
The interfaces directory contains all of the interfaces that are used within the system such as Renderable, Drawable, and Intersectable. The theGame directory contains a class called TheGame which encapsulates all of the classes needed to create the Tanks2D application.
The scenes directory contains all of the different scenes that can be displayed on the screen while the application is running. The two theGame subdirectories are gameScenes and menuScenes. The gameScenes directory has an abstract class GameScene that is the basis for any scene that consists of actually playing the game. There are also two more subdirectories: singlePlayerGame and twoPlayerGame. As the names indicate, the singlePlayerGame directory contains all of the levels for a single player game, while the twoPlayerGame directory contains the scene for a local two player game. With regards to the menuScenes directory, there are three subdirectories containing the classes for the start menu, the settings menu, and the instructions menu. There is also a MenuButton class that is used to add buttons to the menus.
The final package is the utilities directory. This contains a simple utilities class called Utilities that is used at various points throughout the project.
Finally, the Main class is located directly within the src directory and runs an instance of TheGame class in order to start a game.
Slick2D Build 237 updated to include LWJGL 2.9.2
Jamepad 1.3.2
In IntelliJ, do the following:
-
Make sure the project folder is selected as a resource in the project structure (if you do not do this, then the images and sound will not load)
-
Follow these instructions. However, you must select the option "copy to the output directory and link via manifest." Also make sure to select the Main class.
-
Go to build -> build artifact -> build
-
You will get many .jar files in the out/artifacts directory (which will not work outside of IntelliJ). In order to get only one working .jar file, you need to download this tool, and follow the instructions on the website to generate a .jar file. You must use all the .jar files IntelliJ generates, but you must not select any native library because those are included in IntelliJ's .jar files and will be detected as duplicates.
-
You should be able to simply click on the .jar file generated and run the program
Within the /dist directory, there should be a file called tanks2d.jar. This is the .jar file that is needed in order to run the entire application. This jar file was compiled using java sdk 12, so if you are going to run it, make sure you are using java jre 12 or newer. If you wish to run the original code, you can simply go into the /src directory and run the Main class.